


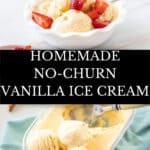


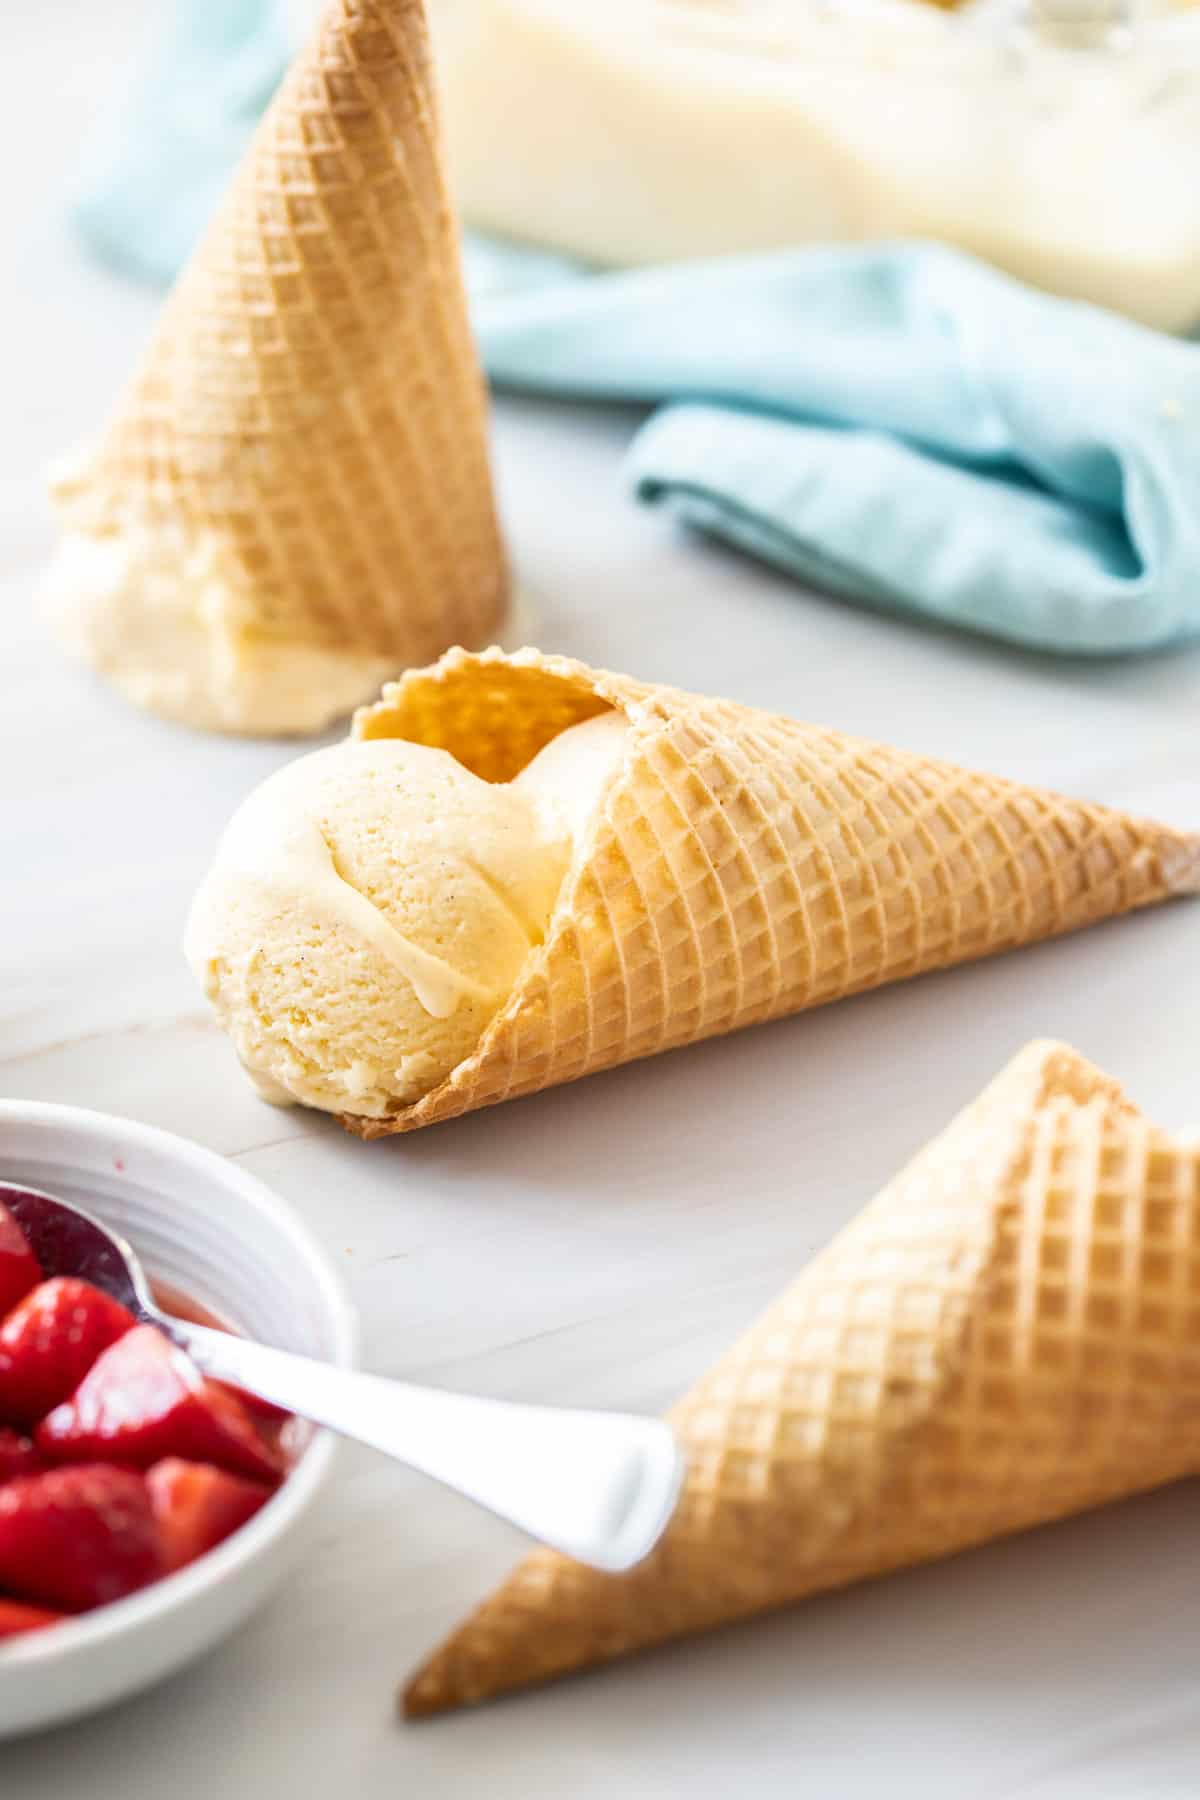
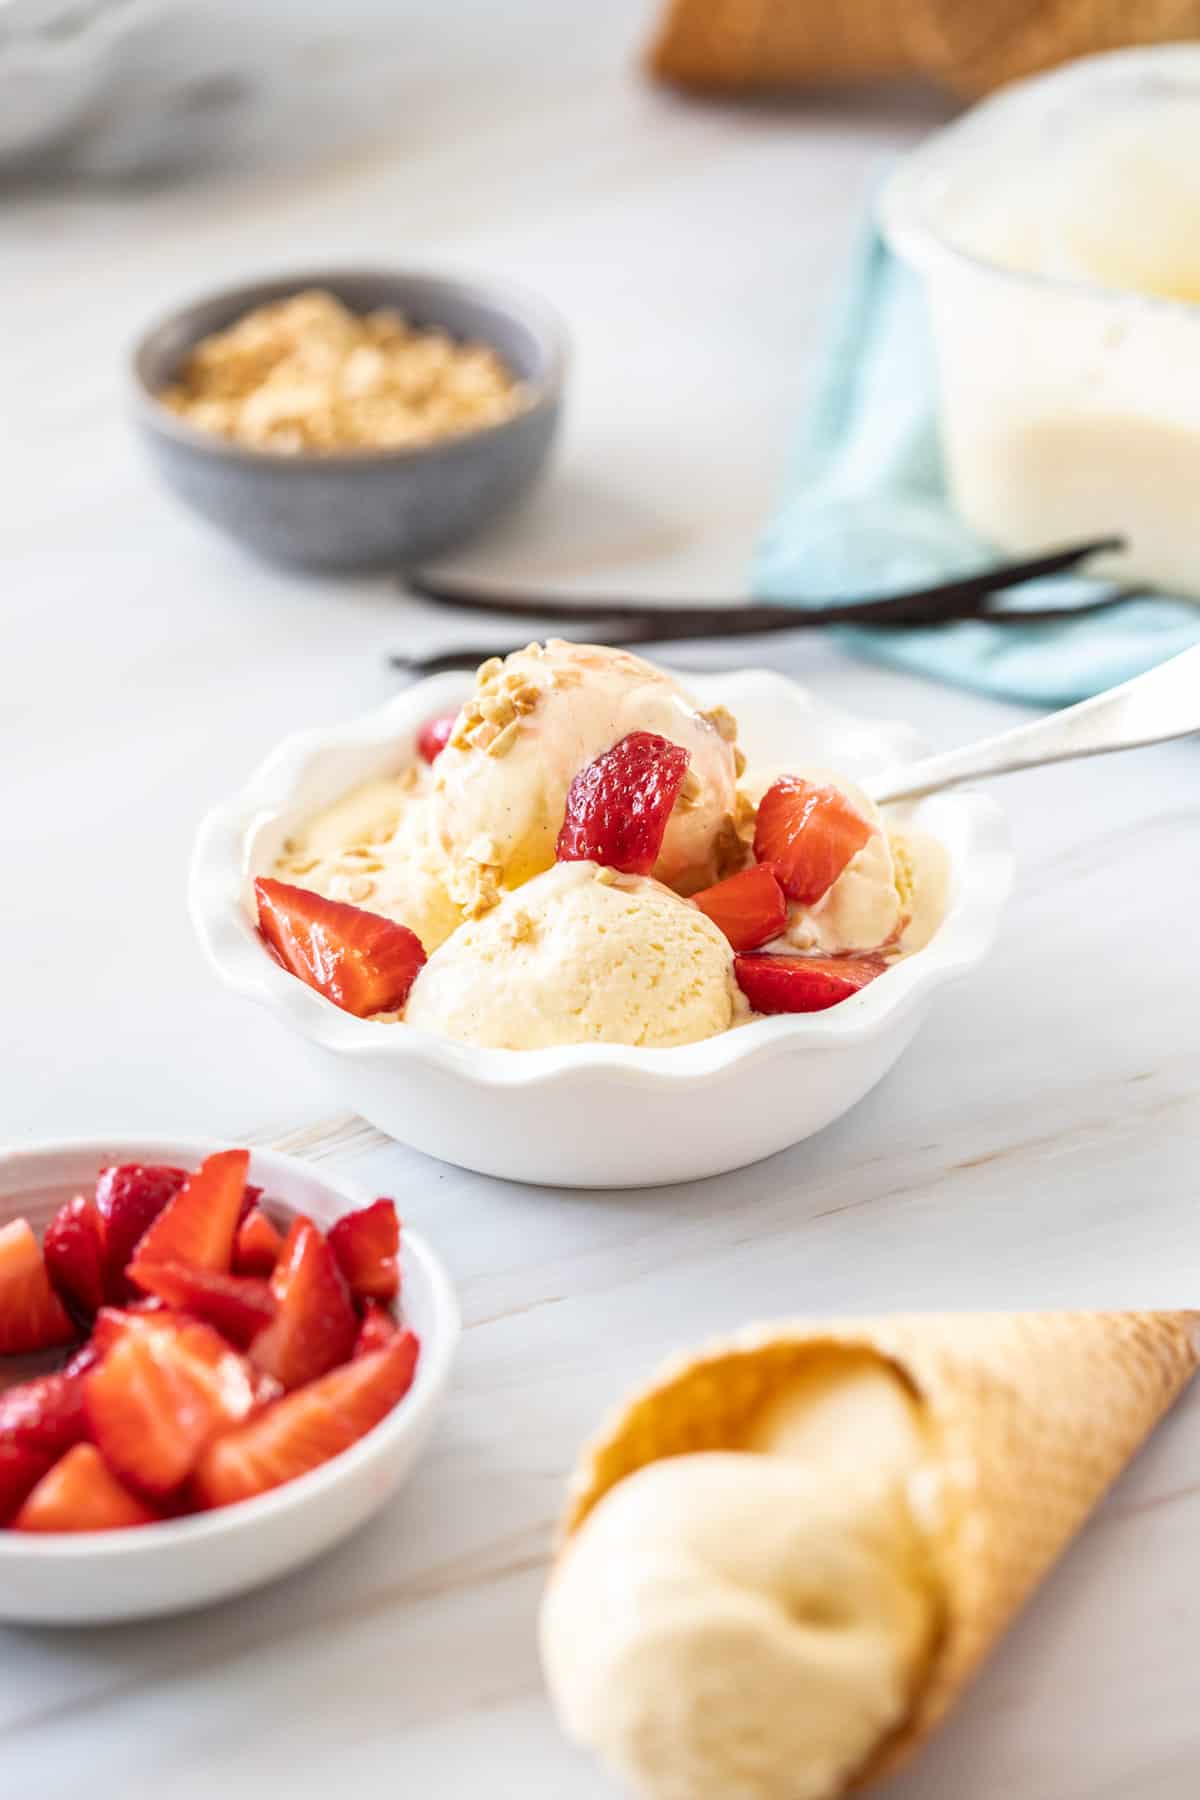
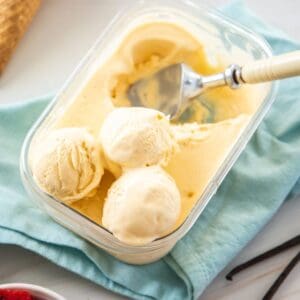
You will enjoy the freshness and smooth, creamy texture of my classic No-Churn Vanilla Ice Cream. There is something special about homemade ice cream; it tastes so much better than store bought varieties and it is very easy to make. Made with just four ingredients.
The texture is so smooth and it tastes creamy and delicious. My family loved it!
– Angela
Why You’ll Love This Recipe:
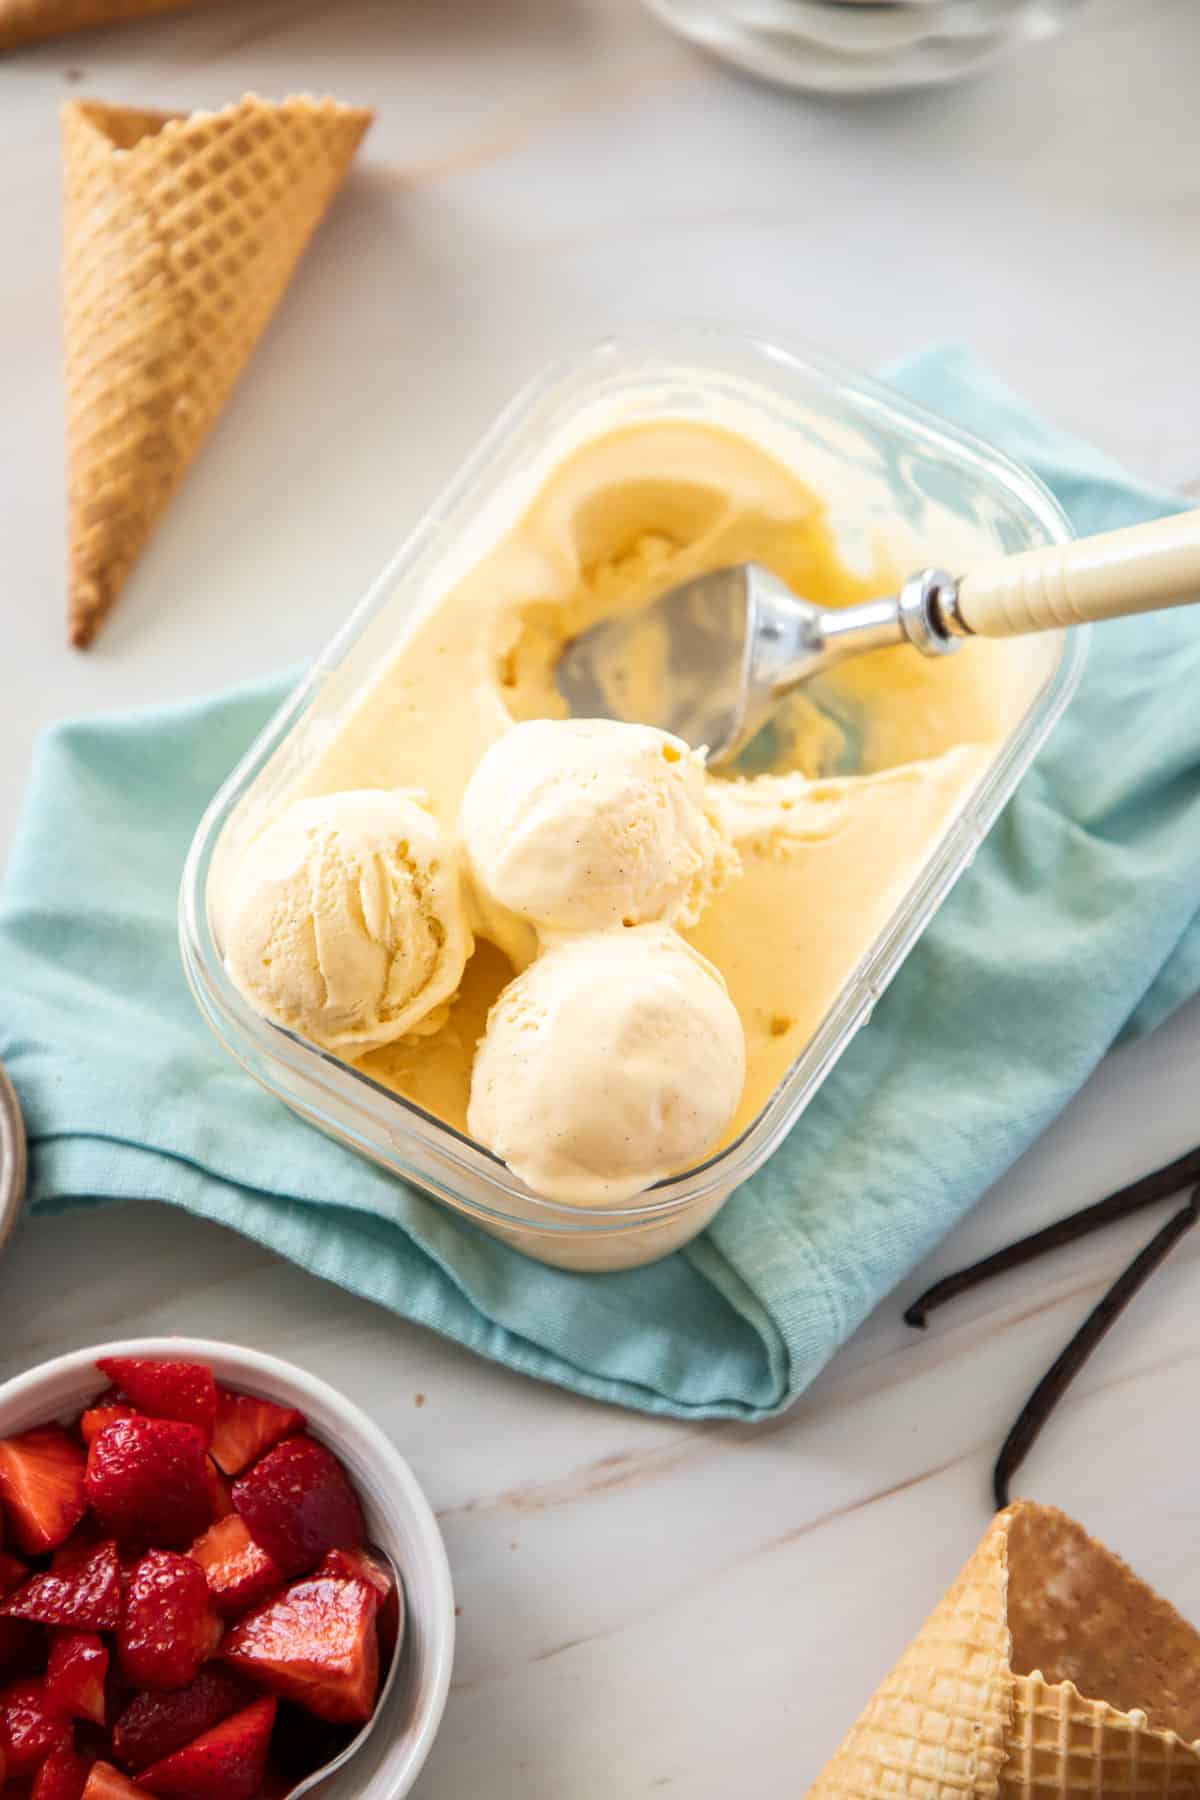
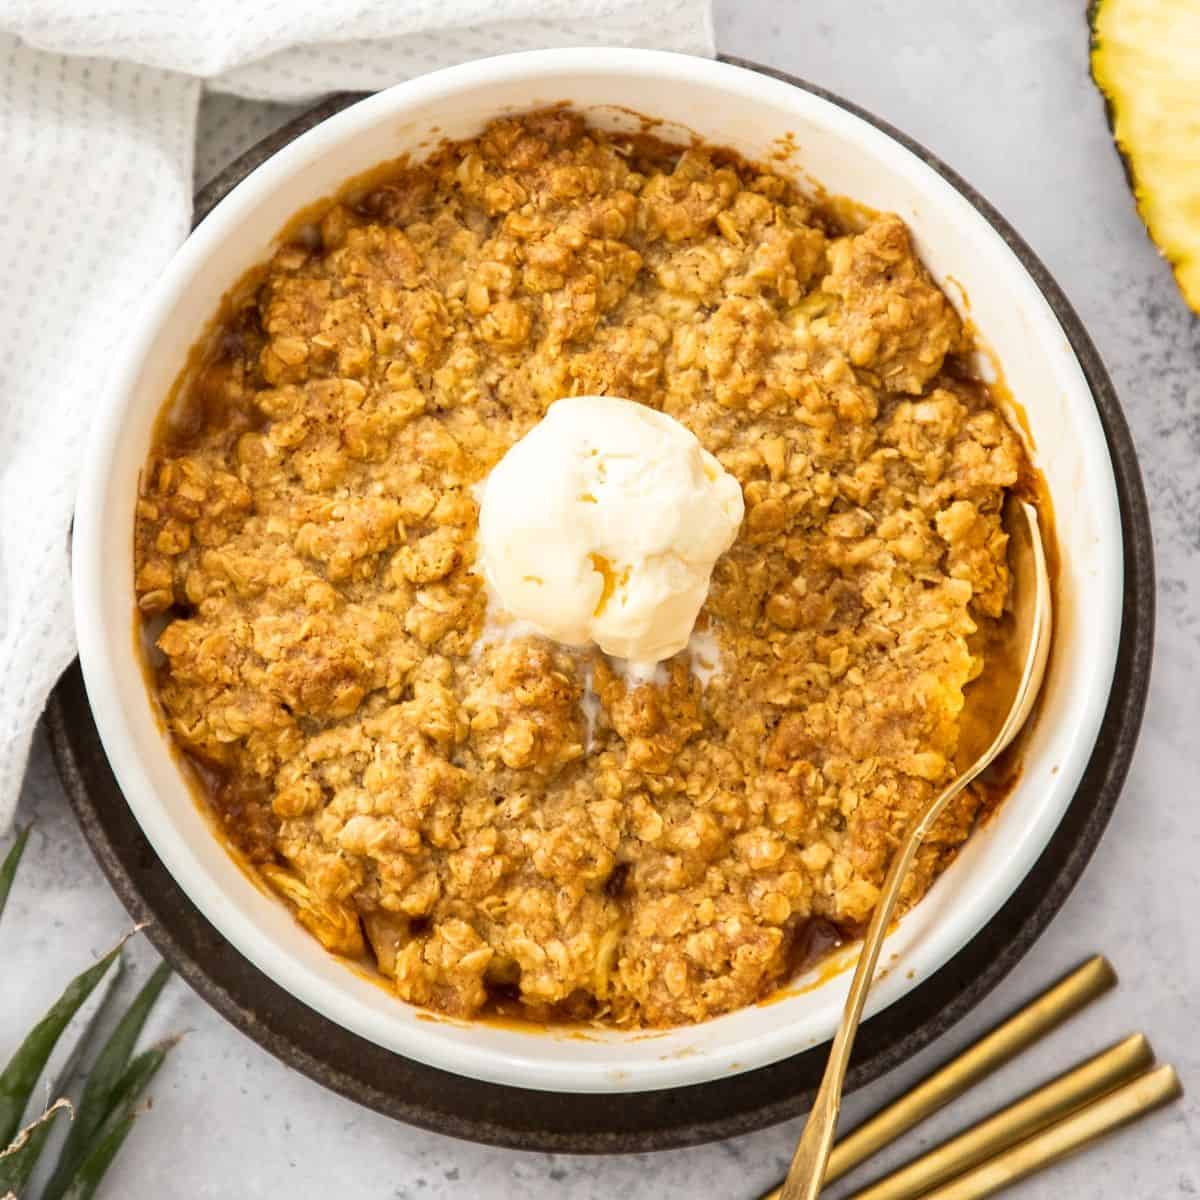
- A classic Vanilla Ice Cream is a great accompaniment to many cakes or desserts or can be simply topped with sauces such as my Blueberry Sauce, Strawberry Sauce or Toffee Sauce.
- As well, you will have the satisfaction of knowing exactly what it contains. When it comes to store bought, there are often many additives which help preserve the ice cream and keep its creamy texture.
- This ice cream has a custard base, which means, it contains egg yolks and they are important for several reasons. They help to thicken the ice cream as well as giving it a rich, creamy, silky-smooth texture. In addition, they help prevent ice crystals forming which is why there is no need to churn this mixture. As well, they contain natural emulsifiers, mainly lecithin, which bind fat and water together in a creamy emulsion.
- I love the convenience of this recipe which contains just four ingredients and does not require an ice cream maker. There is nothing lacking in the texture which is deliciously smooth and creamy.
Recipe Inspiration: this is my Mum’s recipe, and one she has been making for as long as I can remember! It’s a family favourite.
Ingredients and Substitutions:
Please see the recipe card further along in the post for exact quantities of ingredients and the full method.
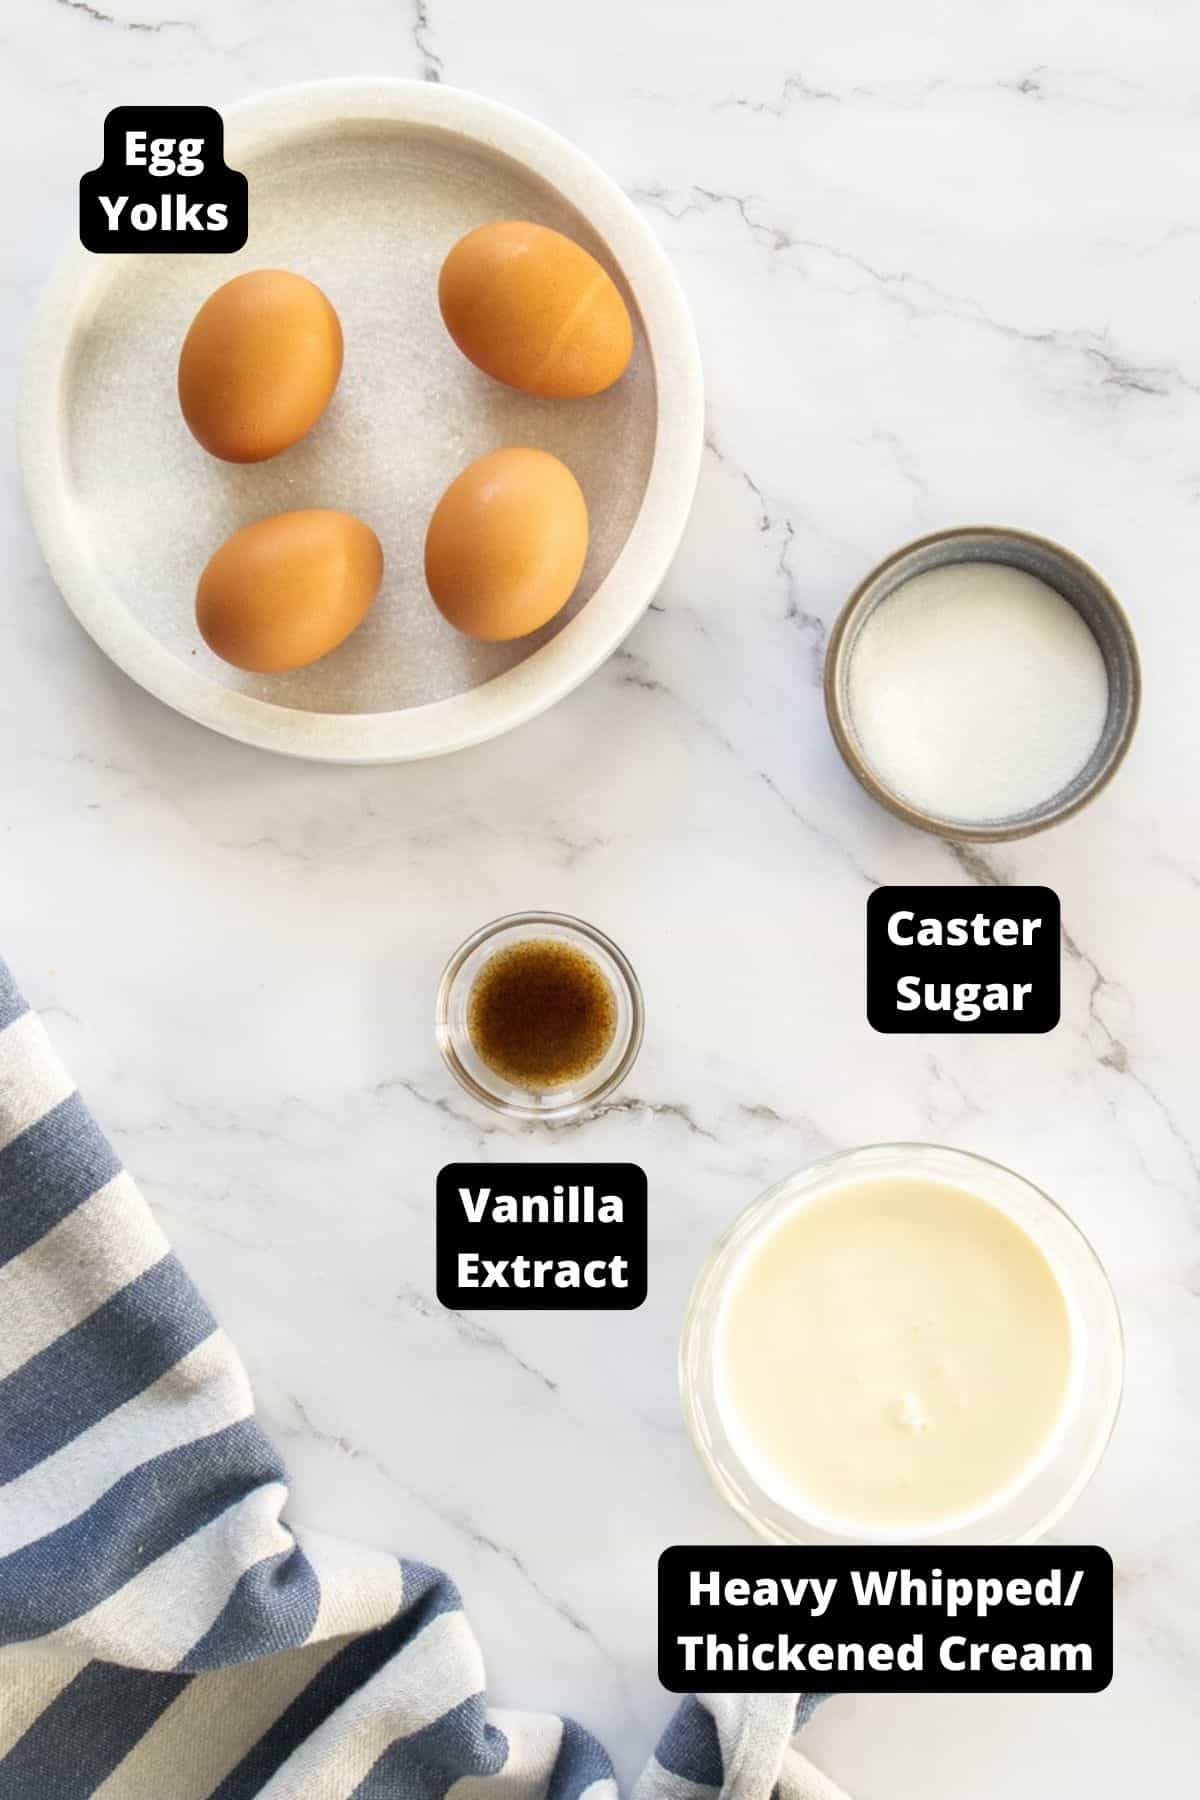
- Egg yolks – the egg yolks add richness and provide a smooth, creamy texture.
- Caster/superfine sugar – I use this sugar as it dissolves more readily than granulated sugar.
- Whipping cream – we have used heavy/whipping cream which contains 35% milk fat.
- Vanilla bean paste/vanilla extract – I like to use vanilla bean paste that includes the seeds of the vanilla bean pod. Alternatively, you can use good quality vanilla extract; just ensure that it is naturally produced from the vanilla bean and not synthetically flavoured.
Variations:
Delicious additions: you could add crushed Oreos, chocolate chips, crushed candy canes or swirl through some caramel or chocolate sauce. As well, consider the addition of spice, such as ground cinnamon or nutmeg.
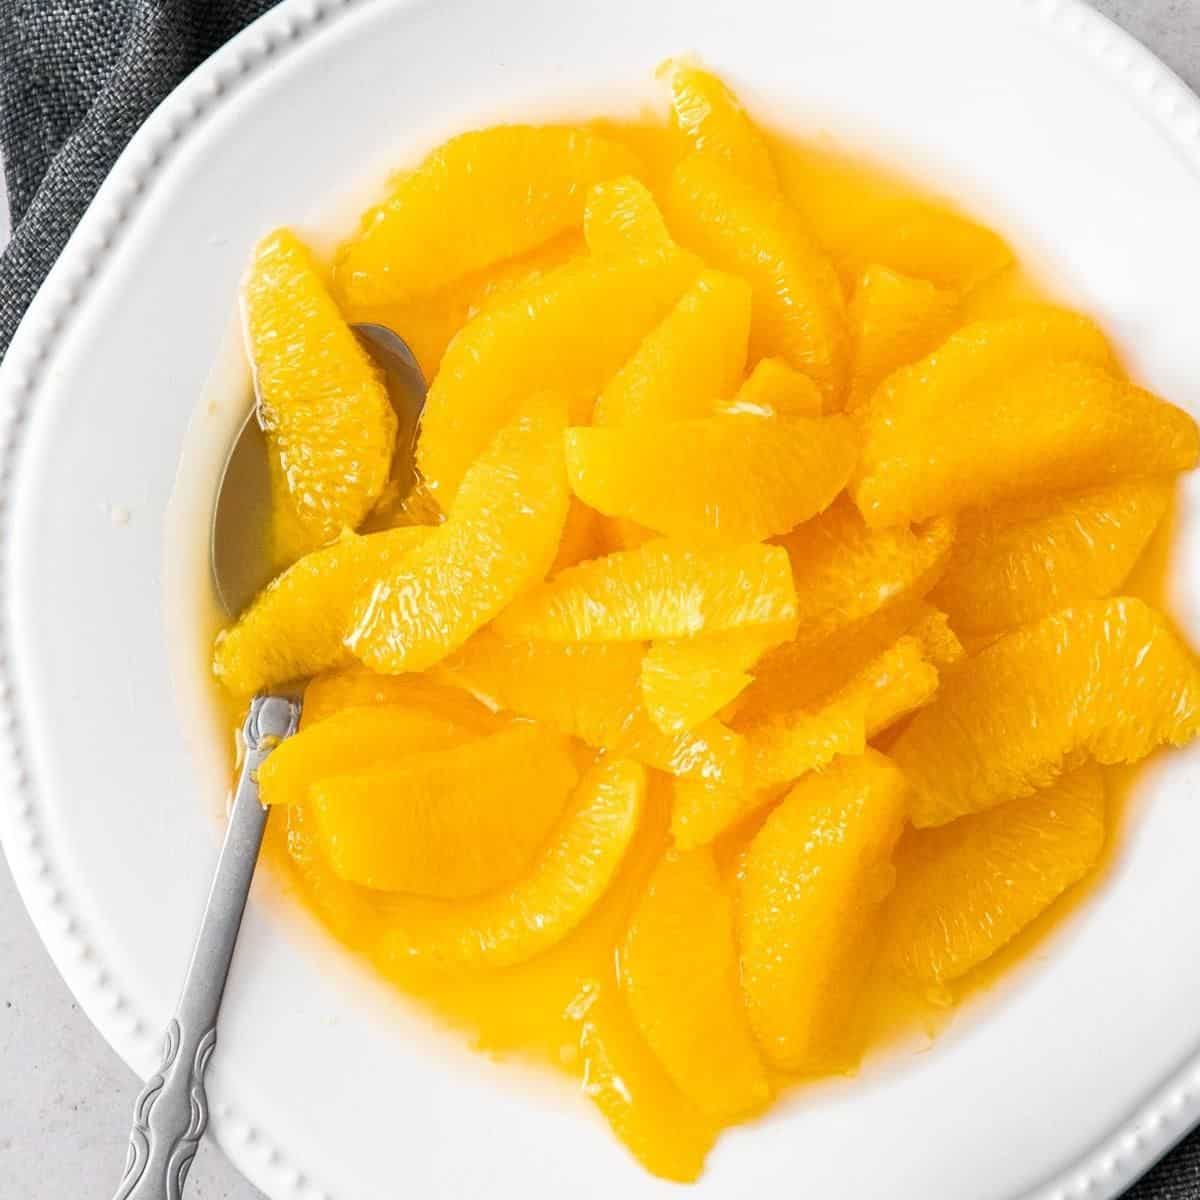
Citrus: alternatively, if you prefer a citrus based ice cream, you can try our recipes for either Lime, Orange or Lemon Ice Cream.
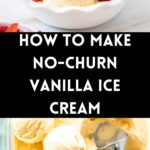
How To Make Vanilla Ice Cream:
Please see the recipe card further along in the post for exact quantities of ingredients and the full method.
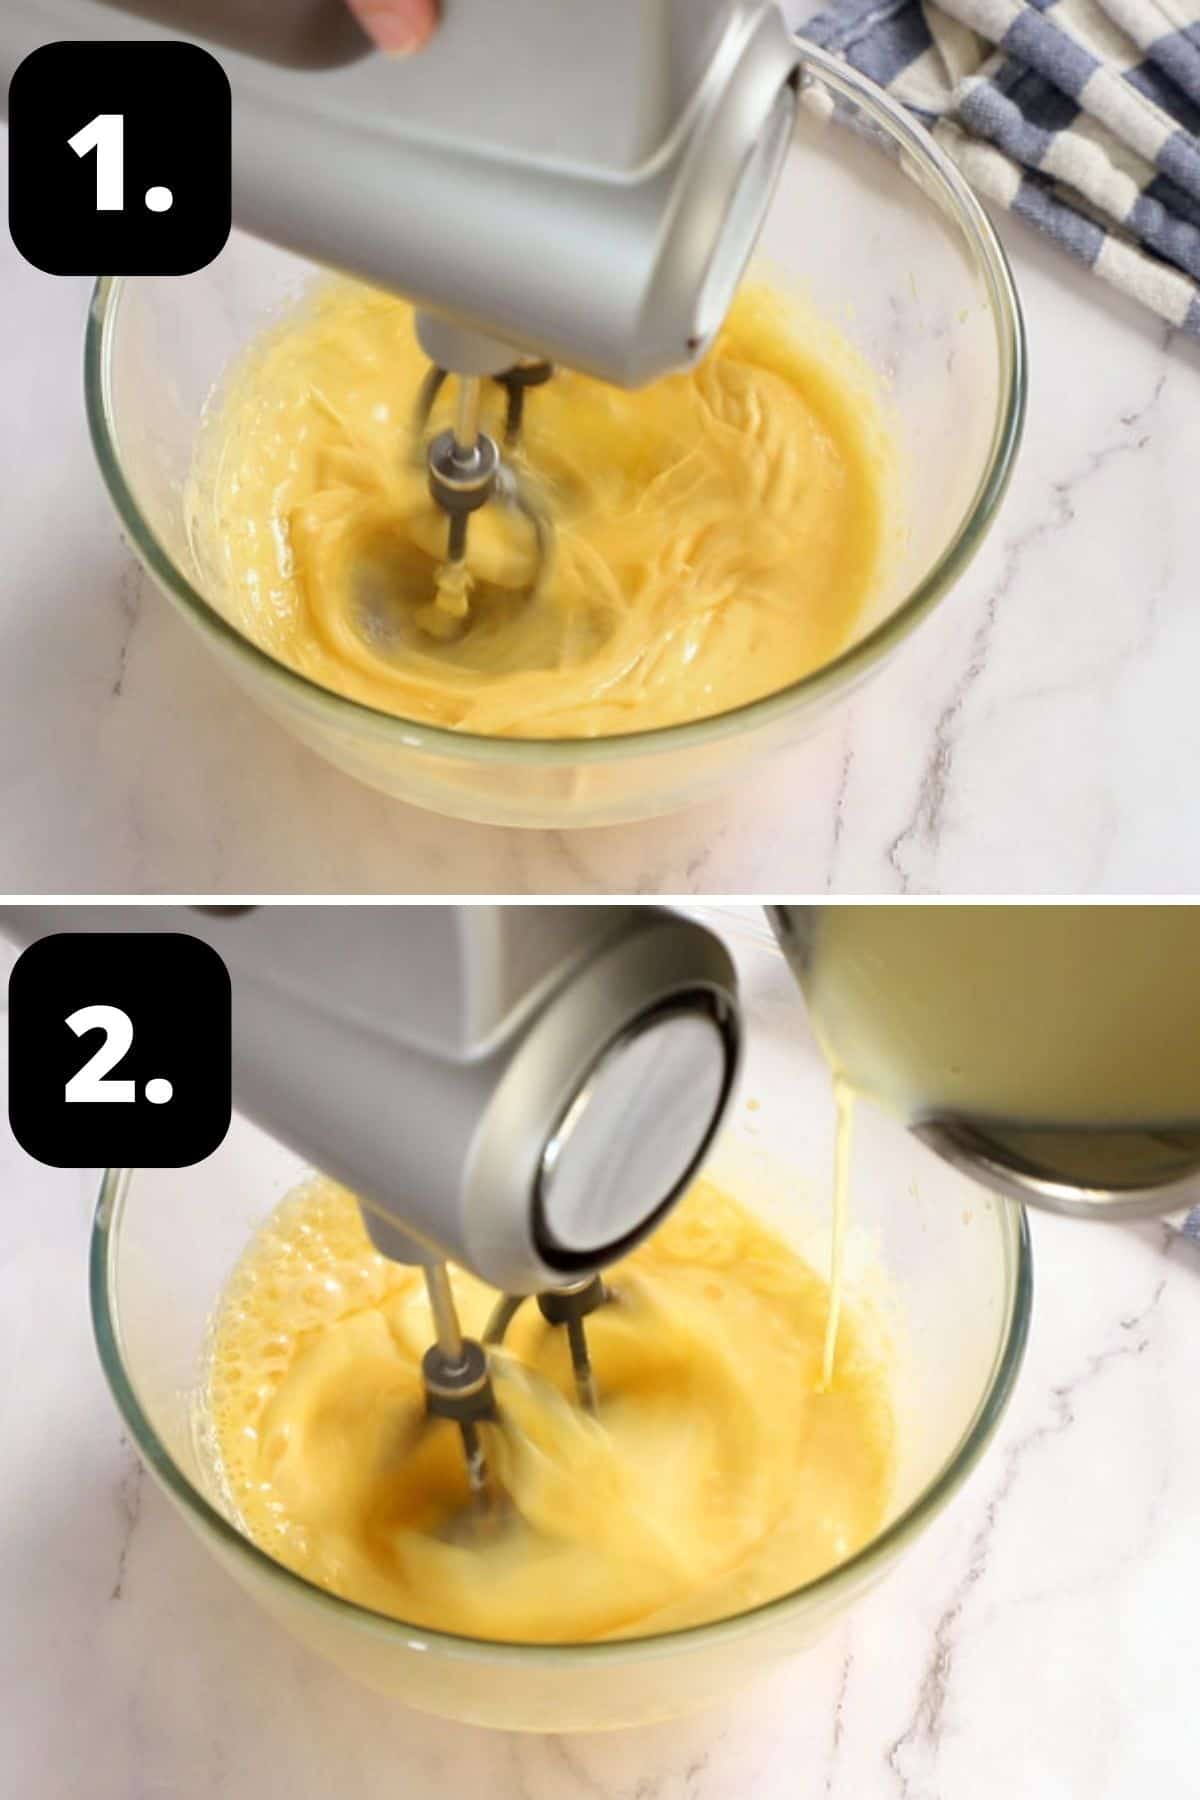
1 – Combine the egg yolks and sugar:
Pour the cream into a heavy based saucepan, place it over a medium heat and heat until it is just below boiling point.
Meanwhile, combine egg yolks and caster/superfine sugar in the heatproof bowl. Using a whisk or hand-held electric beaters, whisk them together until they are light, fluffy and lemon-coloured.
2 – Add in the warmed cream:
Slowly pour the near-boiling cream onto the yolk and sugar mixture, whisking vigorously. Do not pour too quickly, you need to temper the eggs.

3 – Make your custard:
When all the cream has been added, place the bowl over the saucepan of barely simmering water on the lowest possible heat. Stir with a wooden spoon in a figure of 8 until the custard begins to thicken. Don’t be tempted to speed up the process by using high heat – you may end up with scrambled eggs.
4 – Checking the custard is done:
The custard is ready when it lightly coats the back of a wooden spoon. To test, run your finger along the back of the spoon – if it leaves a clear trace the custard is ready.
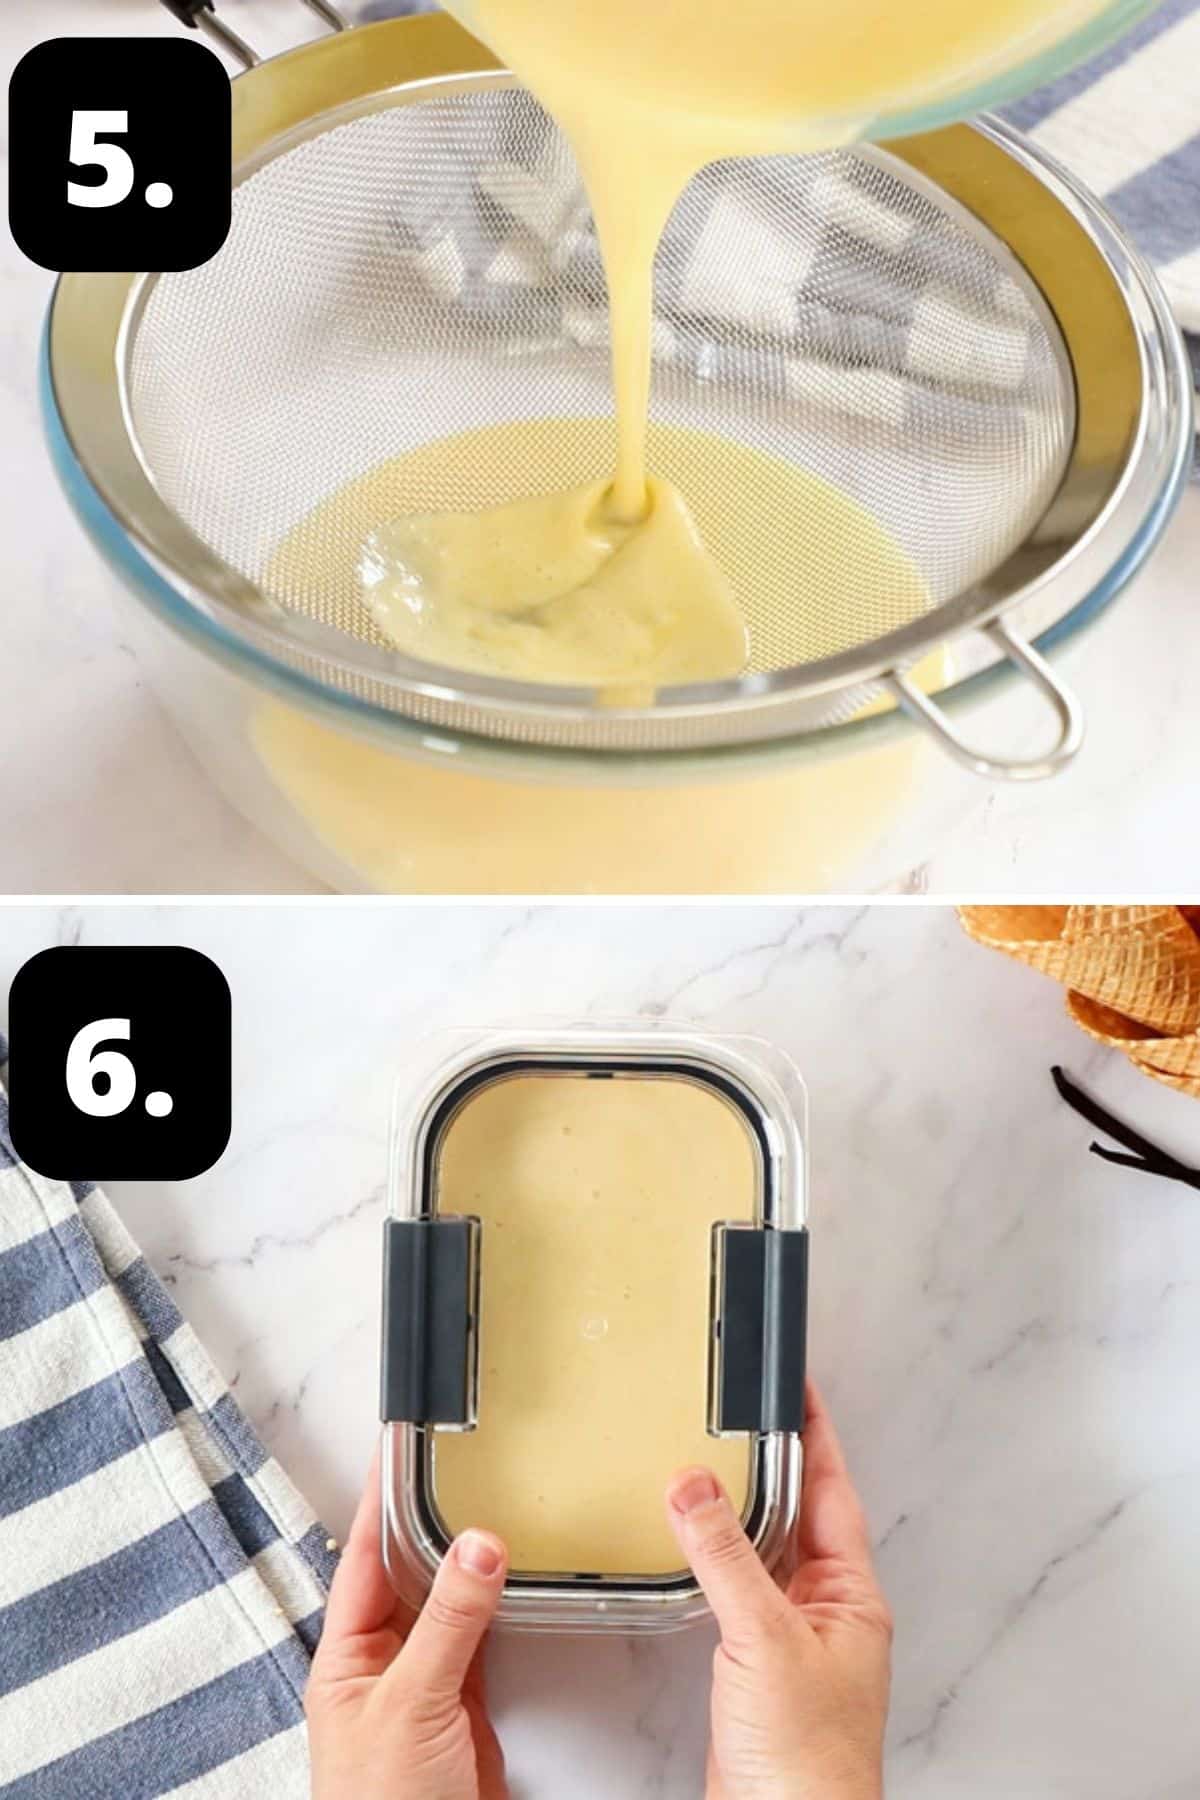
5 – Strain the mixture:
Strain the custard through a fine sieve into a clean bowl and leave to cool, stirring occasionally so that a skin doesn’t form.
When the custard is cool, flavour with vanilla paste or extract to taste.
6 – Add to your container:
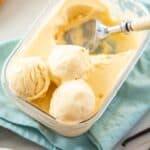
Pour the ice cream into the chilled container and place in the freezer.
Remove from the freezer and for the next three hours, stir the mixture with a fork every half hour until the mixture is almost set.
Leave to freeze – it’s roughly a total of 4 hours.
Hint: adding enough flavour is very important. Because the ice cream will lose some of the intensity of flavour once it is frozen, it is important to slightly over-flavour the base initially.
Tips for Success, Storage and FAQs:
One of the ways is by using egg yolks and not the whole egg. To prevent ice crystals forming, we want to eliminate as much water as possible and this means not using the whites of the egg which are approximately 90% water. As well, we use whipping/heavy cream with a minimum fat content of 35%. If you substitute with a cream with lower fat content, or use milk, the ice cream has the potential to become icy.
Custard is not difficult to make, but it does require some vigilance and care. Cook the custard over a very gentle heat and stir continuously. Patience is required to obtain smooth, velvety custard. If you’re impatient to try your ice cream and try to speed up the process, you may end up with sweet, scrambled eggs!
Store the ice cream in the freezer in a freezer-safe, shallow, airtight container. As an extra precaution against the formation of ice crystals, press a piece of plastic wrap onto the surface of the ice cream. Without the additives of commercial ice cream, I have found that homemade ice cream does not keep well. To me the real pleasure is to enjoy the fresh produce; I think, after 5-7 days, it loses its texture and flavour.
Top Tip:
Don’t throw out your leftover egg whites! You can store egg whites in a sealed container in the fridge for up to 4 days. Alternatively, you can freeze them for future use. Add the whites to airtight containers suitable for the freezer. Be sure to label them with the date and the number of egg whites. Or, freeze individual egg whites in an ice cube tray. When frozen, transfer the whites to a container or zip-lock bag.
Use the egg whites to make my Mini Meringues, Chewy Amaretti Cookies or Chocolate Almond Cookies.
Serving Suggestions:
No-Churn Vanilla Ice Cream goes well with just about any dessert that I can think of! Some of our favourite ways to enjoy it are:
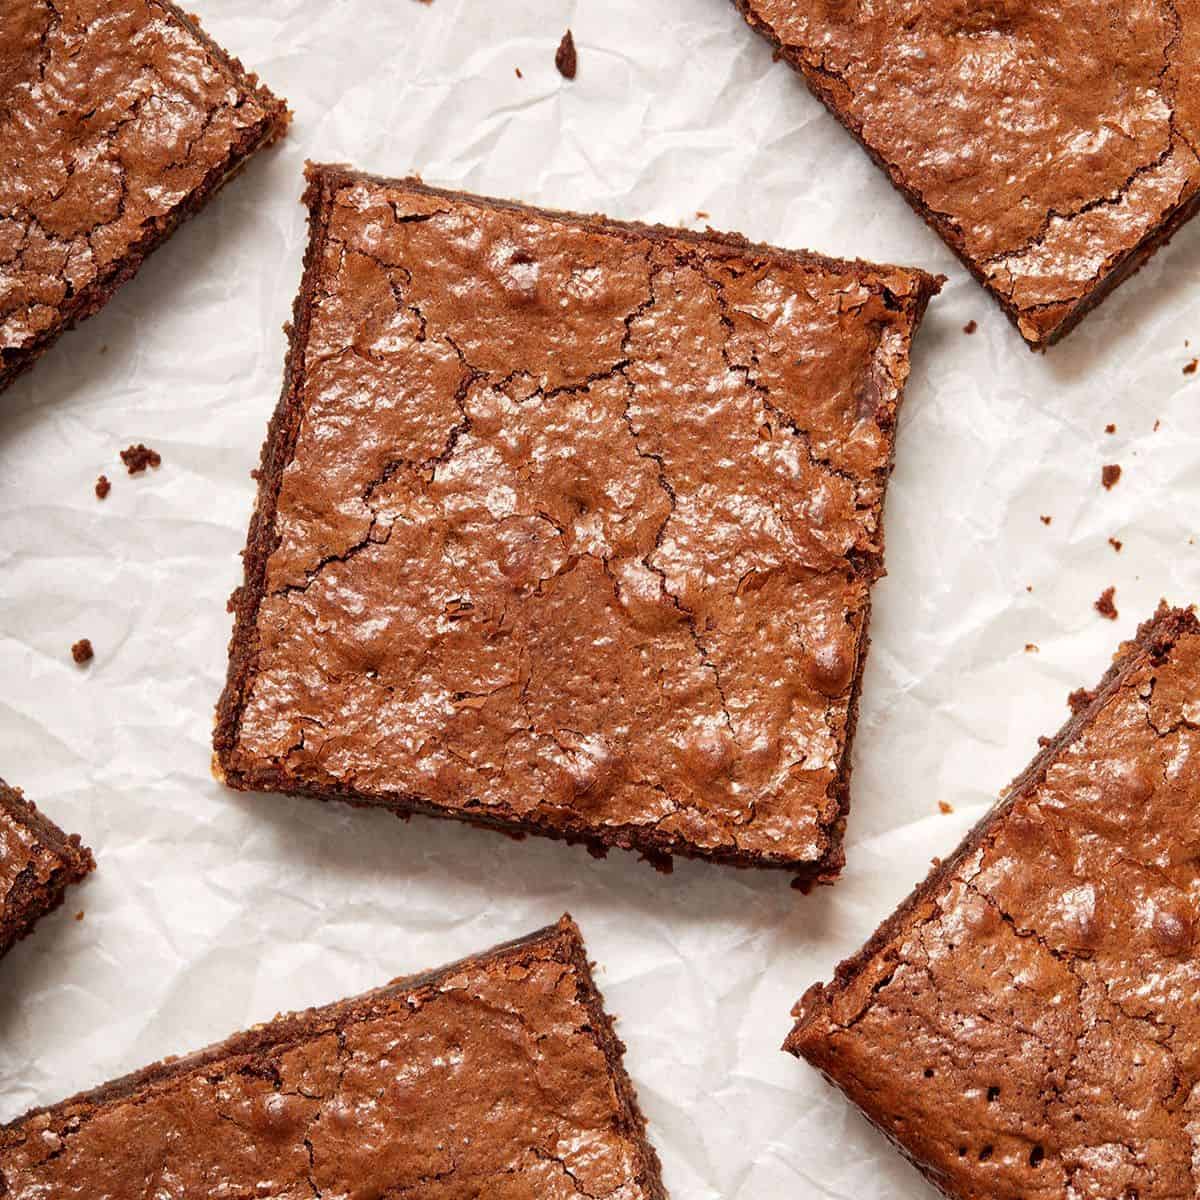
- Served with a warm Chocolate Brownie – the juxtaposition between hot and cold is just so good.
- With a pastry, such as my Mini Plum Tartlets or Cinnamon Sugar Pinwheels.
- As an Affogato – one of the best, most simple desserts of all time.
- With a fruit based dessert, such as my Spiced Poached Plums, Baked Pears or Stewed Apples.
Whilst nothing beats an icy cold ice cream on hot summer days, my No-Churn Vanilla Ice Cream is a classic recipe, perfect to enjoy throughout the year, not just during the warmer months. Be sure to let me know in the comments below if you give it a try!
Alex xx
More Delicious Recipes For You To Try:
Stay in touch!
Follow me on Facebook, Pinterest, Flipboard and Instagram and subscribe to my newsletter.
No-Churn Vanilla Ice Cream
Please note:
For accuracy, when weights are provided, we recommend weighing your ingredients. This will produce the best results. All oven temperatures listed are for fan forced.
Ingredients
- 4 large egg yolks – at room temperature
- 60 g (¼ cup) caster/superfine sugar
- 420 ml (1 + ¾ cups) heavy whipping/thickened cream See Note 1
- 2 teaspoon vanilla bean paste or extract – or to taste See Note 2
Instructions
- Place an airtight container, which will contain the ice cream, into the freezer to chill.I use a container that has a 3-4 cup capacity which makes for easy removal. Alternatively, you could use a loaf pan that is wrapped well in cling film.
- Pour the cream into a heavy based saucepan and place over a medium heat. Bring the cream to just below the boil.
- Prepare a double boiler by having a saucepan with lightly simmering water which will hold a heatproof bowl.
- Meanwhile, combine egg yolks and caster/superfine sugar in the heatproof bowl. Using a whisk or hand-held electric beaters, whisk them together until they are light, fluffy and lemon-coloured.
- Slowly pour the near-boiling cream onto the yolk and sugar mixture, whisking vigorously. Do not pour too quickly, you need to temper the eggs. (See Note 3.)
- When all the cream has been added, place the bowl over the saucepan of barely simmering water on the lowest possible heat.Stir constantly with a wooden spoon in a figure of 8 until the custard begins to thicken. Don’t be tempted to do this over high heat – you may end up with scrambled eggs.
- The custard is ready when it lightly coats the back of a wooden spoon. To test, run your finger along the back of the spoon – if it leaves a clear trace the custard is ready.
- Strain the custard through a fine sieve into a clean bowl and leave to cool on the kitchen bench, stirring occasionally so that a skin doesn’t form.
- When the custard is cool, flavour with vanilla paste or extract to taste. It is important to over-flavour as the ice cream will lose flavour once frozen.Pour the ice cream into the chilled container and place in the freezer.
- Remove from the freezer and stir the mixture with a fork every half hour for about 3 hours until the mixture is mostly set.Once mostly set, leave to freeze completely. (See Note 4.)
- Before serving, remove the ice cream from the fridge for about 10 minutes to allow it to soften slightly.Store the ice cream in the freezer in a freezer-safe, shallow, airtight container. As an extra precaution against the formation of ice crystals, press a piece of plastic wrap onto the surface of the ice cream. The ice cream will have the best flavour and texture for 5-7 days.
Video
Notes
- Cream: use cream that contains approximately 35% milk fat.
- Vanilla: I like to use vanilla bean paste with seeds; it has a pure, sweet vanilla taste and gives the finished product the speckles of vanilla bean seeds. If you prefer, you can use good quality vanilla extract which is naturally produced from the vanilla bean. Avoid those which are synthetically flavoured.
- Tempering the eggs: to temper the eggs, you slowly add the hot liquid to the egg mixture. If you just added the eggs to the hot cream you would end up with cooked eggs. The intention is to slowly raise the temperature of the eggs without scrambling them.
- Freezing time: is approximate. Total freezing time will depend on the size of your container and the temperature of your freezer.
- Storage: store the ice cream in the freezer in a freezer-safe, shallow, airtight container. As an extra precaution against the formation of ice crystals, press a piece of plastic wrap onto the surface of the ice cream. The ice cream will have the best flavour and texture for 5-7 days.
Nutrition Estimate:
Nutritional Disclaimer:
The nutritional information is an estimate only, and is derived from online calculators. For accurate results, we recommend calculating the nutritional information based on the ingredients and brands you use.
This post was originally published in September 2018. It has been updated with new photos and more information. The recipe remains the same.
Ashley
Do you think freezing the custard in ice cubes then using a food processor would work?
Alexandra Cook
Hi Ashley,
I haven’t tried this before, but I suspect that would work, as long as it wasn’t allowed to get too icy.
Do let me know how you get on if you give it a try 🙂
Alex xo
Mrs M
Very yummy and very rich. Recipe was easy to follow. Mine took ages to freeze and I stirred it in 2 hour intervals as it took that long to start freezing (my freezer temp is -17).
Alexandra Cook
So glad you found the recipe yummy 🙂
Thanks for sharing! Alex xo
Natalie
I used honey instead of sugar (healthier sweetener and easier to mix). Also, instead of the double-boiler, I just heated the mixture up on low heat and kept stirring it. Easy, quick, and absolutely delicious! Thank you for the amazing recipe and very detailed instructions, Alex 🙂
Alexandra
Hi Natalie, thank you so much for your fantastic feedback on the No-Churn Vanilla Ice Cream. What a great idea to use honey! I do appreciate your comments. 🙂
Sylvia R Iniguez
Could I add any flavor to this recipe?
Alexandra
Hi Sylvia, you sure can. These are some of the ideas we suggest in the post:
You could add crushed Oreos, chocolate chips, crushed candy canes or swirl through some caramel or chocolate sauce. As well, consider the addition of spice, such as ground cinnamon or nutmeg.
Angela
The texture is so smooth and it tastes creamy and delicious. My family loved it!
Alexandra
I am so happy you enjoyed it, Angela!
Natalie
Lovely. Such an easy recipe.
Alexandra
Thank you, Natalie!
Katie
I’m in the US, and have powdered sugar and granulated sugar. Which is the better replacement for caster sugar? Also would you recommend against adding in mix-ins to the ice cream? If it would be okay, at which step would it best to add? Thanks! Excited to try this recipe 🙂
Alexandra
Hi Katie! Thanks for the question. Caster sugar is also known as superfine sugar, so the closest would be to use granulated sugar. You can actually turn your granulated sugar into caster/superfine sugar by whizzing it in a food processor for a short time if you wish. The granules will become smaller. Just don’t whizz it too long or it will become powdered/confectioners’ sugar. Regarding adding ingredients to the ice cream, I haven’t personally done this but it would be best to add them when the custard is cool, at the same time as adding the vanilla. I imagine chocolate chips, Turkish delight, crushed cookies would all work. Enjoy – love to know what you think if you give it a try!
Chan
Can the sugar be replaced with stevia or other substitute?
Alexandra
Hi Chan, we haven’t ever tried it with a sugar substitute I am sorry.
Do let us know if you try it 🙂 Kind regards, Alex
Gladys
Oh wow!This is my favorite for sure! Love it♥
Alexandra
Aww, thanks, Gladys!
Laura G
I now love making ice cream!! This one was so much easier than I expected and so much better than anything you can buy from a shop.
Alexandra
Enjoy it, Laura 🙂
Jennifer
This is delicious!
Alexandra
Hi Jennifer! Thank you so much 🙂
Jalisa Harris
This is such a yummy homemade recipe
Alexandra
Thank you so much, Jalisa! 🙂