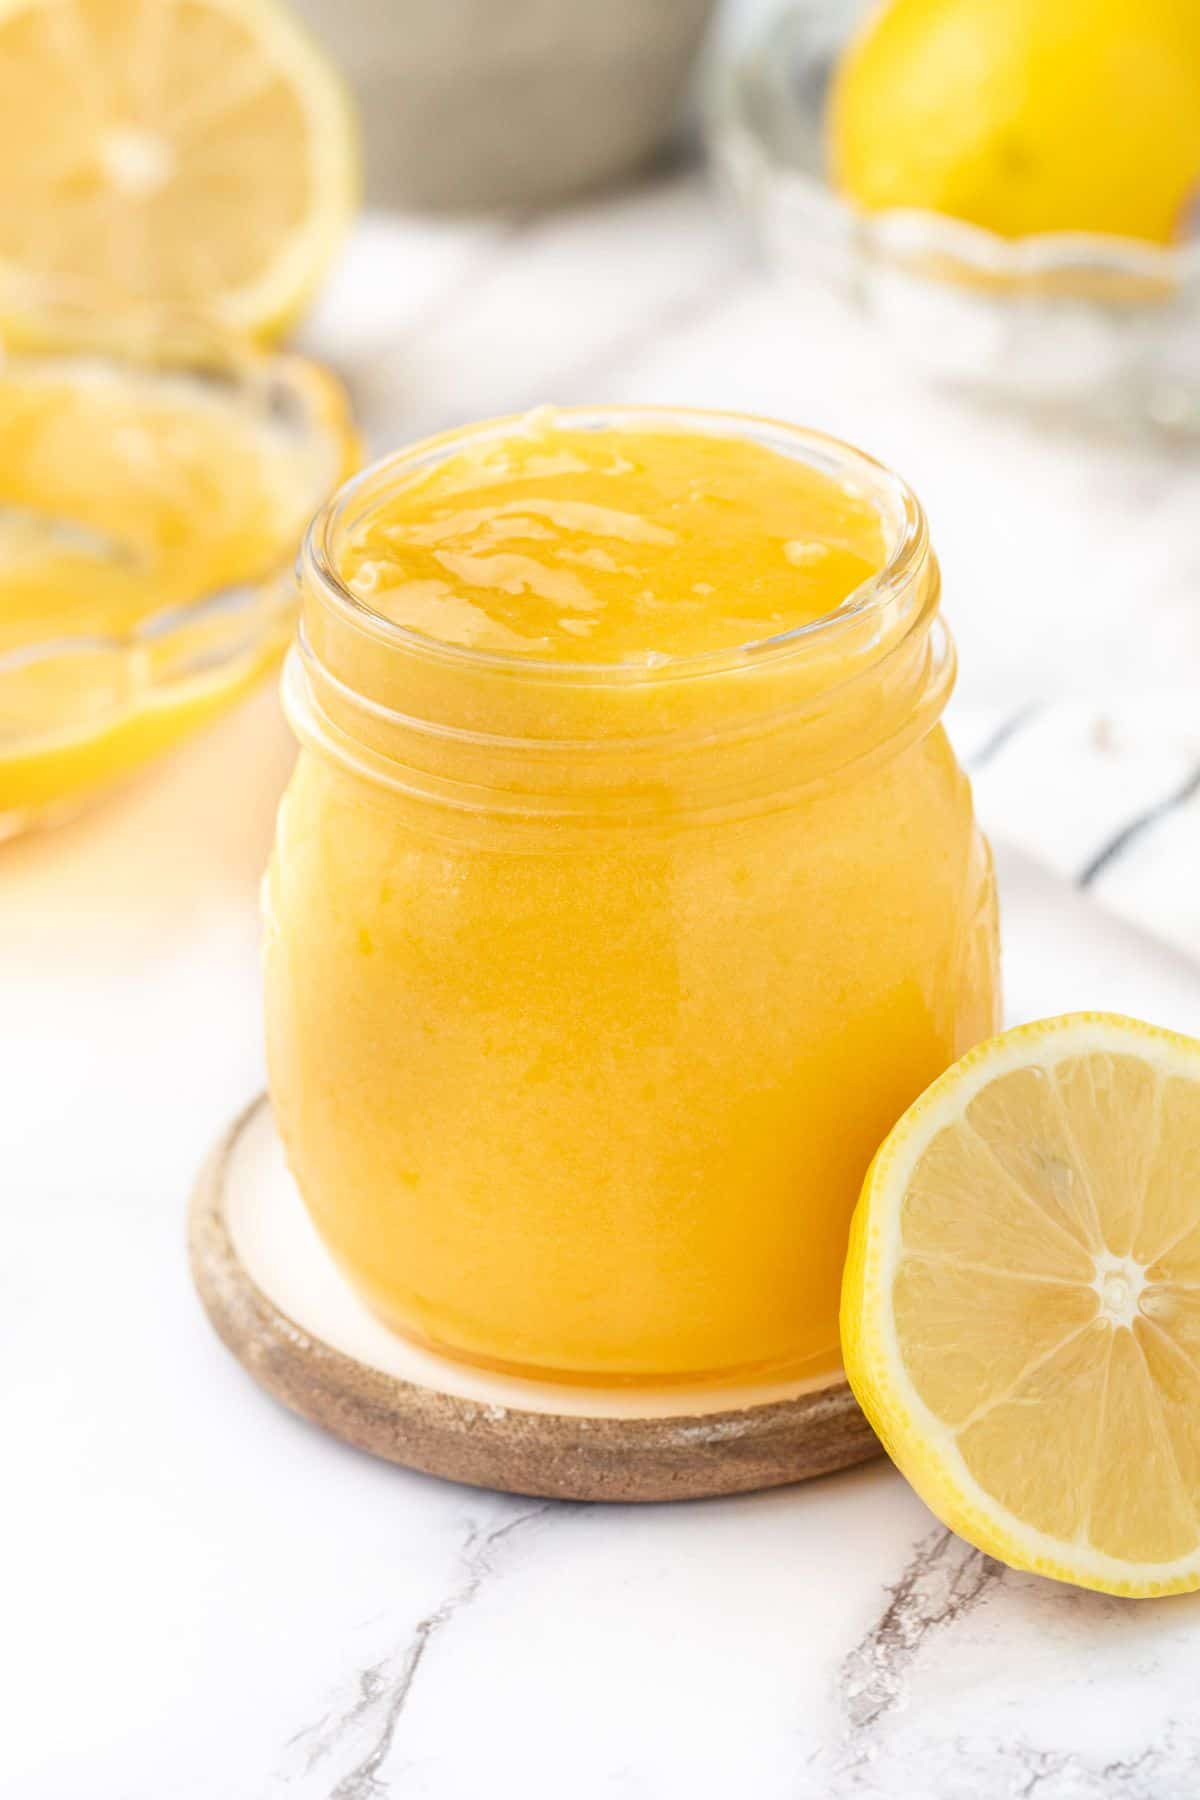
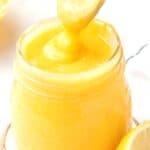
If you love classic Lemon Curd, you will be delighted to discover how easy it is to make. Lemon Curd is the colour of sunshine, smooth and creamy, sweet but with a lemony tang. Spread on a slice of toast, top pancakes or waffles, fill cakes and cookies and so much more. You’ll find so many ways to enjoy this delicious lemon spread.
Why you’ll love this recipe:
We use a very simple method to make this luscious, creamy, silky-smooth curd. All the ingredients are added to a saucepan at the same time and stirred over medium heat until the butter melts and the sugar dissolves.
It takes just minutes for the curd to cook and then you are only limited by your imagination in the many ways to use it. That is, after you have patiently waited for it to cool!
Recipe inspiration: this recipe has been adapted from one found in Stephanie Alexander’s “The Cook’s Companion” Cookbook.
You will love this recipe for Lemon Curd because:
- It is easily made from just 4 ingredients that are readily available, or you may already have on hand. The curd contains lemon, sugar, eggs, and butter.
- By using just the yolks of the eggs, the curd has a vibrant, yellow colour and rich flavour.
- You do not require any special equipment, such as a double boiler or thermometer. You just combine the ingredients in a solid base saucepan and whisk over medium heat until the mixture is just below boiling point.
- This easy homemade Lemon Curd is full of bright flavour, and you will find many ways to enjoy it.
- Homemade Lemon Curd is infinitely superior to commercially prepared varieties. When you make the curd yourself, you are in control of the quality of the ingredients and know that they are all natural. Store-bought curd often contains artificial colour, preservatives and other unnecessary additives.
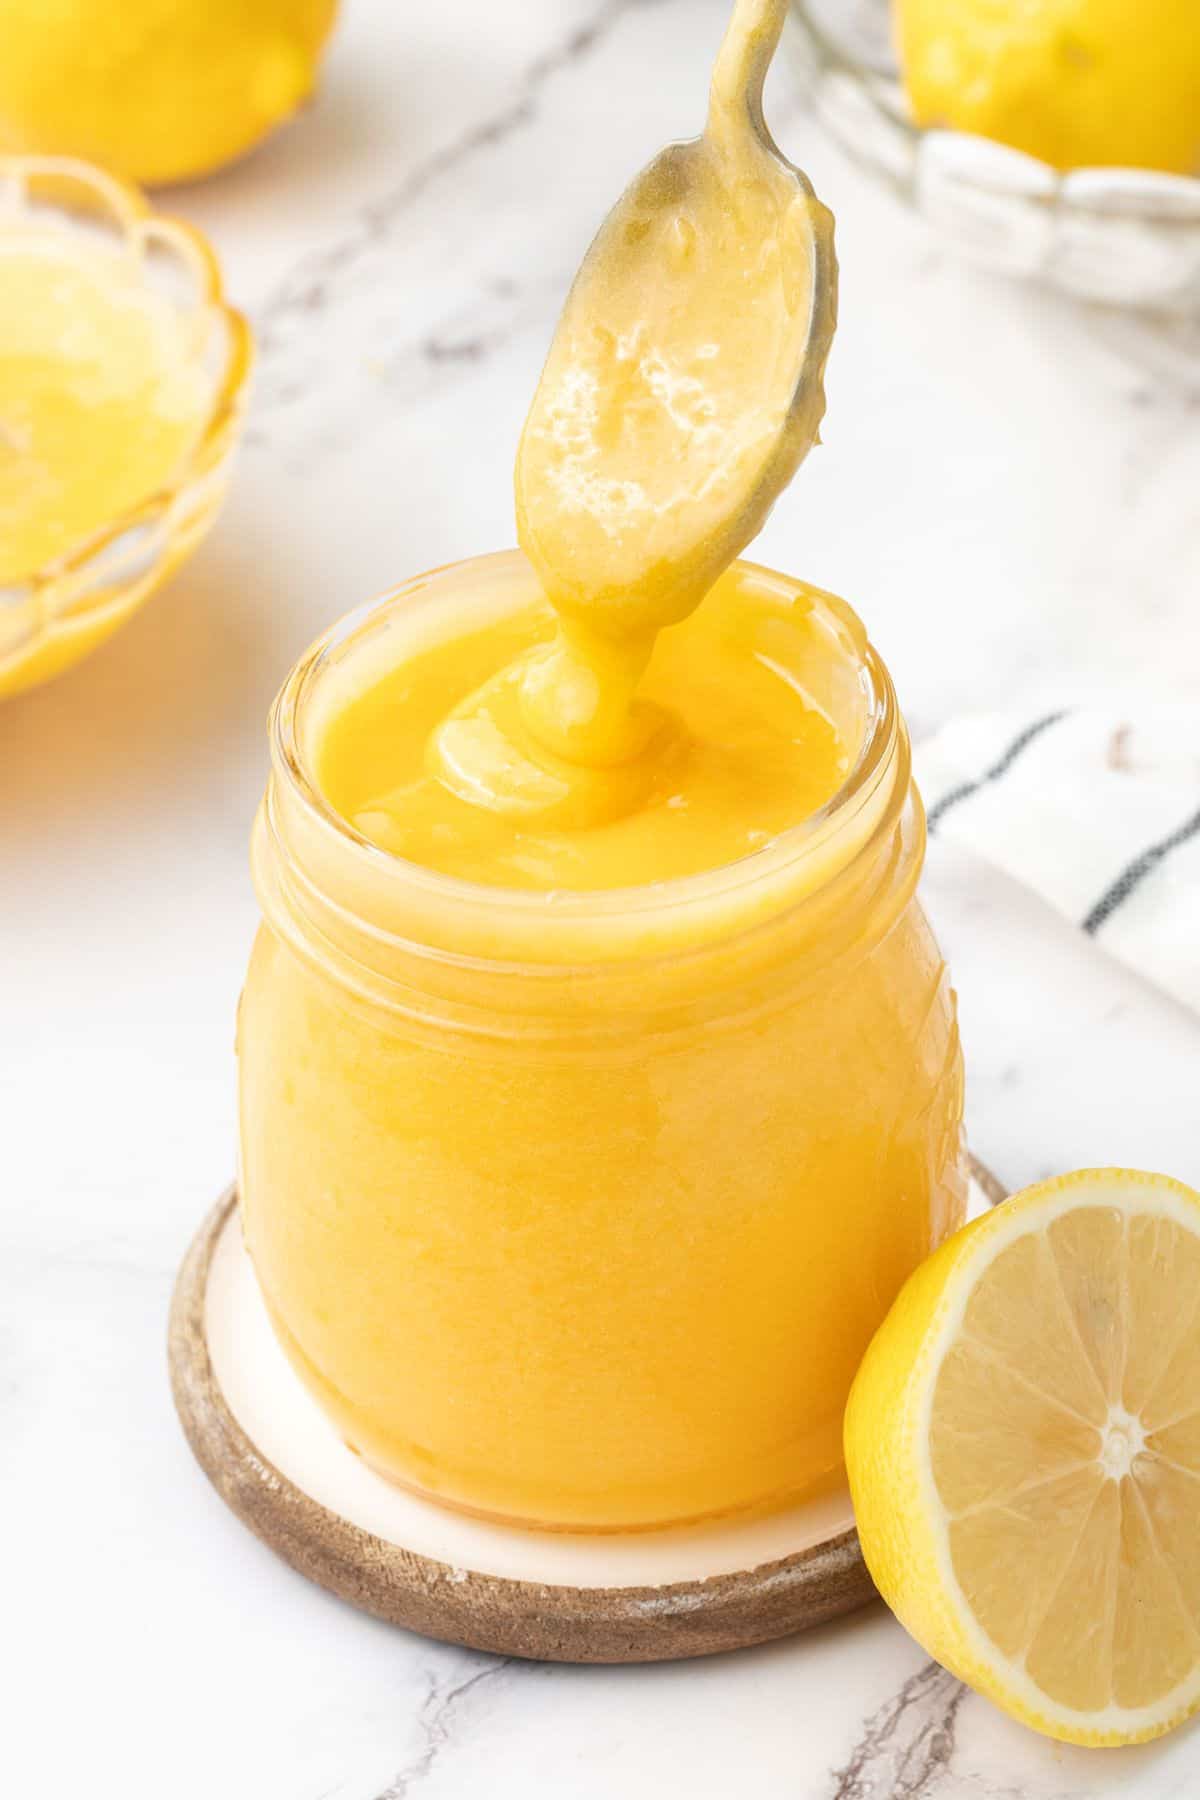
What is Lemon Curd?
Lemon Curd is a sweet spread that originated in England, with written recipes first appearing in the 1800s.
You may also know it as lemon spread, lemon butter or even lemon cheese.
Curd is most often made from citrus varieties, but it can also be made with many other fruits, such as passionfruit, mango, raspberry or strawberry for starters. The basic ingredients are always eggs/egg yolks, sugar and fruit juice. Butter is often added to assist with setting the curd and give it a lush, creamy silkiness.
Whilst we may often refer to a curd as a preserve, technically it isn’t, as the addition of eggs and butter means that it doesn’t have a long shelf life.
Ingredients in this recipe:
Please see the recipe card further along in the post for exact quantities of ingredients and the full method.
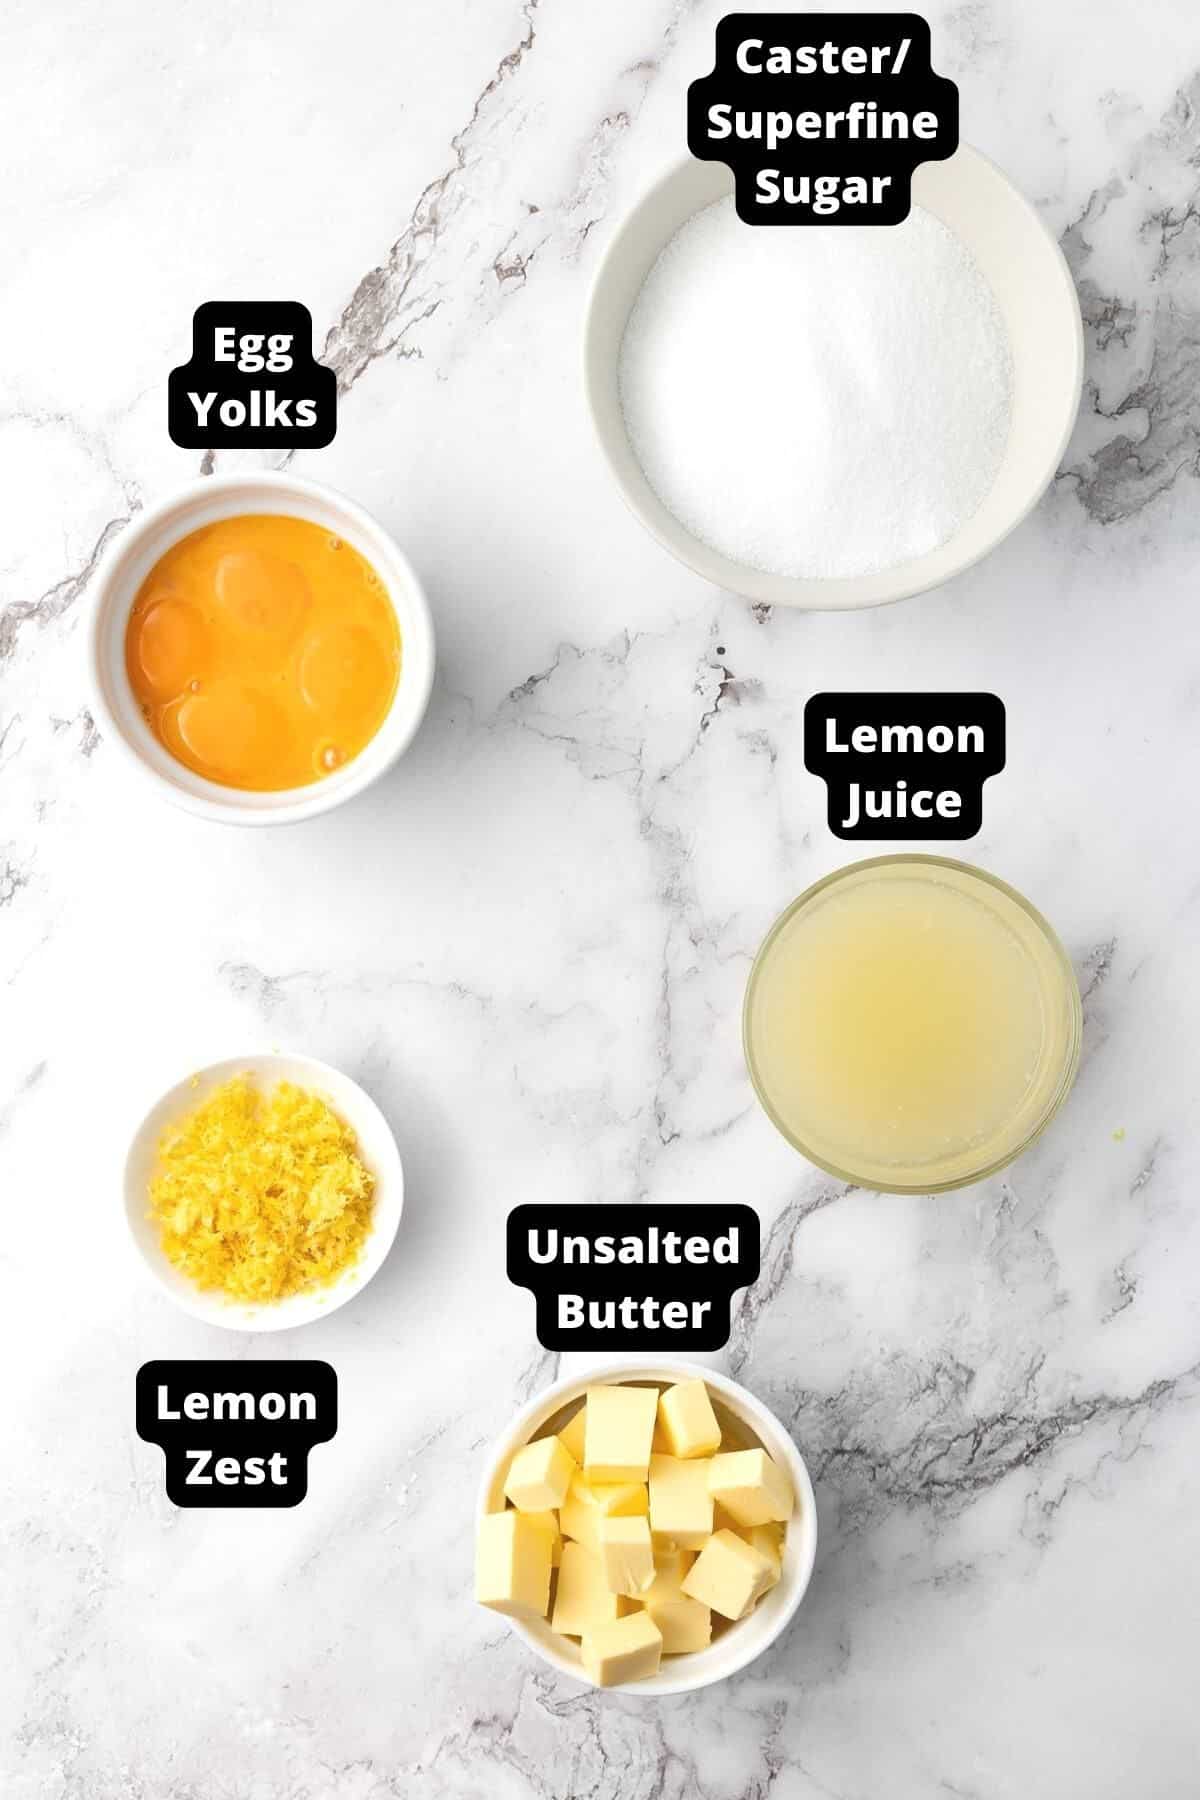
Lemons – for this recipe, we use the zest and fresh lemon juice. Be sure to remove the zest before juicing the lemon. Zest the yellow flesh only and avoid the white pith as it will impart a bitter flavour to the curd.
Egg yolks – this classic Lemon Curd recipe uses only the yolks from large eggs, resulting in a curd that is silky-smooth with vibrant colour and rich flavour.
Sugar – I use caster/superfine sugar as it dissolves more readily than granulated sugar. You can use granulated sugar if that is what you have.
Unsalted Butter – the butter assists with setting the curd. As well, it provides richness, flavour and a creamy texture. For those who are lactose intolerant, a non-dairy spread is an alternative, but the curd will be a little softer.
How to Make Lemon Curd:
Please see the recipe card further along in the post for exact quantities of ingredients and the full method.
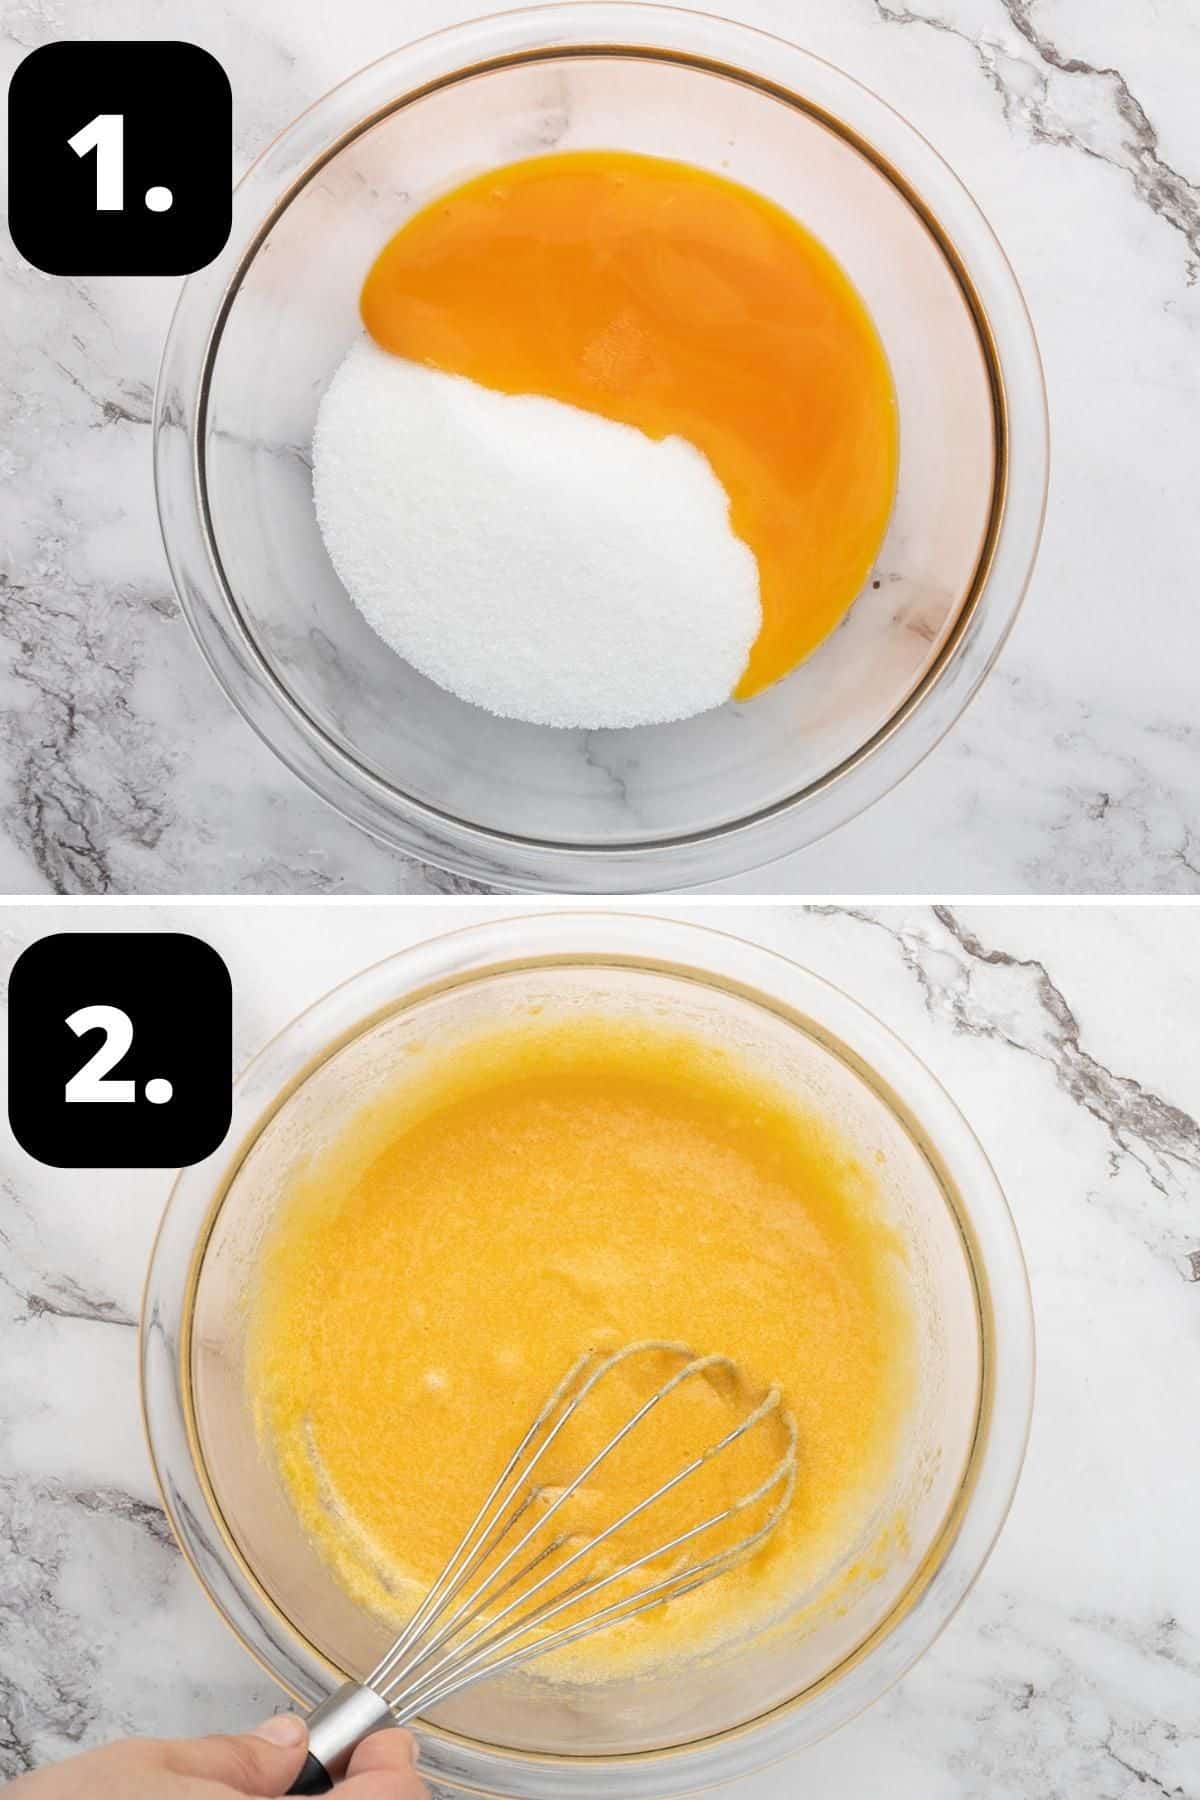
1 – Add the egg yolks and sugar to a bowl:
To begin, add the yolks and sugar to a small bowl.
2 – Whisk the yolks and sugar:
Whisk them until well combined.
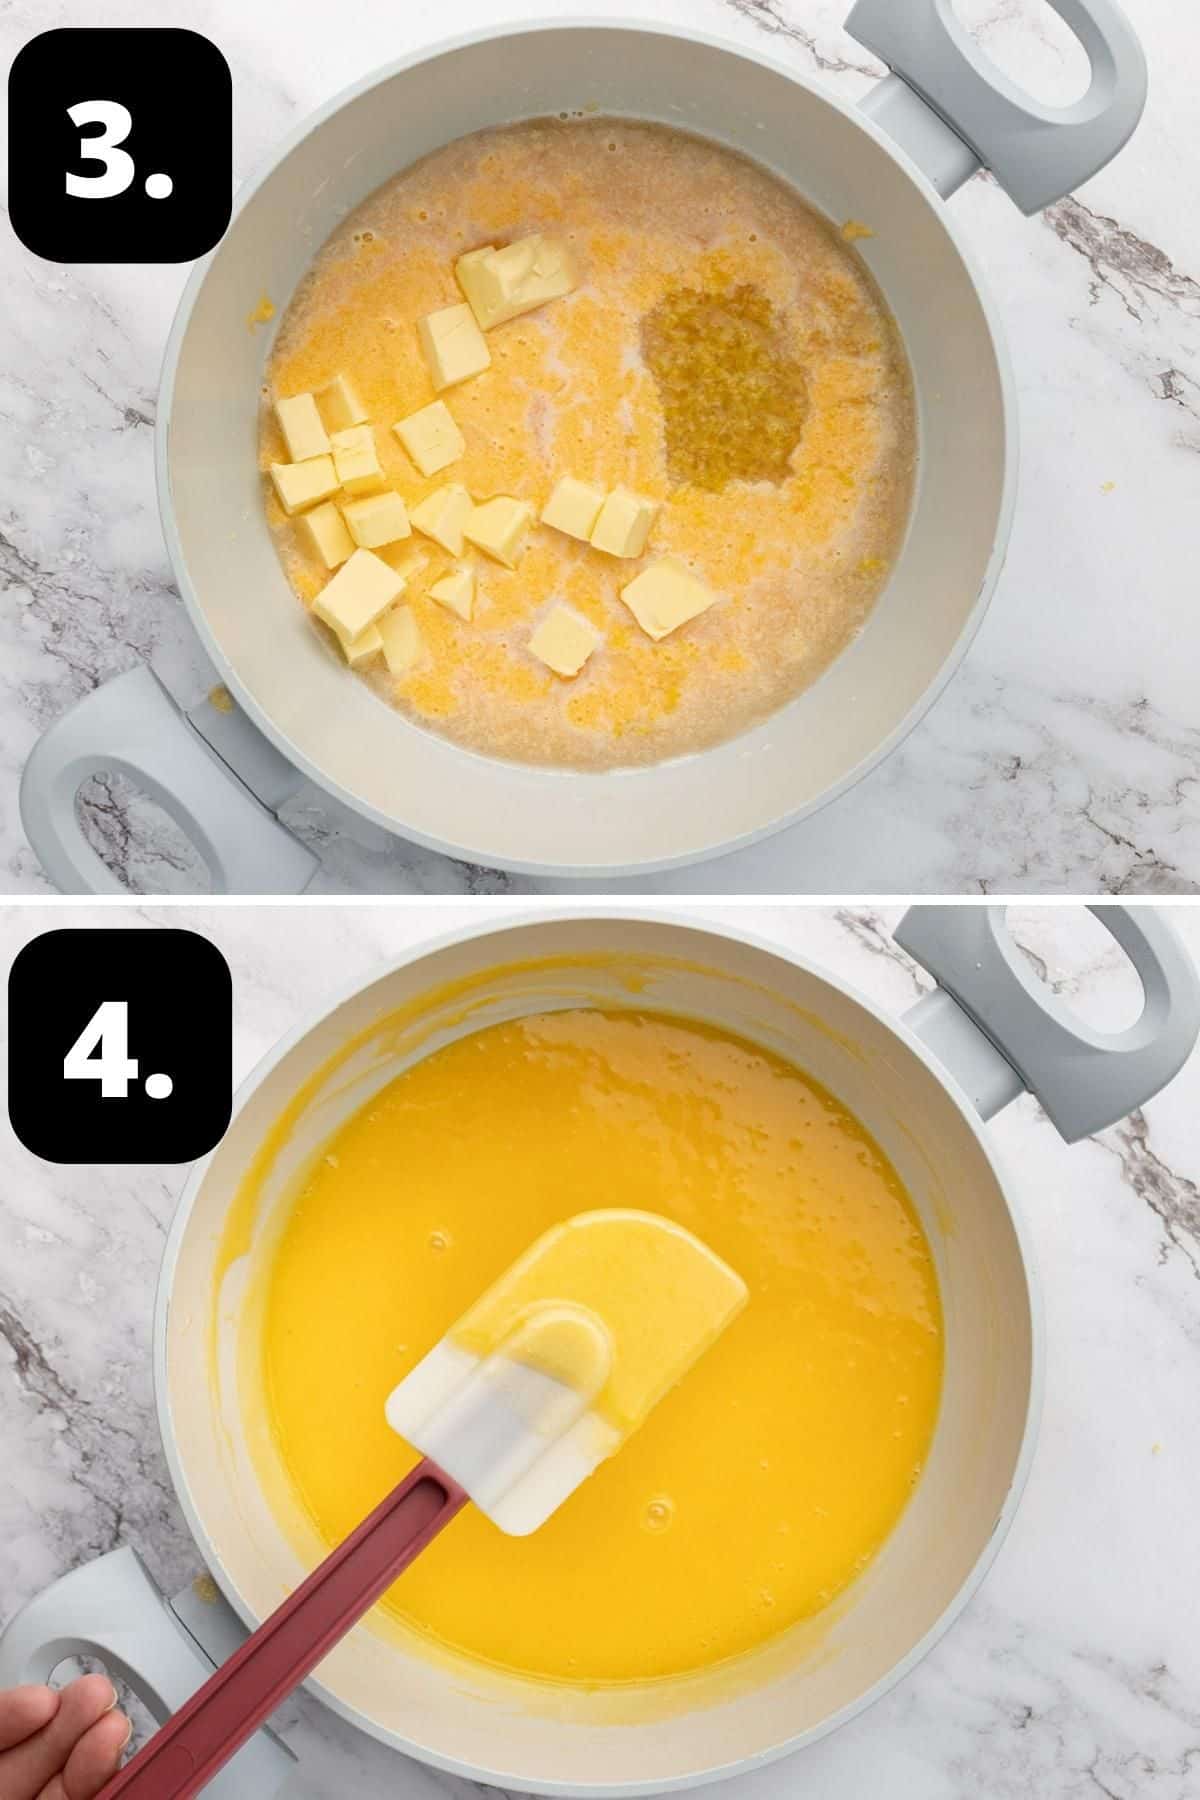
3 – Add all ingredients to a saucepan:
Add the yolk and sugar mixture to a medium saucepan along with the butter, lemon zest and juice.
4 – Stir until cooked:
Over medium heat, stir all the ingredients until bubbles appear, and just before boiling point, remove the saucepan from the heat.
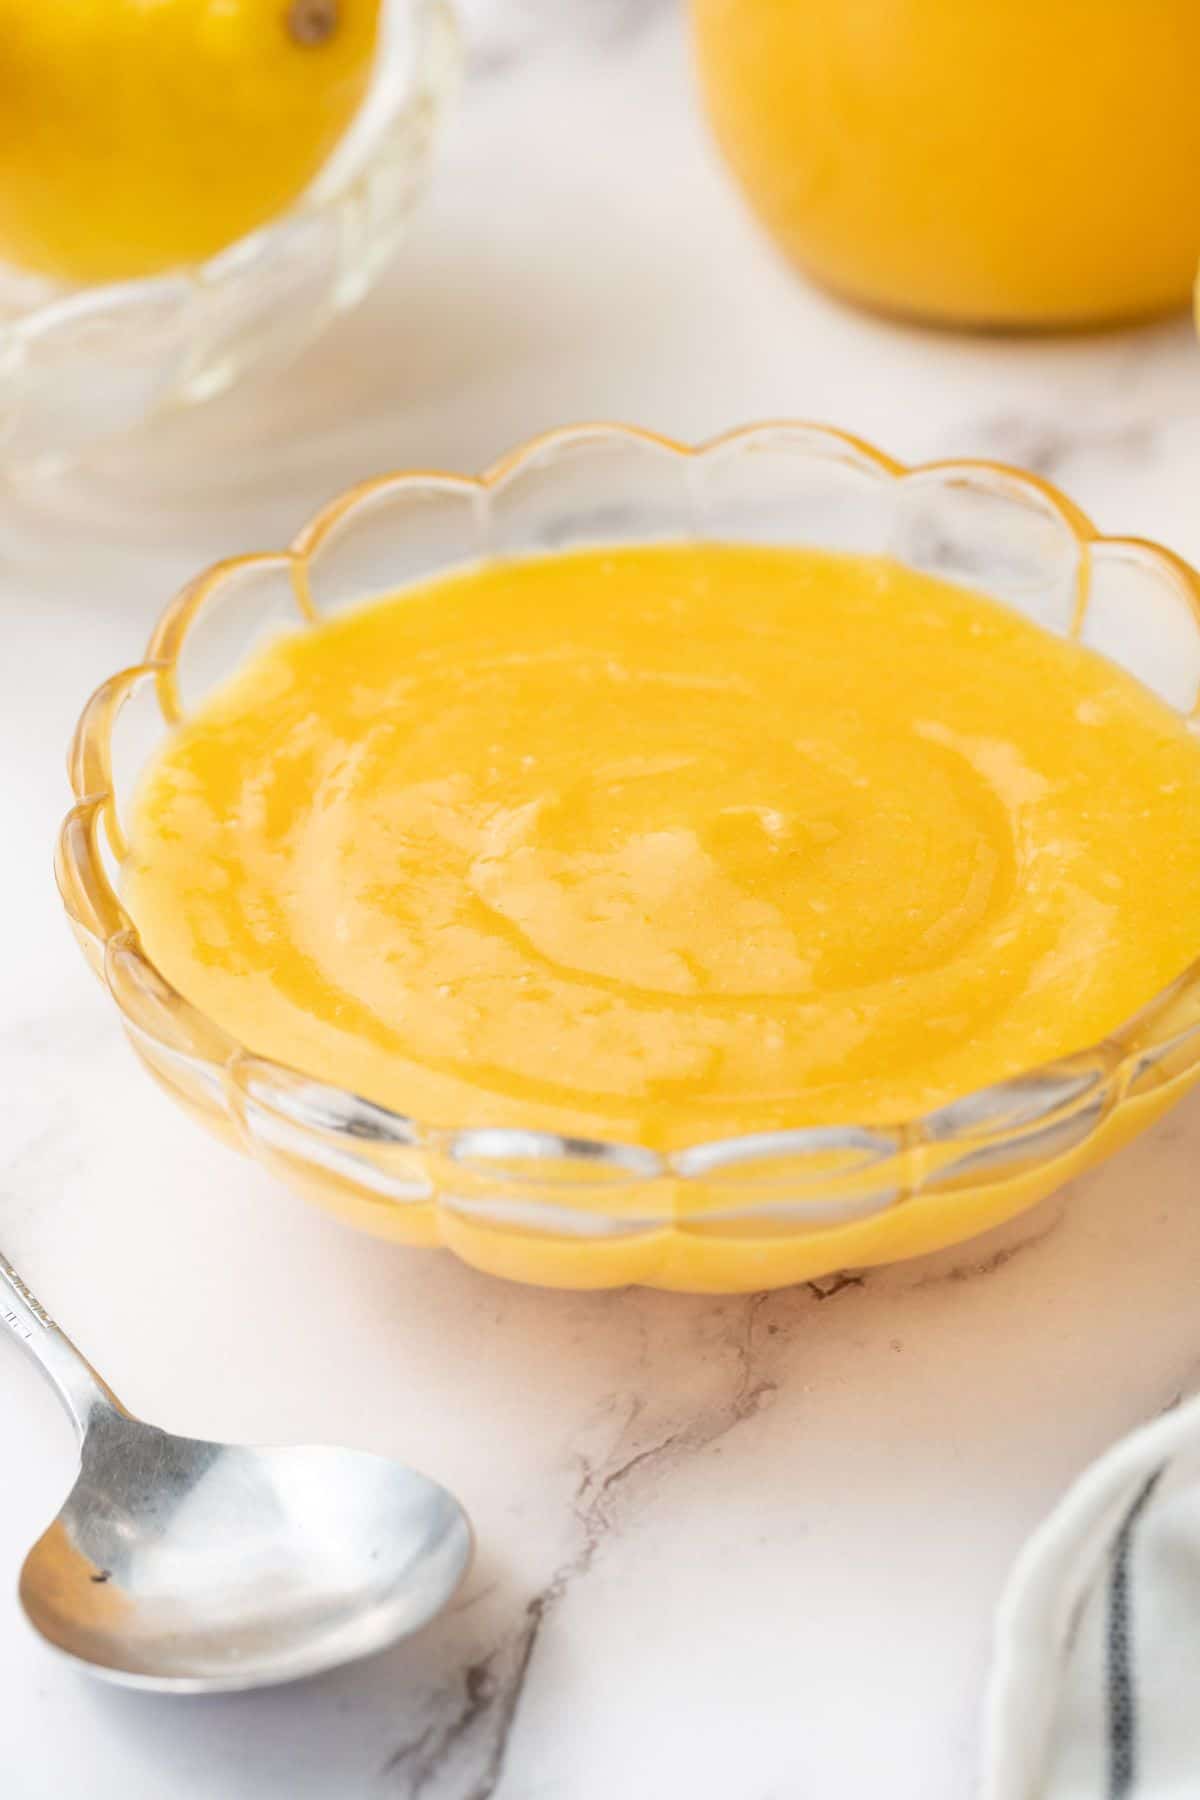
After cooling, transfer the lemon spread to sterilised jars, seal and refrigerate.
Tips for success and FAQs:
Many recipes for Lemon Curd use whole eggs, but I find that using just the yolks produces a smoother texture and a brighter colour. When separating the eggs, it is important to remove as much of the white as possible so that it does not leave white specks in the curd.
In addition, the zest should be extremely fine, unable to be detected. For this, you will need a very sharp, fine grater and ensure that you only grate the surface of the lemon and not go deeper to the bitter white pith.
Patience is key here. The key to smooth, creamy curd is to cook over medium heat and whisk constantly. This is not the time to walk away. Bring the mixture almost to the boil – it will thicken as it cools. If you don’t stir enough, or if you have the heat too high, you may end up with specks of scrambled egg in your curd. I recommend using a whisk rather than a spoon to stir the curd as it makes it easier to get into the edges of the pan.
You may find that the colour of your Lemon Curd varies from batch to batch. This is generally due to the colour intensity of your egg yolks. The paler the yolk, the paler your curd will be. It will not have any impact on the taste, however, so do not be concerned.
You need to use a non-reactive saucepan. Non-reactive saucepans are those which are made from stainless steel, glass, ceramic or enamelled cookware. Aluminium, copper and iron pans are reactive. Acidic foods, such as lemons, may discolour and take on a metallic taste if cooked in these pans.
After your curd has cooled, store it in a well-sealed, sterilised jar in the refrigerator. It will keep for up to 2 weeks.
Storing Leftover Egg Whites:
You can freeze the leftover egg whites for future use.
Add the whites to containers suitable for the freezer. Seal the container tightly and label with the date and the number of egg whites and then freeze.
Or freeze individual egg whites in an ice cube tray. When frozen, transfer the cubes to a container or zip-lock bag.
Serving suggestions:
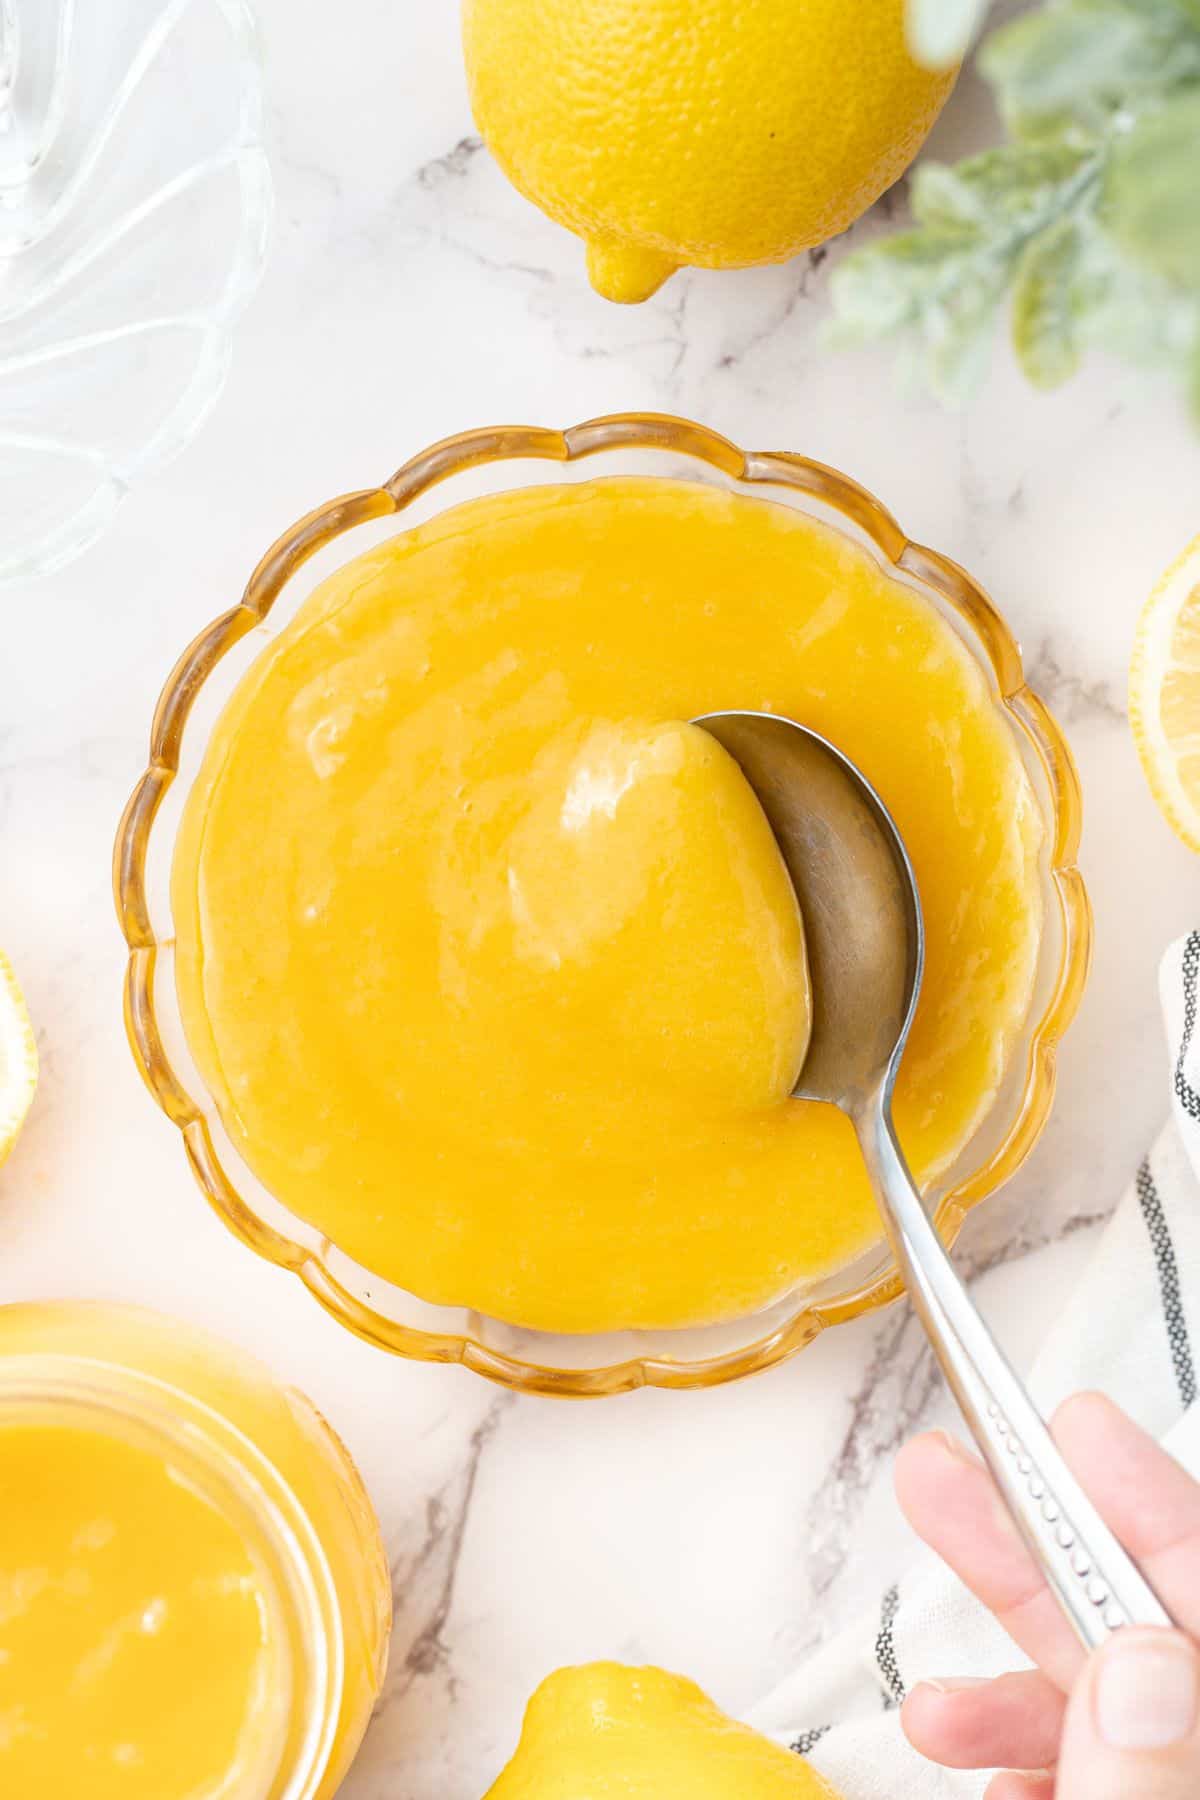
You will find so many ways to enjoy your homemade Lemon Curd.
Some ideas are:
- Drizzle over our creamy Vanilla Ice Cream. For texture, serve our Almond Cookies alongside (a great use for leftover egg whites!)
- On our Individual Lemon Curd Meringues.
- Spread on toast or an English muffin.
- With scones and cream.
- In tarts, sponge cakes or in our Lemon Curd Cake.
- With pancakes or waffles.
- To top a Baked Cheesecake.
- Little jars of this lovely spread make beautiful gifts.
There is something very special about homemade Lemon Curd. It is easy to make – and even easier to eat! Luscious, thick and bright, sunny yellow, it is bursting with fresh, tangy lemon flavour.
Alex xx
Recipe inspiration: this recipe has been adapted from one found in Stephanie Alexander’s “The Cook’s Companion” Cookbook.
More delicious recipes for you to try:
Stay in touch!
Follow me on Facebook, Pinterest and Instagram and subscribe to my newsletter.
How to Make Lemon Curd
Please note:
For accuracy, when weights are provided, we recommend weighing your ingredients. This will produce the best results. All oven temperatures listed are for fan forced.
Ingredients
- 8 large egg yolks
- 1 ½ cups (335 g) superfine/caster sugar
- ½ cup (125 g) unsalted butter
- 4 teaspoon lemon zest – finely grated and loosely packed See Note 1
- ¾ cup + 1 tbsp (200 ml) lemon juice – strained See Notes 1 and 2
Instructions
To Sterilise Jars:
- To begin, you need to sterilise your jar or jars. Choose glass jars with an airtight lid. Wash the jars and lids either in the dishwasher or with hot soapy water and rinse well. Allow the lids to air dry. Place the jars into an oven which has been preheated to 130 Degrees C (270 F). Place the jars into the oven for at least 20 minutes. Remove the jars and leave to cool a little before adding the curd.
For the Lemon Curd:
- Add the egg yolks and sugar to a medium-sized bowl. Whisk the egg yolks and sugar together until well combined.Do not add sugar to yolks and leave them to stand. The sugar changes the chemical structure of the eggs and “cooks” the yolk. So, once you add sugar to the yolks, be sure to mix right away for a smooth and creamy result.
- Tip the whisked yolks and sugar into a heavy-based, non-reactive saucepan (See Note 3). Add the butter, lemon zest and juice to the pan.
- Place the saucepan over medium heat and, using a whisk, stir constantly until the mixture just comes to simmering point. As soon as the bubbles appear, just before boiling point, remove the saucepan from the heat. Stir for a minute or so. The curd will thicken as it cools. Stir occasionally as the curd cools to prevent a skin forming.
- Transfer to sterilised jars while the curd is still slightly warm. When the curd is cold, add the lids and seal well.The Lemon Curd will keep for up to 2 weeks if well sealed in sterilised jars and refrigerated.
Notes
- Lemons: I used 6 lemons, but the number may vary, depending on their size and how much juice they contain. To extract the maximum juice, roll the lemon on the kitchen bench, firmly pressing with the palm of your hand, for about 10 seconds. This will soften the flesh, making it easier to extract the juice. Ensure you zest the lemon before juicing it. If making Lemon Curd using Meyer lemons, I reduce the amount of sugar and use 300g (1 ⅓ cups) as they are less acidic than other lemon varieties.
- Tablespoon: we use a standard Australian tablespoon which is 20 ml (4 teaspoons).
- Non-reactive saucepans: are those which are ceramic, stainless steel, glass or enamelled cookware. Copper, iron and aluminium pans are reactive. Acidic foods, such as lemons, may take on a metallic taste and discolour if cooked in such pans.
- Nutritional information: is based on the entire recipe.
- Recipe inspiration: this recipe has been adapted from one found in Stephanie Alexander’s “The Cook’s Companion” Cookbook.
Nutrition Estimate:
Nutritional Disclaimer:
The nutritional information is an estimate only, and is derived from online calculators. For accurate results, we recommend calculating the nutritional information based on the ingredients and brands you use.
This post was originally published in August 2019. It has been updated with new photos and more information. The recipe remains the same.





Jennifer Nims
Hello. How much lemon curd does this recipe make? Thank you.
Alexandra Cook
Hi Jennifer!
This recipe makes 1 x 650 ml jar (1 x 22 oz jar).
Hope that helps! Thanks, Alex
Bridget Long
I really liked this recipe. It reminded me of the one my grandma used to make. The flavor was bright and fresh and the texture was soooo smooth. I made a double batch to share with a friend and she couldn’t believe I made it myself! Thanks for a winning recipe.
Alexandra Cook
Hi Bridget, thank you for your lovely feedback on our Lemon Curd. Such a great idea to make extra to give to a friend. 🙂
Fern
Can this be frozen for later use.
Alexandra
Hi Fern, yes, you can freeze lemon curd. Transfer the curd to an airtight container and store in the freezer for up to 3 months. 🙂
Fern
I absolutely loved the recipe for the lemon marmalade.I’m sure this one will be wonderful as well. Thanks for the great recipes. My lemon tree was quite prolific this year so it’s nice to have tasty treats to last thru the year. I can’t wait to share.
Alexandra
Hi Fern, how wonderful to have a prolific lemon tree! I am so pleased that you enjoyed the Lemon Marmalade and now plan to make the Lemon Curd. Enjoy! 🙂
Jamie
This is my favorite recipe for making lemon curd! I picked up a big bag of fresh lemons from my neighbor and made a big batch of this! I’ve been giving them out as gift for friends and family and everyone LOVES it!! Thank you!
Alexandra
Hi Jamie! Thank you so much for your kind words 🙂
That makes my day. I am so pleased you like this recipe!
Knelf
This was a great recipe, thanks so much. I used most of it for a cake filling. And as luck would have it, I had 8 egg whites left over (wink wink) which made a great topping in the form of Italian meringue. I am pretty sure you can leave out the cake part and just enjoy the curd with meringue on top.
And a _big_ thumbs up for the “scroll down to recipe” button. Though I enjoy reading all the texts (because they are actually nice to read and informative), sometimes I just need a recipe.
Alexandra
Hello!
Thank you for taking the time to let me know that you tried the lemon curd – and I am so happy you enjoyed it. The combination of the curd and Italian meringue sounds delicious!
Many thanks, Alex
Janet
For how long can this be left at room temp? I’m planning to use as a filling for a cake after refrigerating the curd, but not sure how long it can be safely left out.
Alexandra
Hi Janet,
We wouldn’t leave the cake out at room temperature for long.
For safety purposes with the eggs involved in the curd, we would suggest filling the cake just prior to serving. (Or refrigerate the cake and bring it out a little bit before serving to take the chill off).
Hope you enjoy!
Enriqueta
I give you a five-star rating for this perfect recipe and also for sharing your tips for the best lemon curd!
Alexandra
Enriqueta, that is very kind, thank you so much. 🙂
Viv
Delicious!
Alexandra
Yay!!! So pleased you like it. 🙂
Debi
So good and so many ways to use it. Nice easy recipe.
Alexandra
I agree with you, Debi. Sometimes on a spoon is just perfect. 🙂 🙂