


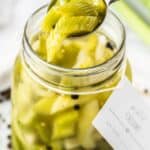
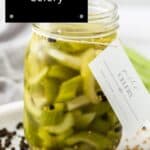


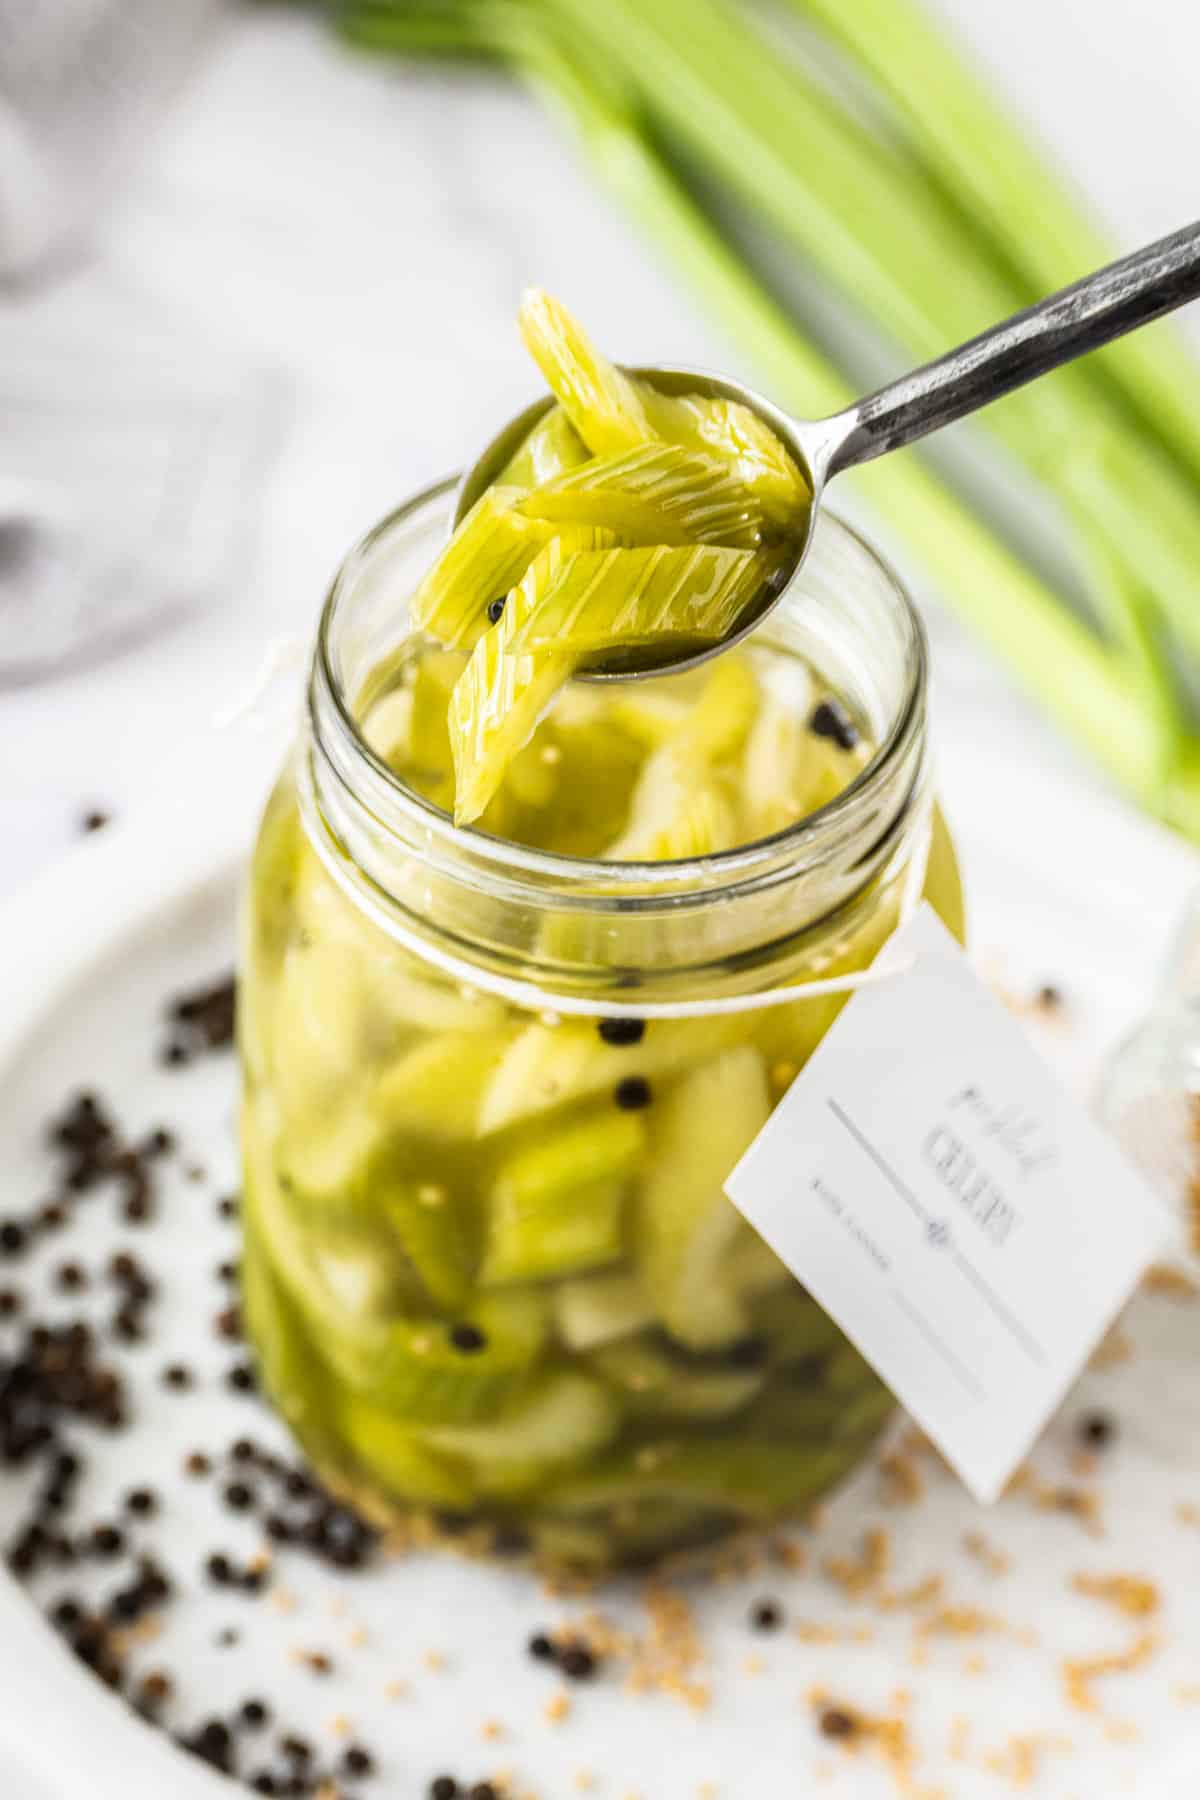
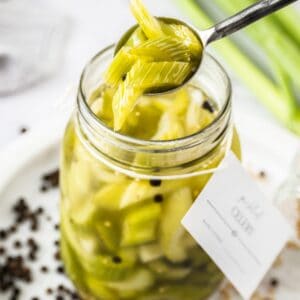
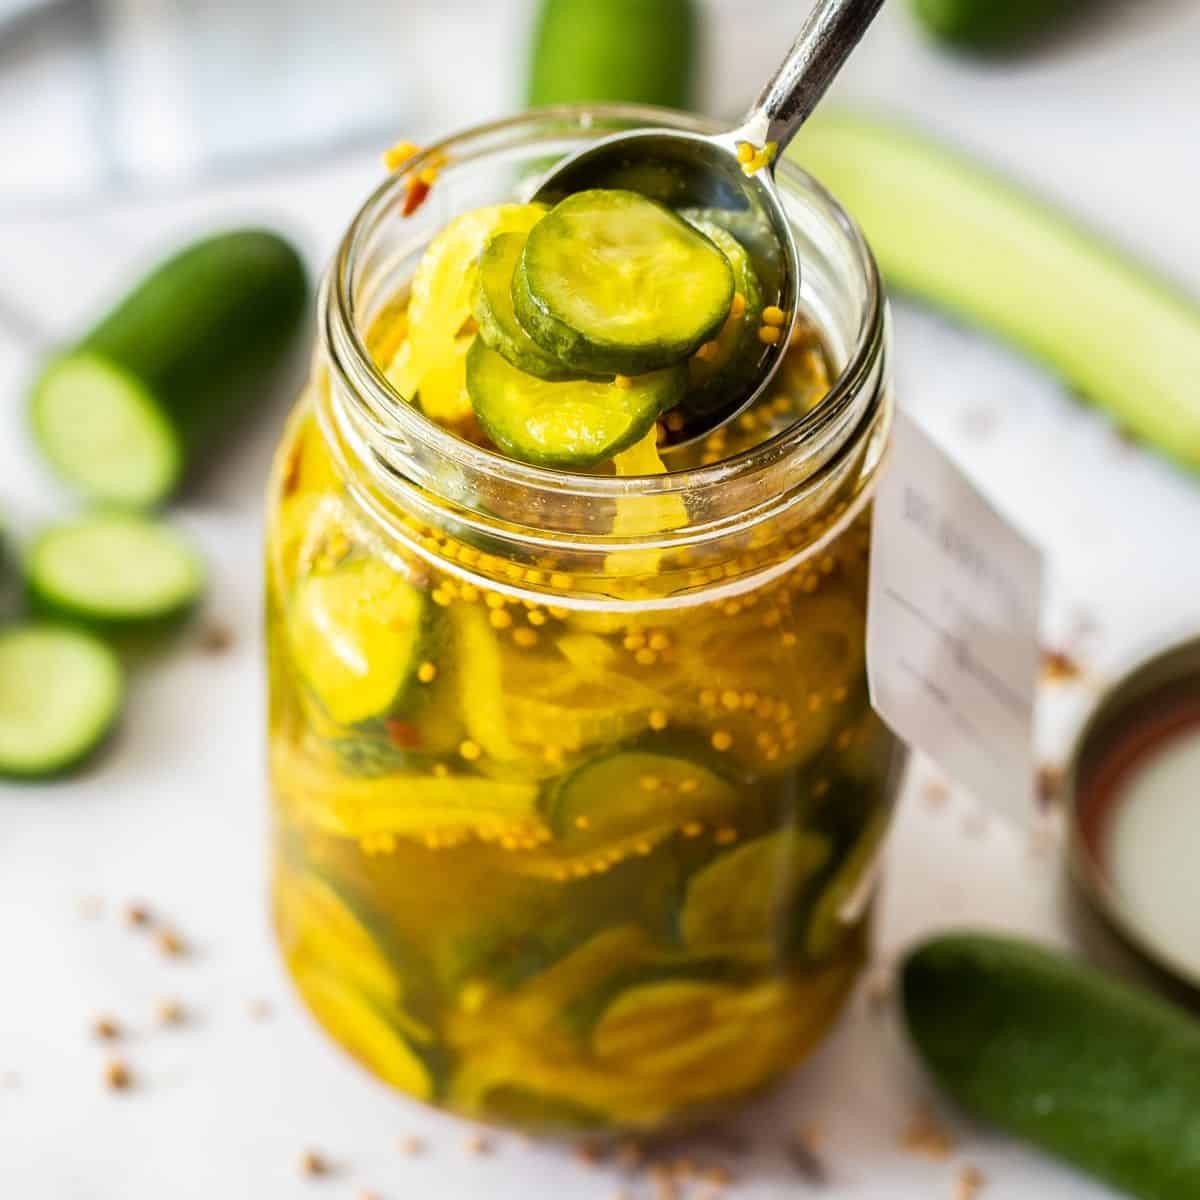
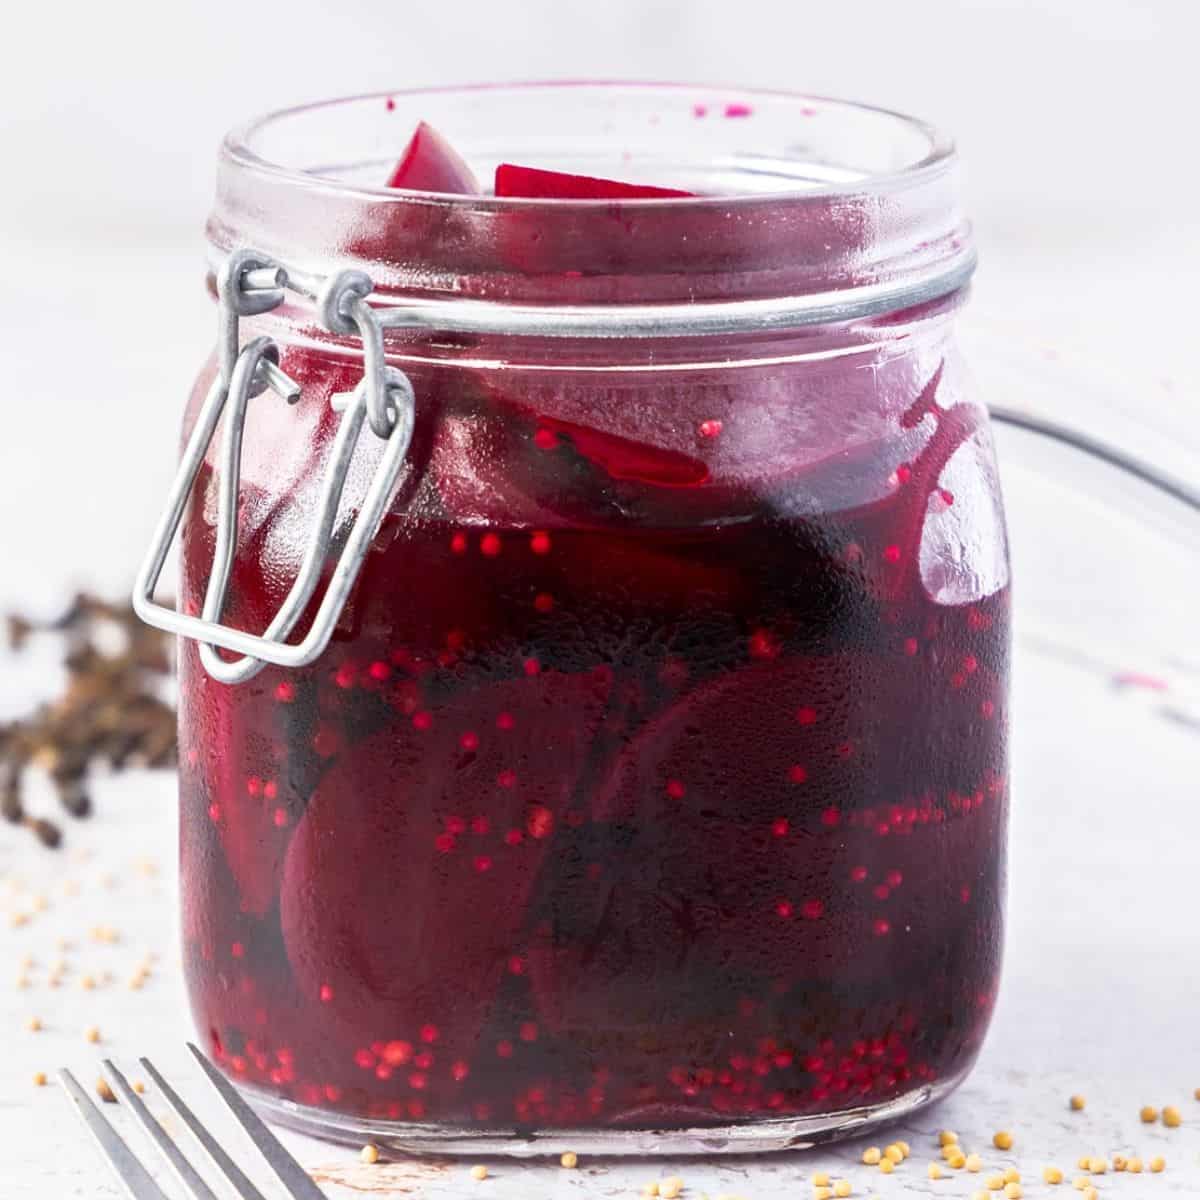
This Pickled Celery has a delicious crunch and a bright, tangy flavour. You will find many ways in which to use the pickles as they add crisp texture and vibrant flavour to many dishes. You will love how quickly and easily you can make them, using simple ingredients, which you may already have to hand.
Why you'll love this recipe:
It requires a minimal amount of hands-on time. Simply slice and salt celery stalks before adding them to a sterilised jar. Then, pour over a hot, seasoned vinegar brine. The vinegar and salt help preserve the celery.
Chill the pickles and set them aside for about 12 hours before enjoying them. It doesn't come much easier than this!
You will love this recipe for Pickled Celery because:
- It is quickly and easily made from simple ingredients which are readily available.
- If you've bought a head of celery, this is a great way to preserve some to enjoy in the weeks ahead. Also, you are in control of the quality of the ingredients that you use. There will not be any unnecessary additives or artificial colours or flavours.
- A simple brine transforms the mild-flavoured (some may say bland) celery stalks into a flavoursome, crunchy pickle.
- For this quick Pickled Celery, you do not need canning equipment. It is designed to be kept in the fridge for up to 4 weeks.
- There are so many ways to enjoy the pickles, and we have some suggestions below.
Ingredients in this recipe:
Please see the recipe card further along in the post for exact quantities of ingredients and the full method.
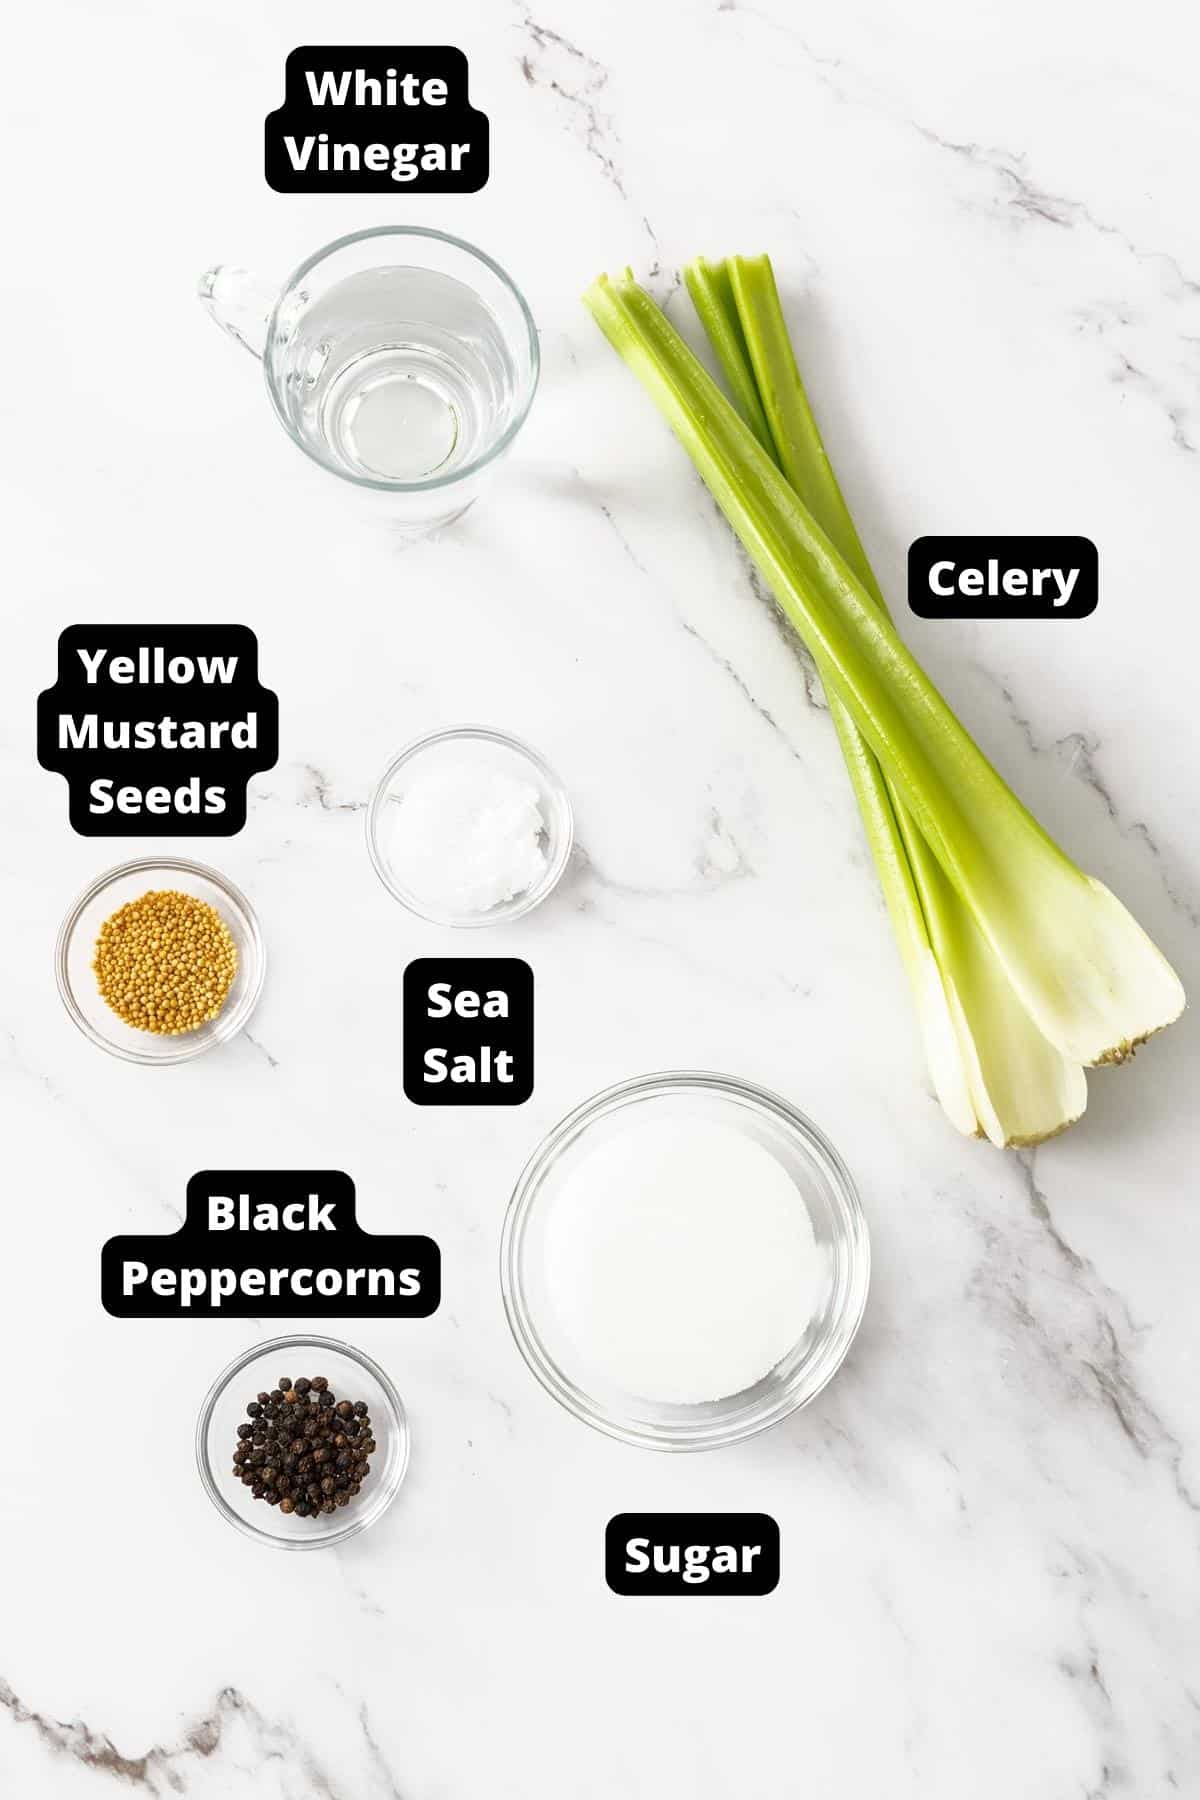
Celery - we have used fresh celery ribs without leaves. When selecting celery, look for produce that is crisp with vibrant, fresh, upright leaves. For the best result, avoid celery that is soft or with yellowing leaves. Celery works so well in pickles, including our Giardiniera.
Sea salt - we use the salt to draw out excess moisture from the celery. Use coarse kitchen salt. Regular table salt is finer, stronger, and may contain anti-caking agents which could make the brine cloudy.
Sugar - use regular granular sugar to balance the flavours.
White vinegar - for pickling, we use white vinegar with an acidity of 5%, but you can use white wine vinegar or apple cider vinegar if you prefer.
Water - we add water to mellow the brine. Ensure you use filtered water, as water that contains chlorine can alter the taste of the pickles.
Whole black peppercorns and yellow mustard seeds - add spice and flavour.
How To Make Pickled Celery:
Please see the recipe card further along in the post for exact quantities of ingredients and the full method.

1 - Prepare the celery and salt:
Wash the celery and trim the stalks to remove the leaves. Set them aside for another use, such as to make stock or soup.
On a diagonal, slice the sticks of celery into 1 cm (.4 inch) pieces.
Add the pieces to a bowl, and sprinkle over the salt. Stir, cover the bowl with cling wrap, and refrigerate for 2 hours.
2 - Drain the celery:
Tip the celery into a colander and drain well.
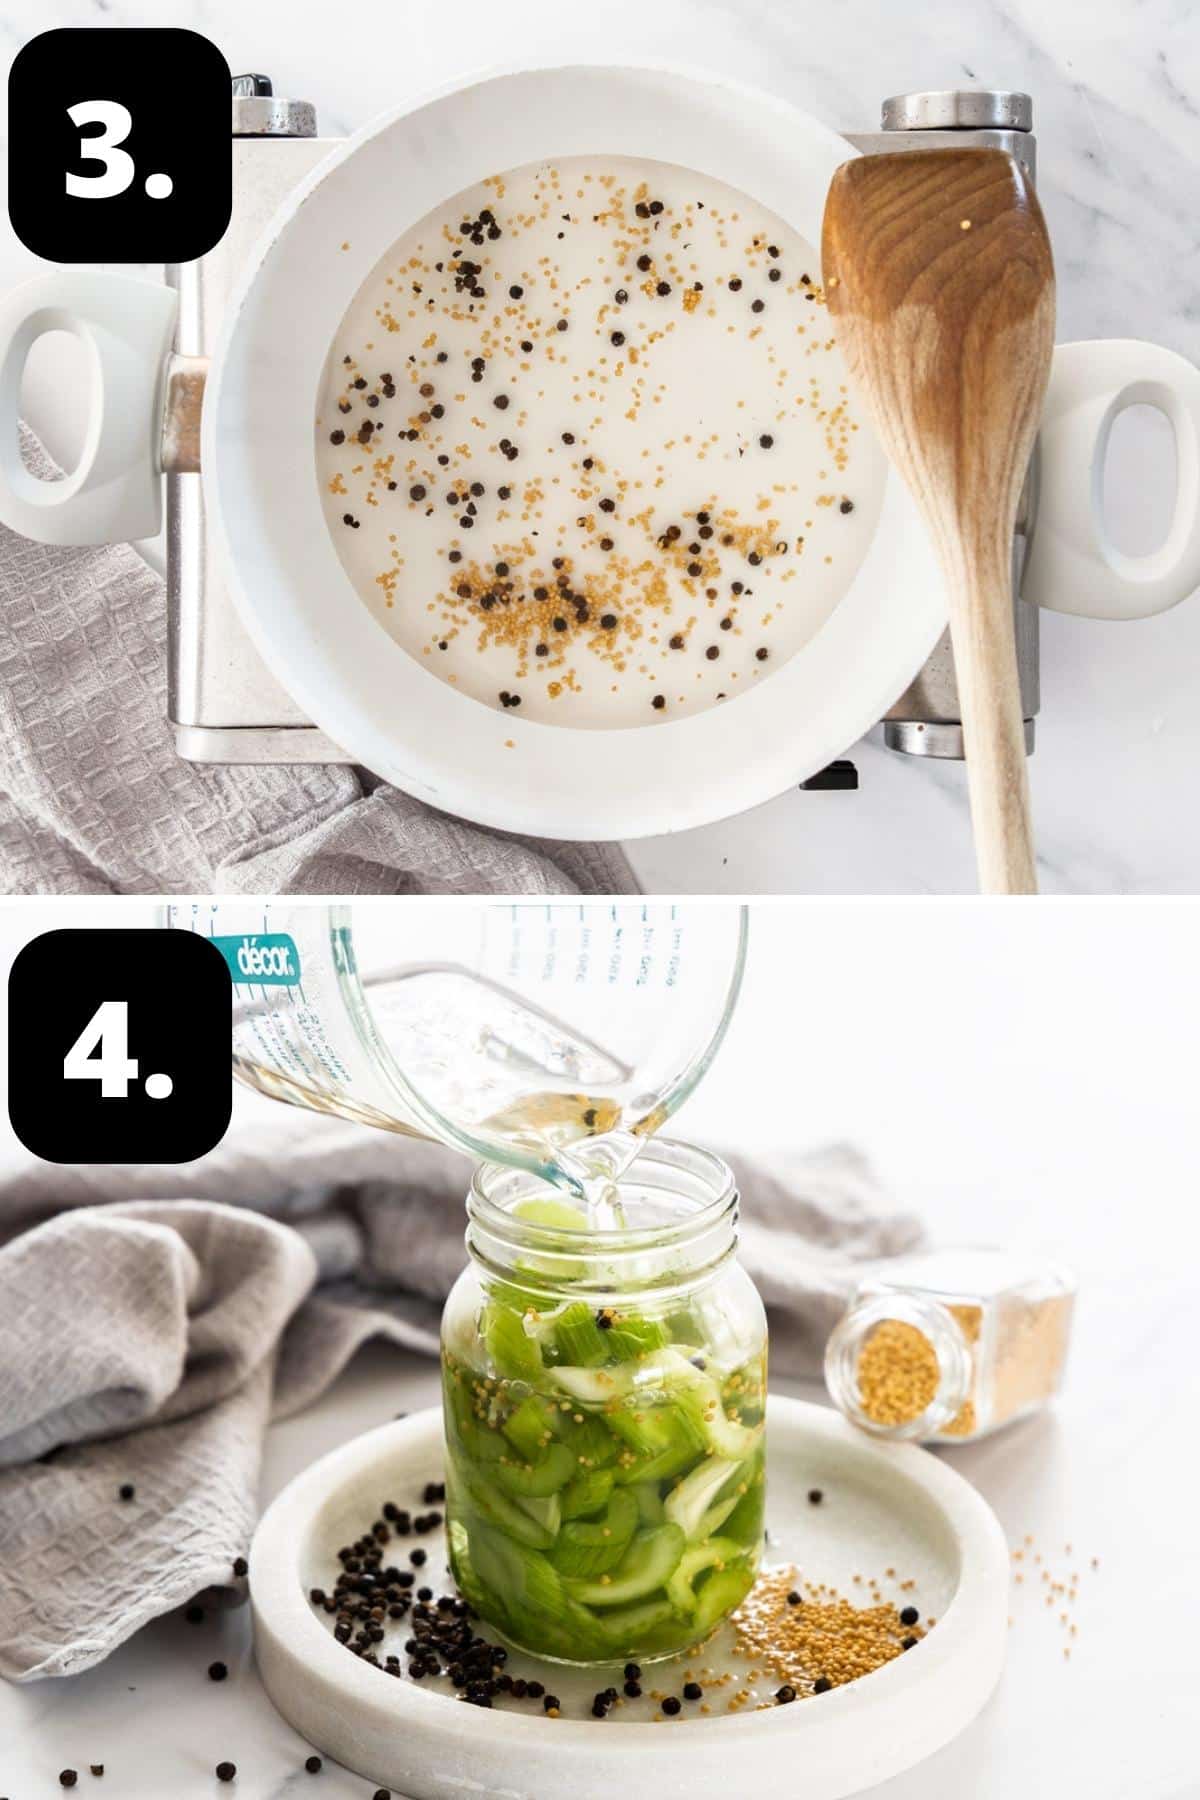
3 - Make the pickling brine:
Add the ingredients for the pickle brine to a small saucepan.
Stir over medium heat to dissolve the sugar, then bring to a boil and remove from the heat.
4 - Pour into your jar:
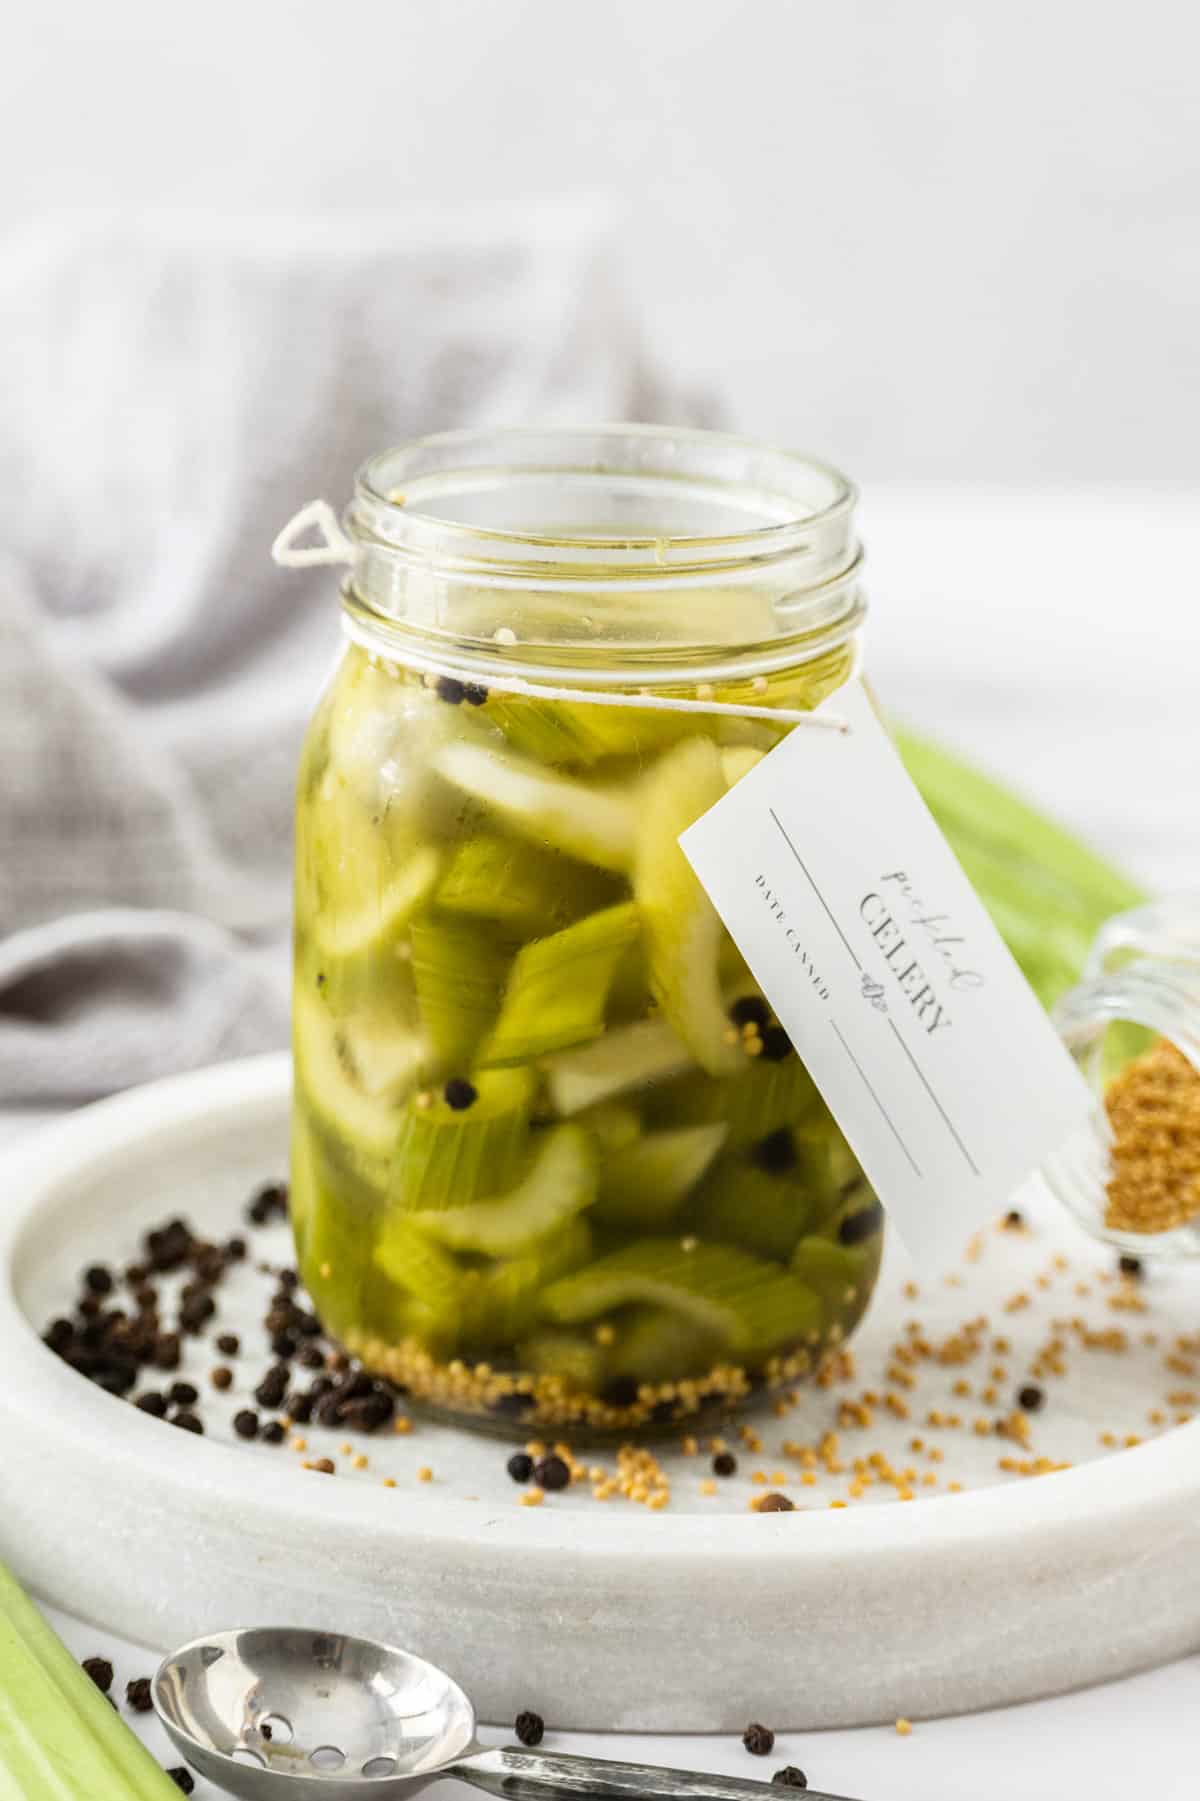
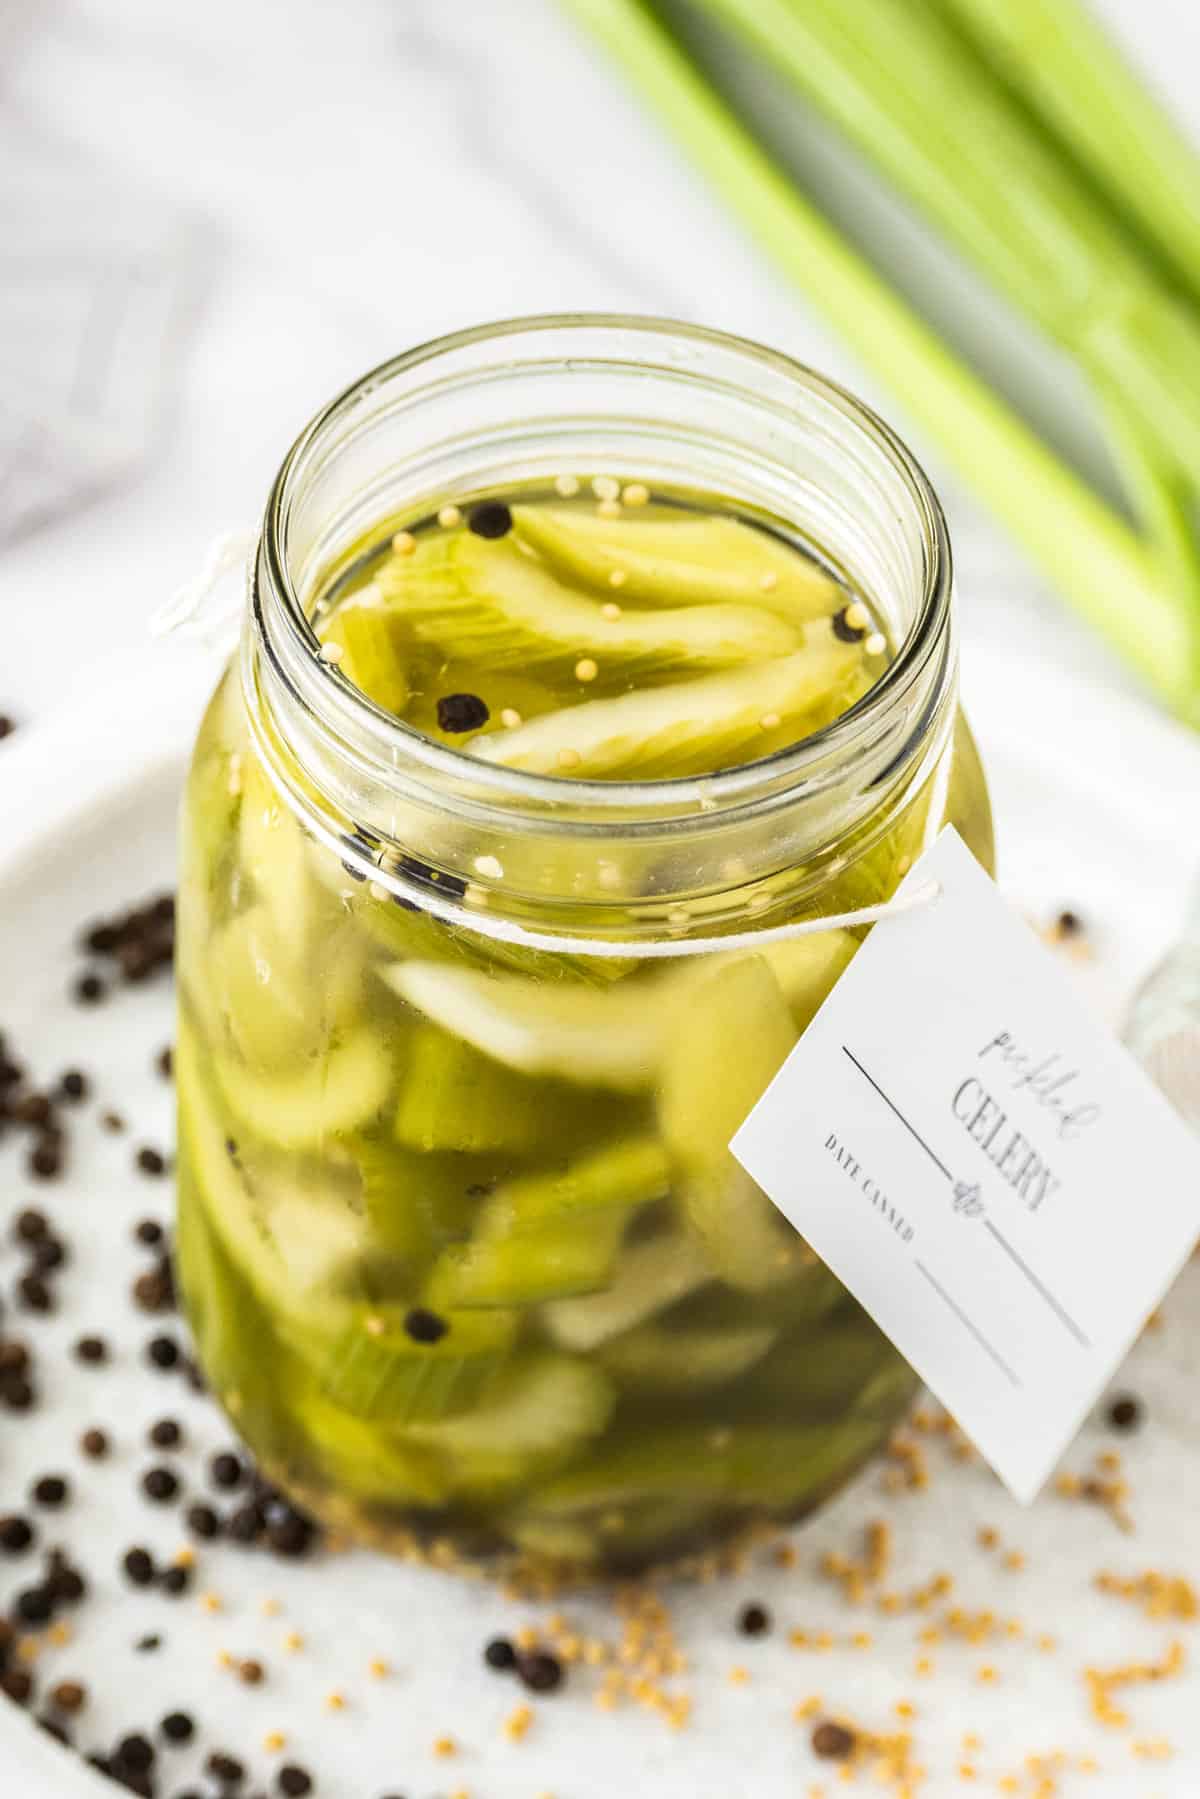
Add the celery to the sterilised jar, top with the pickling liquid and seal.
Refrigerate when cool. Best to let the Pickled Celery sit for a minimum of 12 hours.
Tips for success and FAQs:
For the best result, choose good quality celery. Choose a head of celery that feels heavy for its size. The leaves should be bright and perky and the stalks should feel firm and crispy.
When making your own pickles and preserves, always ensure you sterilise the jars you will store them in. This is very simple to do, and I have given full details in the recipe. Also, I recommend using a jar with a wide opening to make it easier to fill with the celery.
Whilst you can eat the celery a few hours after chilling the pickles, the best flavour is obtained by waiting for a minimum of 12 hours.
When properly prepared and stored, the Pickled Celery will last in the fridge for up to 4 weeks. They will get softer the longer they sit.
Absolutely - this recipe can be adapted to make a smaller or larger batch, depending on the quantity you require.
Yes, it is an ideal way to transform sticks of mildly flavoured celery into a flavour-filled, crunchy addition to your meals. If you have not yet tried using celery, I encourage you to do so and adjust the seasoning to suit your taste.
Variations and substitutions:
Vinegar - we have used white vinegar, but you could also use apple cider vinegar or white wine vinegar if you prefer.
Herbs - some fresh dill or bay leaves are a great addition.
Spices - add some ground turmeric or dried chilli flakes if you like a little heat.
Serving suggestions:
The Pickled Celery adds texture and flavour to many dishes. Some of my favourite ways to enjoy it are:
- As part of a meze platter.
- With dips, such as my Easy Tuna Dip, Whipped Feta or Onion Dip.
- They are delicious alongside Oven Baked Meatballs or Chicken Patties.
- Add them to green salads for crisp texture.
- Give a jar as an edible gift. You can even print out your own label, as seen in the photos! Simply right-click and save the image below to print out.

If you have not tried Pickled Celery, I encourage you to make this recipe. Once you start making your own preserves and pickles, it is hard to go back to store-bought! Using just a few simple ingredients which you may already have to hand, you will find this easily made pickle a great addition to many meals.
Alex xx
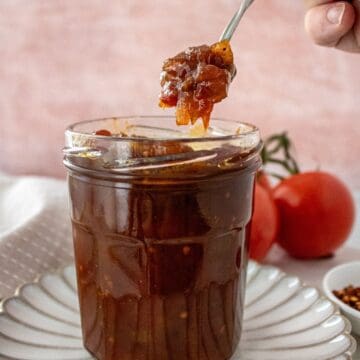
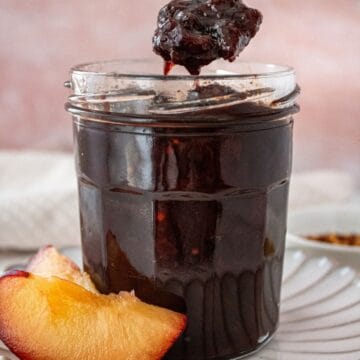
More delicious recipes for you to try:
Stay in touch!
Follow me on Facebook, Pinterest and Instagram and subscribe to my newsletter.
Pickled Celery
Equipment
- 1 x 600ml (20 fluid oz) Jar
Please note:
For accuracy, when weights are provided, we recommend weighing your ingredients. This will produce the best results. All oven temperatures listed are for fan forced.
Ingredients
- 300 g (10.5 oz) celery - prepared weight See Note 1
- 2 teaspoon sea salt See Note 2
- ¾ cup (180 ml) white vinegar See Note 3
- ½ cup (125 ml) water See Note 4
- ¼ cup (60 g) sugar
- 1 teaspoon whole yellow mustard seeds
- 1 teaspoon whole black peppercorns
Instructions
To Sterilise the Jars:
- Sterilise the jar or jars you'll be using to store the pickles. Choose glass jars with an airtight, metal lid and ensure they have been washed by hand in hot soapy water then rinsed well. Check that the metal lids do not have rubber inserts - if they do, allow them to air dry, instead of placing in the oven.Preheat the oven to 130 Degrees C (270 F) and place the jars in the oven for 15-20 minutes. Keep the jars warm.
For the Pickled Celery:
- Wash the celery and trim the stalks to remove the leaves. Set them aside for another use, such as to make stock or soup.On a diagonal, slice the celery into 1 cm (.4 inch) pieces.
- Add the pieces to a bowl, and sprinkle over the salt. Stir, cover the bowl with cling wrap, and refrigerate for 2 hours.
- Tip the celery into a colander and drain well.
- In a small non-reactive saucepan, combine the water, vinegar, sugar and seasonings. Stir over medium heat to dissolve the sugar, bring to the boil and remove from the heat. (See Note 5).
- Add the celery to the sterilised jar, top with the pickling liquid and seal with the lid immediately.
- Allow the jar to cool on your bench before placing in the refrigerator.
- The Pickled Celery can be consumed once cool, but it is best to leave for 12-24 hours for the flavours to develop.
Notes
- Celery: ensure your celery is fresh and crisp.
- Cooking sea salt: ensure you use cooking salt or coarse sea salt. Regular table salt may contain anti-caking agents and is much stronger.
- Vinegar: I have used white vinegar that is 5% in acidity. You can also use apple cider or white wine vinegar - just ensure the acidity level is 5%.
- Water: ensure you use filtered water, as water that contains chlorine can alter the taste of the pickles.
- Non-reactive saucepans: are those which are ceramic, stainless steel, glass or enamelled cookware. Copper, iron and aluminium pans are reactive. Acidic foods, such as vinegar or lemons, may take on a metallic taste and discolour if cooked in such pans.
- Storage: once the jars have cooled, store the pickles in the fridge for up to four weeks. This is a quick pickle recipe not designed for long term canning.
- Nutritional information: is based on the entire jar, and includes the pickling liquid.
Nutrition Estimate:
Nutritional Disclaimer:
The nutritional information is an estimate only, and is derived from online calculators. For accurate results, we recommend calculating the nutritional information based on the ingredients and brands you use.
cheri kline says
Easy , taste great. Thank you.
Alexandra Cook says
Thank you, Cheri 🙂 So happy you enjoyed them!
Alex xo