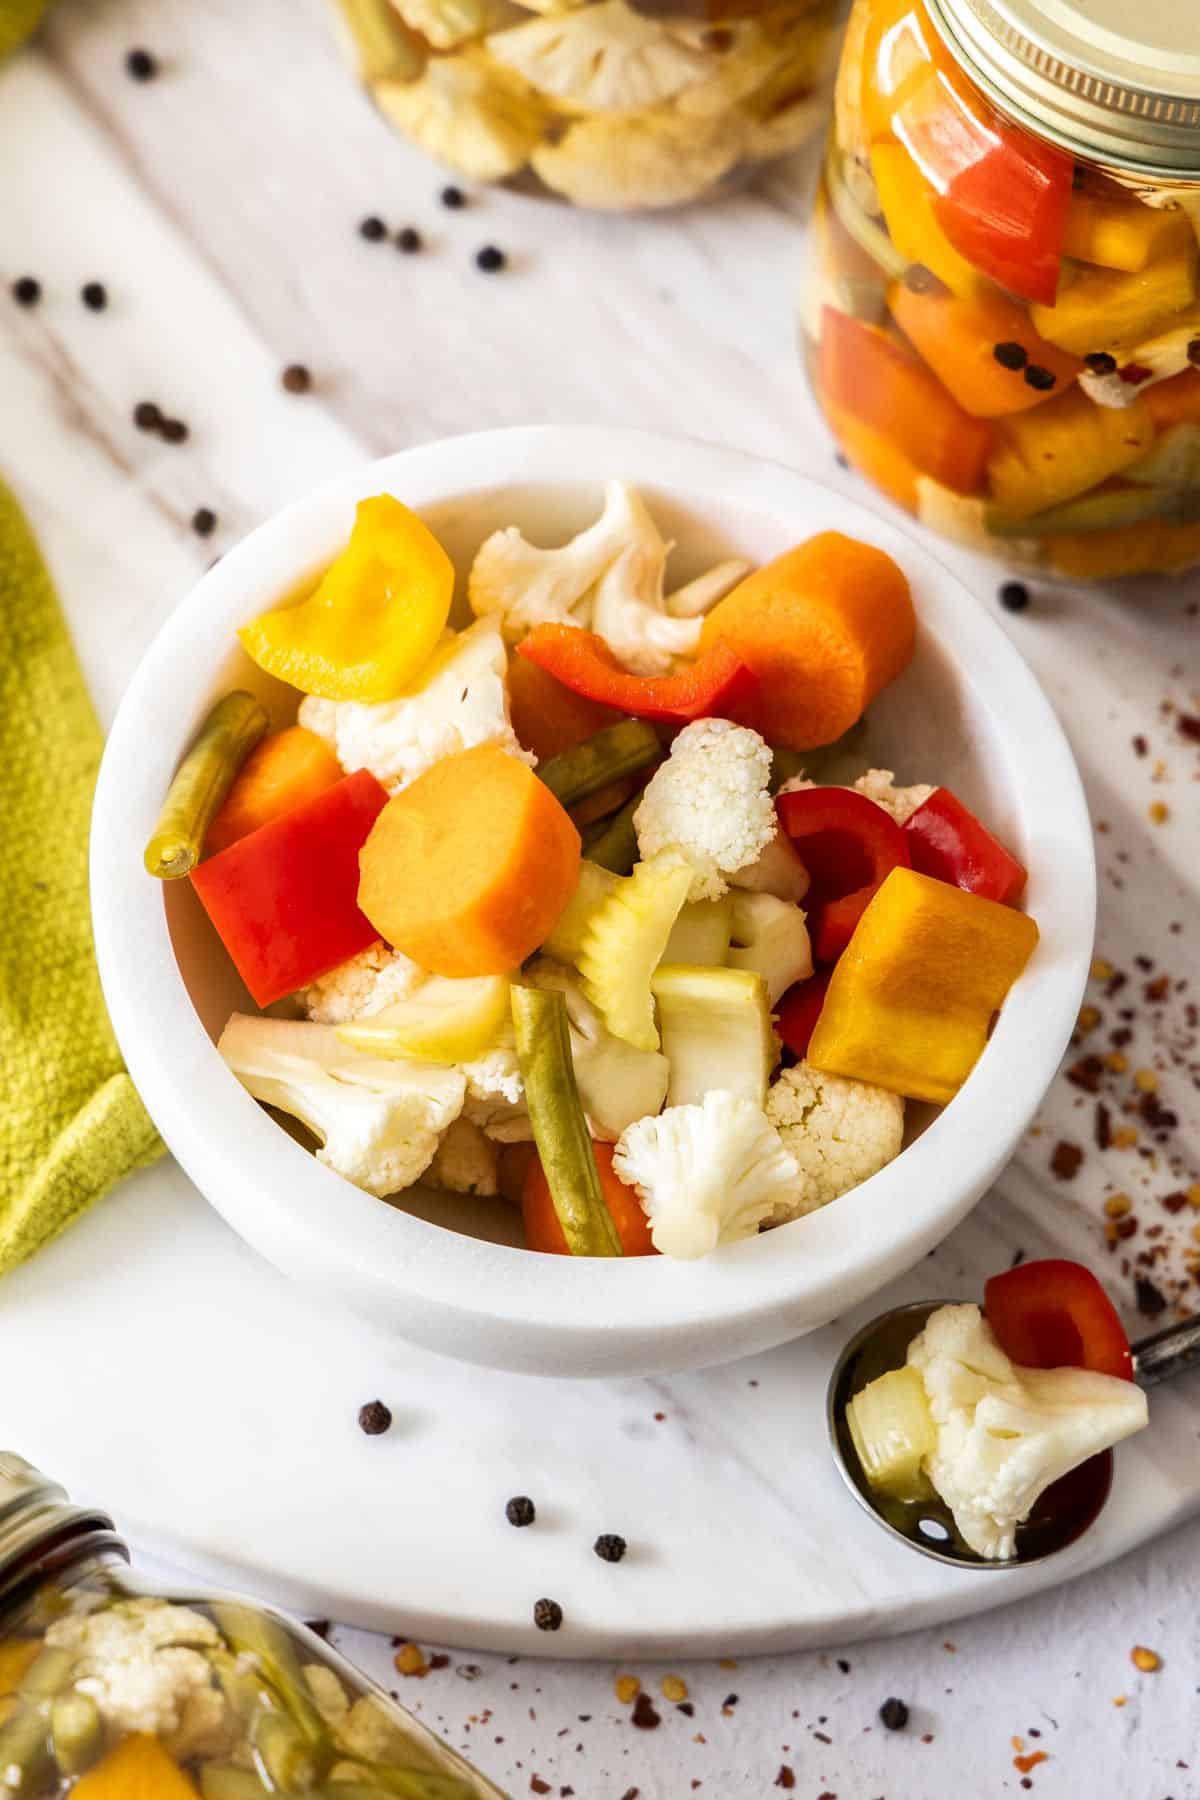
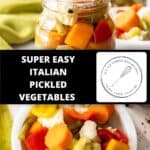
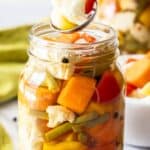
You will find many ways to enjoy this easy recipe for Giardiniera, an Italian Vegetable Pickle. It features a tangy, colourful and crunchy pickle that is perfect on a platter and ideal to enjoy alongside cheese and meats. Add it to salads or sandwiches and serve alongside your main meal. This is the best, simple pickle recipe!
Why you’ll love this recipe:
Pronounced jar-deen-YAIR-uh, this colourful pickle has its origins in Italy. Giardiniera comes from the Italian word “giardino”, which means garden and originated as a means of preserving mixed seasonal vegetables to enjoy during the months ahead. The pickles may also be called “sottaceti”, under vinegar or “verdure sottacetti”, vegetables under vinegar. As with many other dishes, ingredients may vary from region to region or be made with the vegetables that were to hand.
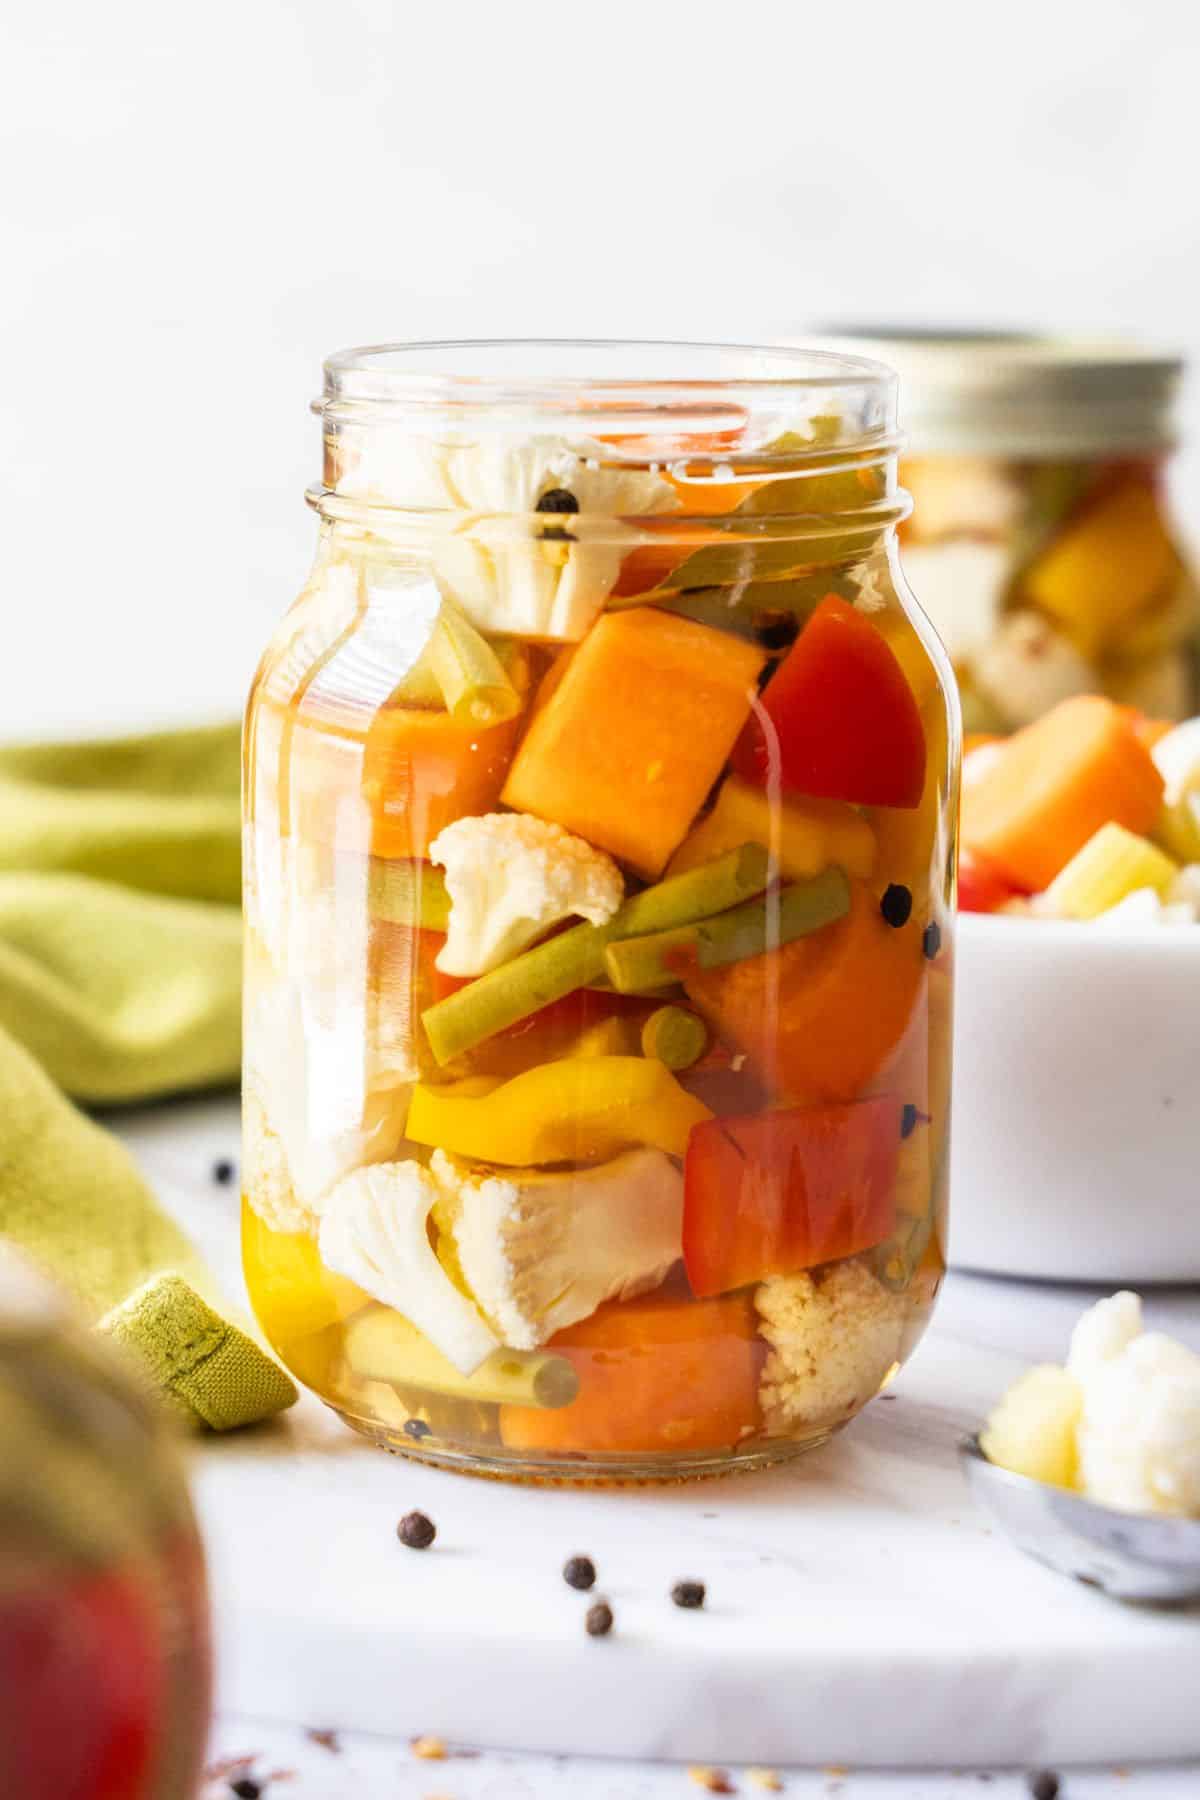
This is an easily made refrigerator pickle that will last 3 months and does not require canning. The simple technique for making this quick pickle alters the taste and texture of the vegetables, which take on fantastic flavour from the spiced vinegar brine.
You will love this Giardiniera recipe because:
- The pickles are made from a medley of colourful vegetables which you can customise to suit your taste or what is available.
- Homemade pickles are so easy to prepare and full of vibrant flavour. One of the great advantages is that you control the quality of the ingredients and know exactly what they contain.
- If you have not previously made your own pickles, this is a great place to start. You will be delighted to discover how easy it is to make Giardiniera at home.
- There are so many ways to enjoy this crisp, colourful condiment which will be a great addition to many meals.
- Once you start making your own preserves and pickles, it is hard to go back to store-bought!
- They make a great edible gift – if you can resist eating them all!
Ingredients in this recipe:
Please see the recipe card further along in the post for exact quantities of ingredients and the full method.
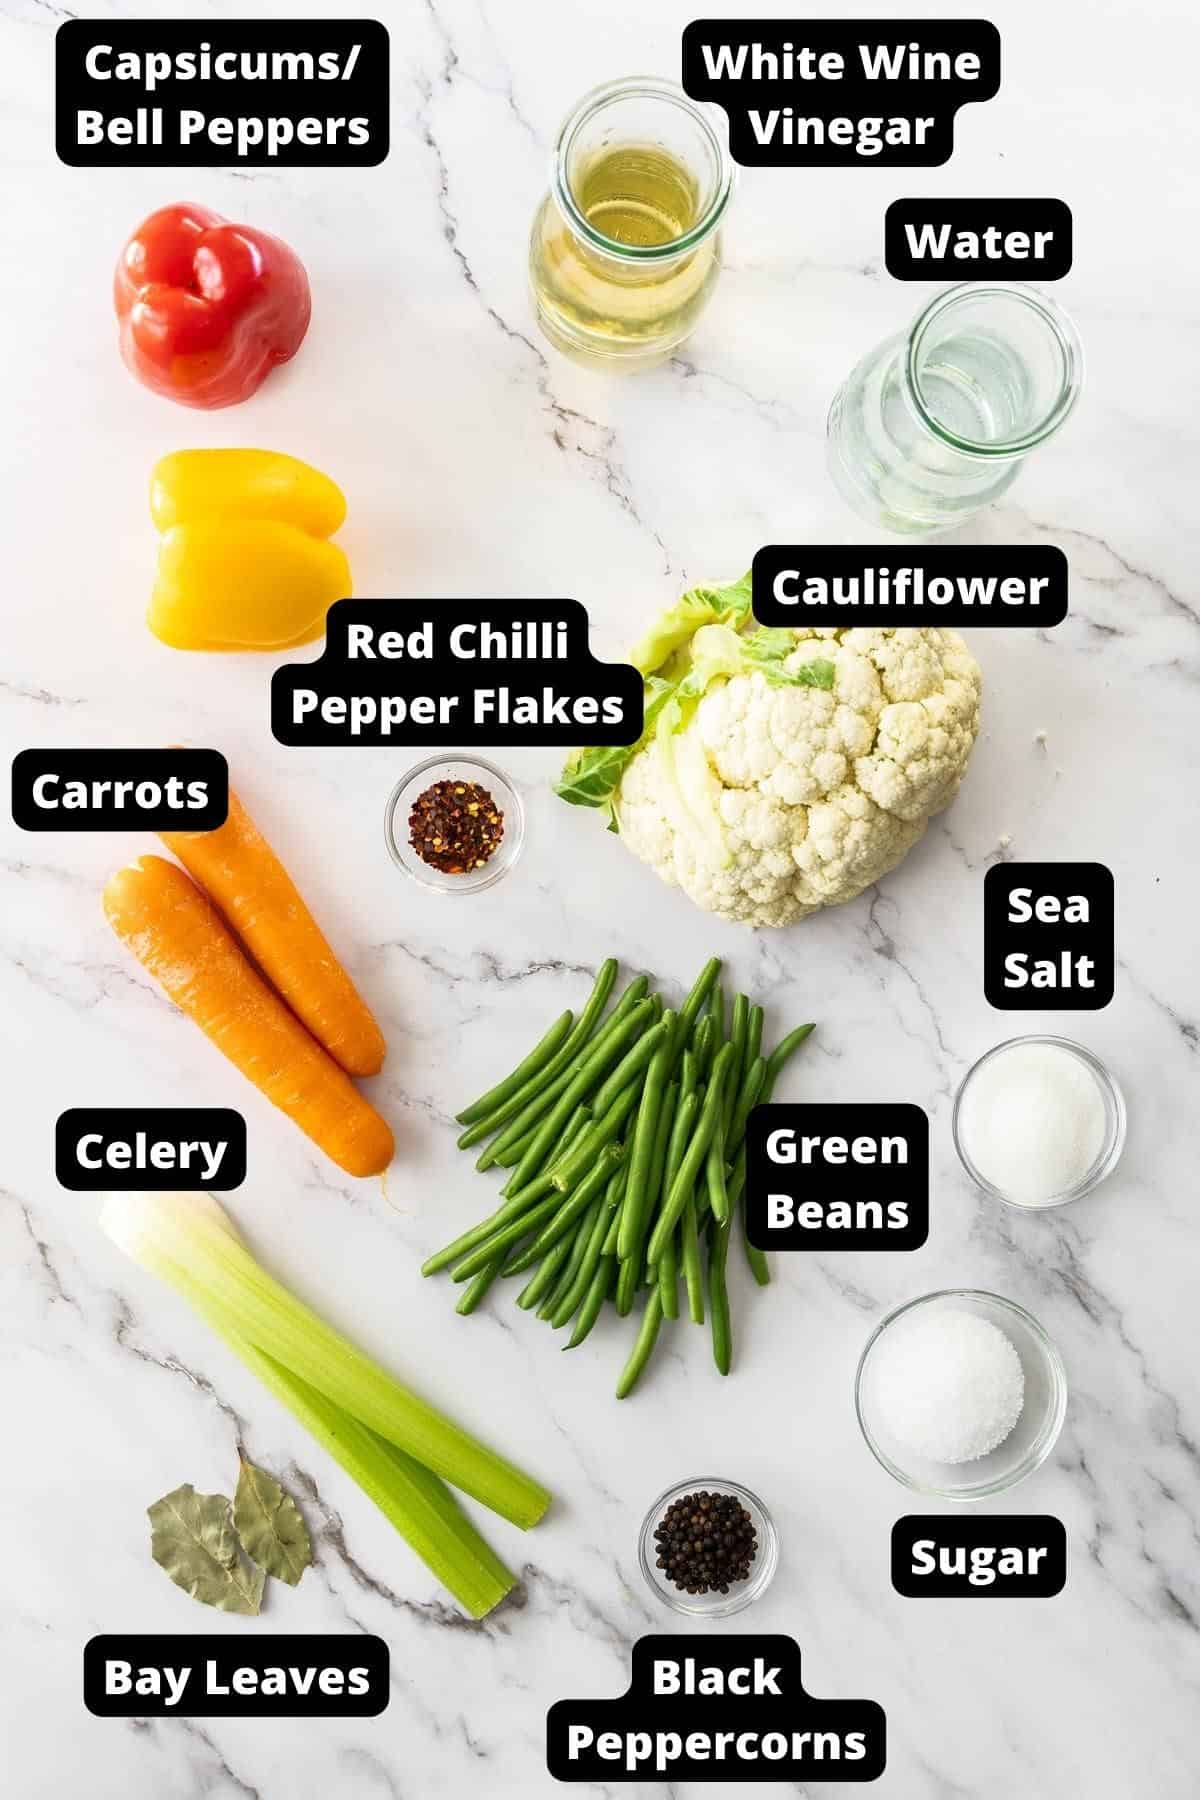
Cauliflower – a member of the brassica family, along with cabbage, broccoli, bok choy and many others. The pretty little cauliflower florets are a popular addition to Giardiniera.
Red and yellow capsicums/bell peppers – add beautiful colour and flavour.
Green beans – also known as string beans, are cut into short pieces and add more colour.
Celery – a great addition to provide crunch.
Carrots – a popular addition for sweetness, colour and crunch.
Red chilli pepper flakes – add some heat. Add according to your preference, or omit altogether if you prefer.
Whole black peppercorns – also add a spiciness and depth of flavour to the pickling liquid.
Bay leaves – add a complex, subtle layer of flavour to the vinegar brine.
Sea salt – to season and assist with preservation.
Sugar – regular granulated sugar adds a gentle sweetness and balances the acidity of the vinegar.
Water – for the best result, use filtered water to dilute the sharpness of the vinegar.
White wine vinegar – our preferred vinegar.
How To Make Giardiniera:
Please see the recipe card further along in the post for exact quantities of ingredients and the full method.
1 – Prepare your pickling brine:
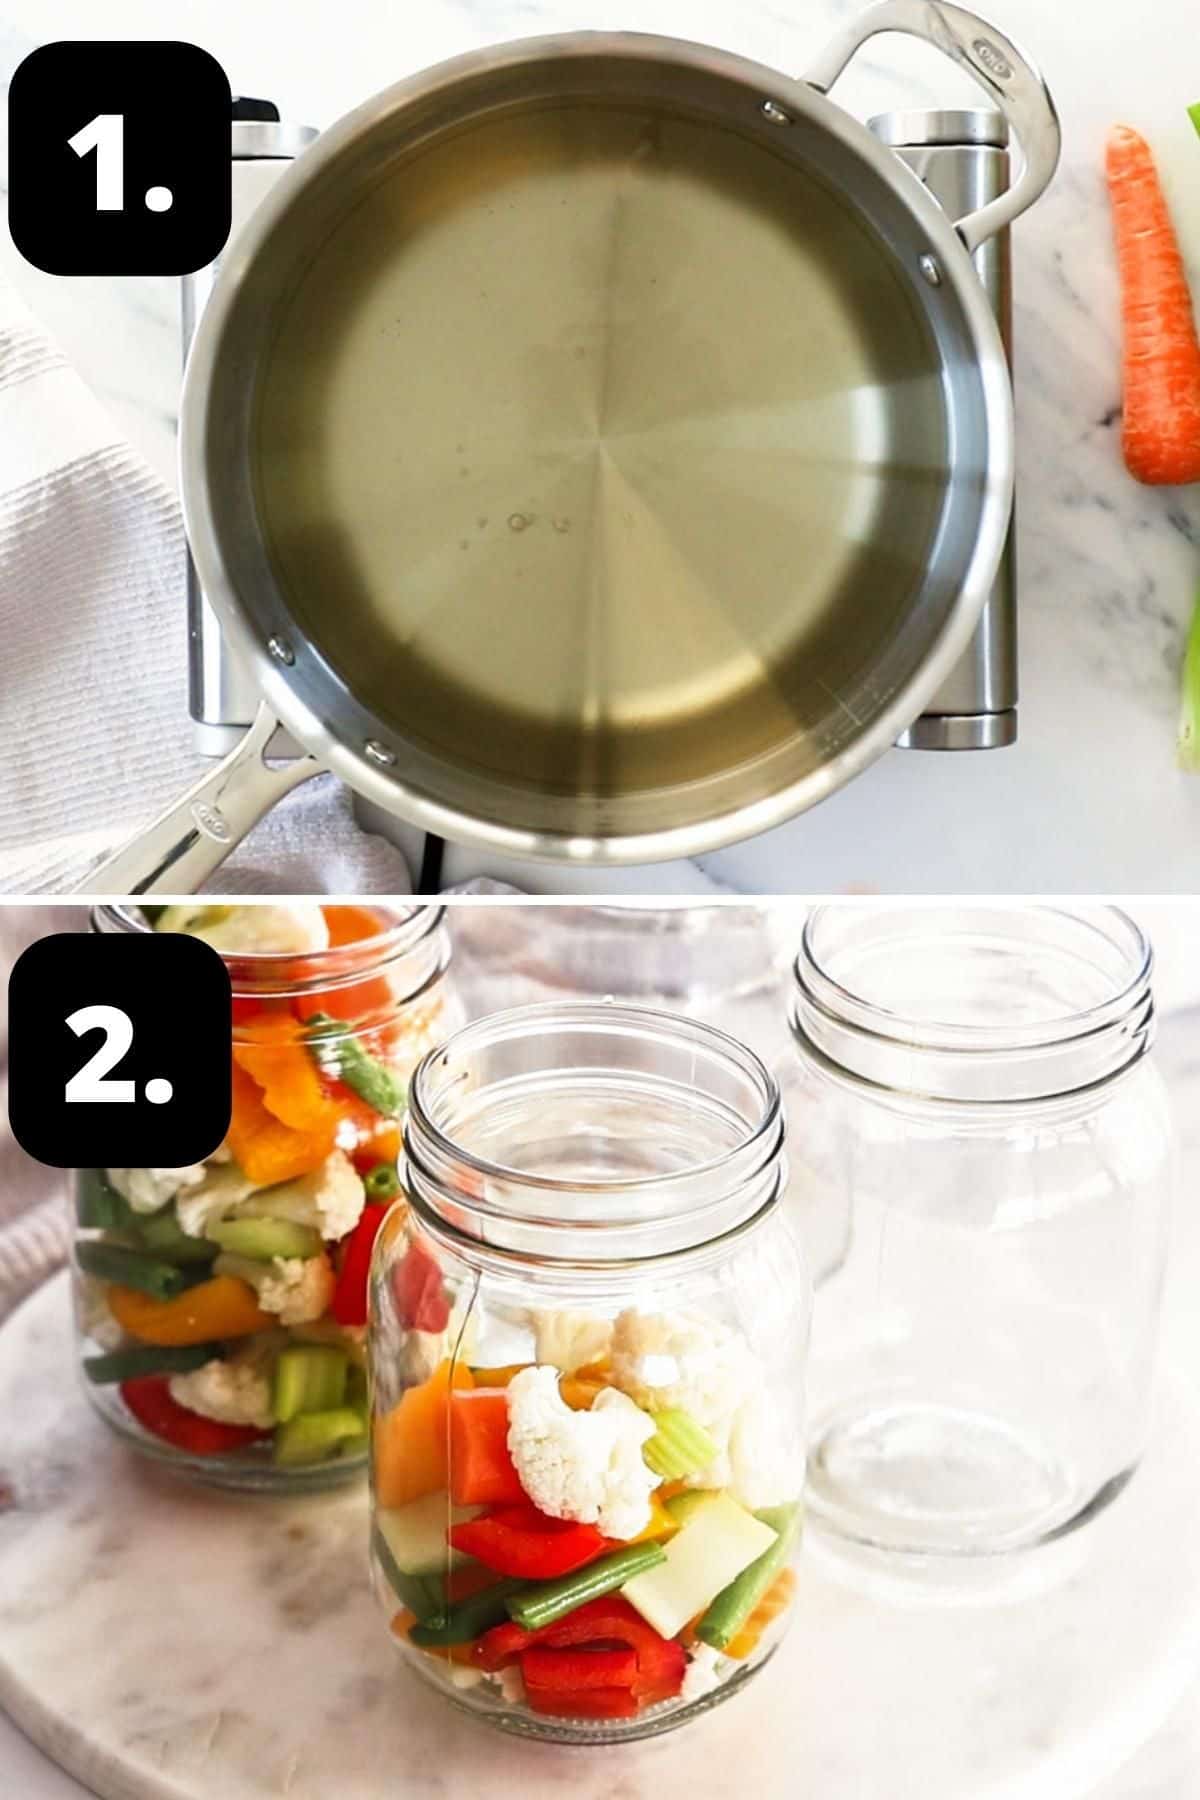
In a saucepan, add the salt, sugar, water, and white wine vinegar. Stir over medium heat until the sugar dissolves and the mixture just reaches boiling point.
2 – Add your chopped veggies to the jars:
Add the prepared vegetables to warm, sterilised jars.
3 – Add your seasonings:
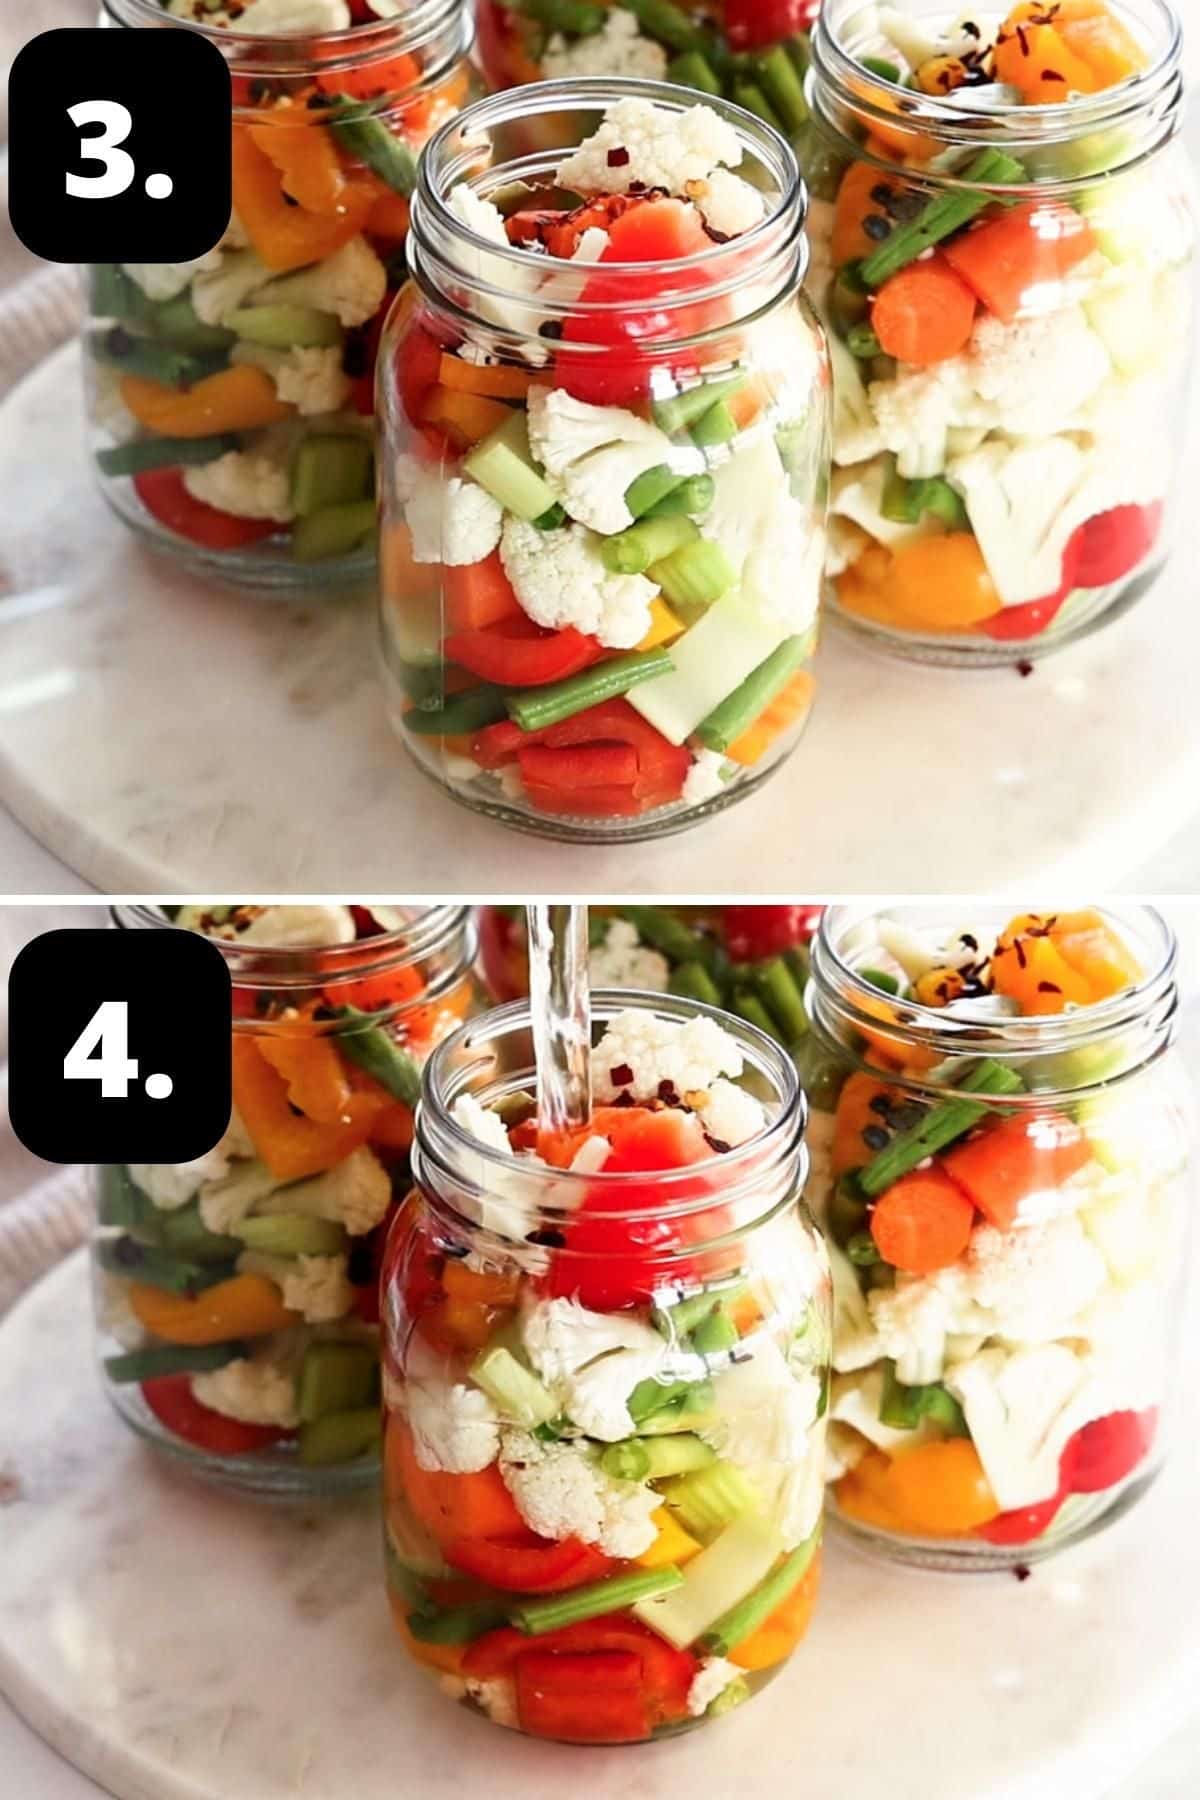
Add seasonings to the jars. I have used whole black peppercorns, bay leaves and red chilli pepper flakes.
4 – Add the pickling brine:
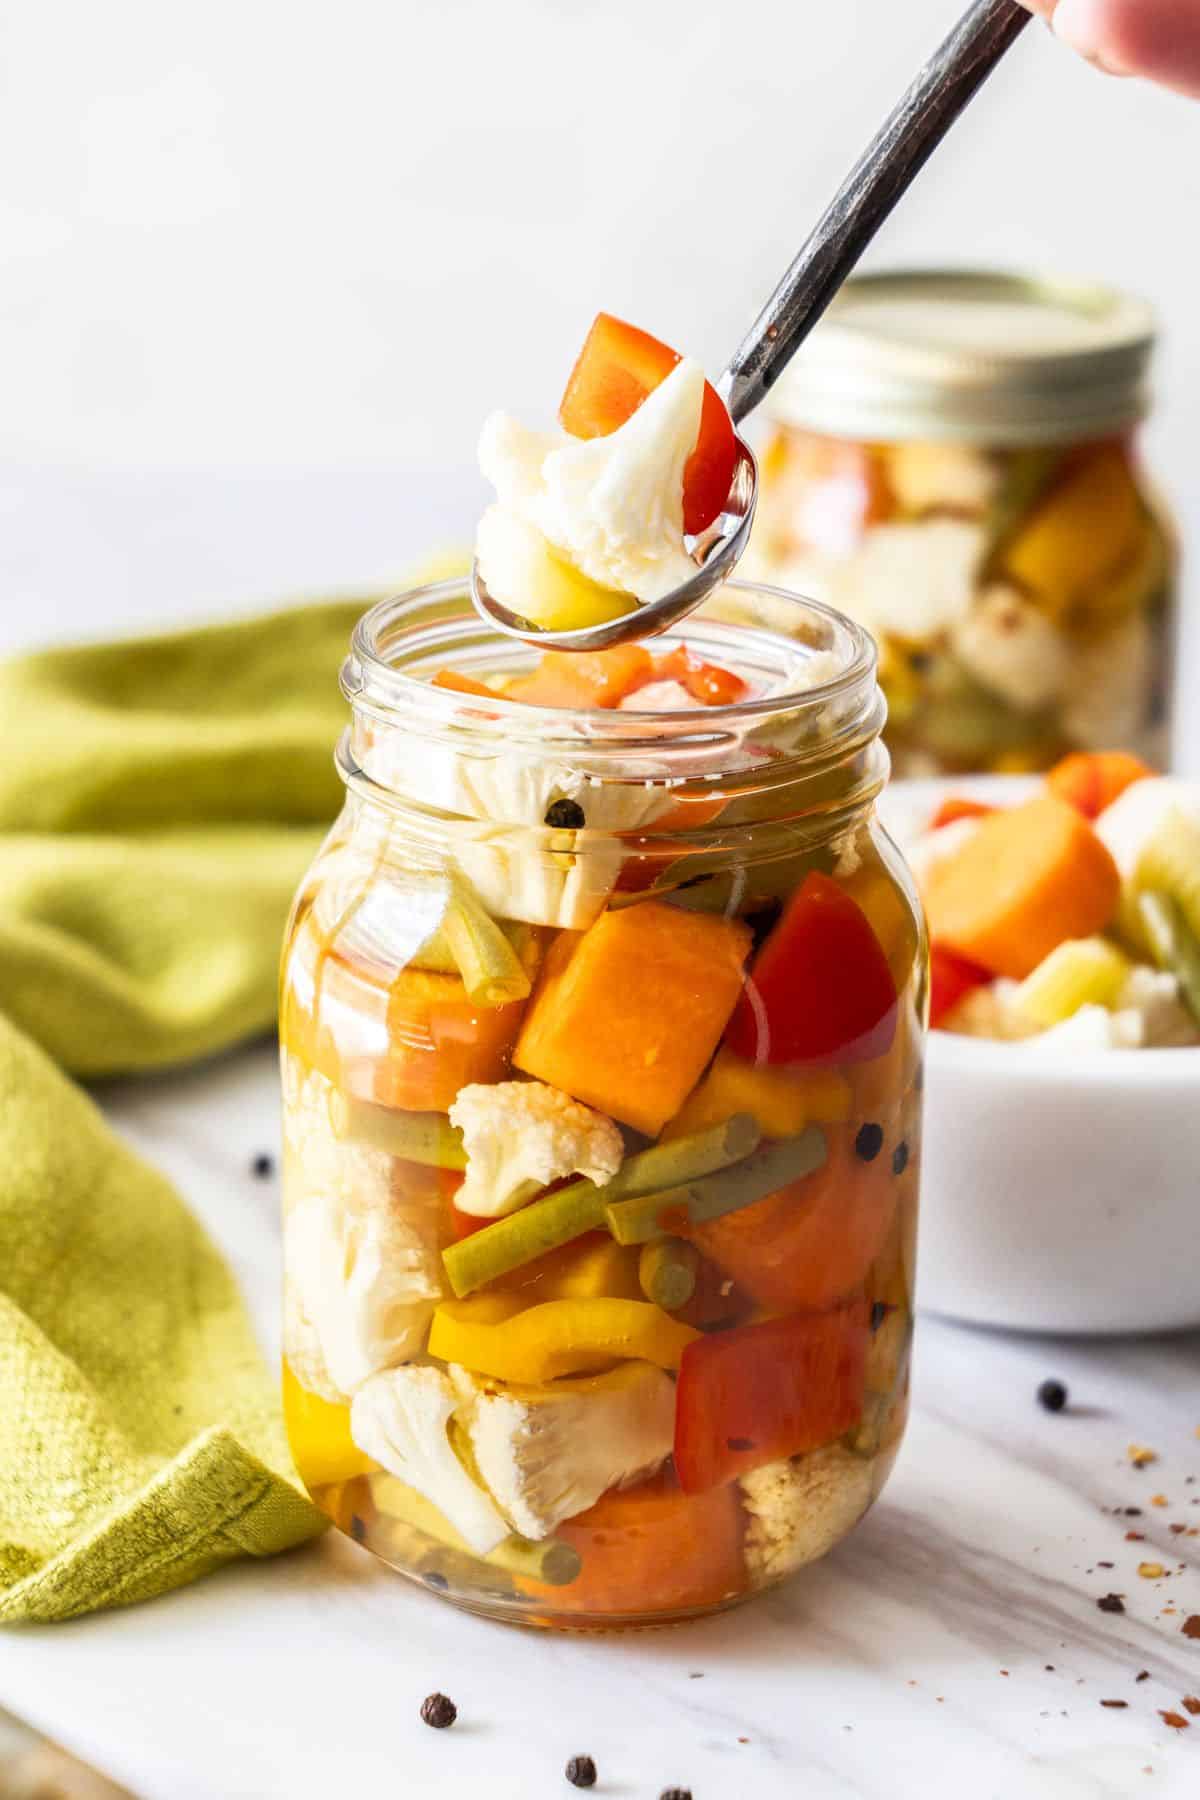
Pour the vinegar brine into the jars. Seal the jars and allow them to cool completely before storing them in the fridge.
Tips for success and FAQs:
You will get the best result by using high quality, fresh vegetables, at their peak. Avoid any showing signs of age, bruises or spoilage. This is not the time to use vegetables that are past their prime.
It is essential to sterilise the jars in which you will store the pickles. I have given full details for this in the recipe below. Also, I recommend that you use a jar with a wide opening to make it easier to fill with the pickles.
For the best result, allow the flavours to develop for a minimum of 24 hours, but preferably one week, before consuming.
I have chosen to use white wine vinegar, but you could use apple cider vinegar or distilled white vinegar with an acidity of 5 %.
The Giardiniera must be stored in the fridge. To prevent spoilage, always use a clean utensil to remove the vegetables.
When prepared and properly stored in a sterilised jar, they will last in the fridge for three months.
Absolutely – you can adapt the recipe to make a smaller or larger batch, depending on the quantity you require.
Variations and substitutions:
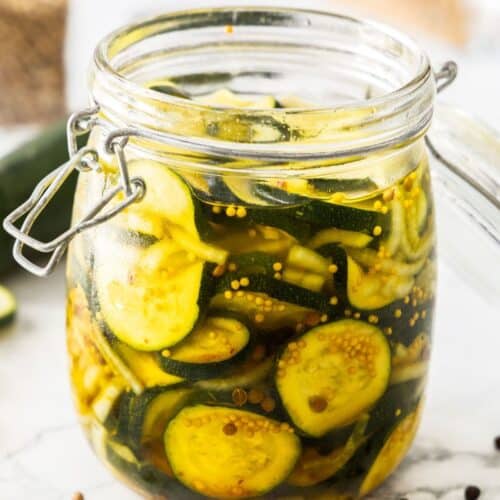
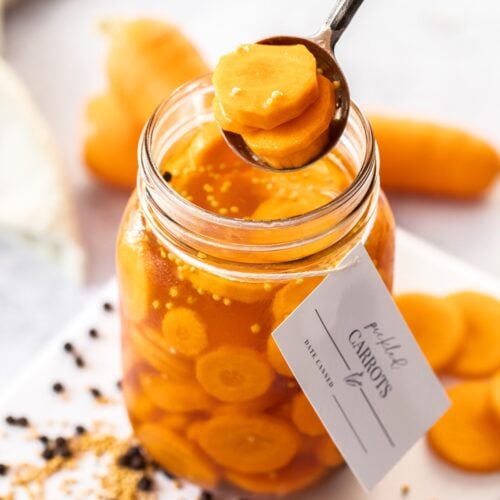
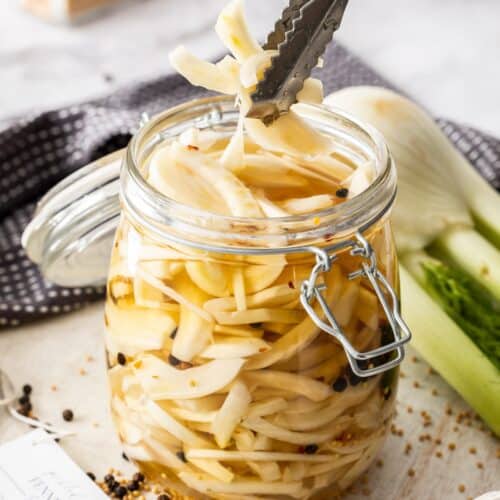
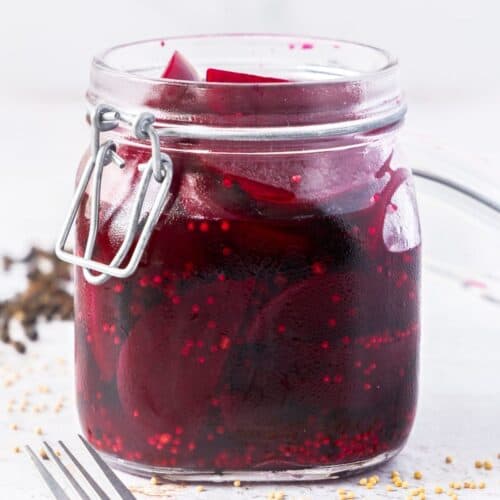
Vegetables – use vegetables of your choice. Some other choices are fennel, onion, radishes, or turnips, etc.
Spices – vary the spices according to your taste. For instance, try coriander seed, whole cloves, juniper berries or mustard seeds.
Serving suggestions:
There are numerous ways to enjoy this delicious Italian Garden Pickle. Some suggestions are:
- A classic accompaniment to a selection of antipasti – serve with your favourite cheeses and meats. You can also enjoy with our Beef Meatballs, Mediterranean Bread Dipping Oil or Spelt Focaccia.
- Serve it at a barbecue – it is a perfect accompaniment to cut the richness of meat.
- Chop some of the vegetables finely and add to good quality mayonnaise. It is a great condiment to serve with fish or add to sandwiches.
- Put some in a bowl and drizzle with extra virgin olive. It is so good!
If you have not previously made your own Giardiniera, I encourage you to make this recipe. Once you start making your own preserves and pickles, it is hard to go back to store-bought! Using just a few simple ingredients, you will find this easily made pickle a perfect way to use seasonal produce and a great addition to many meals.
Alex xx
More delicious recipes for you to try:
Stay in touch!
Follow me on Facebook, Pinterest and Instagram and subscribe to my newsletter.
Giardiniera (Italian Pickled Vegetables)
Equipment
- 4 x 500ml (17 fluid oz) Jars See Note 1
Recipe Measurements:
For accuracy, when weights are provided, we recommend weighing your ingredients. This will produce the best results.
Ingredients
- 450 g (16 oz) cauliflower – cut into small bitesize florets See Note 2
- 1 medium yellow capsicum/bell pepper – cut into 2 cm (0.75") cubes
- 1 medium red capsicum/bell pepper – cut into 2 cm (0.75") cubes
- 140 g (5 oz) green beans – cut into 3 cm (1") pieces
- 2 ribs celery – cut into 1 cm (0.5") pieces
- 2 medium carrots – peeled and cut into 1 cm (0.5") pieces
- 1 teaspoon red chilli pepper flakes – omit or use less if you prefer
- 2 teaspoon whole black peppercorns
- 2-4 dried bay leaves
- 6 teaspoon coarse sea salt See Note 3
- 2 tablespoon white sugar See Note 4
- 2 ⅔ cups (650 ml) water See Note 5
- 2 ⅔ cups (650 ml) white wine vinegar
- extra virgin olive oil – for serving, optional
Instructions
To Sterilise the Jars:
- Sterilise the jars you'll be using to store the pickles. Choose glass jars with an airtight, metal lid and ensure they have been washed by hand in hot soapy water then rinsed well. Check that the metal lids do not have rubber inserts – if they do, allow them to air dry, instead of placing in the oven.Preheat the oven to 130 Degrees C (270 F) and place the jars in the oven for 15-20 minutes. Keep the jars warm.
For the Pickle:
- Prepare your vegetables – cut into bite size pieces.
- In a non-reactive saucepan (See Note 6), add the salt, sugar, water and white wine vinegar. Stir over medium heat until the sugar dissolves and the mixture just reaches a boil.
- Add the chopped vegetables to the warm jars – I toss them in a bowl first to mix them up to ensure I get a variety.Press the vegetables down in the jars to fit them in tightly.
- Add in the seasonings – divide the chilli and peppercorns between the jars and add a small bay leaf or half of a larger one to each jar.
- Add the pickling brine to your jars and seal immediately. Allow to cool completely before refrigerating.Allow a minimum of 24 hours for the flavours to develop – preferably one week.
- Serve with a drizzle of Extra Virgin Olive Oil.
Video
Notes
- Jars: this does make a large quantity of Giardiniera. If you would prefer to halve the recipe, that is fine.
- Vegetables: you can use any quantity and combination of vegetables you prefer – I mix it up regularly. You’ll want approximately 1.1kg (2.4 lb) of chopped vegetables for a full batch.
- Coarse sea salt: ensure you use cooking salt or coarse sea salt. Regular table salt may contain anti-caking agents and is much stronger.
- Tablespoon: we use a standard Australian tablespoon which is 20 ml (4 teaspoons).
- Water: ensure you use filtered water, as water that contains chlorine can alter the taste of the pickles.
- Non-reactive saucepans: are those which are ceramic, stainless steel, glass or enamelled cookware. Copper, iron and aluminium pans are reactive. Acidic foods, such as lemons and vinegar, may take on a metallic taste and discolour if cooked in such pans.
- Storage: once the jars have cooled, store the pickles in the fridge for up to three months. This is a quick pickle recipe not designed for long term canning.
- Nutritional information: is based on one entire jar, and includes the pickling liquid.
Nutrition Estimate:
Nutritional Disclaimer:
The nutritional information is an estimate only, and is derived from online calculators. For accurate results, we recommend calculating the nutritional information based on the ingredients and brands you use.






Oscar
My mom used to make giardiniera when I was younger and haven’t had them in a while. This recipe brought back so many memories and I forgot how much I loved these pickled veggies. Thanks for the recipe.
Alexandra Cook
Hello Oscar,
I love how food can bring back such wonderful memories. Thank you for sharing, and I am so pleased you enjoyed this recipe.
Alex xo
Melinda
I’m glad this made four jars, because I want to share a few with my neighbors! The brine was tangy, and the veggies were crisp and crunchy. I love how colorful the vegetable combination is too, there’s great eye appeal with this recipe. I’ll make this again and again.
Alexandra Cook
Thank you, Melinda!
That is so lovely you shared some of the jars with your neighbours 🙂
I am happy to hear you’ll be making this again! Alex xo