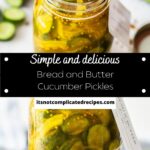
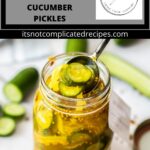
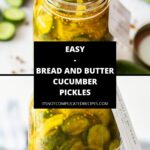

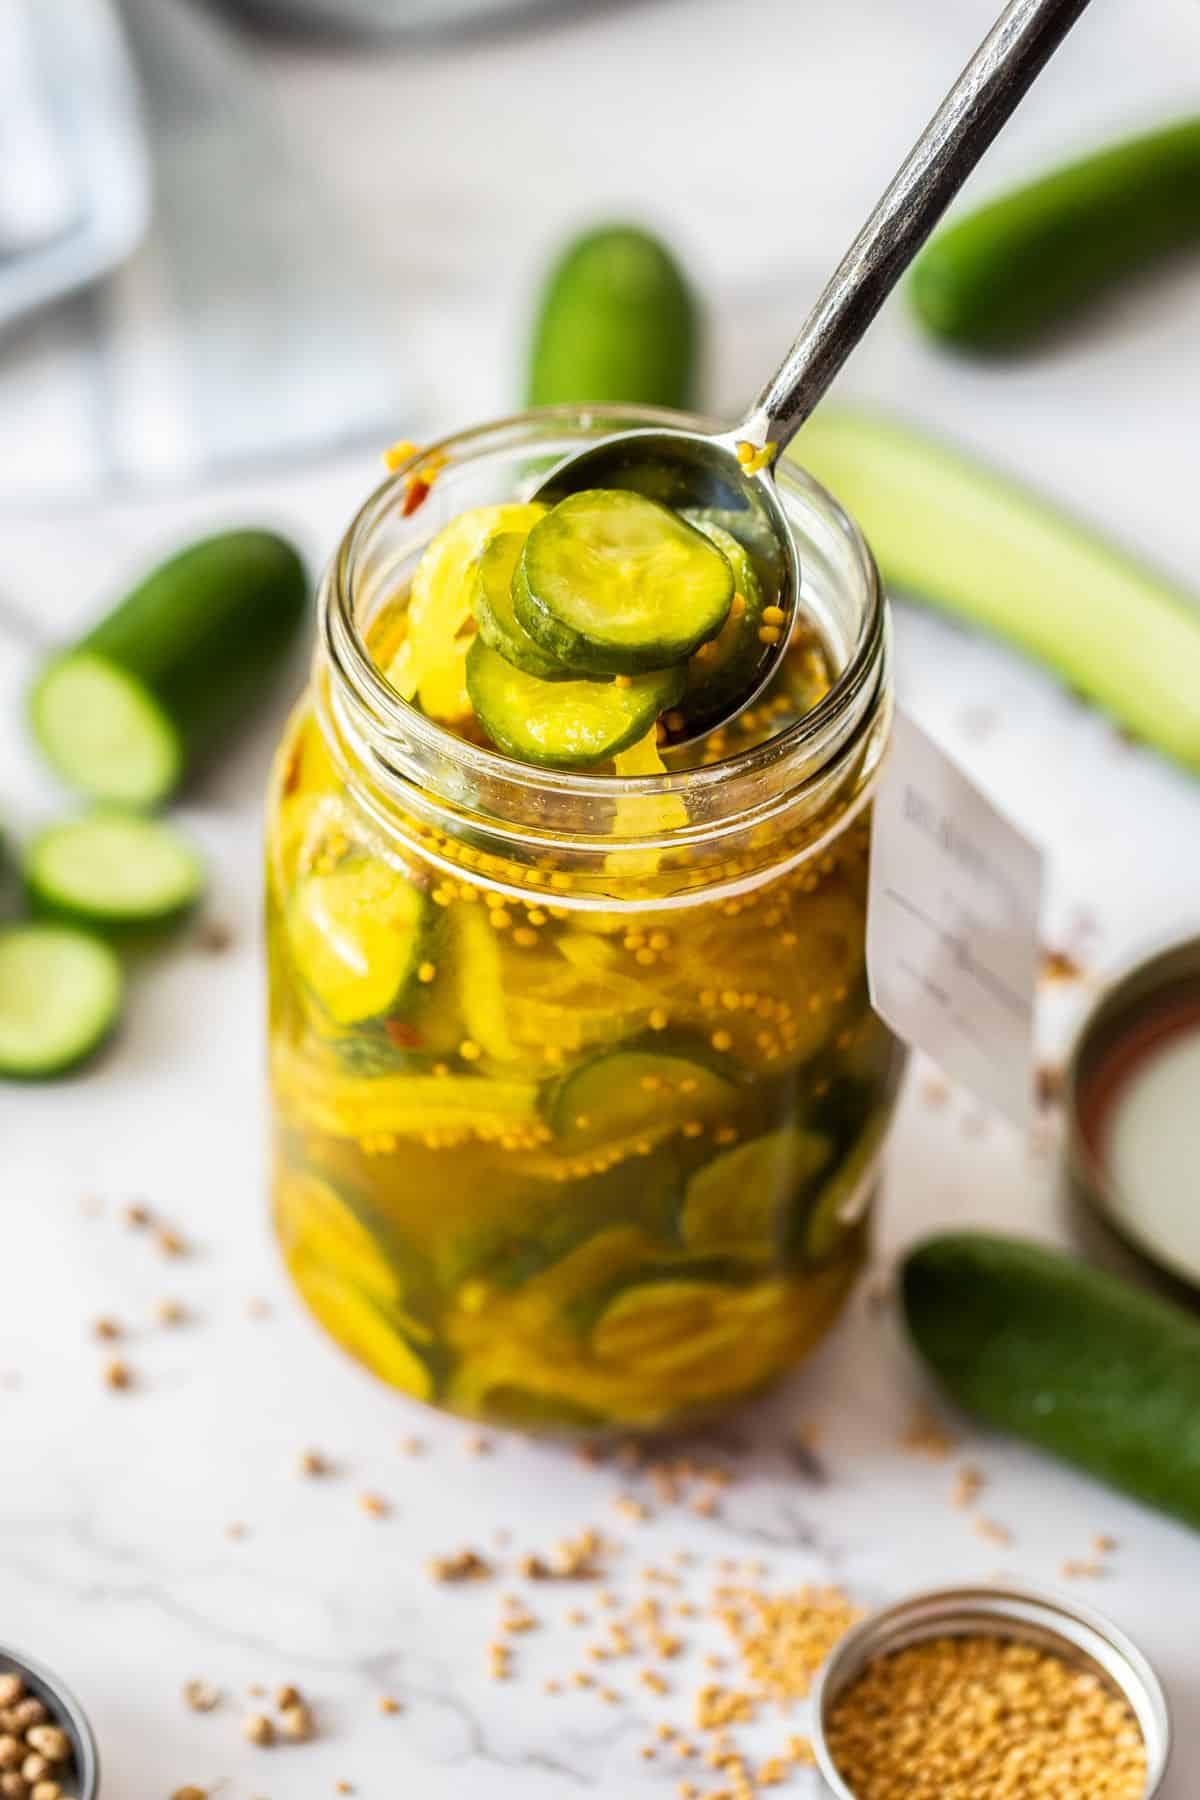
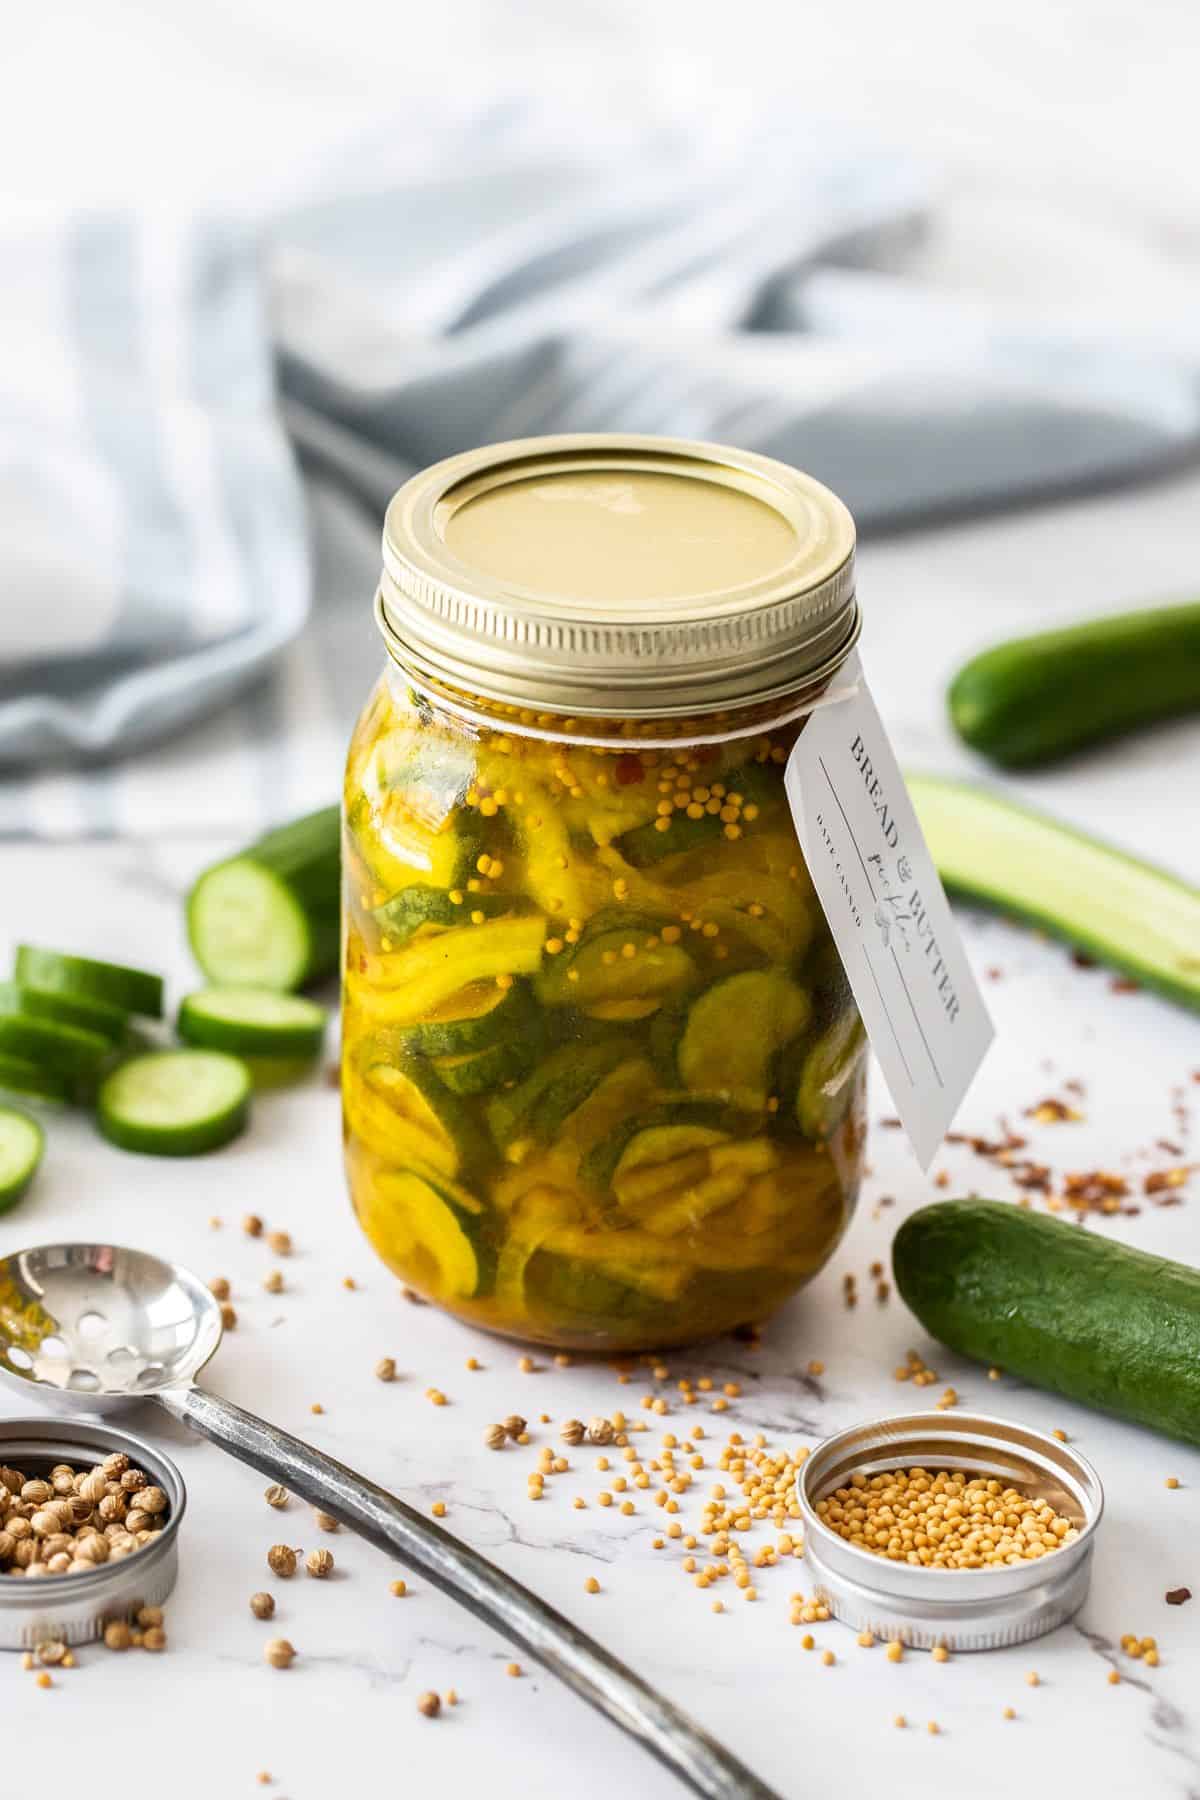
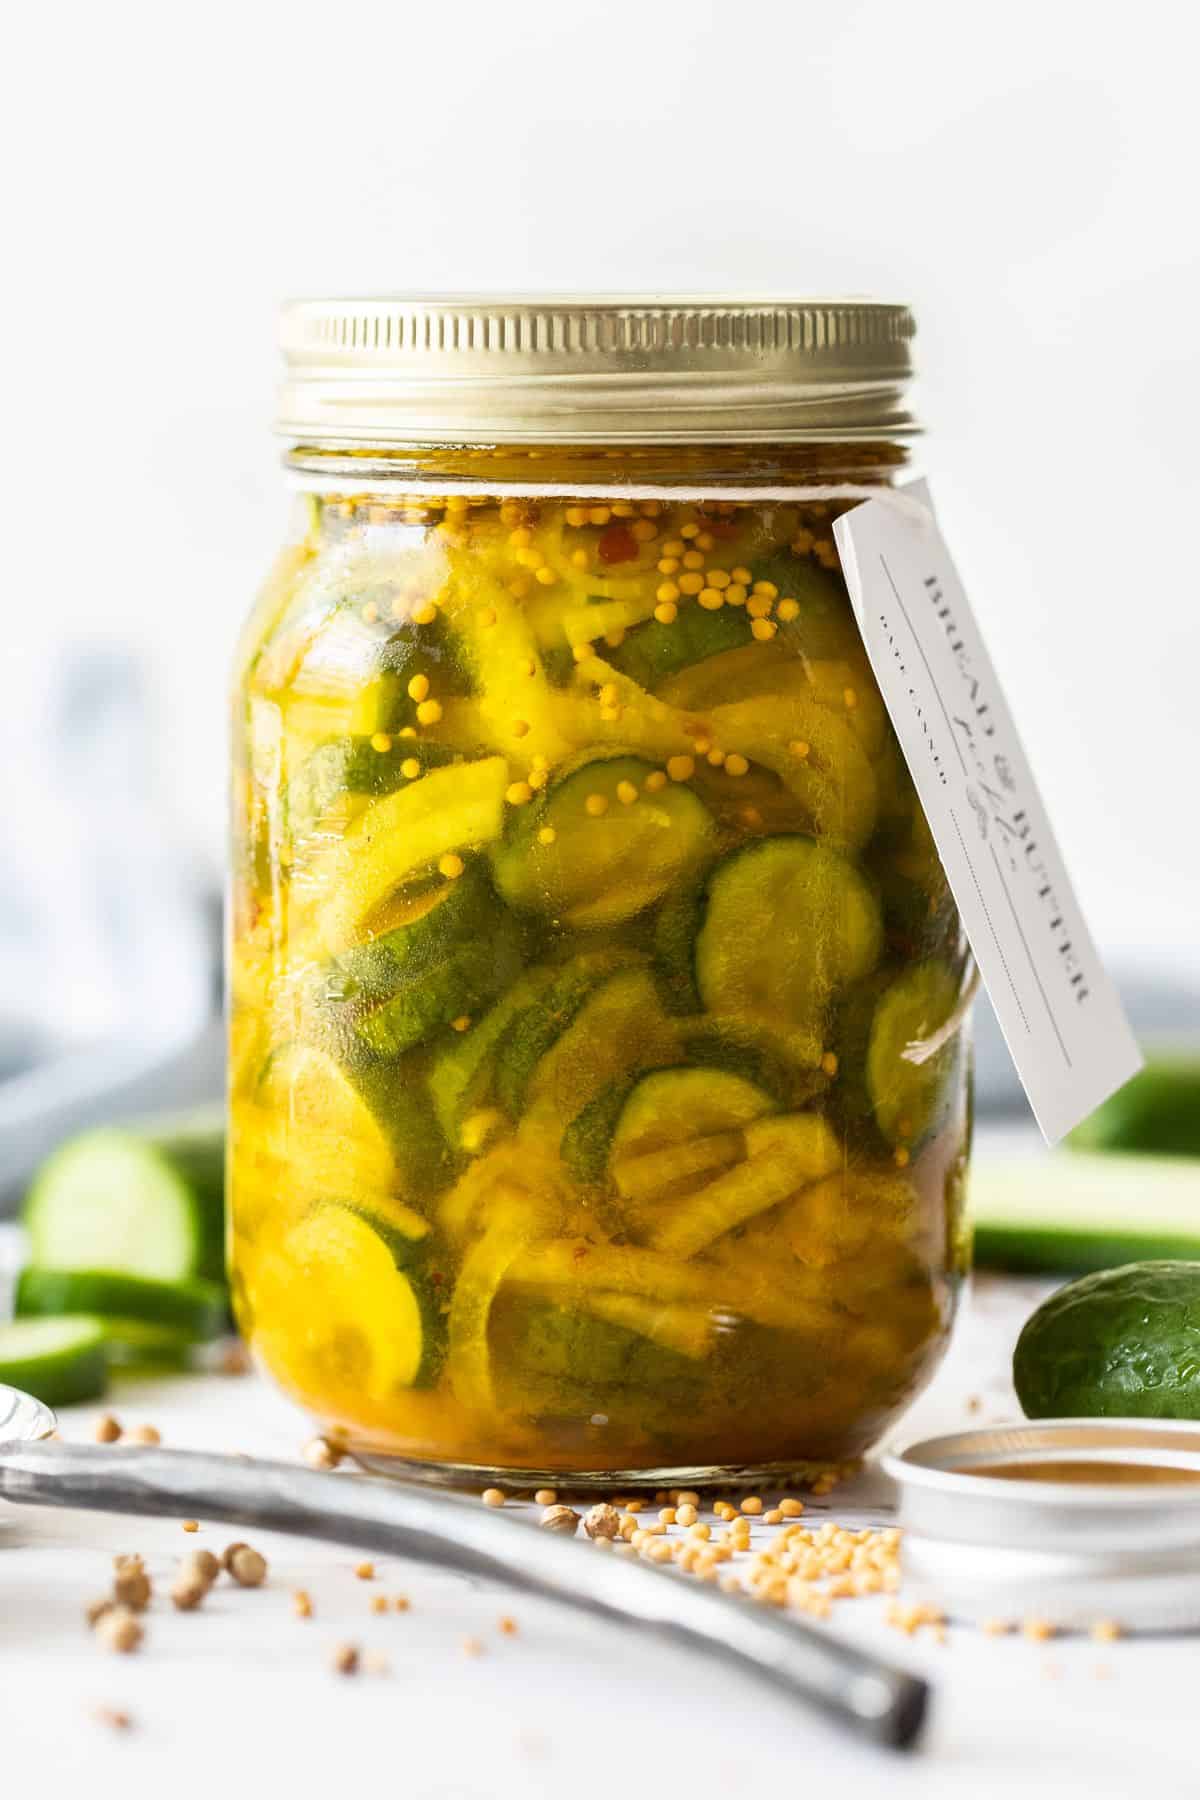
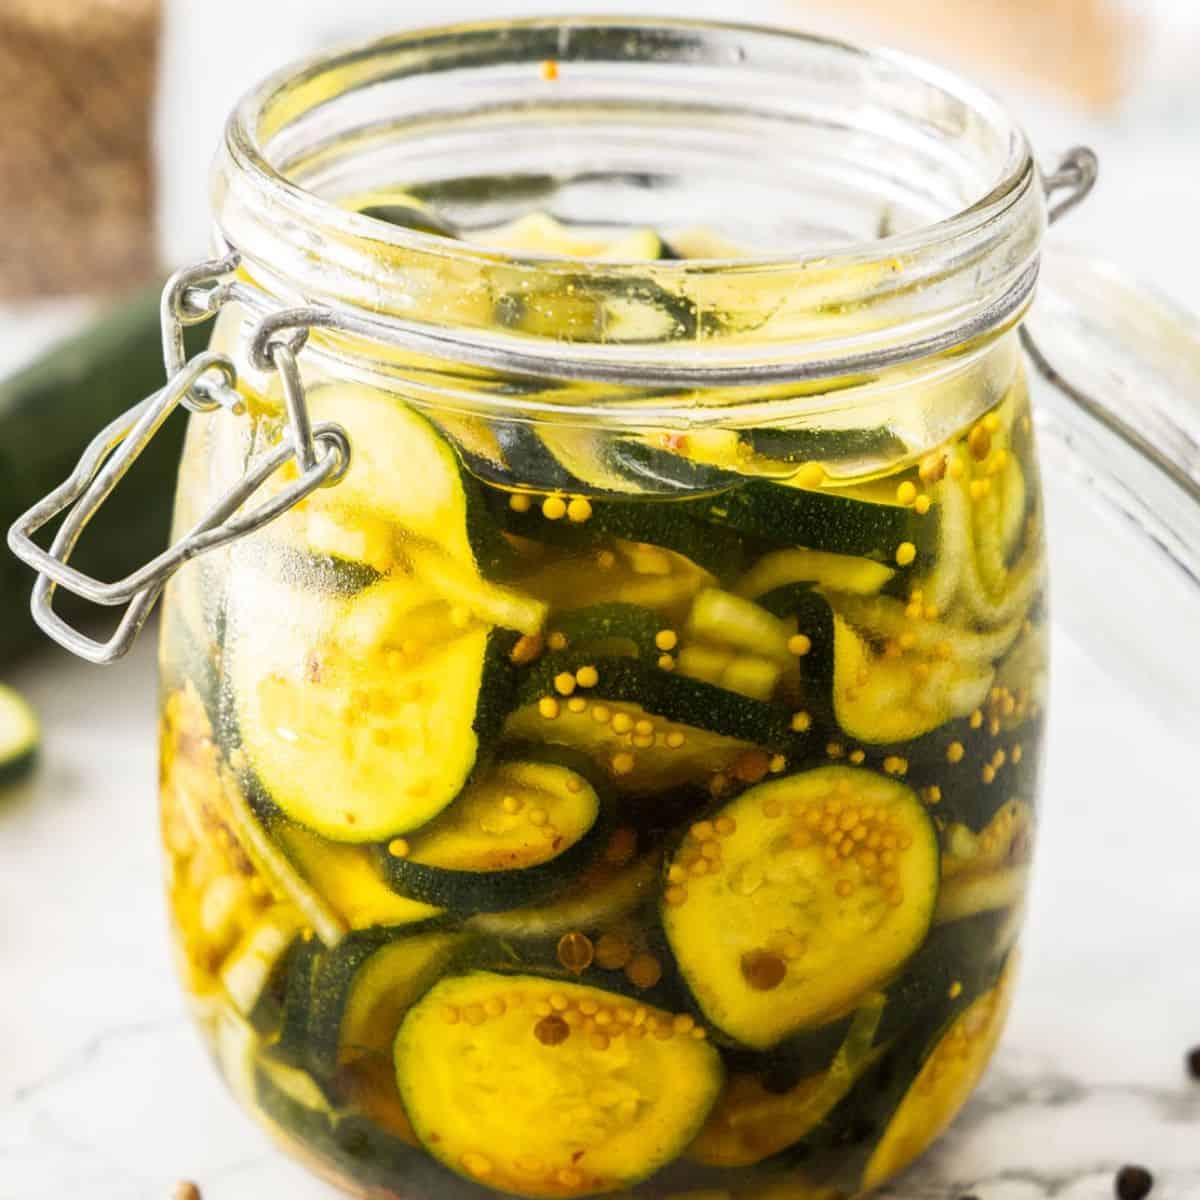
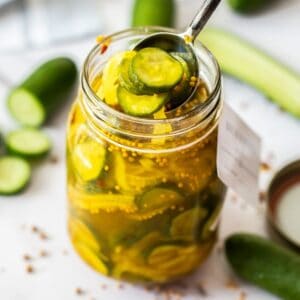
These Bread and Butter Pickles are so tasty and easy to prepare. To add vibrant flavour to the pickles we add onion, ground turmeric, coriander seeds, dried chilli flakes and mustard seeds. This easily made, flavoursome condiment is ideal to add to sandwiches, burgers, or serve alongside grilled meats or vegetables. They are great to have on hand and also make a fabulous edible gift.
This recipe is super easy and so tasty. They are great on a burger or added to a cheese platter. My son says they are the best he’s ever tasted.
– Kelly
Why You’ll Love This Recipe:
- This is an excellent way to make the most of produce at the height of the season. The Bread and Butter Pickles are quickly and easily prepared, providing you with a condiment to enjoy through the months ahead.
- They are made from simple ingredients which are readily available. As well, you can adjust the flavours to suit your taste.
- You will have the satisfaction of knowing that you prepared them yourself, and you know exactly what they contain.
- Homemade Bread and Butter Pickles are a real delight. To say they are superior to store-bought is not an exaggeration.
- These delicious pickles are perfect to serve with your favourite burger, grilled meats, crispy fried chicken, in a potato salad, or as the name implies, between bread and butter!
- They make a great edible gift – that is, if you can resist eating them all!
Recipe Inspiration: I grew up spending a lot of time in the kitchen with my Nana, Great Aunt and Mum. Recipes passed down through generations are my favourite, and this recipe is something my Nana made frequently.
Ingredients and Substitutions:
Please see the recipe card further along in the post for exact quantities of ingredients and the full method.
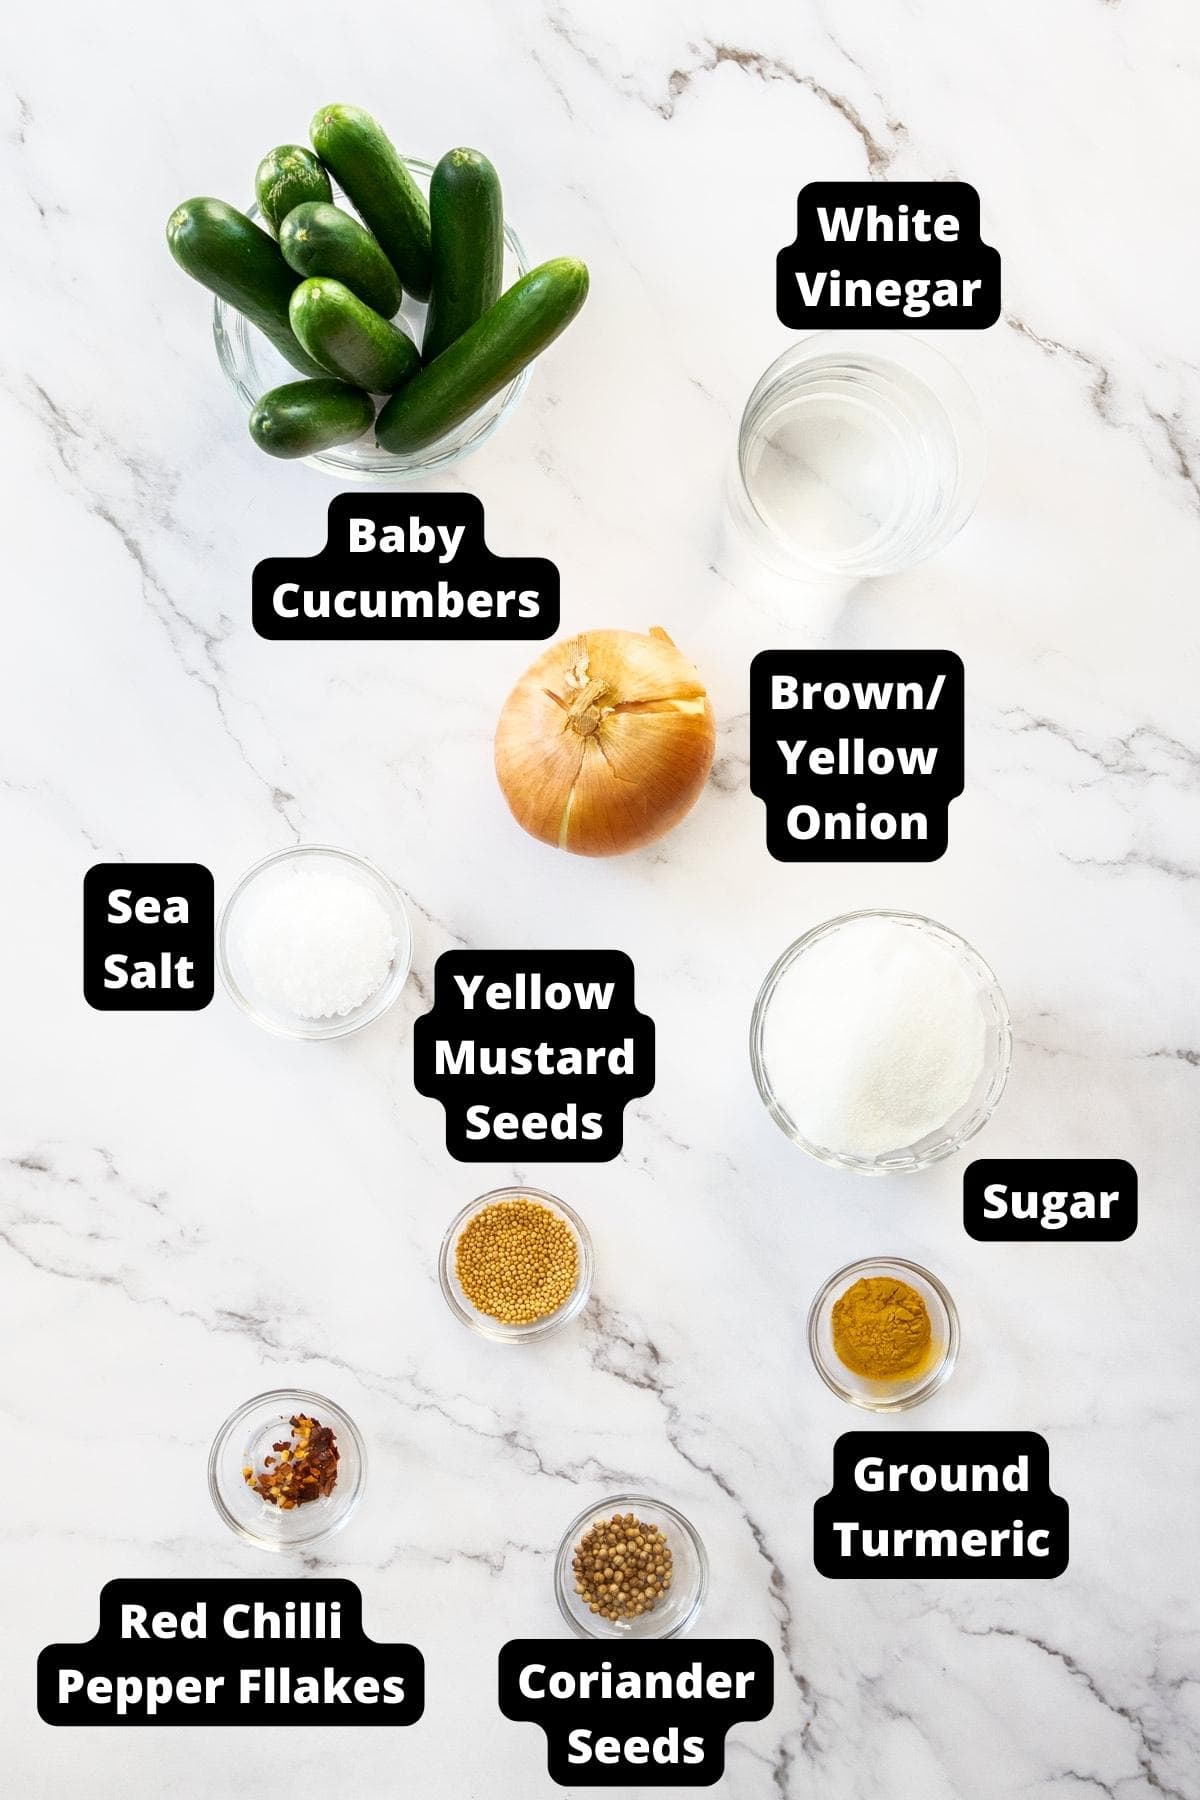
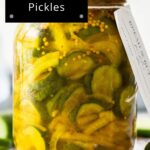
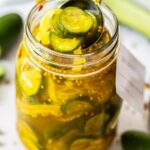
- Baby cucumbers – we use Lebanese cucumbers, also known as Persian cucumbers, they are a small variety, with thin, edible skin and few seeds. They are crisp and sweet. When selecting cucumbers, look for those with firm, unblemished skin and avoid any which feel soft.
- Brown/yellow onion – this is an all-purpose onion, which adds great flavour to the pickles. If you prefer, you can use a white onion.
- Salt – ensure you use coarse cooking salt as regular table salt being finer, is much stronger, and may contain anti-caking agents which could make your vinegar mixture cloudy. We use the salt to draw out the excess moisture from the cucumbers and soften the onion.
- White vinegar – for pickling, we use white vinegar with an acidity of 5%, but you can use white wine vinegar or apple cider vinegar if you prefer.
- White sugar – we use regular granulated white sugar to help preserve the pickles and balance the acidity of the vinegar. You can also use caster/superfine sugar.
- Turmeric – a small amount of ground turmeric adds vibrant colour to the Bread and Butter Pickles and enhances the flavour with its earthy qualities.
- Coriander seeds – also known as cilantro seeds, this spice adds a warm, earthy citrusy note.
- Yellow mustard seeds – they add vibrant flavour and gentle spice.
- Dried chilli flakes – for a mild spicy note.
Variations:
Coriander seeds – you could use cumin seeds instead if you prefer.
Yellow mustard seeds – you can use brown if that’s what you have on hand.
Dried chilli flakes – if you prefer to have less spice, you could add some whole peppercorns.
How To Make Bread and Butter Pickles:
Please see the recipe card further along in the post for exact quantities of ingredients and the full method.

1 – Slice the cucumbers and onions:
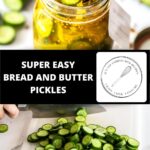
Wash and dry the cucumbers. Remove both ends. Cut into slices approximately ½ cm (⅕ inch) thick. Peel the onion and cut in half before thinly slicing each half into half-moons.
2 – Salt the cucumber and onions:
To a medium size bowl, add the cucumbers, onion and salt. Cover the bowl with clingfilm and refrigerate for 4 hours.

3 – Drain the cucumber and onions:
Tip the cucumbers and onions into a colander and drain the excess liquid.
4 – Add to the prepared jar:
Once you’re ready, add the cucumber and onion slices to your warm jar.
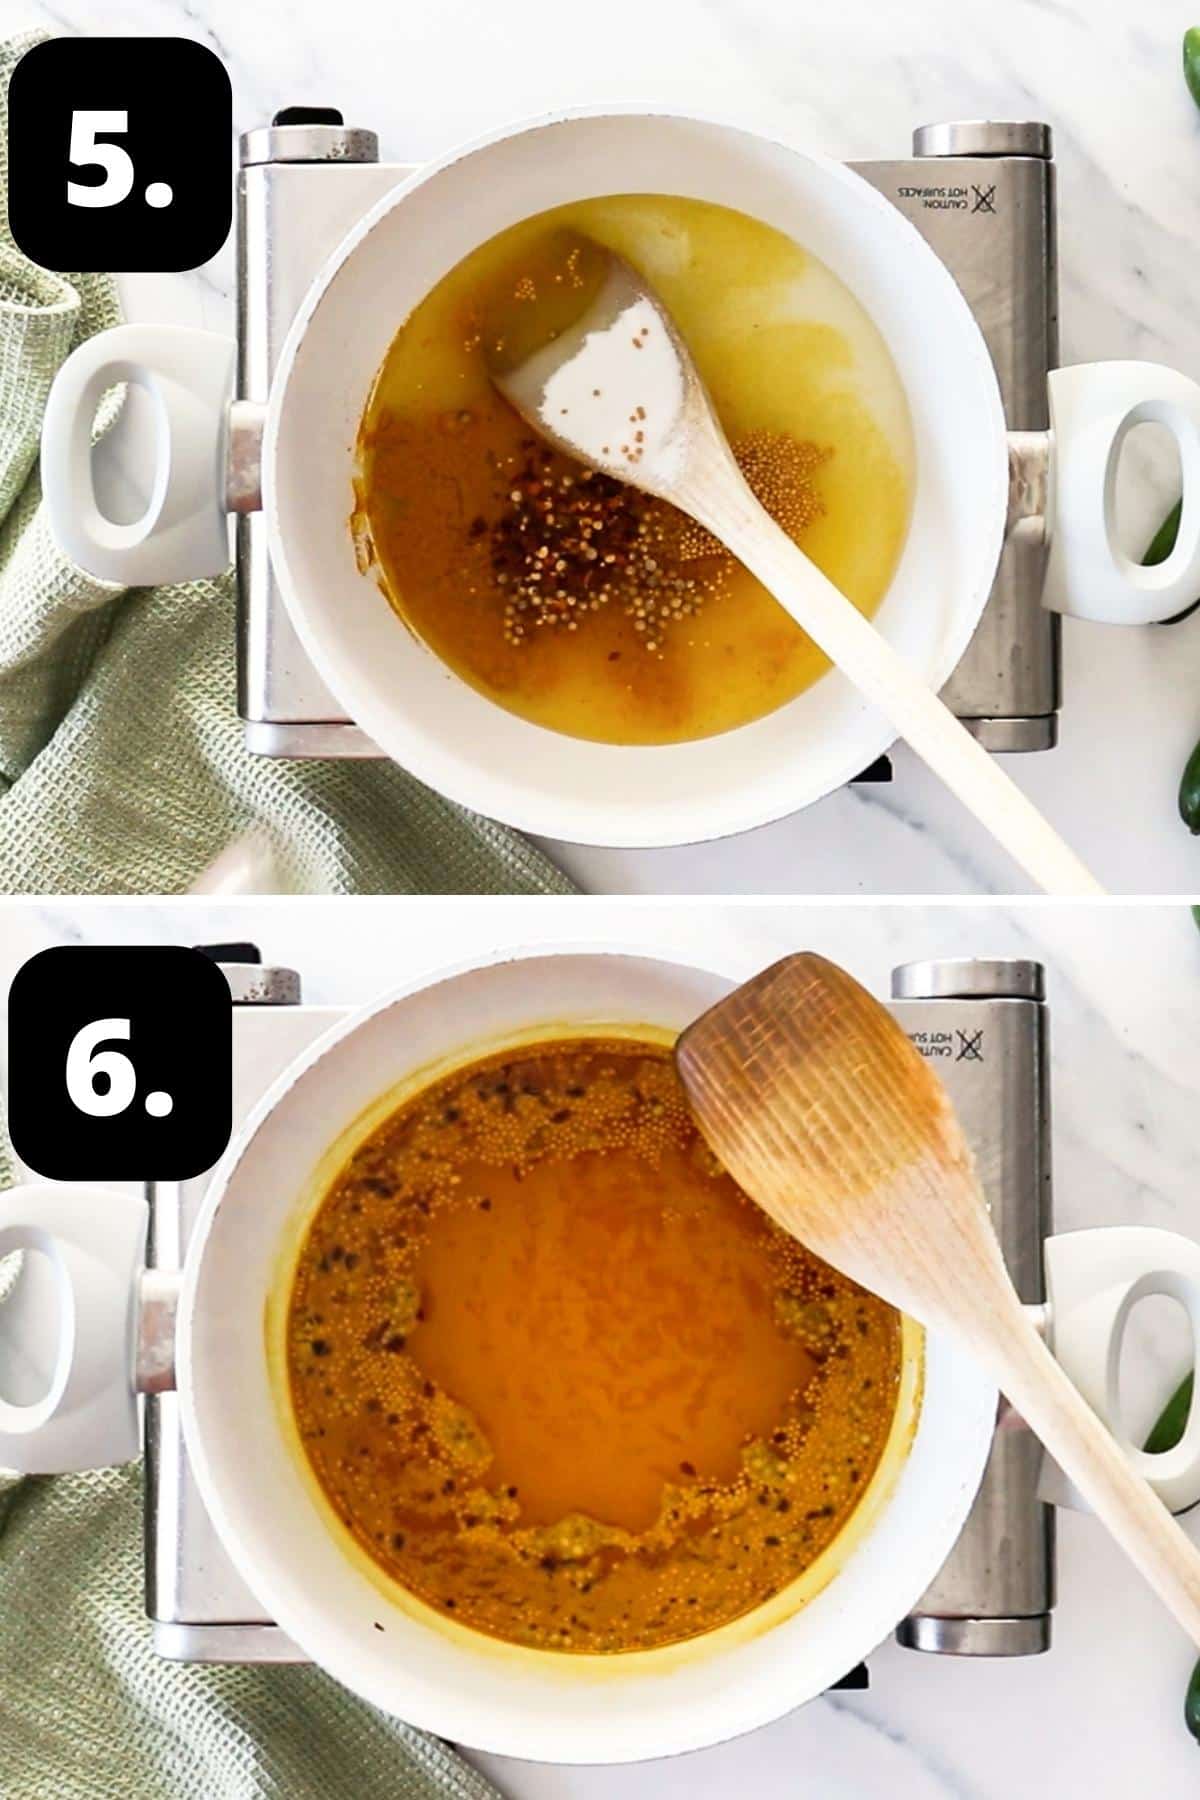
5 – Prepare your pickling brine:
In a non-reactive pan, add the vinegar, sugar and seasonings. On a medium heat, stir to dissolve the sugar. Once dissolved, simmer for 2 minutes. (Details regarding non-reactive pans are included in the recipe below).
6 – The brine ready to add to the jars:
Add the pickle brine to the jar with the cucumbers and onions.
Seal the jars immediately and allow to cool on the bench before refrigerating.
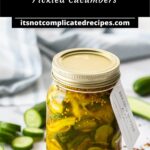
Hint: when making your own pickles and preserves, always ensure you sterilise the jars you will store them in. This is very simple to do, and I have given full details in the recipe. As well, I recommend that you use a jar with a wide opening to make it easier to fill with the pickles.
Tips for Success, Storage and FAQs:
Stored in the fridge, the pickles will last for about 3-4 months. They are best consumed within the first three months for the best texture and taste. The longer you keep the pickles, the softer they will become.
You will get the best result by using good quality ingredients. I have used Lebanese cucumbers, also known as Persian cucumbers They are a small variety, which has crisp, sweet fruit with thin, edible skin and few seeds. When selecting cucumbers, look for those with firm, unblemished skin and avoid any which feel soft.
For a clear flavour, I have used white vinegar with an acidity of 5%. You can use white wine vinegar or apple cider vinegar if you prefer.
Cucumbers contain approximately 95% water, and that water can dilute your pickling solution, so we salt them to draw out some moisture. This helps keep them crisp and concentrate their flavour. As well, I like to use small cucumbers as their water content is a little lower. The salt helps to soften the sliced onion.
Their name and popularity in the United States are attributed to Omar and Cora Fanning, Illinois cucumber farmers who started selling their sweet and sour pickles in the 1920s and trademarked an old family recipe for “Fanning’s Bread and Butter Pickles”. One season, during difficult times, they used small cucumbers which previously would have been regarded as waste. The pickles were popular, and they were able to barter them with their grocer for staples such as bread and butter, which were readily available. It is thought that this combination may have been a staple during the Depression era and the name for these sweet and sour pickles stuck.
Top Tip:
How to achieve crisp pickles: the single most important tip is to use small, firm, fresh cucumbers. If you grow your own, you have a head start. Otherwise, look for the best that you can find. But never use soft, spongey cucumbers.
Serving Suggestions:
You will find many ways in which to enjoy them. Some suggestions are:
- As the name suggests, between bread and butter or matured cheese.
- Add to a grazing platter.
- With dips, such as Hummus, Whipped Feta or Cannellini Bean Dip.
- In a hamburger or to brighten the flavour of a sandwich.
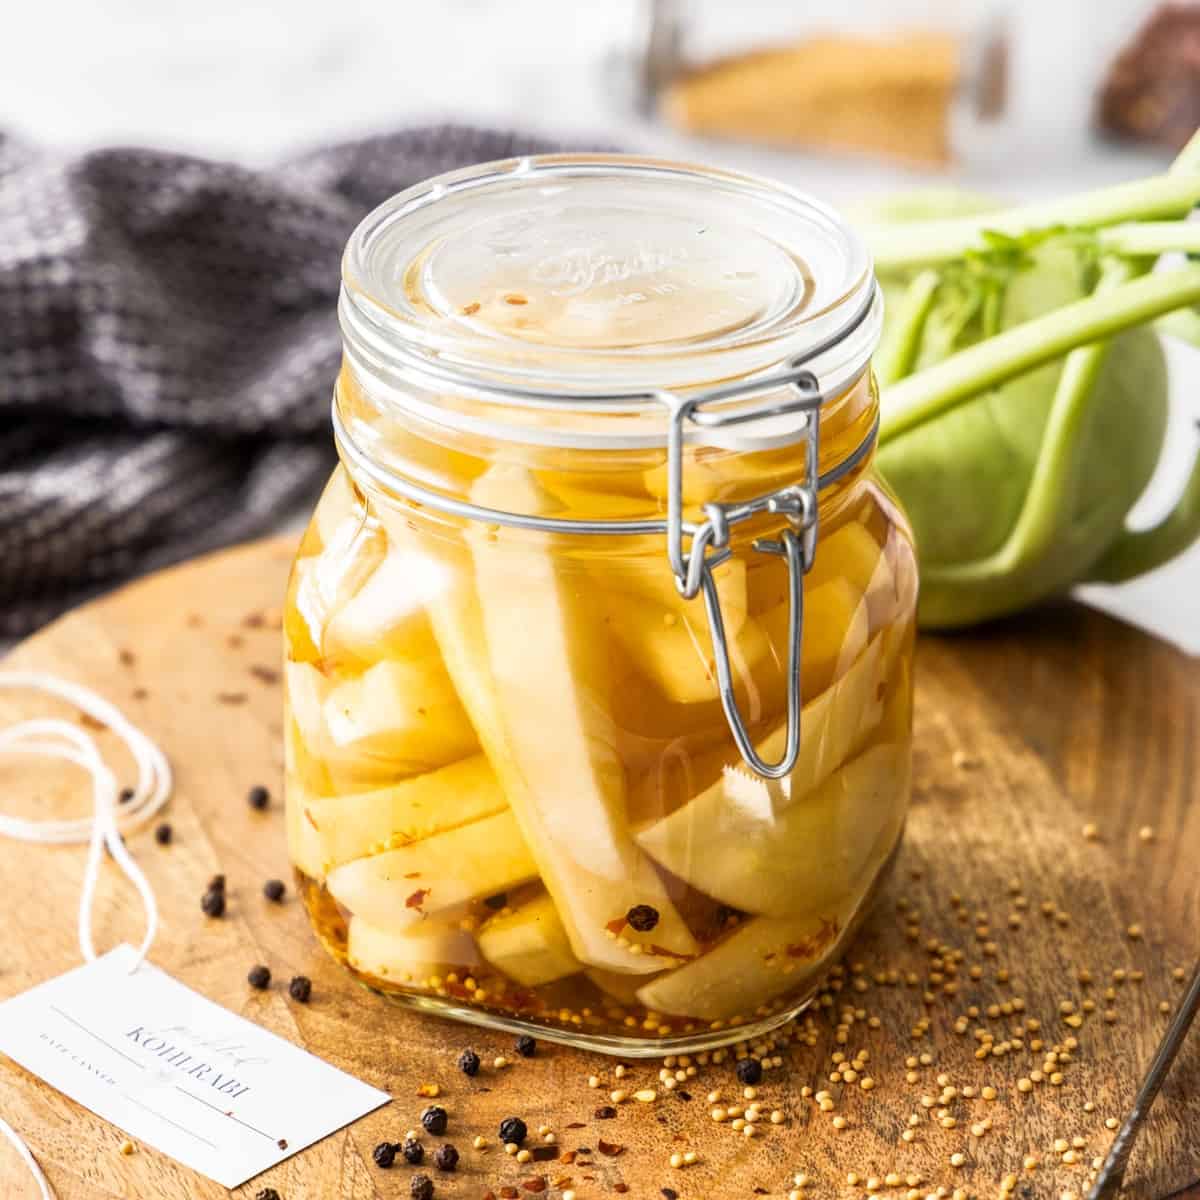
- Give a jar as a gift. You can even print out your own label, as seen in the photos! Simply right-click and save the image below to print out.

I hope you’ll give my recipe for Bread and Butter Pickles a try – I would love to know what you think in the comments below!
Alex xx
More Delicious Recipes For You To Try:
Stay in touch!
Follow me on Facebook, Pinterest, Flipboard and Instagram and subscribe to my newsletter.
Bread and Butter Pickles
Equipment
- 1 x 700ml (23 fluid oz) Jar
Please note:
For accuracy, when weights are provided, we recommend weighing your ingredients. This will produce the best results. All oven temperatures listed are for fan forced.
Ingredients
- 400 g (14 oz) baby/pickling cucumbers – I use Lebanese Cucumbers See Note 1
- 1 brown/yellow onion
- 1 ½ tablespoon coarse sea salt See Note 2 and 3
- 1 cup (250 ml) apple cider vinegar See Note 4
- ¾ cup (170 g) white granulated sugar
- 1 teaspoon ground turmeric
- 1 teaspoon coriander seeds
- 2 teaspoon yellow mustard seeds
- ¼ teaspoon red chilli peppers flakes – optional
Instructions
To Sterilise the Jars:
- Sterilise the jar or jars you'll be using to store the pickles. Choose glass jars with an airtight, metal lid and ensure they have been washed by hand in hot soapy water then rinsed well. Check that the metal lids do not have rubber inserts – if they do, allow them to air dry, instead of placing in the oven.Preheat the oven to 130 Degrees C (270 F) and place the jars in the oven for 15-20 minutes. Keep the jars warm.
For the Bread and Butter Pickles:
- Wash and dry the cucumbers. Remove the top and end.Thinly slice – approximately ½ cm (⅕ inch) thick.
- Peel the onion and remove the tip. Cut the onion in half, and thinly slice into half moons. Discard the root end.
- In a large bowl, add the cucumbers, onion and salt. Cover the bowl with plastic wrap, and place in the fridge for 4 hours.
- Tip the cucumbers and onions into a colander and drain the excess liquid. Discard the liquid.Place the cucumber and onion slices into the warm, sterilised jar.
- In a non-reactive pan (See Note 5), place the vinegar, sugar, turmeric, coriander, mustard seeds and chilli flakes. On a medium heat, stir to dissolve the sugar. Once the sugar is dissolved, simmer the liquid for 2 minutes.
- Remove the saucepan from the heat, and carefully pour the pickling liquid into the jar with the cucumber and onions.
- Seal the jar immediately, and allow to cool on the bench before placing in the refrigerator. The Bread and Butter Pickles can be enjoyed once cool, but I recommend leaving them for 24-48 hours to allow the flavours to develop.
Video
Notes
- Cucumbers: I have used baby Lebanese Cucumbers in this recipe. Baby/pickling cucumbers are best to use for their size and crispness.
- Coarse sea salt: ensure you use cooking salt or coarse sea salt. Regular table salt may contain anti-caking agents and is much stronger.
- Tablespoon: we use a standard Australian tablespoon which is 20 ml (4 teaspoons).
- Vinegar: I have used white vinegar that is 5% in acidity. You can also use apple cider or white wine vinegar – just ensure the acidity level is 5%.
- Non-reactive saucepans: are those which are ceramic, stainless steel, glass or enamelled cookware. Copper, iron and aluminium pans are reactive. Acidic foods, such as lemons and vinegar, may take on a metallic taste and discolour if cooked in such pans.
- Storage: once the jars have cooled, store the pickles in the fridge for up to three months. This is a quick pickle recipe not designed for long term canning.
- Nutritional information: is based on the entire jar, and includes the pickling liquid.
Nutrition Estimate:
Nutritional Disclaimer:
The nutritional information is an estimate only, and is derived from online calculators. For accurate results, we recommend calculating the nutritional information based on the ingredients and brands you use.
This post was originally published in April 2020. It has been updated with more information and new photos. Minor improvements have been made to the recipe.
Susan
This is my third time making these pickles. Love them so much. This time i’ve made some as a gift
Alexandra Cook
So thrilled to hear this, Susan! 🙂
Thank you so much for taking the time to let me know. Alex xo
Kelly
This recipe is super easy and so tasty. They are great on a burger or added to a cheese platter. My son says they are the best he’s ever tasted.
Alexandra Cook
That is so lovely to hear, Kelly!
Thanks so much for taking a time to leave a comment on both here and Pinterest 🙂
Alex xo
Craig
I have made these last 3 years for myself and 3 families. Only changes I made were 1/2 the volume of sugar and I re-washed the cucumbers ofter salting I found the too salty for my taste if I do not wash and re-drain them.
Alexandra Cook
Thanks for making this recipe, Craig! 🙂 Appreciate your feedback.
Happy New Year! Alex
Veronica Dekker
A simple recipe that’s easy to make. Very flavourful and tasty.
Alexandra Cook
Thanks so much, Veronica!
So pleased you enjoyed this recipe 🙂
Elizabeth
This is very tasty and easy to make. I have made one batch , which we thoroughly enjoyed and have now consumed. I am about to make a double batch so I can give some away to family and friends as they also have enjoyed it.
Alexandra Cook
Hi Elizabeth,
Thank you for your lovely comments. I am delighted to hear that you enjoyed the Bread and Butter Pickles. Such a great idea to give some as gifts. 🙂
Ramona
This is definitely a great recipe, is it to follow an absolutely delicious and this is coming from a pickle head like myself I cannot live without pickles. Great recipe. Thank you so much for sharing.
Alexandra Cook
Hi Ramona,
Thanks so much for your comment. So thrilled to know you loved this recipe 🙂
Great to meet a fellow pickle head too 😀 Thanks, Alex
Kelly
So easy to make and they taste so good
Alexandra Cook
Thank you so much, Kelly!
Margaret CAREY
how long will these last in the fridge…
can they be put through a canning process in hot water bath…
Alexandra Cook
Hi Margaret,
Stored in the fridge, the pickles will last for about 3-4 months. They are best consumed within the first three months for the best texture and taste. The longer you keep the pickles, the softer they will become.
This recipe is not one that been tested for canning as it’s more of a quick pickle – it would be worth sourcing a recipe for a pickle that had been tested for canning should you wish to try that.
Let me know if you give these a try!
Thanks, Alex
Leanne
Just wanted to say – the pickling liquid is a great addition to gin or tequila drinks. Waste not want not!
Alexandra Cook
I have to give this a try, Leanne 🙂 Thanks for suggesting!
Blake Matthews
I had 1.5 times the amount of cucumber for this recipe, so adjusted the other ingredients accordingly. On reflection though I would leave the salt as listed above as my pickles turned out a little too salty.
Alexandra Cook
Hi Blake, given some time, I feel the pickles will mellow, and I hope you enjoy them. 🙂
Thanks, Alex
Linny Rogers Aotearoa NZ
GR8 except for weird American blogger habit of reversing the order of the recioe, and thus exact ingredients LAST after endless scrolling
Alexandra
Thanks for your feedback, Linny. We try to include as much information in our posts, but if you prefer to head straight to the recipe, you’ll find a large “jump to recipe” button at the top of the page that you can click to be taken directly to it 🙂
Margo
Hi
I am diabetic. How many carbs per ounce are the Bread and Butter pickles? Going out today to get the cucumbers. Ty for recipe.
Alexandra
Hi Margo,
The nutritional information we provide in the recipe card is an estimate only. I recommend using an online calculator of your choice or consulting a health professional for accurate amounts.
Hope you’ll enjoy the recipe!
Kind regards, Alex
James
Hello!
Thanks for the recipe, very easy to follow and just batched up 2 x 300gm jars. It might be worth adding to the notes how long (or most optimal time) to leave them in the jars before consuming?
I have read on other recipes to rinse the cucumber and onion after leaving them for 4 hours in the fridge, to moderate how salty they are. I didn’t do it with this recipe, but I don’t think it will matter too much…
Last tip from me is I added a secret weapon… Sprig of dill to each jar 😉
Cheers!
Alexandra
Hey James,
Thanks for trying the recipe!
Your pickles are good to go once they’re cooled – the flavours will develop over time, but they’ll be delicious the same day. I’ll add a note to the recipe card confirming this.
No need to rinse the pickles – this helps keep them crisp and aids in the preservation. Rinsing them would also add the moisture back in that you have extracted with the salt.
Dill is a great addition – we do this in our Dill Pickled Cucumbers. 🙂
Enjoy your pickles! Cheers, Alex
Margaret Emil
Hi Alexandra,
Just clarifying, in your notes, about the size of a tablespoon. Does this mean you have used the Aussie measure of 20ml for a tablespoon?
Cheers
Gert
Alexandra
Hi Gert!
That is correct – the 20 ml tablespoon 🙂
Thanks! Alex
Connie
I have just finished bottling my first batch of cucumbers. They look delicious. How soon can we eat them?
Can’t wait to try them
Connie
Alexandra
Hi Connie!
You can eat them as soon as they’re cool, but I would recommend leaving them a day or two to really let the flavours develop.
I hope you’ll enjoy them!
Kind regards, Alex
Connie
Thank you!
Jo-Ann Dunlop
Delicious, I have made this and given to colleagues and they love it, said they would even pay for it.
Thanks for the recipe the Turmeric really makes a difference
My go to recipe now for when I have too many cucumbers
Alexandra
Hi Jo-Ann, thank you so much for your lovely comments on the Bread and Butter Pickles. I am delighted that you and your friends enjoy them and I appreciate that you took the time to let me know. 🙂
Fil
Can the pickles be stored for longer in a cupboard or do they have to be refrigerated? I have excess amounts of cucumbers and would like to preserve them
Alexandra
Hi Fil, the recipe is not designed for long term preservation of the cucumbers as the flavour and texture would diminish over time. We definitely recommend that they be refrigerated. If you are wanting to store pickles longer term, I recommend that you look for a recipe that would be more suitable. I hope this helps. Kind regards, Alex 🙂