


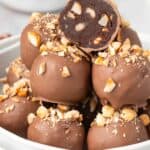


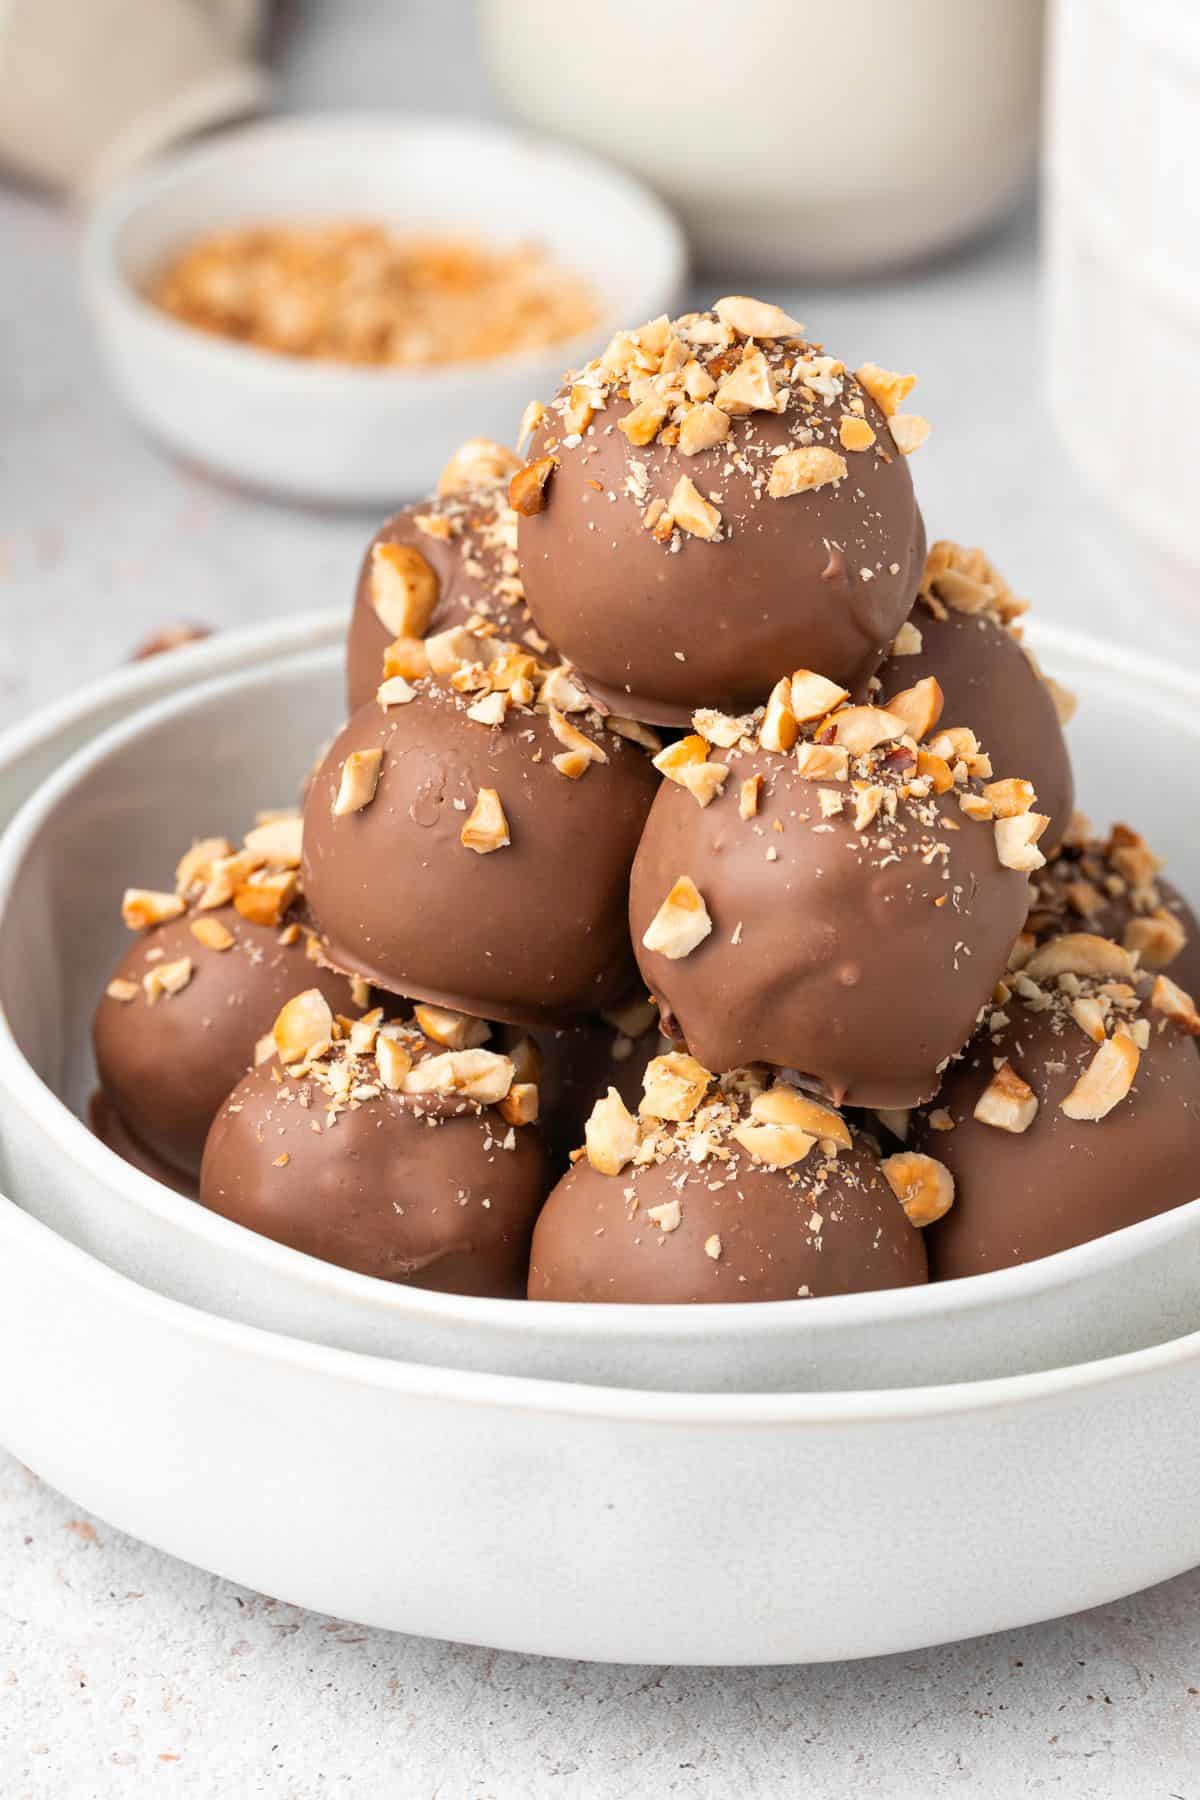
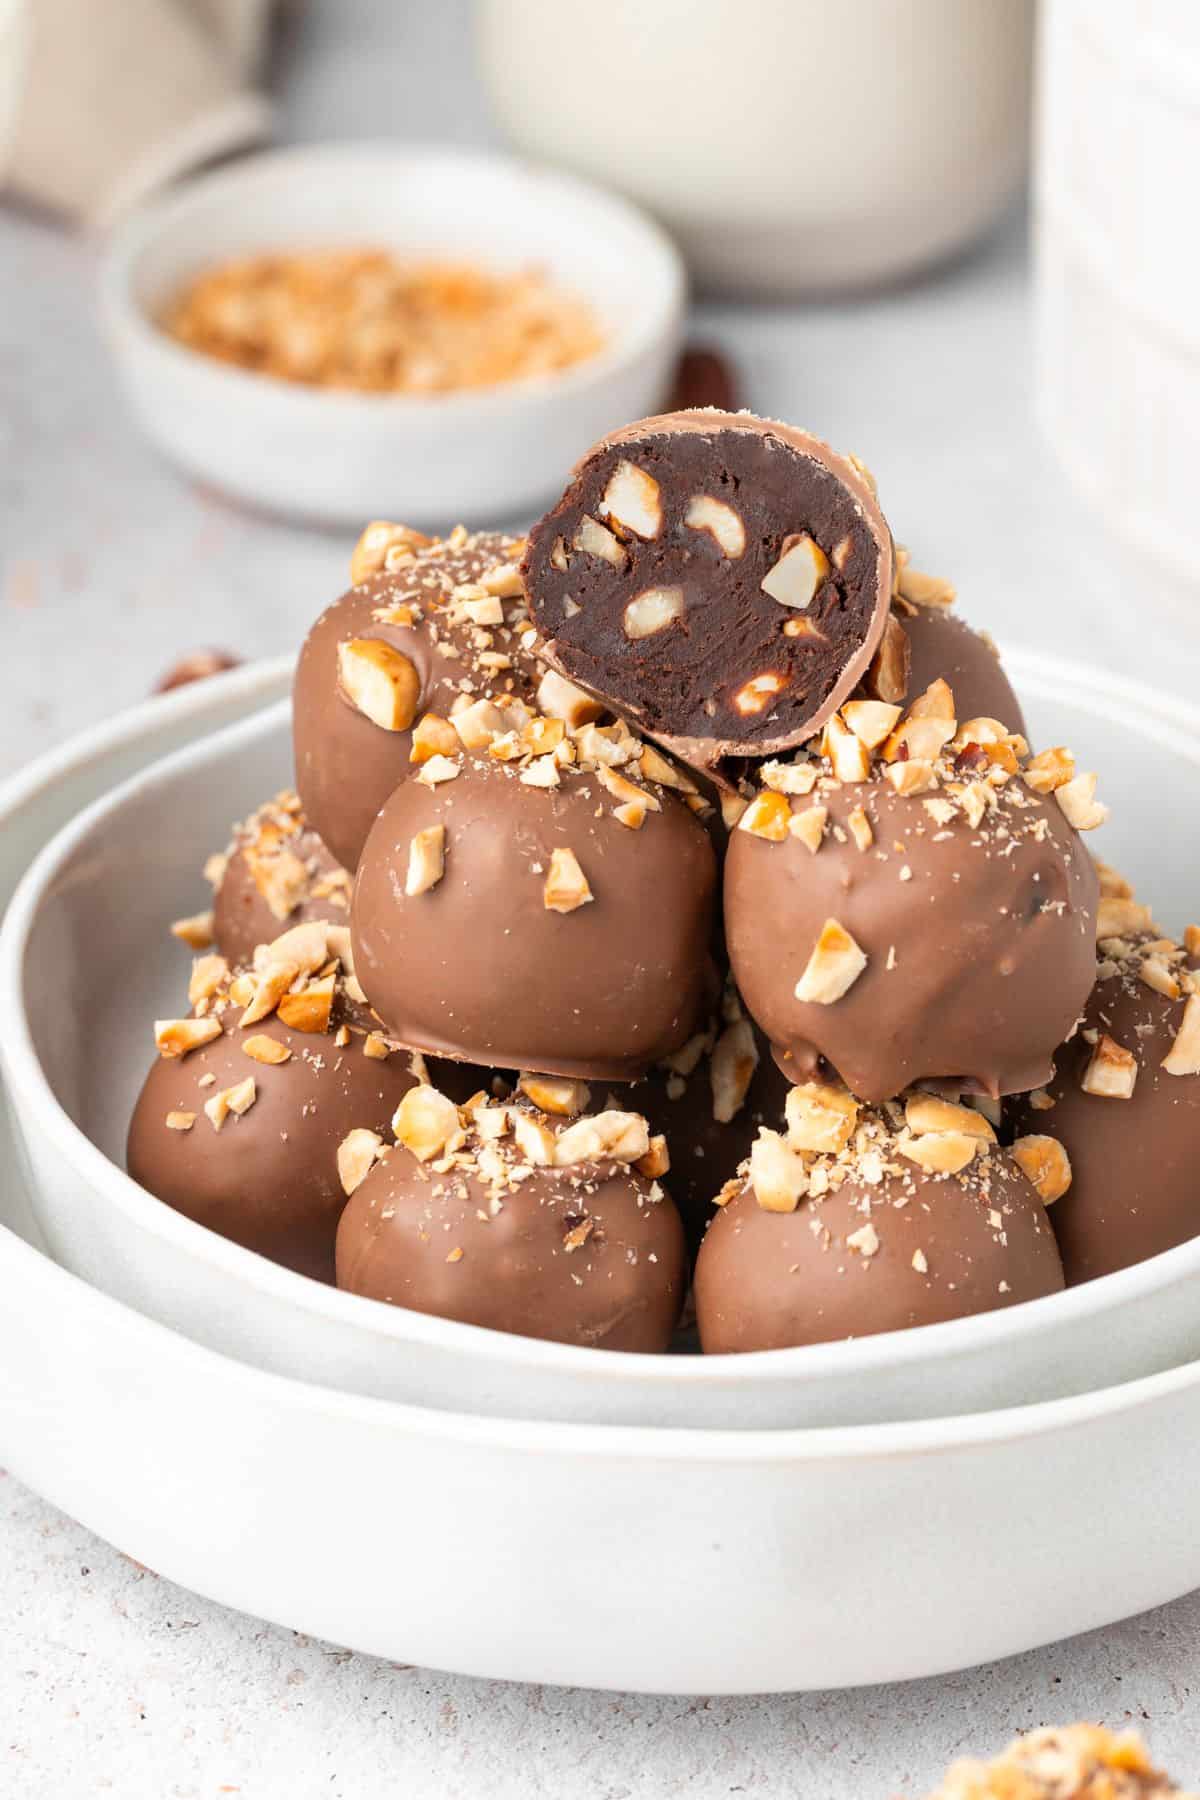
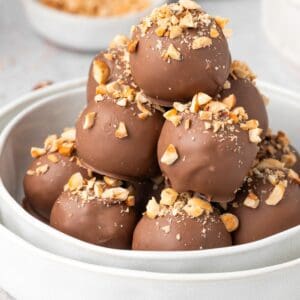
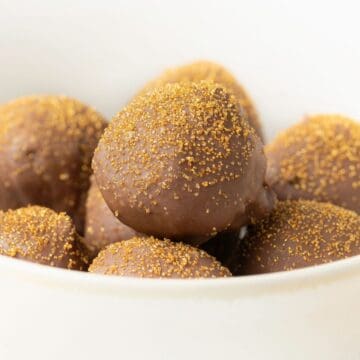
My Hazelnut Truffles are the ultimate chocolate indulgence and easy to make. We add chopped hazelnuts to a rich, creamy, chocolate ganache which we roll in yet more chocolate; they are melt-in-the-mouth delicious! Containing just five ingredients, these truffles are guaranteed crowd pleasers.
Why You'll Love This Recipe:
- The truffles contain just five simple ingredients that are readily available.
- You don't need any special equipment to make these Hazelnut Truffles.
- If you're entertaining, they are the perfect after-dinner sweet treat.
- They cost less than an equivalent store-bought box of chocolates.
- This homemade confectionery is impressive. You will be delighted with the results and friends and family will thank you.
- Hazelnuts and chocolate were made to be together, and who can resist chocolate upon chocolate? So good!
Recipe Inspiration: chocolate truffles are one of our favourite sweet treats to make! They're so easy, so we have been excited to add some additional varieties to the blog. Taste testing and truffle quality control is one of the important parts of recipe development. Someone must do it! 🙂
Ingredients and Substitutions:
Please see the recipe card further along in the post for exact quantities of ingredients and the full method.
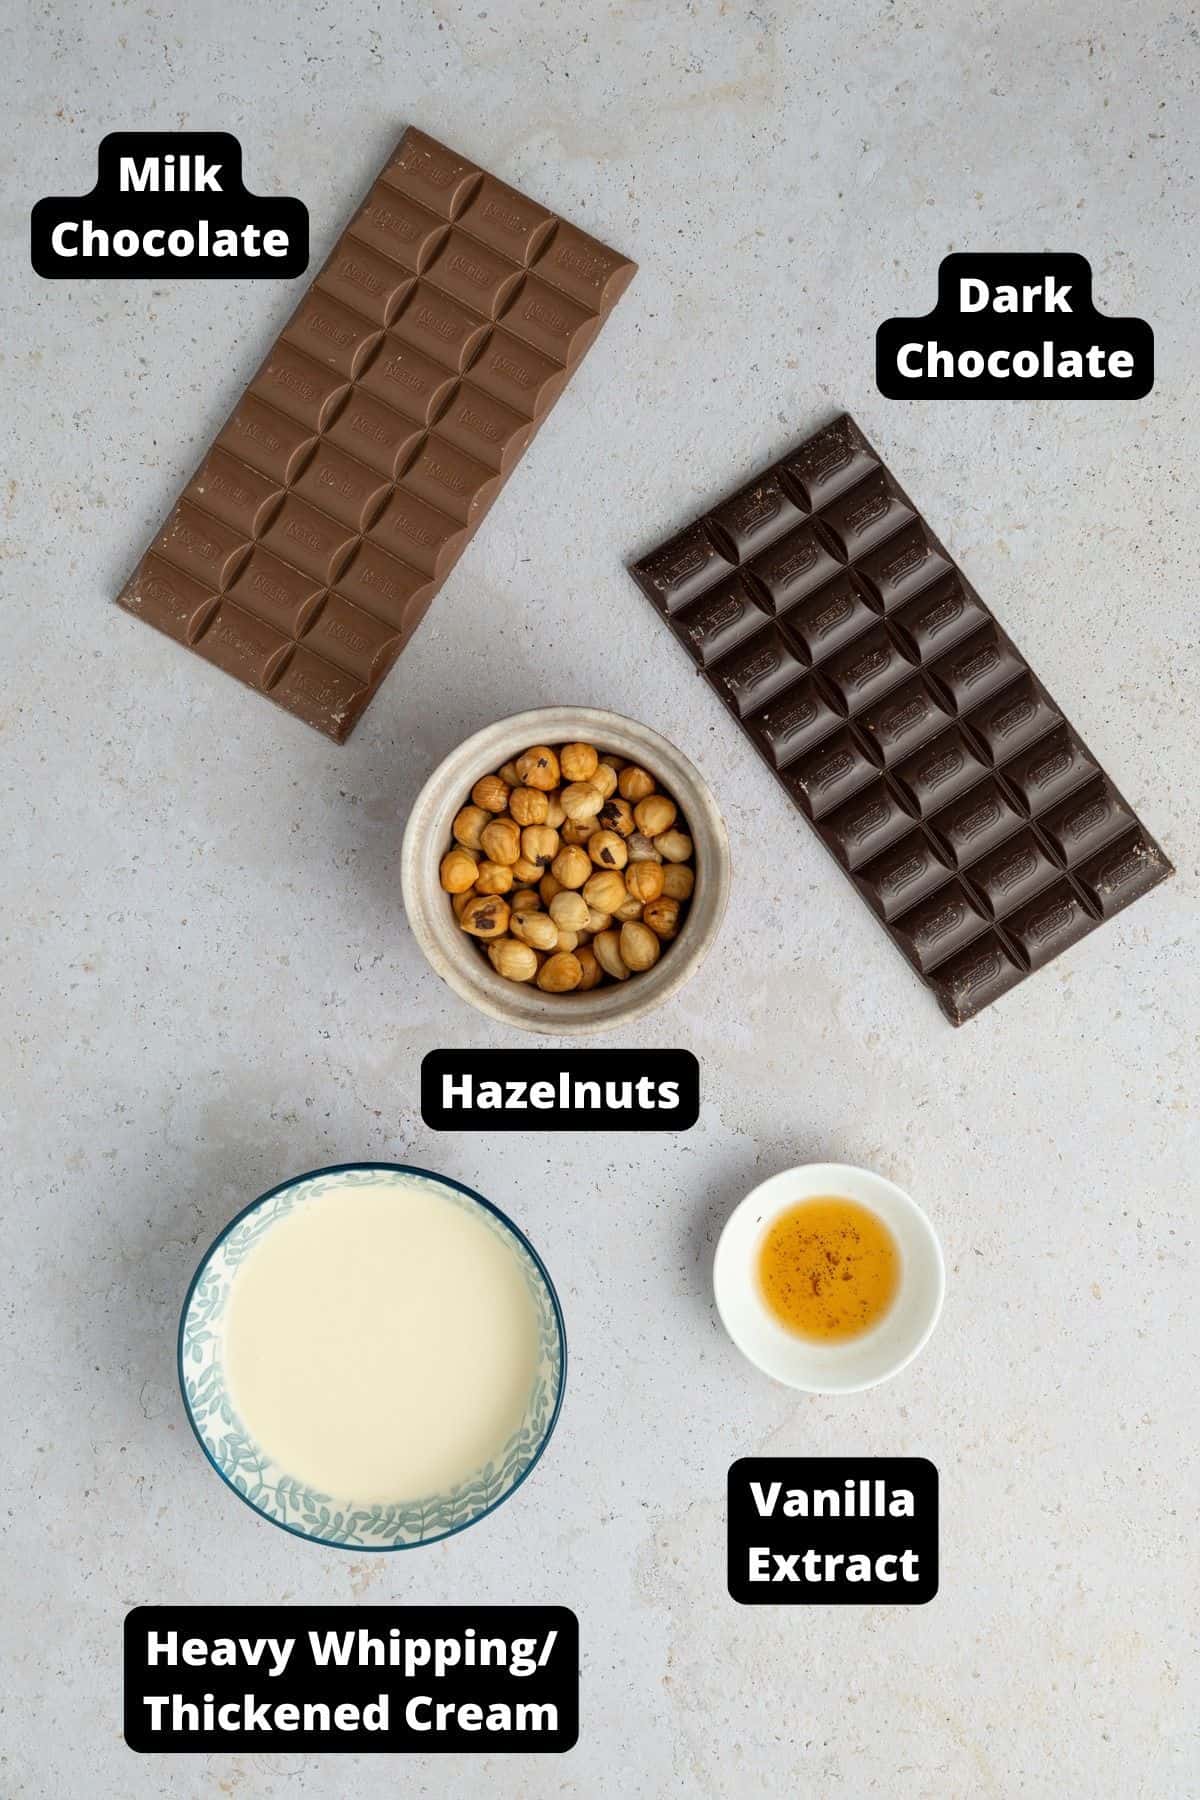
- Thickened cream - also known as whipping cream or heavy cream, contains 35% milk fat.
- Dark cooking chocolate - the one we use contains 40% cocoa solids. This will produce an ideal texture - 70% yields a firmer, less creamy set.
- Vanilla extract - use vanilla, naturally extracted, not one which is artificially flavoured.
- Roasted hazelnuts - with the skins removed, roughly chopped into small pieces.
- Milk cooking chocolate - for coating the truffles.
Variations:
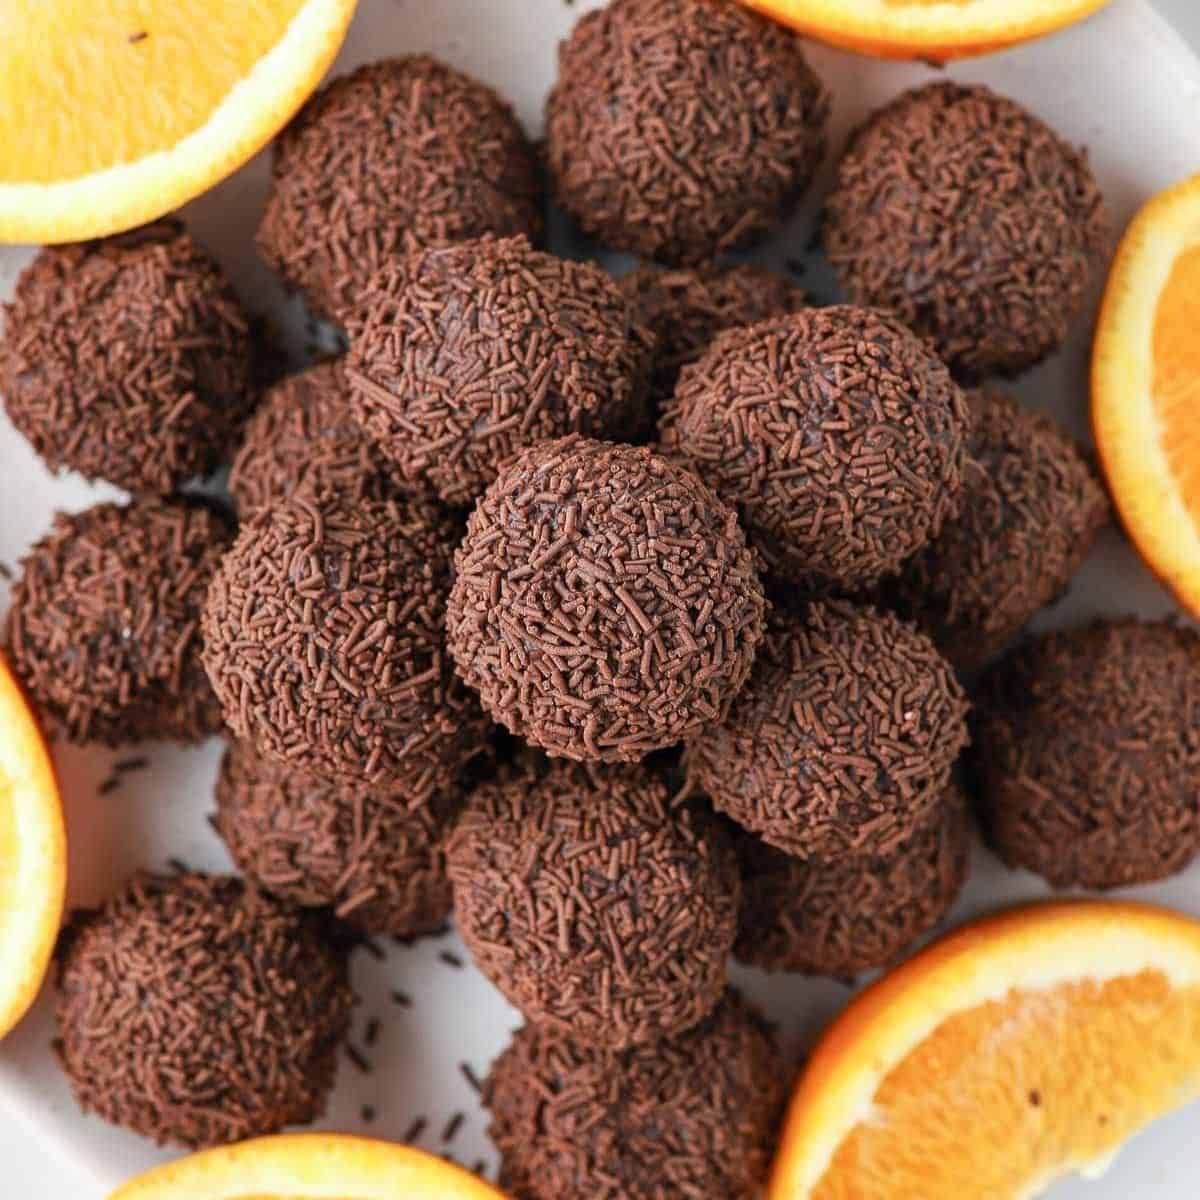
Coating - you can vary the chocolate you use to coat the truffles. Alternatively, for ease, you could roll the truffles in chocolate sprinkles, Dutch processed cocoa powder or crushed hazelnuts.
How To Make Hazelnut Truffles:
Please see the recipe card further along in the post for exact quantities of ingredients and the full method.
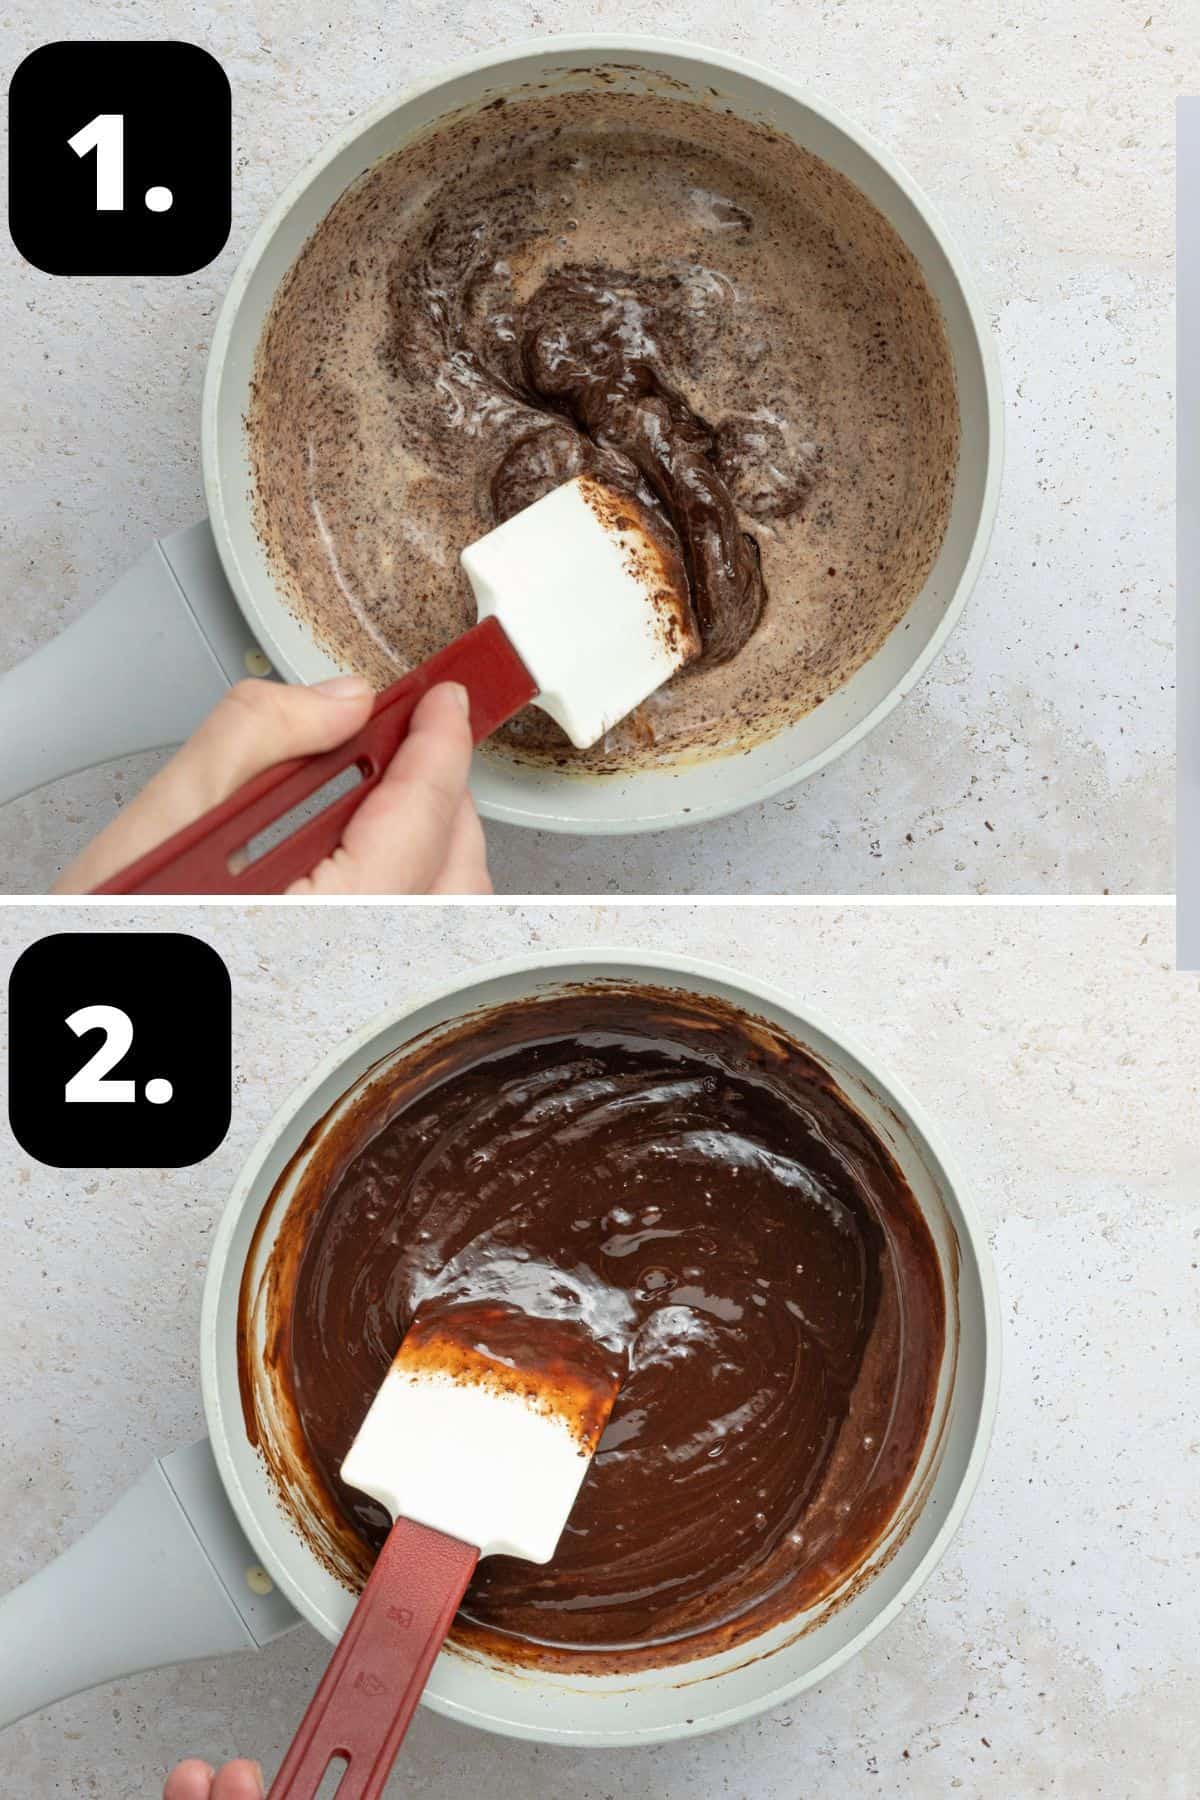
1 - Warm the cream:
Add the cream to a small saucepan. Over low heat, bring the cream to just below boiling point.
Remove the saucepan from the heat and add the chocolate.
2 - Stir through the chocolate:
Stir until melted and the mixture is smooth and glossy.
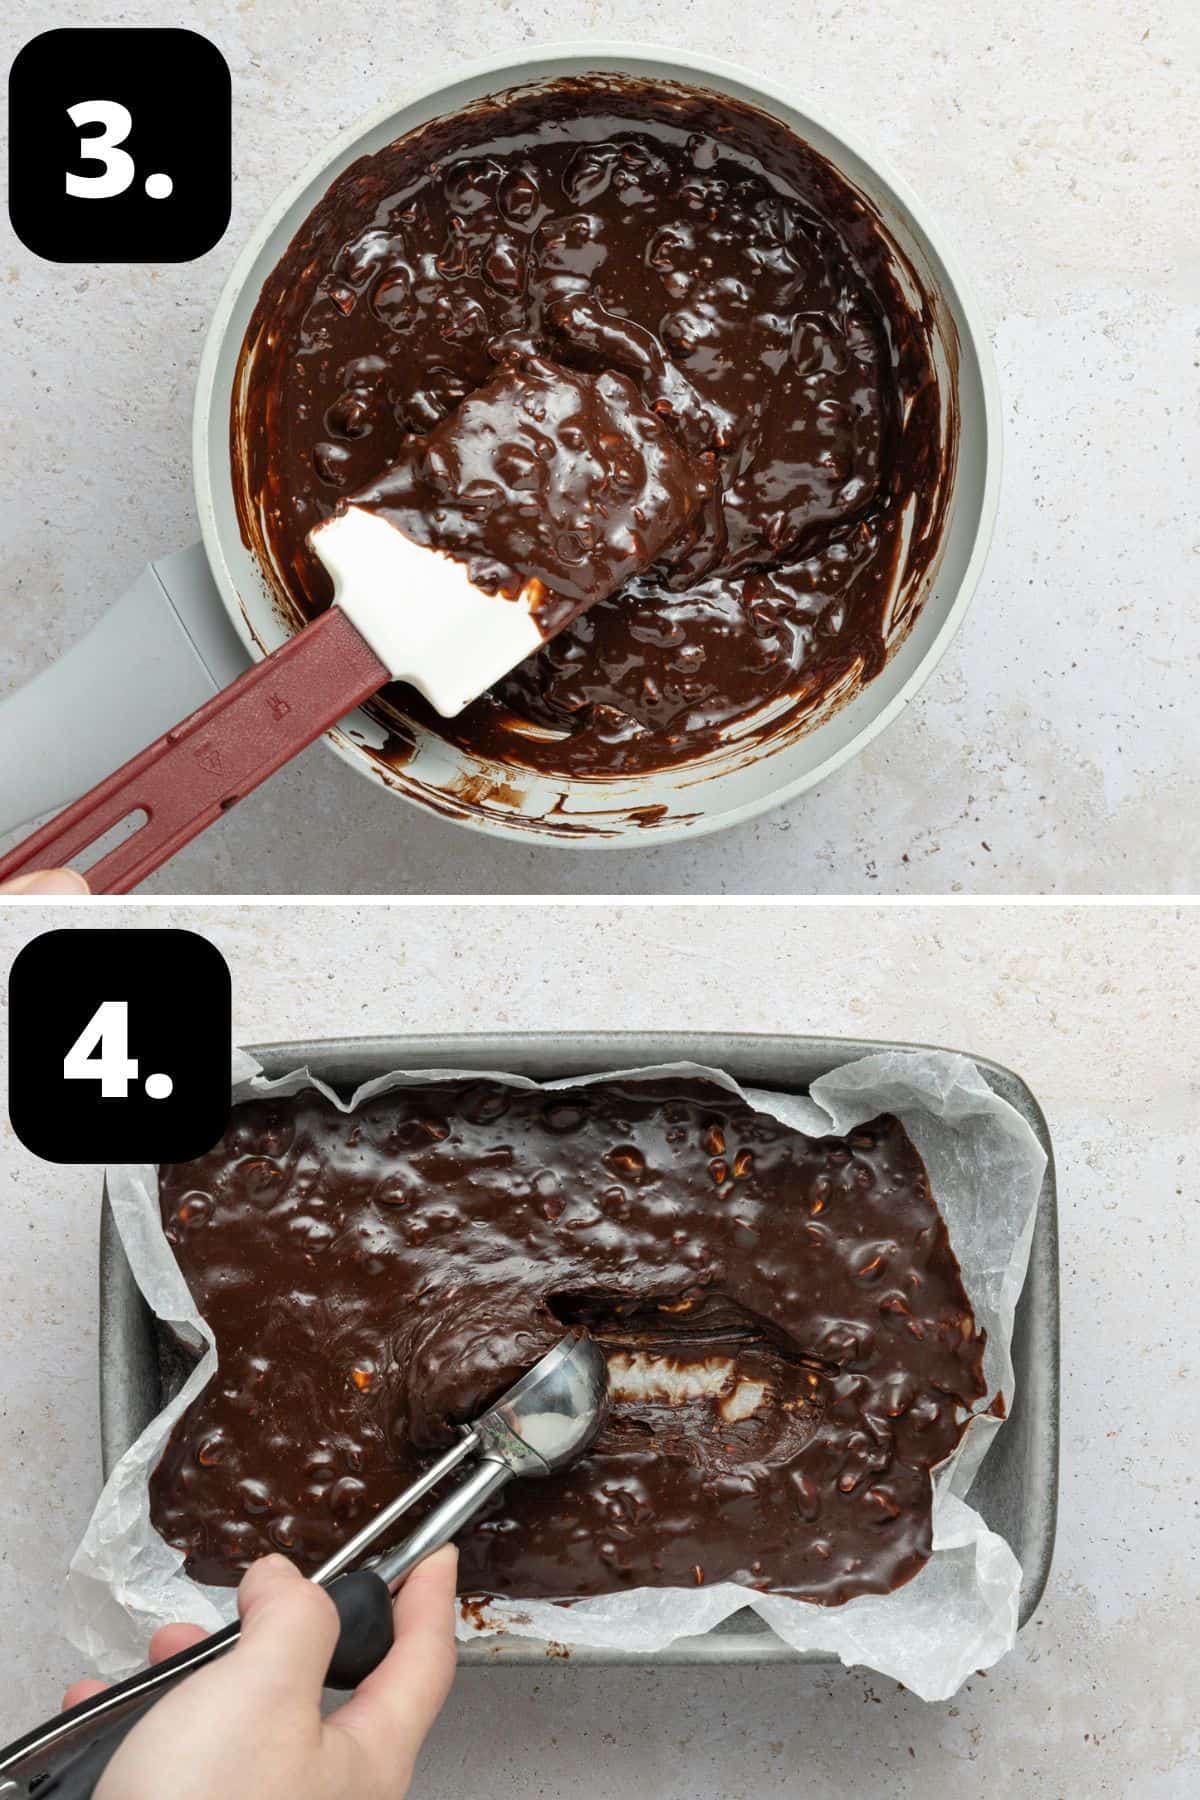
3 - Stir through the flavourings:
Cool for 5 minutes and then add the vanilla and chopped hazelnuts.
4 - Chill the mixture:
Pour the mixture into the prepared dish. Transfer to the fridge and chill for about 2 hours, until it is firm enough to roll into small balls. The above photo shows the ideal texture.
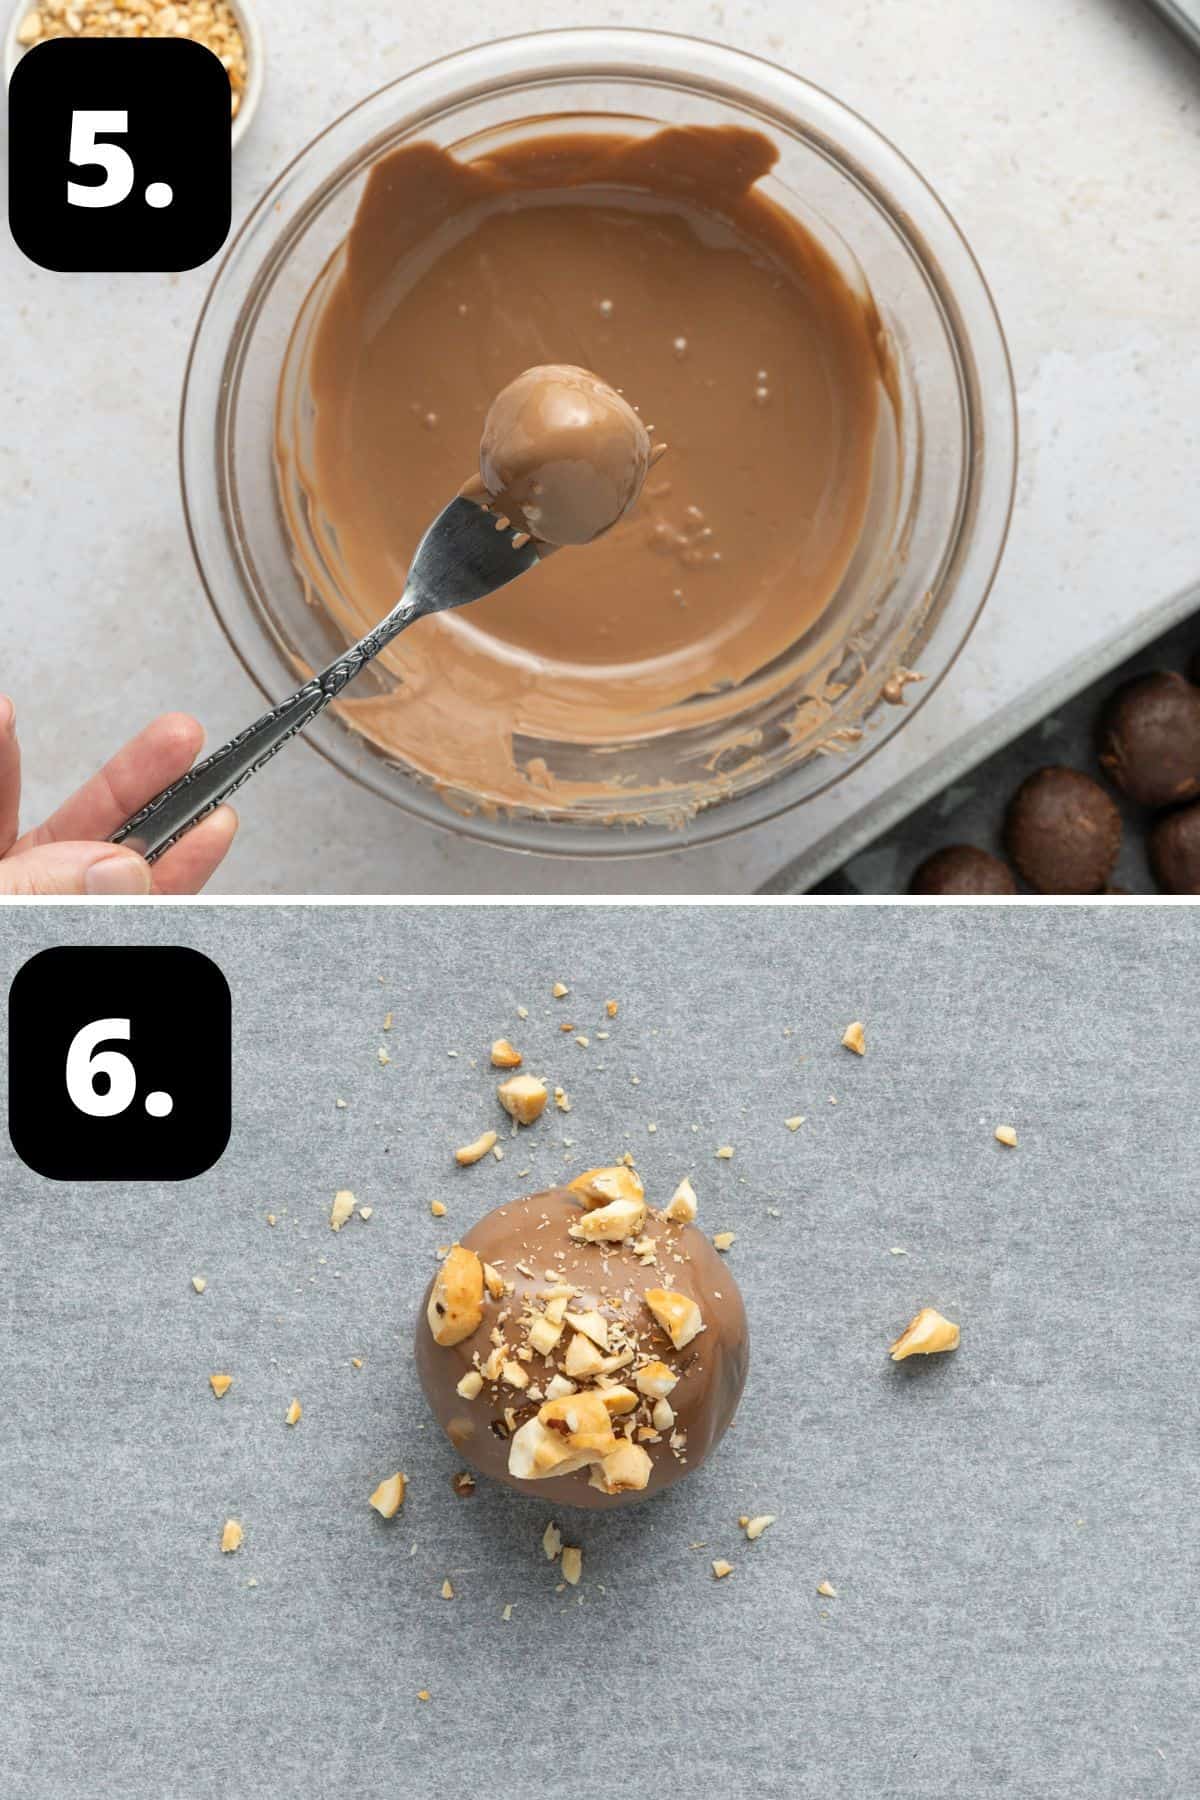
5 - Roll out the truffles and coat:
Working with a small ice cream scoop, scoop into small balls. Place each ball on the prepared tray and refrigerate for at least 30 minutes, or until firm.
To make the coating, break the milk chocolate into even size pieces. Add to a heatproof bowl and place over a pan of barely simmering water. Stir occasionally. When the chocolate has almost melted, remove the bowl and set it aside. The residual heat will melt the remainder. Set aside for about 15 minutes or until cool.
Remove the truffles from the fridge. Working one at a time, using two forks, dip each ball in the melted chocolate, and when completely coated, return to the lined tray.
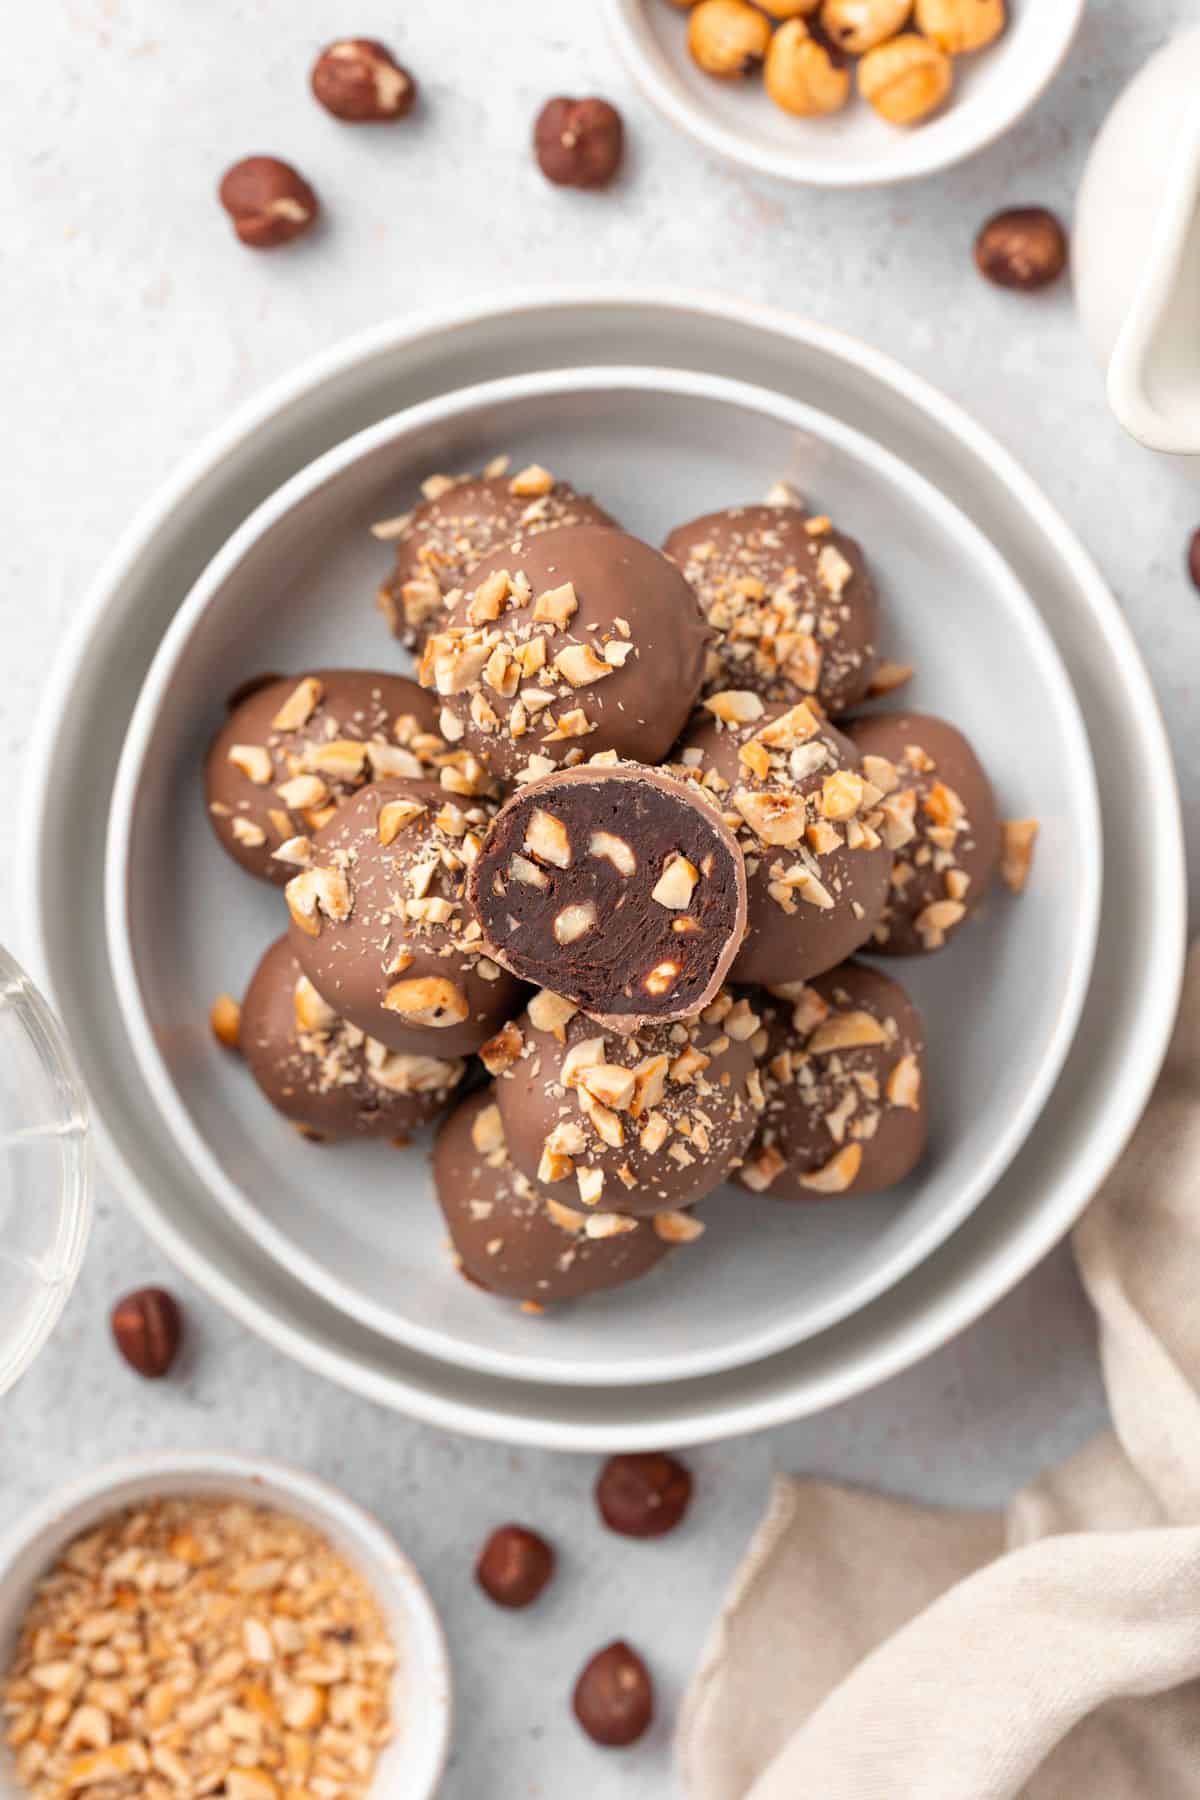
6 - Sprinkle with hazelnuts:
Sprinkle with a small amount of chopped hazelnuts.
When they are all coated, place the tray in the fridge to set. Store in the refrigerator in an airtight container.
Hint: it is important that the melted chocolate is allowed to cool before attempting to coat the chocolate balls. If the chocolate is still warm, it may slightly melt the truffle ball.
Tips for Success, Storage and FAQs:
Keep them in an airtight container in the fridge for up to a week. Ideally, keep them in one layer but, if necessary, separate the layers with non-stick baking paper.
As they are made with cream, they must be stored in the fridge. Remove them from the fridge about 10 minutes before serving to allow them to soften a little.
If it is difficult to roll, leave it at room temperature for a short time and try again. If it gets too soft as you are rolling into balls, return it to the fridge for a short time.
You may have some leftover chocolate from coating the truffles. The best way to make use of it is to add some slivered almonds or another chopped nut and scoop little mounds onto non-stick baking paper. Alternatively, use a teaspoon to make small circles on baking paper and add sprinkles, as per our Homemade Chocolate Freckles. You will have delicious confectionery, with minimal effort.
The truffle balls are sometimes rolled in cocoa, and they resemble the edible fungi which grow underground.
Top Tip:
For the best result, use good quality ingredients. Choose good quality cooking chocolate. And do not use low-fat cream - this is a luxurious treat and not the time to try and cut the fat content.
When melting chocolate, care must be taken that not a drop of moisture gets in as it can cause the chocolate to seize. It will transform from a smooth, flowing mixture to one which is thick and grainy and not able to be used for this recipe. I also recommend that you stir the chocolate with a metal spatula or spoon as wooden spoons can retain moisture.
Serving Suggestions:
There are many occasions that you will want to serve these irresistibly creamy Hazelnut Truffles, such as:
- Serve them with coffee after dinner; it is the perfect way to end a meal.
- As a sweet treat with morning or afternoon tea.
- They are a perfect edible gift. For attractive presentation, put some in little foil or paper cases in a pretty box.
- Enjoy them when entertaining during the festive season or any special occasion celebration.
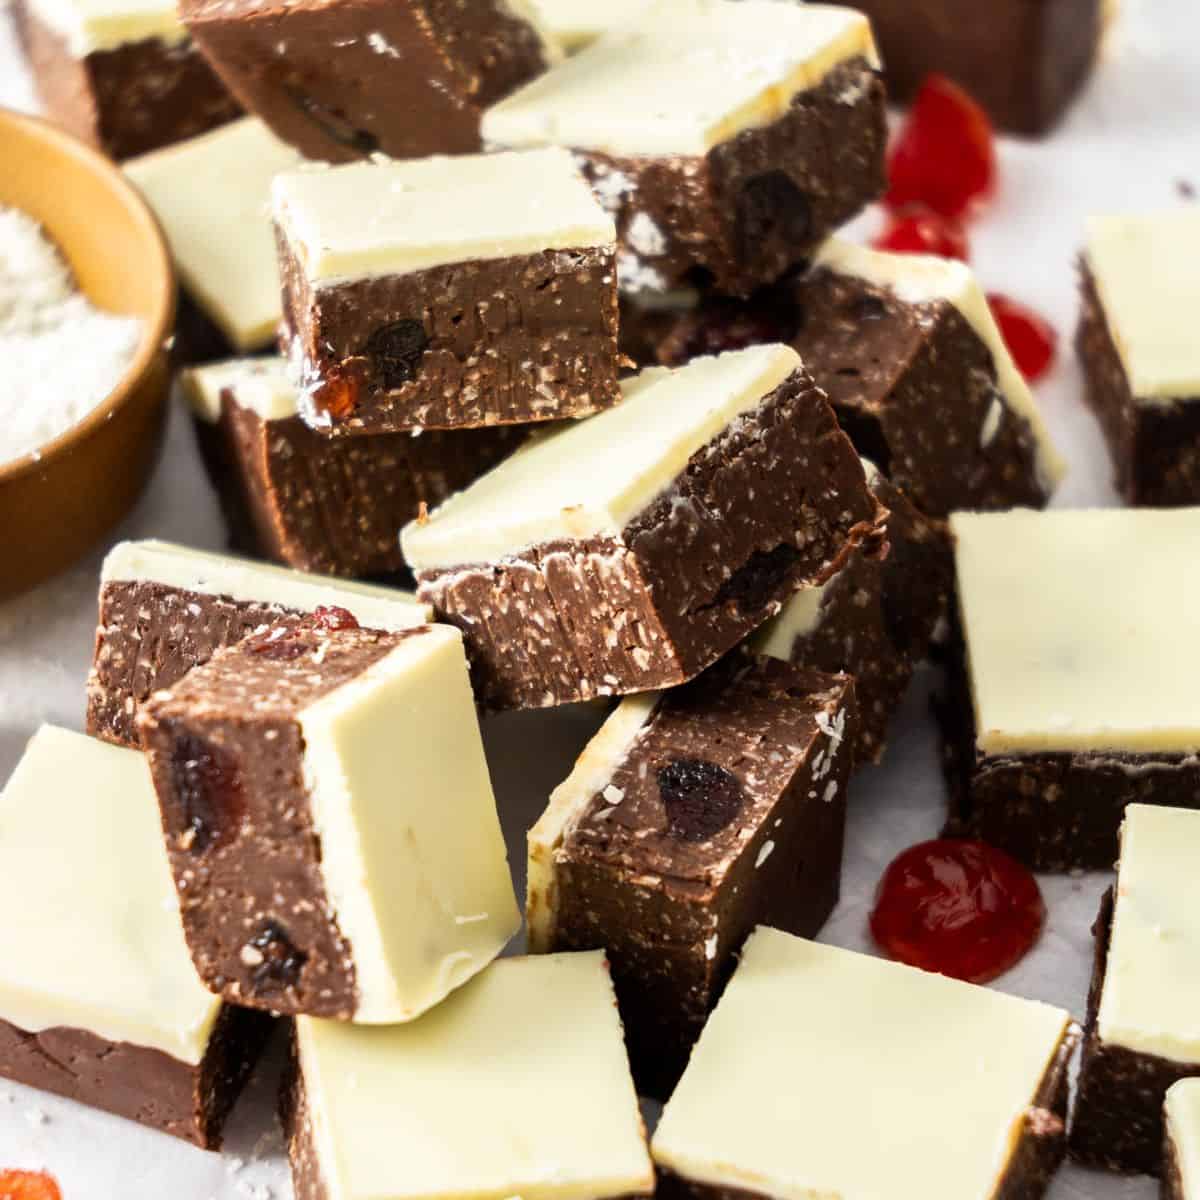
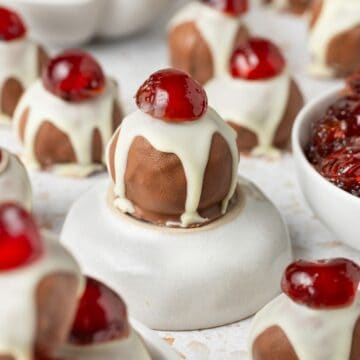
- Serve them as part of a mixed dessert selection. Other great no bake ideas are our Hedgehog Slice and Caramel Fudge.
- Take them to potlucks or parties - and watch as they quickly disappear. They are always a crowd pleaser.
- Really, you can enjoy them at any time; you don't need a reason to enjoy this delicious confection.
These Hazelnut Truffles are always popular and likely to become your new go-to when you want a sweet treat for special occasions. This homemade confectionery is a great way to show loved ones how much they mean to you. Let me know in the comments below if you give them a try.
Alex xx
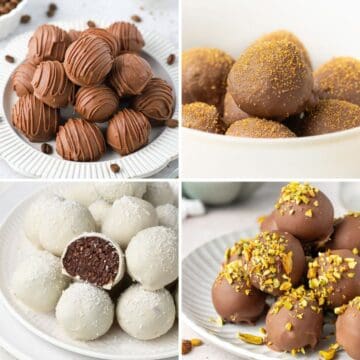
More Delicious Recipes For You To Try:
Stay in touch!
Follow me on Facebook, Pinterest, Flipboard and Instagram and subscribe to my newsletter.
Hazelnut Truffles
Please note:
For accuracy, when weights are provided, we recommend weighing your ingredients. This will produce the best results. All oven temperatures listed are for fan forced.
Ingredients
For the Truffles:
- 125 ml (½ cup) thickened/heavy whipping cream See Note 1
- 200 g (7 oz) dark cooking chocolate (40 % cocoa solids) - finely chopped See Note 2
- ½ teaspoon vanilla extract
- 60 g (2 oz) roasted hazelnuts - rubbed to remove skins - roughly chopped See Note 3
For the Coating:
- 200 g (7 oz) milk cooking chocolate
- 30 g (1 oz) roasted hazelnuts - rubbed to remove skins - finely chopped
Instructions
- Line a small, flat dish with non-stick baking paper. I used a rectangular glass Pyrex dish - 13 x 18 cm (7 x 5 inches). (See Note 4.)Line a baking tray with non-stick baking paper and set aside.
- Add the cream to a small saucepan. Over low heat, heat the cream until just below boiling point.
- Turn off the heat and add the chocolate. Stir until the chocolate has melted and the mixture is smooth.Add in the vanilla and roughly chopped hazelnuts and stir.
- Pour the mixture into the prepared dish. Transfer to the fridge to chill, about 2 hours, or until it is firm enough to roll into balls.
- Working with a small ice cream scoop, or a teaspoon, scoop about 3 level teaspoons of the mixture and roll it into small balls.If the chocolate is too firm to roll, set it aside for 5-10 minutes.Press on the mixture as you are rolling to make it compact.
- Place each ball on the prepared tray and refrigerate for at least 30 minutes, or until firm.
- While rolling the balls, it is helpful to keep an ice pack beside you and use it to keep your hands cool. Alternatively, you could use a pack of frozen peas. Keep a few sheets of paper towel nearby to dry your hands.
- To make the coating, break the milk chocolate into even size pieces. Put into a bowl and place over a pan of barely simmering water, being careful to not get any water into the chocolate. Stir occasionally. When the chocolate has almost melted, remove the bowl and set it aside. The residual heat will melt any remaining chocolate.
- Leave the chocolate to cool for about 15 minutes. If it is too warm, it will soften the truffles.
- Remove the truffles from the fridge. Working one at a time, dip each ball in the melted chocolate, and using two small forks, move them around to make sure they are completely coated.
- Using the tips of a fork, lift them out and smooth them on the edge of the bowl to remove excess chocolate and return them to the lined tray. Immediately sprinkle with some finely chopped hazelnuts.If the chocolate becomes too firm to smoothly dip the balls, re-heat a little and proceed.
- When they are all coated, place the tray in the fridge to set for about 30 minutes, or until the coating is crisp.
- Store in the refrigerator in an airtight container for up to one week. If storing the truffles in layers, separate them with non-stick baking paper.
Notes
- Cream: for a creamy texture and best flavour, use full-fat cream. Thickened/heavy whipping cream should have a minimum 35% fat content.
- Chocolate: I use dark chocolate that contains 40% cocoa solids. You could use one with higher percentage cocoa solids, but the bitterness will increase and the chocolates will be a firmer set.
- Hazelnuts: I bought roasted hazelnuts and most of the skins were removed. If you buy unroasted hazelnuts, it is an easy process to roast them. Preheat your oven to 180 degrees C (355 F). Spread the hazelnuts over a baking tray and roast for about 10 minutes or until they smell fragrant, lightly toasted and their skin has started to crack. Turn them onto a clean tea towel and rub them together to remove most of their skins. It doesn't matter if some skin remains.
- Dish: To make it easier to line the dish, I firmly scrunch the baking paper before placing it. You can, if you wish, use a bowl, it will just take a little longer to chill.
- Leftover chocolate: you may have some leftover chocolate from coating the Hazelnuts Truffles. The best way to make use of the leftover chocolate is to add some slivered almonds or another chopped nut and scoop little mounds onto non-stick baking paper. Alternatively, use a teaspoon to make small circles on baking paper and add sprinkles, as per our Homemade Chocolate Freckles. You have delicious confectionery, with minimal effort.
- Storage: the truffles can be stored in an airtight container in the refrigerator for up to a week.
- Freezing: the truffles can be frozen for up to three months in an airtight container. The chocolate may "bloom", however, although they will still taste delicious.
Nutrition Estimate:
Nutritional Disclaimer:
The nutritional information is an estimate only, and is derived from online calculators. For accurate results, we recommend calculating the nutritional information based on the ingredients and brands you use.

Leave a Comment