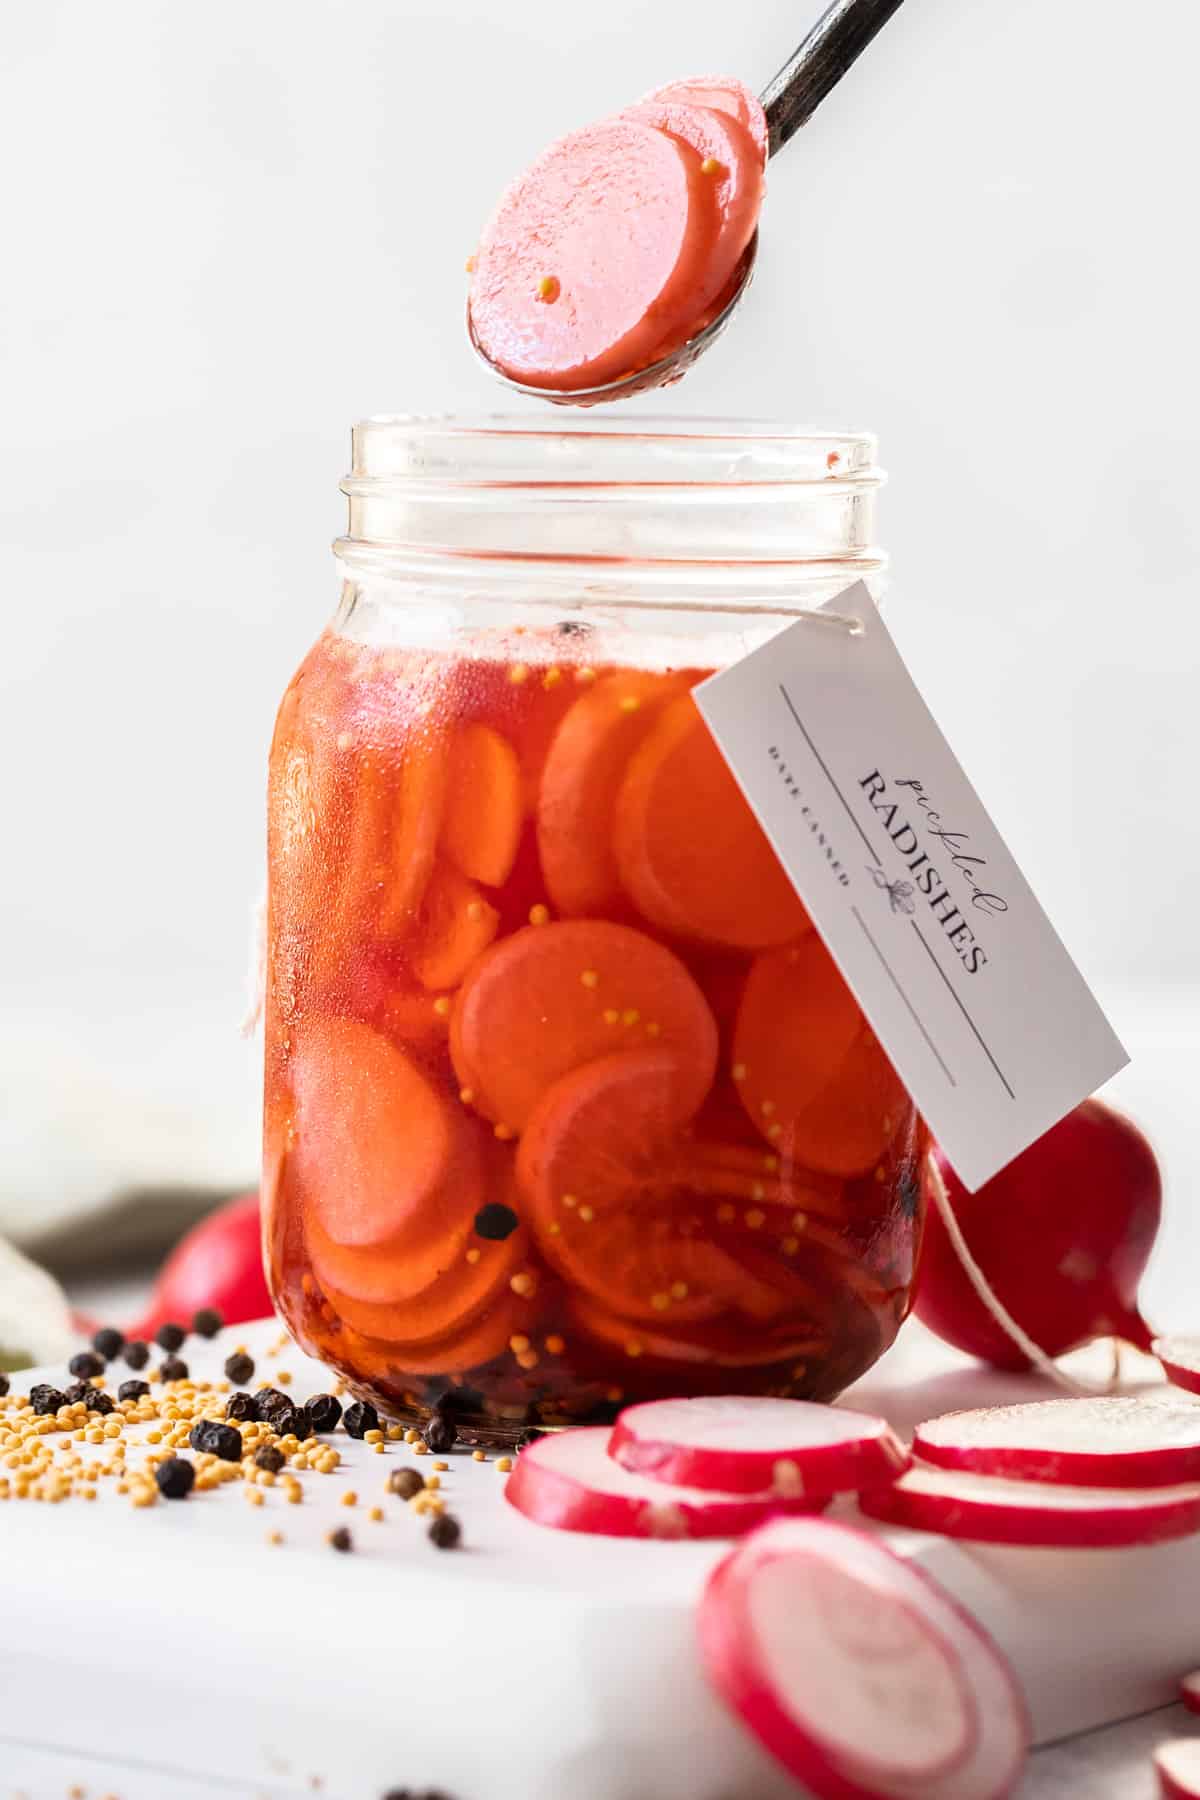
These Easy Pickled Radishes, which are quickly and easily made, require minimal effort but produce maximum flavour! They are crunchy, spicy and tangy, as well as adding colour and a refreshing note to many dishes. The sliced radishes are added to a simply prepared and full of flavour brine. After a short wait, they are ready to eat. It doesn’t come much better or easier than that.
Why you’ll love this recipe:
Pickling vegetables can really change their flavour and texture, and these crisp Pickled Radishes become an incredible flavour booster for so many dishes! As well, when the radishes are added to the pickling liquid, the pinky-red skin of the radish transforms the white flesh into a glorious pink hue.
Make a batch and allow them to sit in the fridge for 24-48 hours to develop the best flavour.
You will love these Easy Pickled Radishes because:
- They are quickly and easily made from simple ingredients which are readily available.
- Pickling vegetables is an easy way to transform a humble vegetable into a full of flavour condiment.
- They’re a fantastic addition to so many meals and add beautiful colour to dishes.
- Aside from the satisfaction of making your own quick pickles, you control the quality of the ingredients and know exactly what they contain.
- They are perfect for the novice or experienced cook alike. If you have not previously made your own pickles, this is a great place to start.
Ingredients in this recipe:
Please see the recipe card further along in the post for exact quantities of ingredients and the full method.
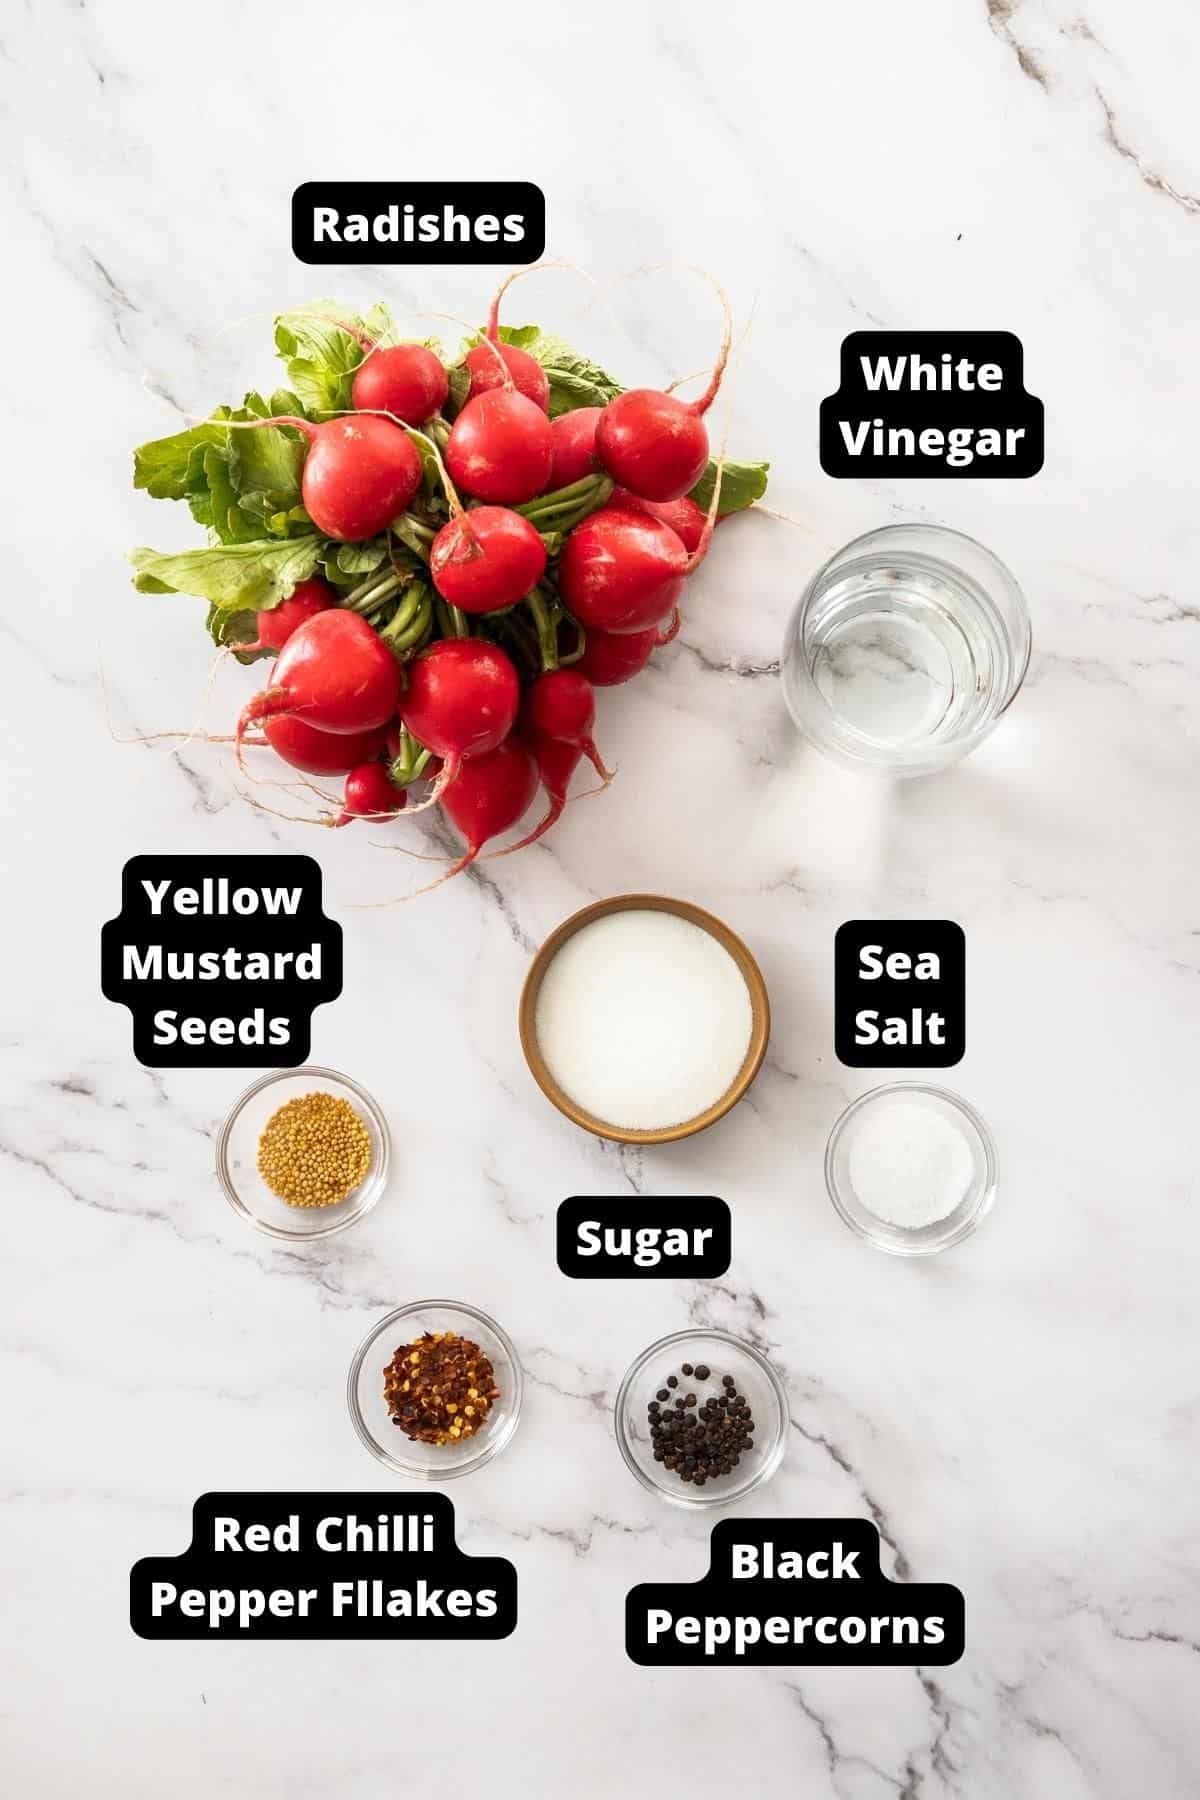
Radishes – for the best result, use the freshest, most crisp radishes you can find. When selecting radishes, if the greens are attached, this is the best way to tell if they are fresh. They should be a bright green. Avoid those which are dull and wilting. If the radishes have been trimmed, they should feel firm. If they feel soft and spongey, the flesh will not be crisp.
White vinegar – for pickling, we use white vinegar with an acidity of 5%, but you can use white wine vinegar or apple cider vinegar if you prefer.
Water – for this quick pickle, we add a small amount of water to mellow the brine. Ensure you use filtered water, as water that contains chlorine can alter the taste of the pickles.
Sugar – regular granulated sugar works fine. It helps to preserve the pickles and balances the flavour. Caster/superfine sugar is also fine to use.
Salt – ensure you use cooking salt or sea salt, as regular table salt may contain caking agents and is much stronger.
Red chilli flakes – a little heat works well with these Easy Pickled Radishes. Add more to your liking if you wish!
Mustard seeds – we use yellow mustard seeds to add crunch and flavour to the pickling brine.
Black peppercorns – contribute to the spicy flavour.
How To Make Pickled Radishes:
Please see the recipe card further along in the post for exact quantities of ingredients and the full method.
1 – Slice your radishes:
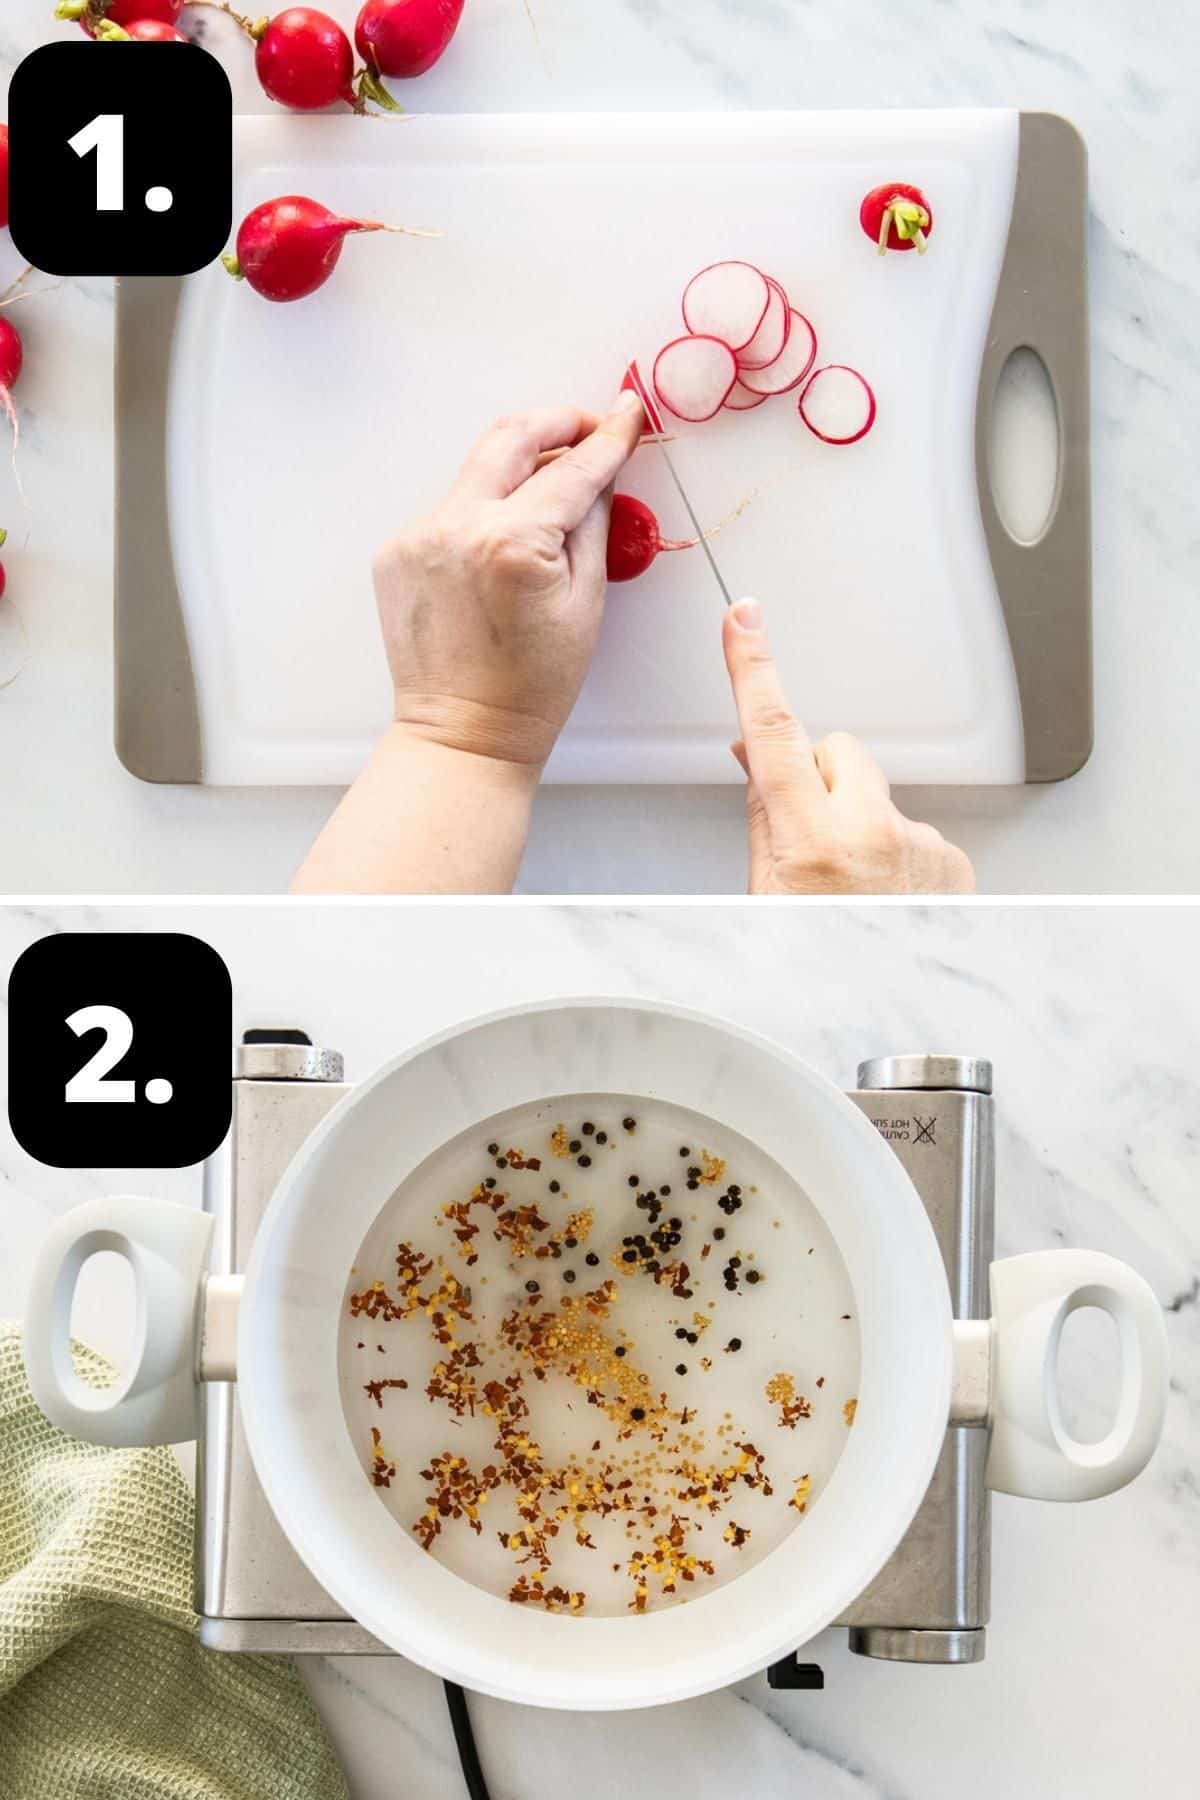
Thinly slice the radishes and add to your warm sterilised jar.
2 – Add your pickling brine ingredients to a saucepan:
Add the vinegar, water, sugar, salt and seasonings to your saucepan and warm through to dissolve the sugar.
3 – Simmer the pickling brine:
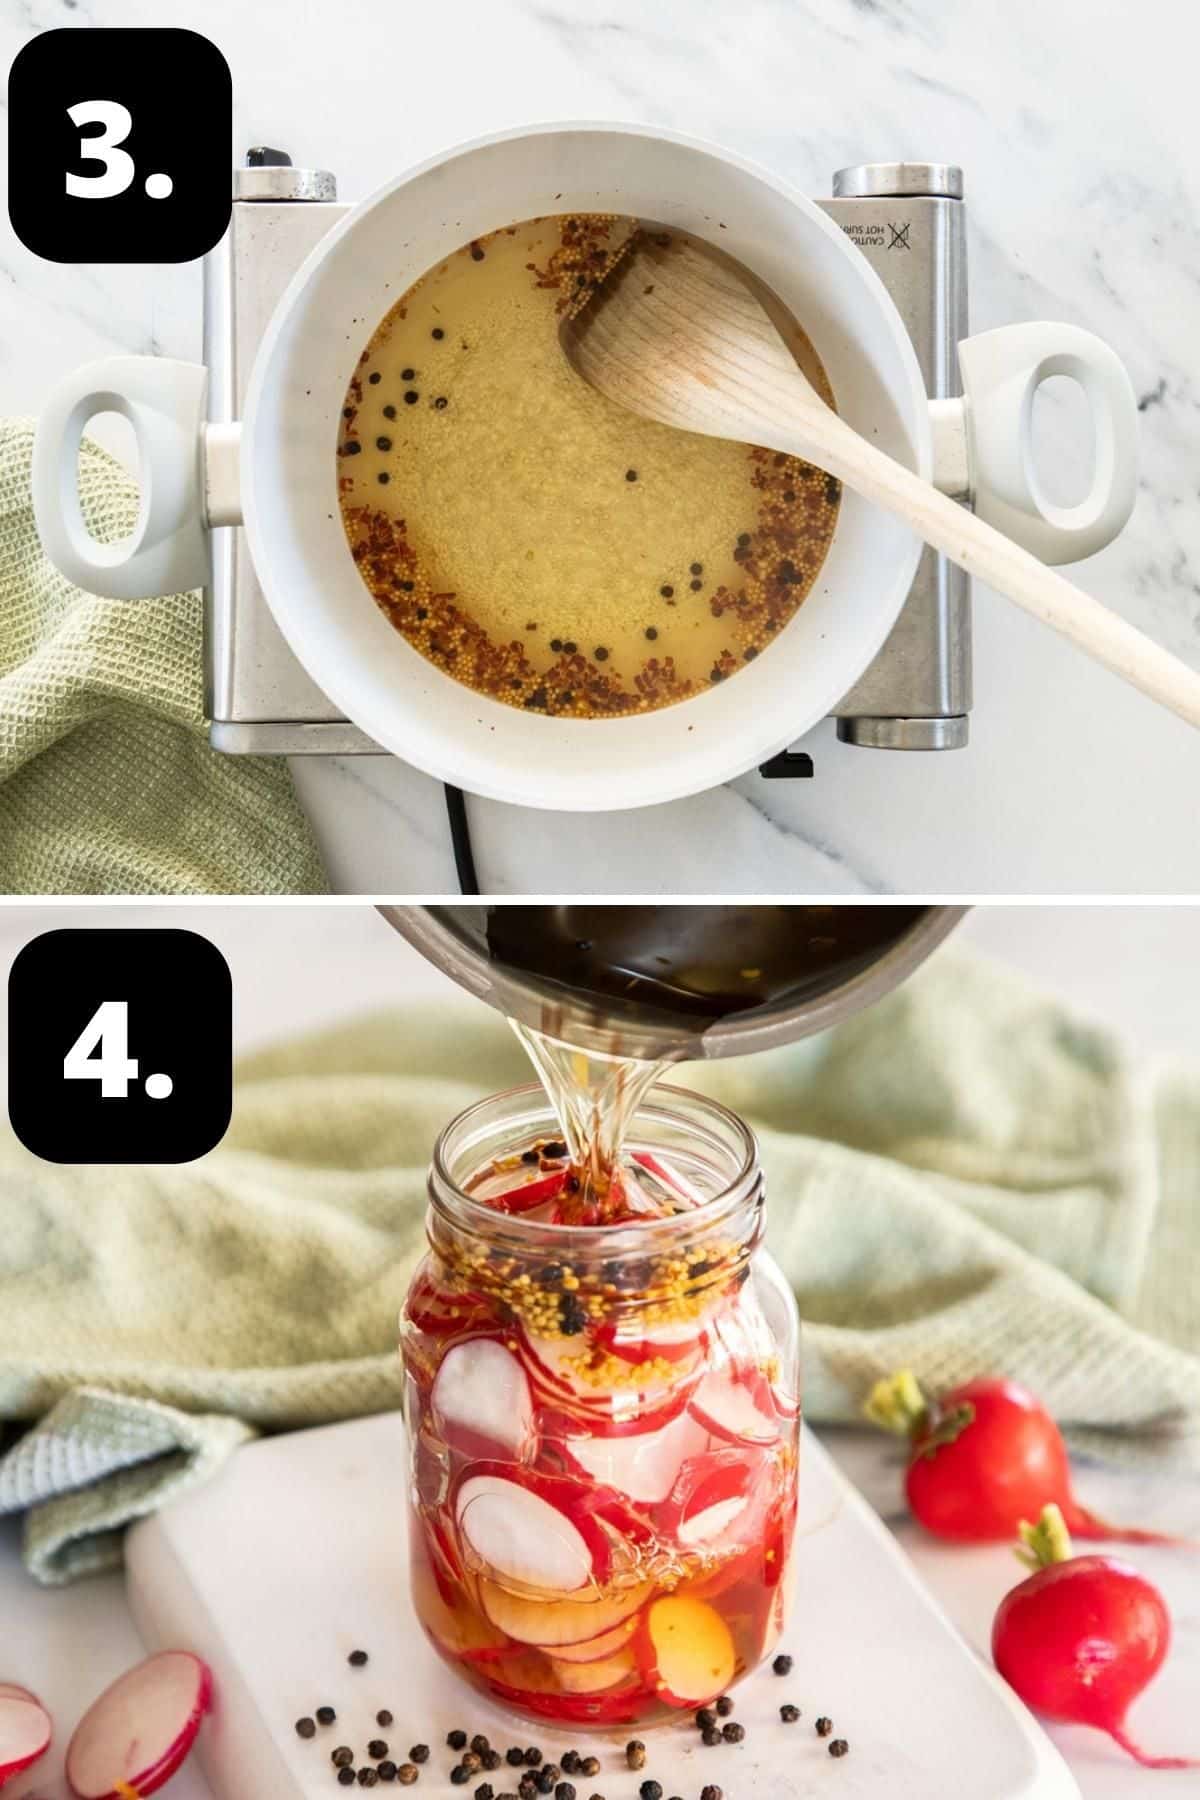
Simmer the brine for two minutes.
4 – Add the brine to the jar:
Carefully pour the brine over the radishes. Seal the jar immediately.
Set aside to cool on the bench, and when cool, store in the refrigerator.
The pickles are best if allowed to sit for a minimum of 24 hours to allow the flavours to mellow.
Tips for success and FAQs:
For the best result, use good quality, fresh radishes.
When making your own pickles and preserves, it is important you sterilise the jars you will store them in. This information is included in the recipe.
Please note: Radishes do have a strong smell when pickled, and you will notice this when you open the jar. Do not be concerned by this – remove them from the jar, and place in a dish. The smell will dissipate and you’ll be able to enjoy the delicious radishes.
You can, but it is best to resist the temptation and leave them for 24-48 hours to really let the flavours develop and the vinegar to mellow.
When properly prepared and stored, the Easy Pickled Radishes will last in the fridge for up to 3 weeks. They will get softer the longer they sit.
Absolutely – this recipe can be adapted to make a smaller or larger batch, depending on the quantity you require.
Variations and substitutions:
White vinegar – if you prefer, you can use white wine vinegar or apple cider vinegar.
Mustard seeds – we have used yellow mustard seeds, but you can use brown if you prefer. The yellow seeds are milder, and the brown spicier.
Serving suggestions:
The Pickled Radishes add great texture, flavour and colour to so many dishes. Some of my favourite ways to enjoy them are:
- Add to a grazing platter.
- With dips, such as Hummus, Whipped Feta or Cannellini Bean Dip.
- They are delicious with scrambled eggs or served with tacos.
- Add them to green salads for a pop of colour and crisp texture.
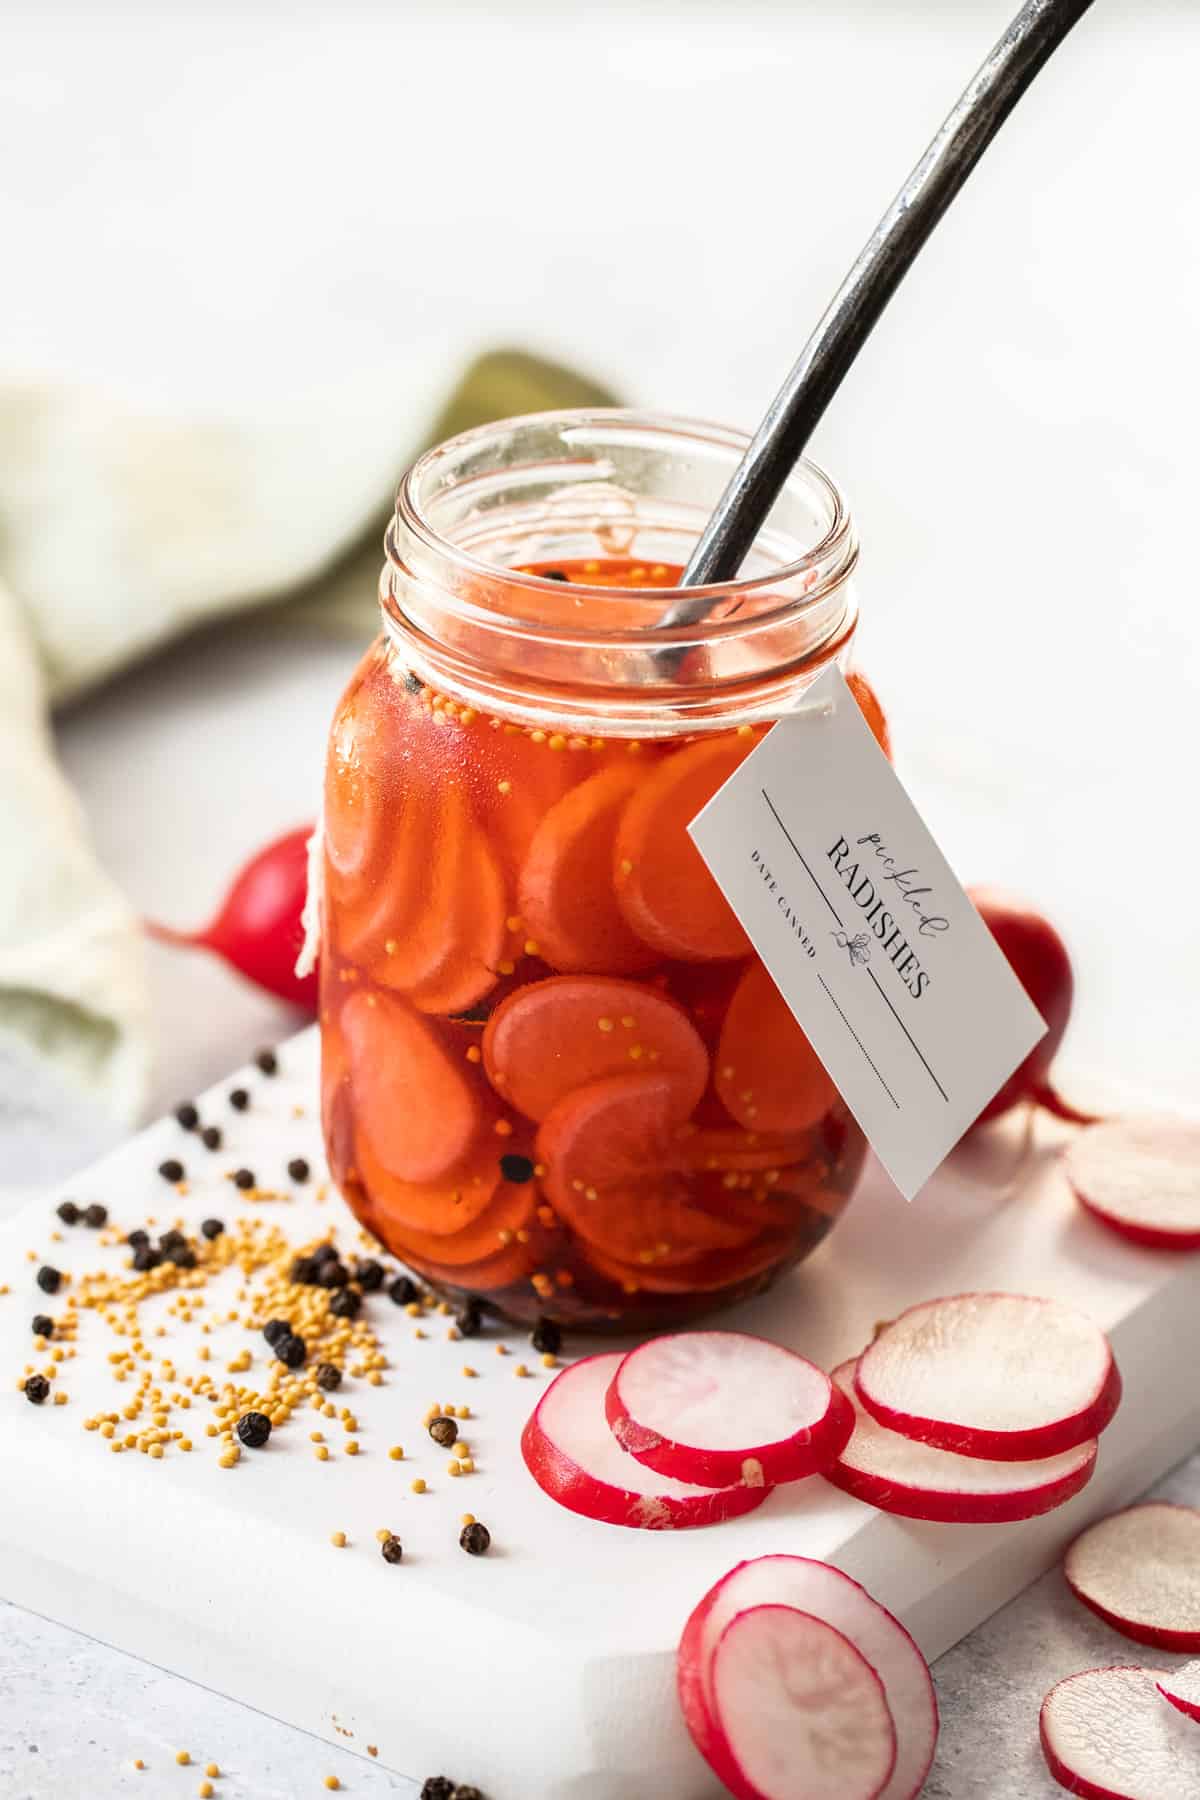
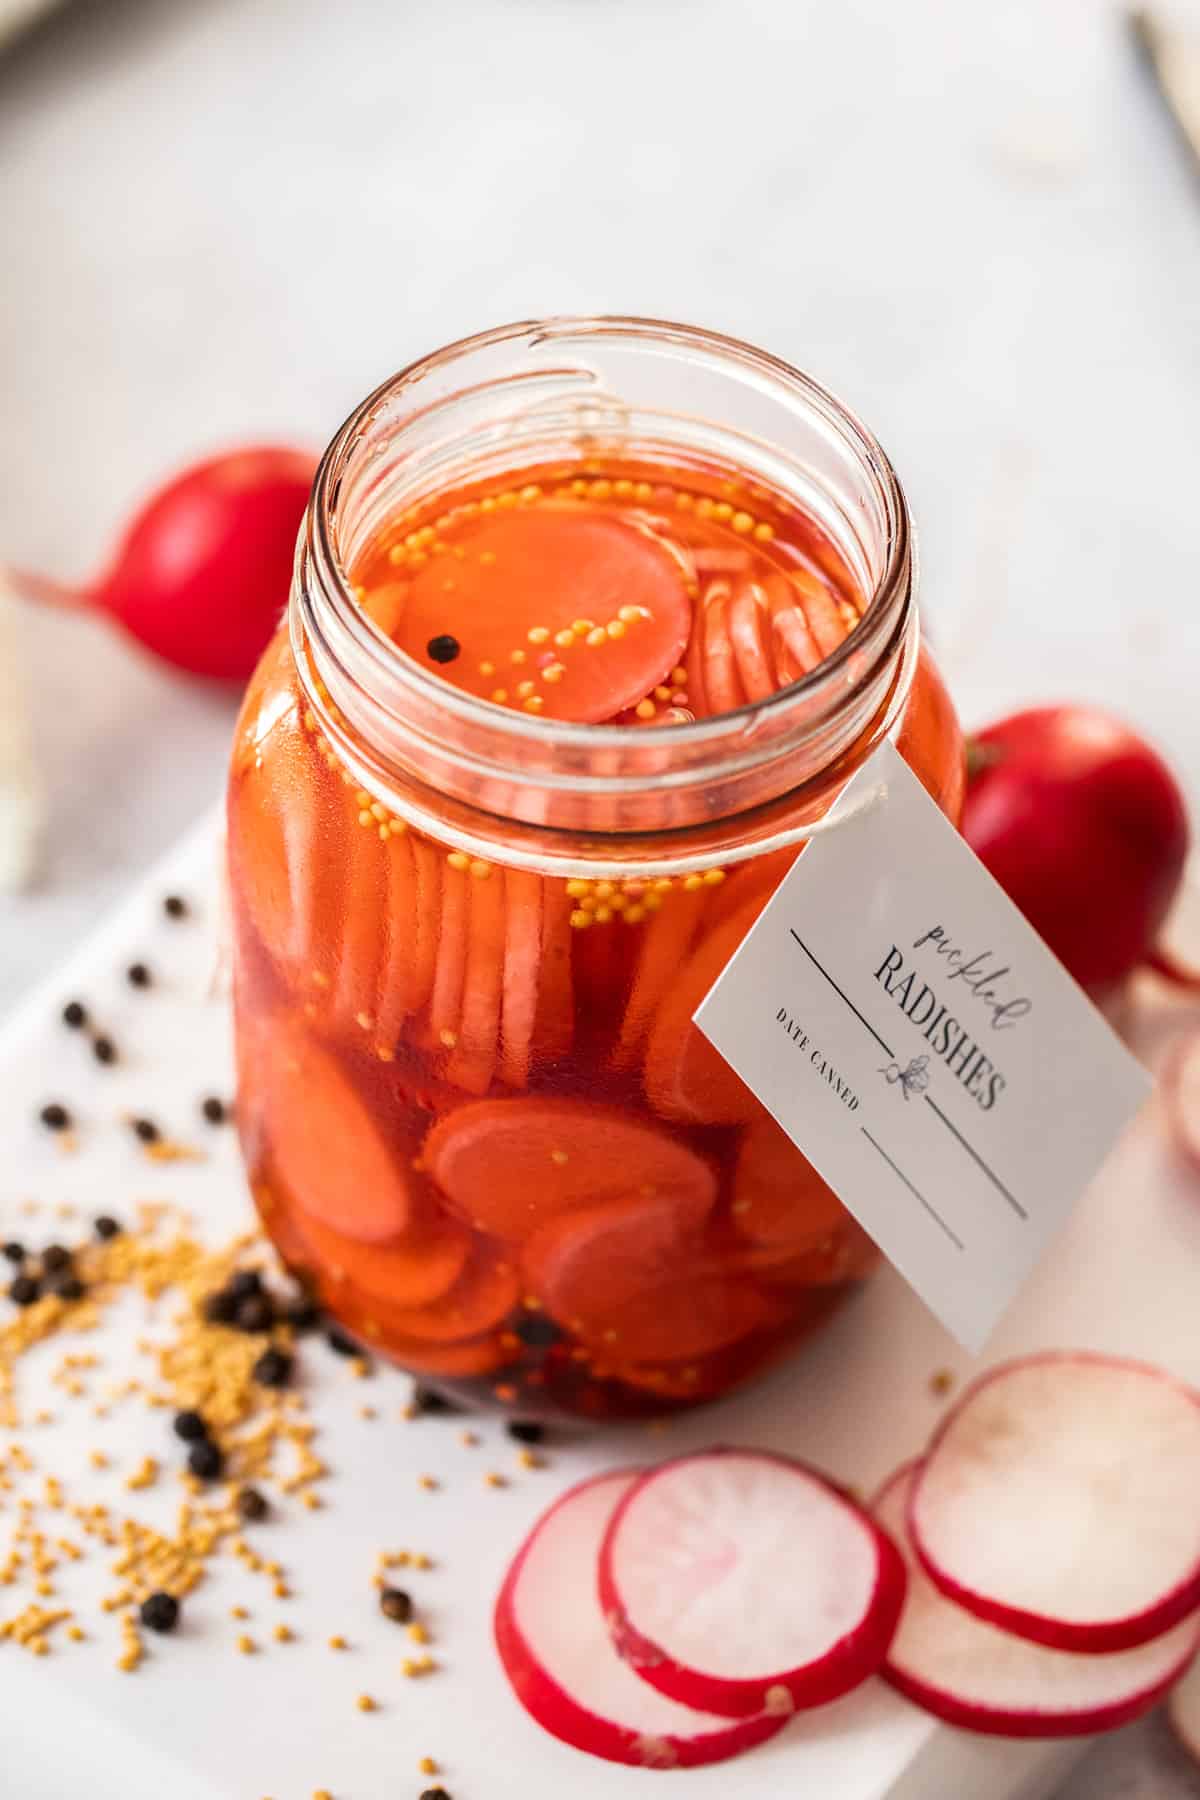
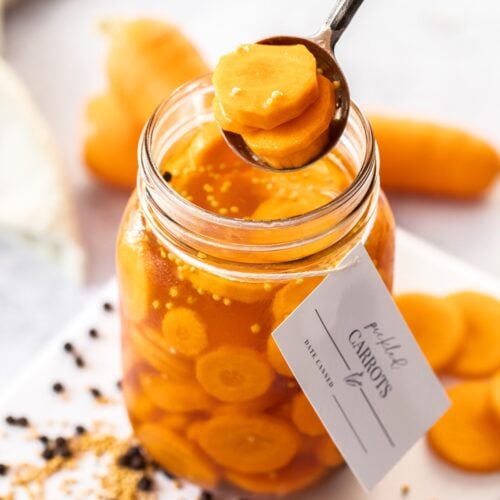
- Give a jar as a gift. You can even print out your own label, as seen in the photos! Simply right-click and save the image below to print out.

I hope you will love the flavour boost that is our delicious Easy Pickled Radishes! Be sure to let me know in the comments below when you have tried them!
Alex xx
More delicious recipes for you to try:
Stay in touch!
Follow me on Facebook, Pinterest and Instagram and subscribe to my newsletter.
Easy Pickled Radishes
Equipment
- 1 x 500ml (17 fluid oz) Jar
Recipe Measurements:
For accuracy, when weights are provided, we recommend weighing your ingredients. This will produce the best results.
Ingredients
- 300 g (10.5 oz) radishes – prepared weight See Note 1
- ¾ cup (180 ml) white vinegar See Note 2
- ⅓ cup (80 ml) water See Note 3
- ⅓ cup (80 g) sugar
- 1 teaspoon coarse sea salt See Note 4
- ½ teaspoon red chilli pepper flakes
- ½ teaspoon whole yellow mustard seeds
- ½ teaspoon whole black peppercorns
Instructions
To Sterilise the Jars:
- Sterilise the jar or jars you'll be using to store the pickles. Choose glass jars with an airtight, metal lid and ensure they have been washed by hand in hot soapy water then rinsed well. Check that the metal lids do not have rubber inserts – if they do, allow them to air dry, instead of placing in the oven.Preheat the oven to 130 Degrees C (270 F) and place the jars in the oven for 15-20 minutes. Keep the jars warm.
For the Pickled Radishes:
- Thinly slice the radishes using a mandolin or sharp knife.
- In a small non-reactive saucepan, combine water, vinegar, sugar, salt and seasonings. Over a medium heat, stir until the sugar dissolves. Increase the heat and simmer for 2 minutes. (See Note 5).
- Place the carrot slices in your sterilised warm jar and top with the pickling liquid. Seal with the lid immediately.
- Allow the jar to cool on your bench before placing in the refrigerator.
- The Pickled Radishes can be consumed once cool, but it is best to leave for 24-48 hours for the flavours to develop.
Notes
- Radishes: ensure your radishes are fresh and crisp.
- Vinegar: I have used white vinegar that is 5% in acidity. You can also use apple cider or white wine vinegar – just ensure the acidity level is 5%.
- Water: ensure you use filtered water, as water that contains chlorine can alter the taste of the pickles.
- Coarse sea salt: ensure you use cooking salt or coarse sea salt. Regular table salt may contain anti-caking agents and is much stronger.
- Non-reactive saucepans: are those which are ceramic, stainless steel, glass or enamelled cookware. Copper, iron and aluminium pans are reactive. Acidic foods, such as vinegar or lemons, may take on a metallic taste and discolour if cooked in such pans.
- Storage: once the jars have cooled, store the pickles in the fridge for up to three weeks. This is a quick pickle recipe not designed for long term canning.
- Please note: Radishes do have a strong smell when pickled, and you will notice this when you open the jar. Do not be concerned by this – remove them from the jar, and place in a dish. The smell will dissipate and you’ll be able to enjoy the delicious radishes.
- Nutritional information: is based on the entire jar, and includes the pickling liquid.
Nutrition Estimate:
Nutritional Disclaimer:
The nutritional information is an estimate only, and is derived from online calculators. For accurate results, we recommend calculating the nutritional information based on the ingredients and brands you use.
This post was originally published in August 2020. It has been updated with new photos and more information. The recipe has been altered slightly.




Deborah
Very flavorful.
Alexandra Cook
Thank you, Deborah!
Suzanna
These were fantastic! I made some cute labels and packaged up a few jars for my neighbors using radishes from my garden. The flavor was perfect and they turned out great!
Alexandra Cook
Hi Suzanna,
Thank you for your feedback on the Pickled Radishes. What a great idea to use your homegrown radishes to make gifts for your neighbours. 🙂
Rachel
Delightfully simple as promised. Had a little bit of liquid left over, so will use it as a pickleback shot later to celebrate!
Alexandra
Hi Rachel, I am so pleased that you enjoy the Pickled Radishes. Thank you for taking the time to let me know 🙂
Cristina
AMAZING!! I served this with tacos for tonight’s dinner and it added the perfect crunch and acidity to the dish. Loved how pretty the color was too. Definitely saving this recipe to make again. Thanks!
Alexandra
Hello Cristina, I am delighted to hear that you enjoyed our Pickled Radishes; adding them to tacos is a great idea. 🙂
Dani
Easy and delicious!
Alexandra
Thank you, Dani!
Janet
I had never tried pickling radishes before. Such an interesting idea.These taste amazing!
Alexandra
So glad you enjoyed them, Janet!
Josiah - DIY Thrill
This is such a great way to add flavor to your dishes!
Alexandra
Thank you! So glad you think so 🙂
Adrianne
I love the colour of radishes and pickling them is such a great idea! Sounds great to be able to store them in a jar and use as needed. Thanks, will give them a go!
Alexandra
Thanks, Adrianne! I would love to know what you think if you give them a try 🙂
Annalise
Hi Alex!
I made up a batch of these straight away. We let them sit for a couple of hours and couldn’t resist diving in. They are so good! We are going to make another batch tomorrow and let the flavours develop more. Thanks for this easy recipe!
Alexandra
Hi Annalise, I am delighted to hear that you made and enjoyed the Pickled Radishes. It really is difficult to resist eating them immediately! I am sure you will enjoy the next batch also. 🙂