


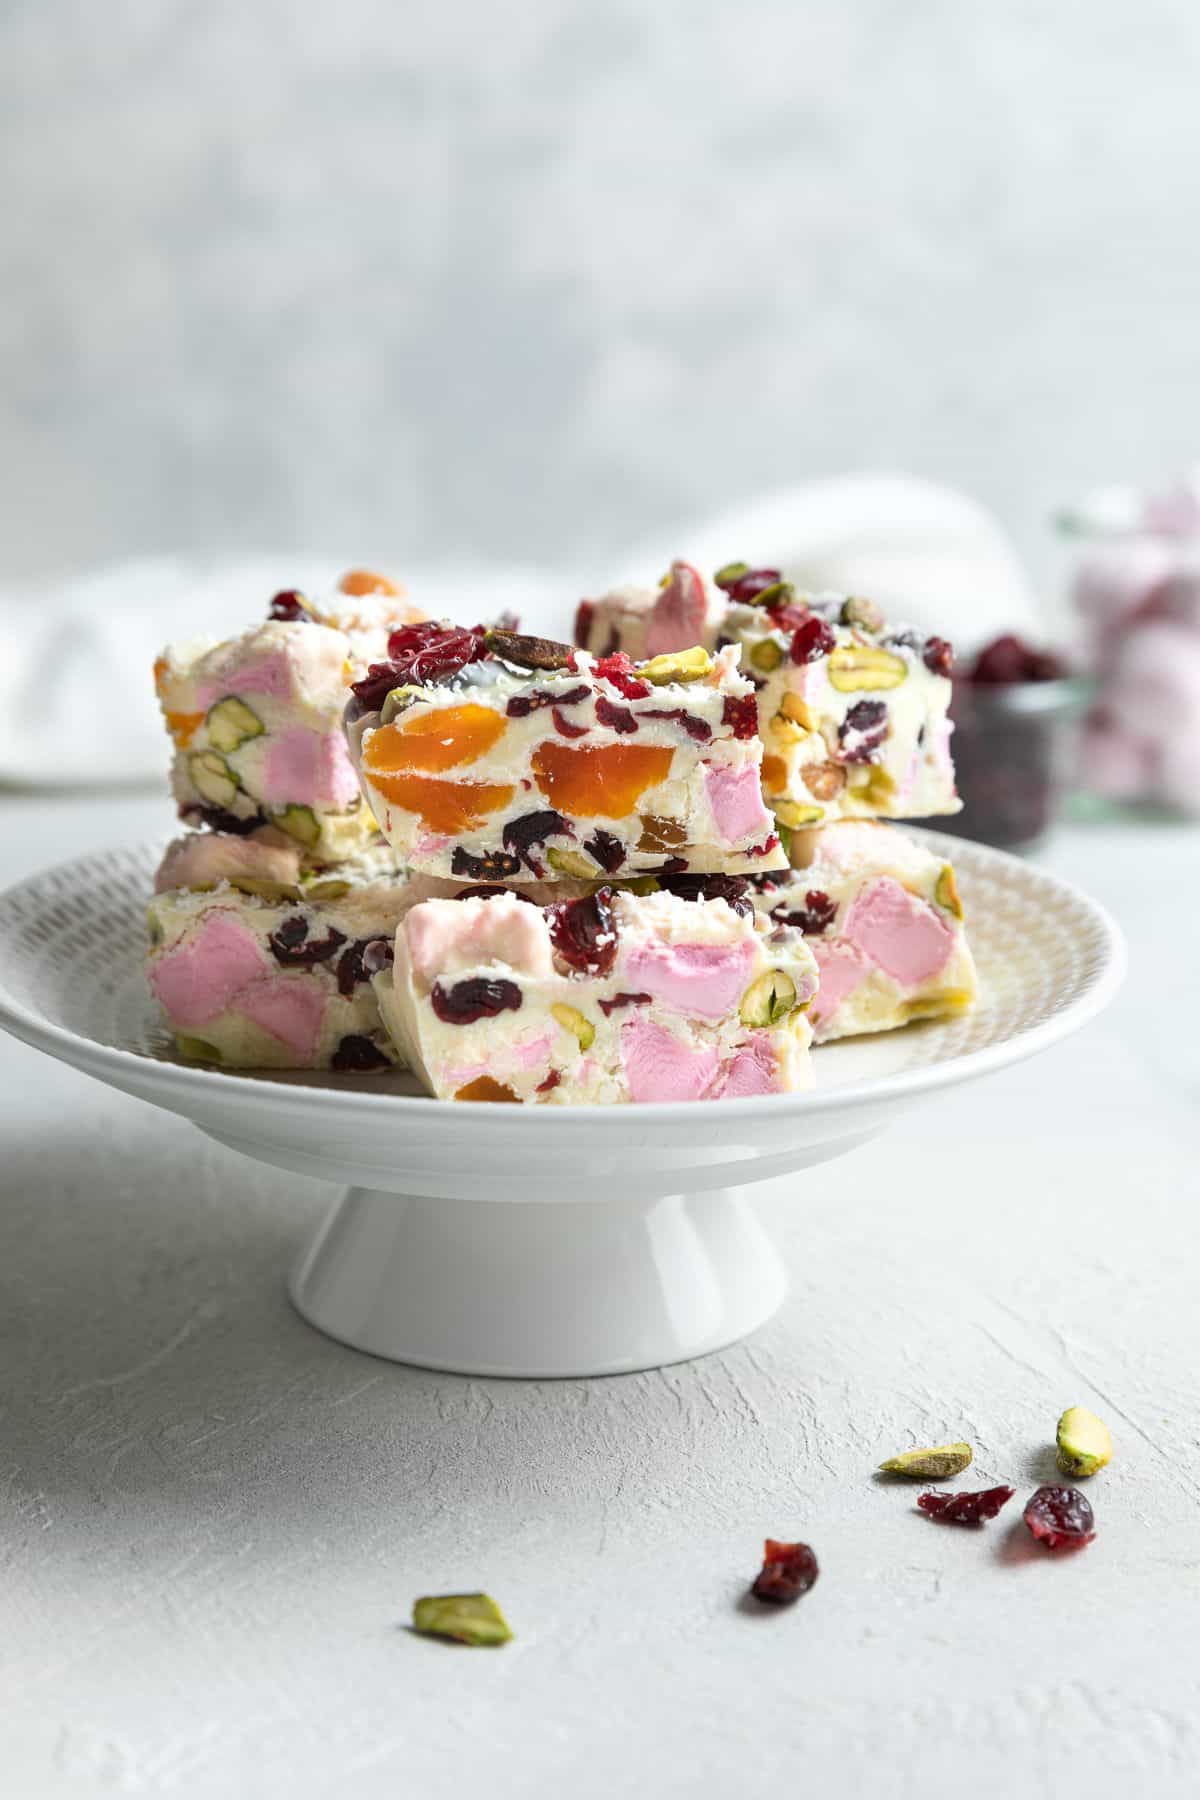
It takes just minutes to make my easy White Chocolate Rocky Road. This simple no-bake slice is popular with adults and children alike. It is ideal for an afternoon sweet treat, enjoyed with a cup of tea or coffee, dessert or a fun edible gift. Filled with dried fruit, marshmallows and coconut, this delicious Rocky Road will be a favourite!
Jump to:
Why we love this recipe:
My White Chocolate Rocky Road is a delicious sweet treat that anyone can make! In fact, it requires very little culinary ability. Like my White Christmas Slice, If you can melt chocolate, you can make this popular slice. And if you have not melted chocolate before, I will tell you how to go about it.
You’ll love this recipe because:
- The slice is no-bake. Simply chop your ingredients, melt the chocolate and mix together. The hardest part is waiting for the slice to set!
- It is a good recipe to make with children.
- It can be made in advance.
The key to making rocky road is to have everything prepared before you melt the chocolate. Otherwise, the chocolate may begin to set, making it lumpy and difficult to combine with the other ingredients.
Ingredients in this recipe:
Please see the recipe card further along in the post for exact quantities of ingredients and the full method.
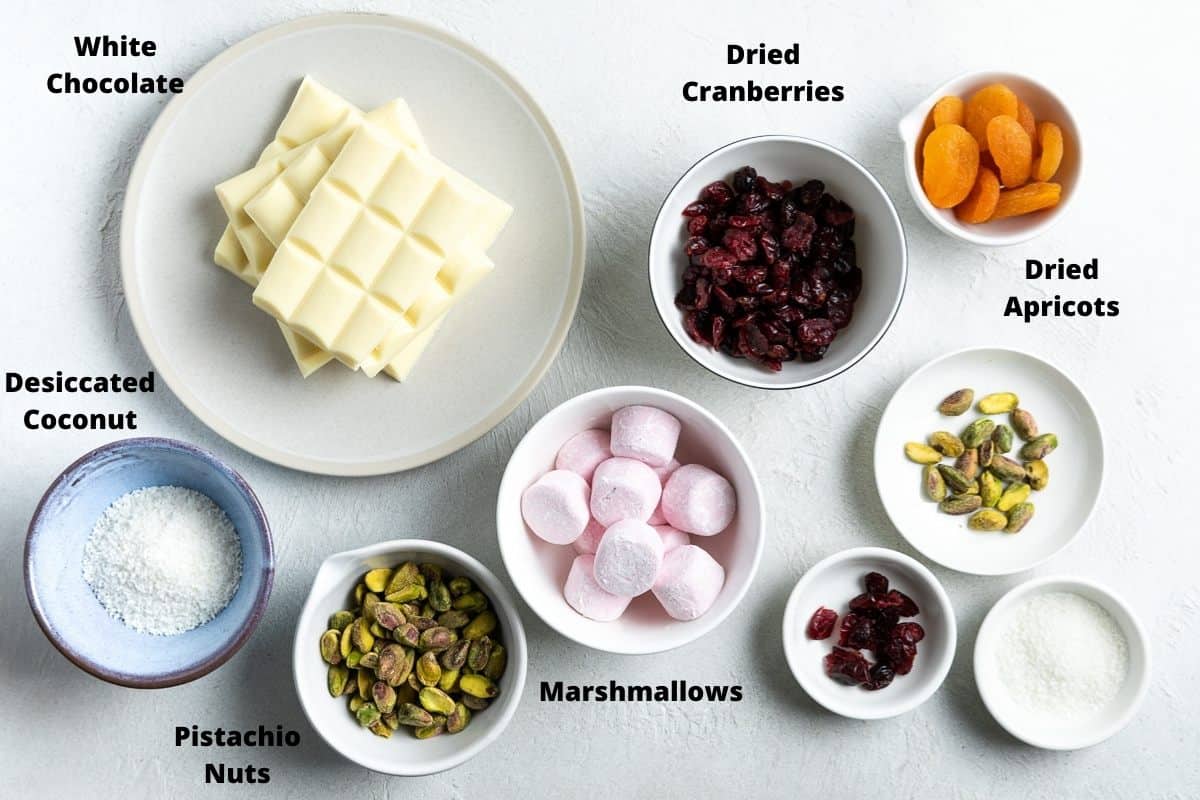
White chocolate – for the best result, use good quality ingredients. Use a chocolate you enjoy eating.
Desiccated coconut – desiccated is dried and finely ground coconut, available in supermarkets. It is not the same as shredded or flaked coconut.
Marshmallows – for colour contrast, I use pink marshmallows. I use large marshmallows that I chop up, but you can use mini ones if you prefer.
Pistachios – add great texture and colour. If you prefer it to be nut free you can substitute it with a sweet biscuit/cookie of your choice, broken into small pieces.
Dried cranberries and apricots – the contrasting colours look fantastic and the dried fruit works well with the white chocolate.
Step by step instructions:
Make sure that your ingredients are prepared for the White Chocolate Rocky Road before you begin to melt the chocolate.
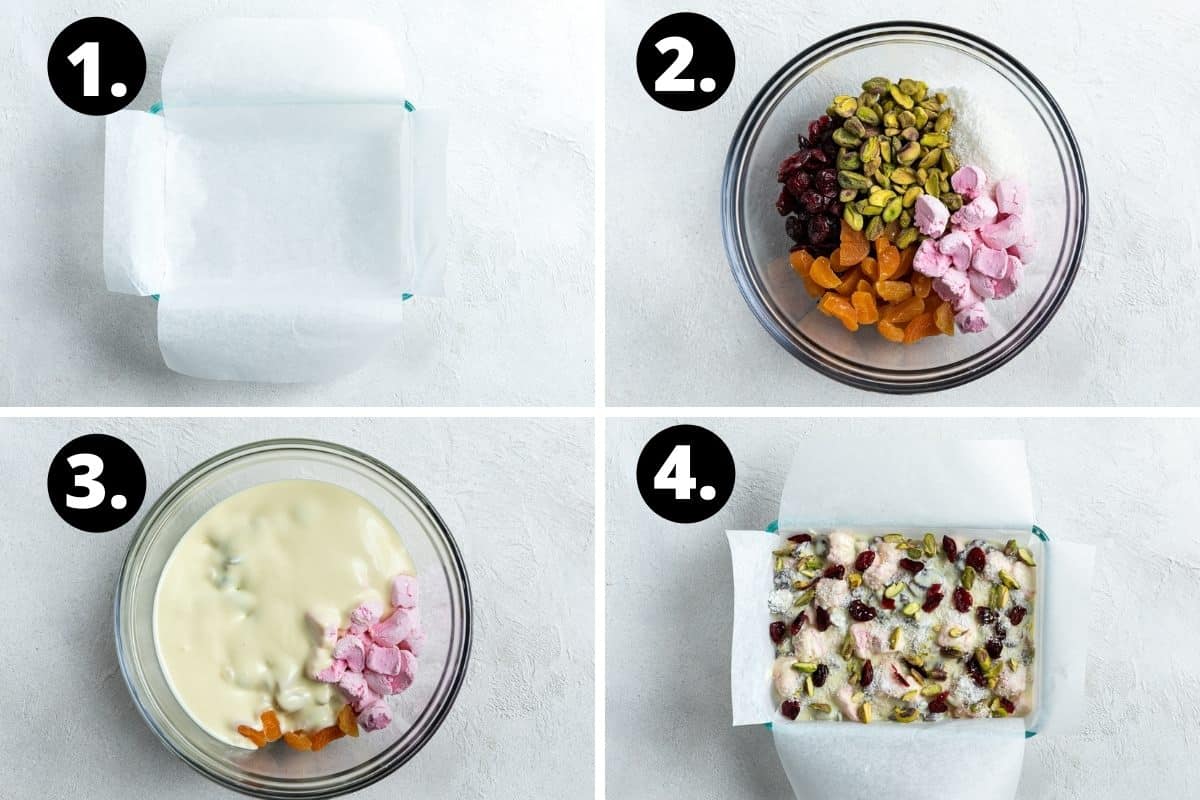
- Line a 18 cm x 13 cm (7 inch x 5 inch) slice tin with non-stick baking paper.
- Add the coconut, pistachios, cranberries, chopped apricots and marshmallows to a large bowl.
- Chop the chocolate to even-size pieces and melt. When the chocolate has melted, let it cool for a minute or two then add to the bowl and stir well to combine the ingredients. If it is too warm it may begin to melt the marshmallows.
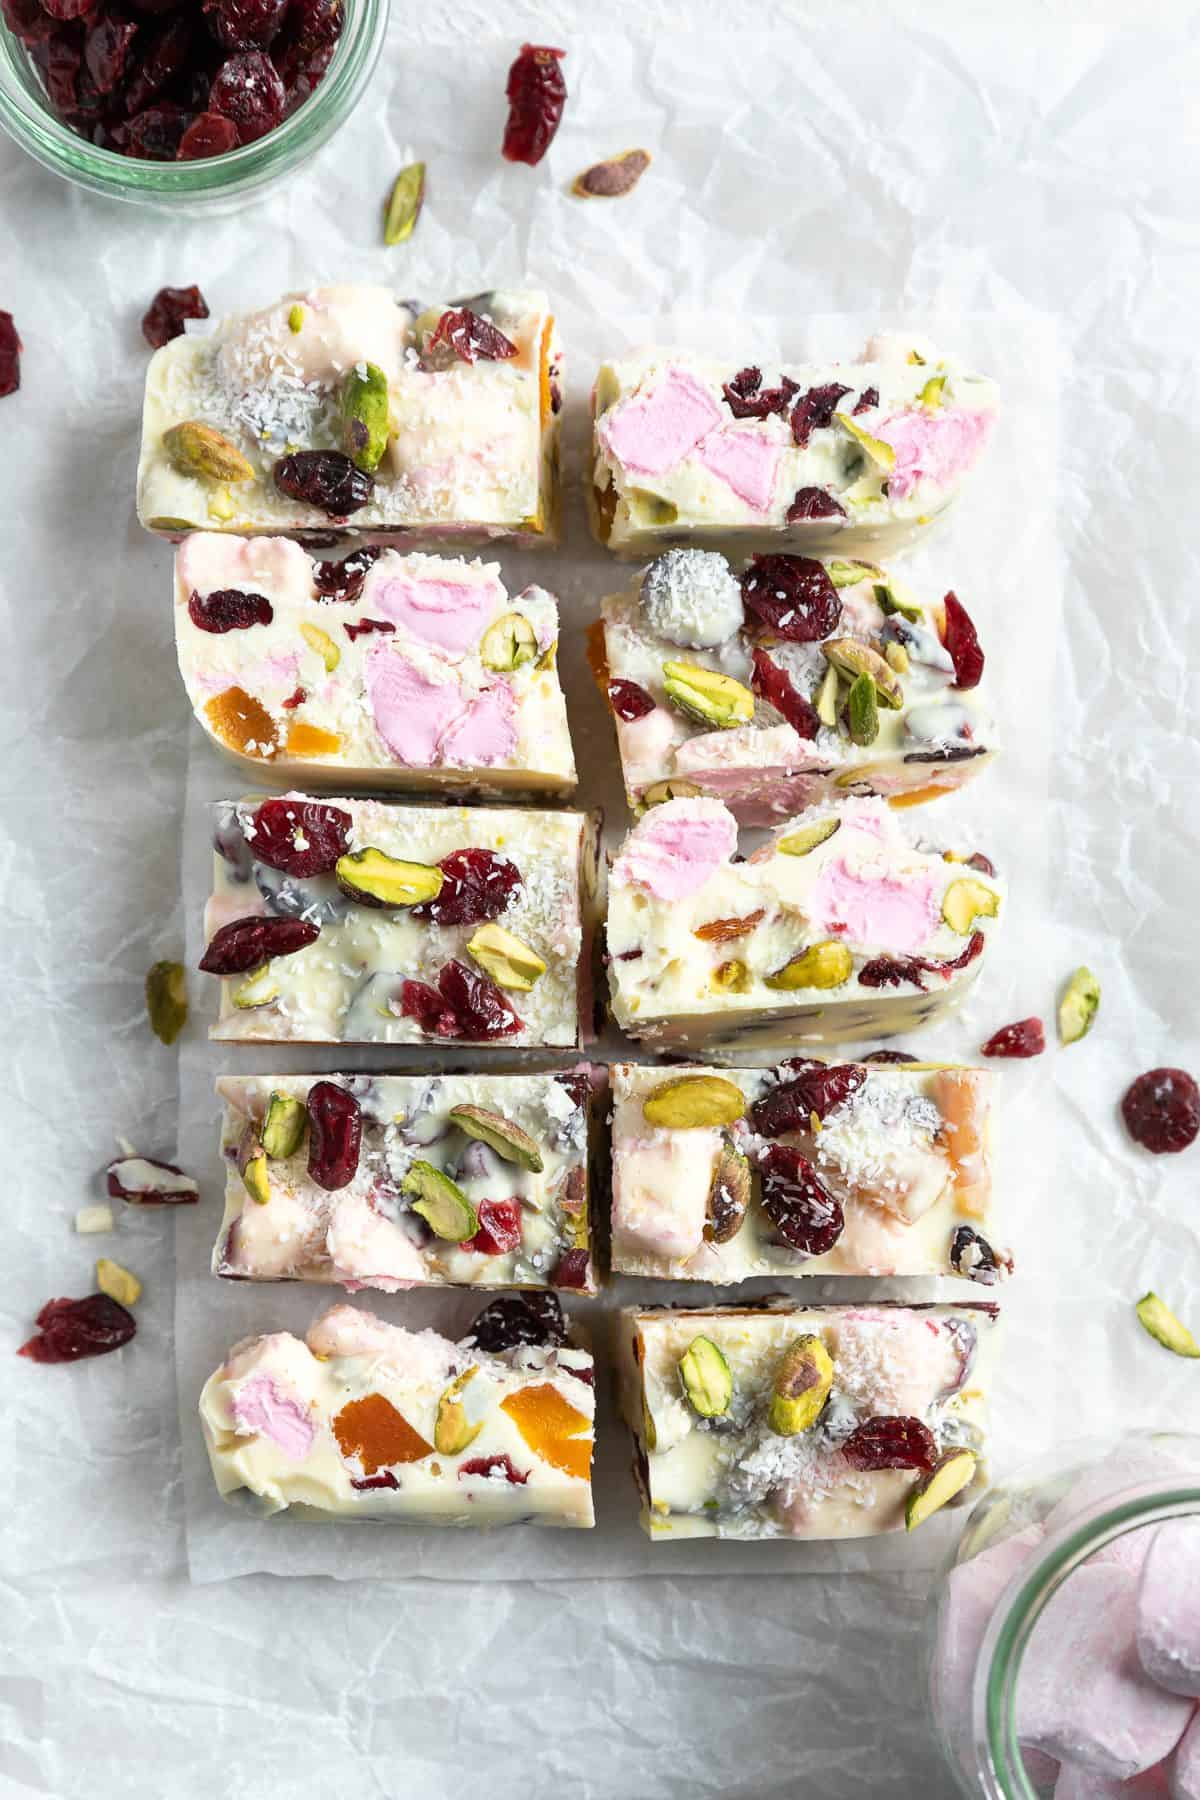
- Add the mixture to the prepared tin and press down to flatten with a metal spatula or spoon. Sprinkle on top the reserved marshmallow pieces, dried fruit and coconut. Place in the refrigerator for 2 hours or until set and then cut it into 10 pieces.
Tips for success and FAQs:
As always, for the best result it is important to use a good quality chocolate. Choose one that you enjoy eating – it will make all the difference.
Moisture is the enemy when melting chocolate as it can cause the chocolate to seize. Care must be taken to ensure that not a drop of water gets into the bowl. To stir the chocolate, I recommend a metal spatula or spoon as wooden spoons can retain moisture.
If you prefer milk and dark chocolate, try our Easy Rocky Road recipe.
If some water, even a very small amount, gets into the chocolate when it is melting, it will transform from a smooth, flowing mixture to one which is thick and grainy and not able to be used for this recipe.
My preference is the stovetop method. A double boiler gives the best control over the heat. When using a double boiler, ie, a bowl placed over a saucepan of water which has just begun to simmer, care must be taken to ensure that not a drop of water gets into the bowl or the chocolate will seize. Further, the bowl must not touch the water in the saucepan. To stir the chocolate, I use a metal spatula or spoon. Wooden spoons can retain moisture. For the best result you should not rush the process. Chocolate melts readily at a lower temperature than you may expect. Just think of what happens to it on a hot day. A high heat may cause it to burn.
You can also use a microwave. Melt the chocolate in 20 second increments, stirring occasionally. Keep an eye on it to ensure that it does not overcook.
Heat a large knife under hot water before slicing. This will help the knife to move more easily through the chocolate. It is easier to cut if you remove it from the fridge 15-30 minutes before you cut it.
You can store it in an airtight container in the fridge for up to 2 weeks. I like to put a few sheets of kitchen paper in the bottom of the container to help absorb any moisture.
Other ways to enjoy chocolate:
If you’re like us, and cannot resist a delicious chocolate treat, you’ll love some of these other favourite recipes:
- Chilli Chocolate Clusters
- Candy Cane Chocolate Bark
- Chocolate Coated Strawberries
- Cranberry Pistachio Bark
- Decadent Chocolate Brownies
- Chocolate and Raspberry Brownies
- Chocolate Sour Cream Cake
- Or check out our complete collection of chocolate recipes here.
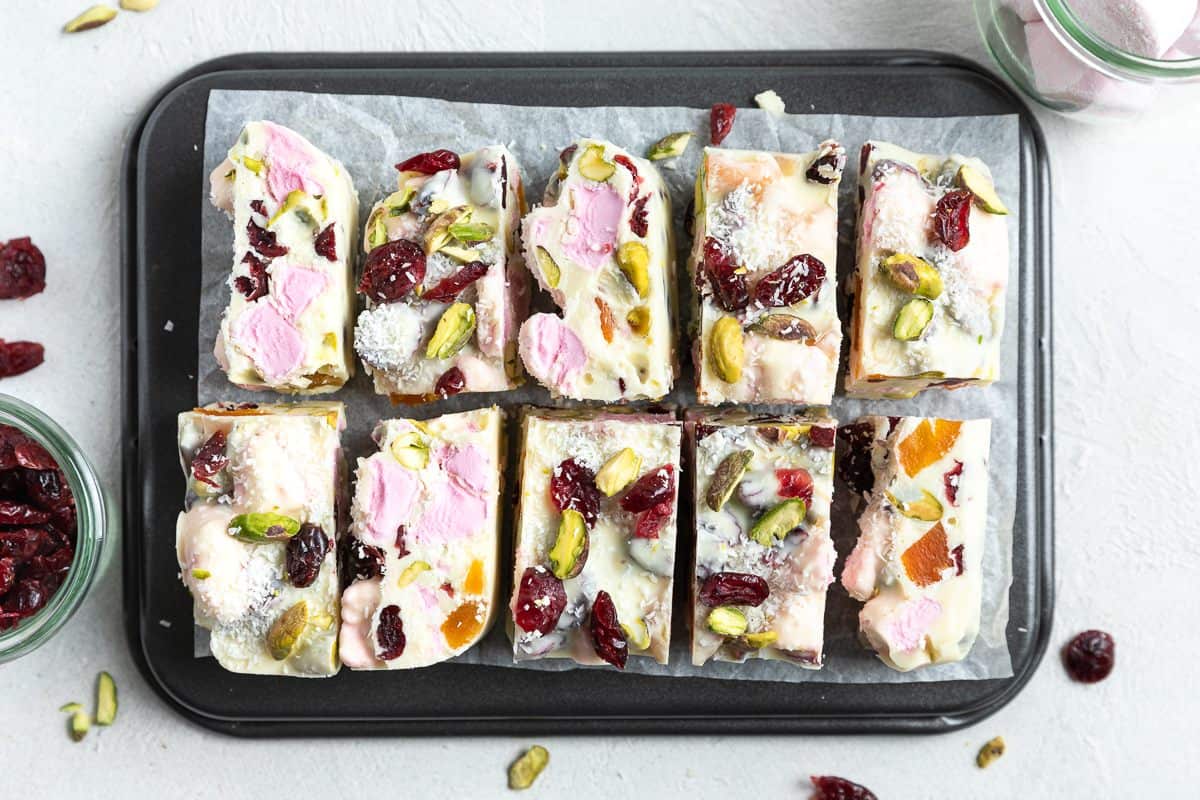
This White Chocolate Rocky Road is perfect for entertaining and is ideal for the festive season.
There are contrasting flavours and textures in this Rocky Road which delight the taste buds. We have tender marshmallows, the crunch of pistachios, the sweet yet tart dried apricots and cranberries and some contrasting texture from the coconut, all bathed in smooth, creamy white chocolate.
It is the perfect recipe to customise to suit your own taste. Choose the chocolate you prefer, add the nuts of your choice or omit them and use broken biscuits/cookies. You can use glace cherries, Turkish delight chocolate bars or other types of soft, raspberry sweets/candies.
It is an ideal sweet treat or addition to desserts when you are entertaining. Or pack some in cellophane bags to give as gifts – they will be well received!
Alex xx

White Chocolate Rocky Road
Recipe Measurements:
For accuracy, when weights are provided, we recommend weighing your ingredients. This will produce the best results.
Ingredients
- 300 g (10.5 oz) white chocolate – cut into even pieces See Note 1
- ¼ cup (20 g) desiccated coconut
- 1 cup (80 g) pink marshmallows – quartered See Note 2
- ⅓ cup pistachios
- ½ cup dried cranberries
- ¼ cup dried apricots – chopped into thirds
For the topping (optional)
- 2 teaspoon dried cranberries
- 1 tablespoon pistachios
- 2 teaspoon desiccated coconut
Instructions
- Line an 18 cm x 13 cm (7 inch x 5 inch) slice tin with baking paper.
- Place the desiccated coconut, quartered marshmallows, pistachios, cranberries and apricots in a bowl.
- Melt the chocolate: place the chopped chocolate pieces in a bain marie/double boiler or heatproof bowl set over a pan of barely simmering water, making sure the bowl doesn’t touch the water. Stir with a metal spoon or spatula until the chocolate has almost melted. Remove from the heat – the residual heat will melt the remaining chocolate.
- Once the chocolate has melted, leave it for a couple of minutes to cool slightly. See Note 3.Once cooled slightly, pour into the bowl with the marshmallows, coconut, pistachios and dried fruit.
- Stir well so everything is covered in the chocolate.Pour into the prepared tin and flatten down with a spatula or metal spoon.
- Sprinkle over the topping of cranberries, pistachios and desiccated coconut, if using.
- Place in the fridge for 2 hours or until set.
- Cut into 10 pieces using a warm sharp knife. It’s easier to cut if you take it out of the fridge 15-30 minutes before you cut it.Store in the fridge in an airtight container for up to 2 weeks.
Notes
- Use the best quality chocolate that you can – this will produce the best result.
- If using regular marshmallows, cut them into quarters. Alternatively, use mini marshmallows.
- Leave the chocolate to cool for a minute or two before pouring over the marshmallows. If the chocolate is too hot, they can begin to melt.
- If you prefer, you can melt the chocolate in the microwave – melt at 20 second intervals, stirring after each one.
- Please note, the nutritional information is based on the White Chocolate Rocky Road being cut into 10 pieces. The nutritional information is an estimate only.
Nutrition Estimate:
Nutritional Disclaimer:
The nutritional information is an estimate only, and is derived from online calculators. For accurate results, we recommend calculating the nutritional information based on the ingredients and brands you use.
Addie
So delicious!
Alexandra
Hi Addie, thank you for your very positive comment on the White Chocolate Rocky Road; I am so pleased that you enjoyed it. 🙂
Kayla
Loved this white chocolate rocky road! It is so delicious.
Alexandra
Hi Kayla, I am so pleased that you enjoyed the White Chocolate Rocky Road. Thank you so much for letting me know. 🙂
Amanda Dixon
This is such a delicious candy! The coconut flavor was a real treat, and it was super simple to make.
Alexandra
Hi Amanda, I am so pleased that you enjoyed the White Chocolate Rocky Road. A delicious, easily made, sweet treat is always a good idea. 🙂
Makhaya
Seriously so good!
Alexandra
Hi Makhaya, I am so pleased that you enjoy the White Chocolate Rocky Road, thank you for letting me know. 🙂
Amy
So delicious!
Alexandra
Hello Amy, thank you for your feedback. I am so happy to hear that you enjoy the White Chocolate Rocky Road. 🙂
sherry
how pretty and delicious. i’ve never put dried apricots in this so great idea.
Alexandra
Hello Sherry, I am so pleased that you like the Rocky Road recipe. It is very pretty, will make a lovely gift for the festive season. 🙂