


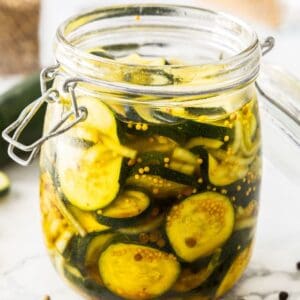
My Pickled Zucchini is a fantastic, easily made condiment that will elevate the flavour of many dishes, and with this recipe, I will show you how easy it is to make your own pickles at home. It is a great way to make use of some of summer's bounty, especially when zucchini are often abundant. To the zucchini, we add a balanced mix of vinegar, sugar, and spices, producing a gently spicy, slightly sweet pickle which you will use in many ways.
Why You'll Love This Recipe:
- When zucchini are abundant at the height of their season, I like to make these pickles and put some aside so I can use them in the months ahead.
- The pickles are easily made from ingredients that are readily available.
- You will have the satisfaction of knowing that you have made the pickles yourself and know exactly what they contain.
- They are perfect for the novice or experienced cook alike. If you have not previously made your own pickles, this is a great place to start.
- You will find many ways in which to use these pickles and we have some suggestions for you below.
- They make a great edible gift; just tie a pretty ribbon around a jar. They will be gratefully received.
Recipe Inspiration: inspired by my Bread and Butter Pickles recipe that uses cucumbers - the zucchini version is just as delicious!
Ingredients and Substitutions:
Please see the recipe card further along in the post for exact quantities of ingredients and the full method.
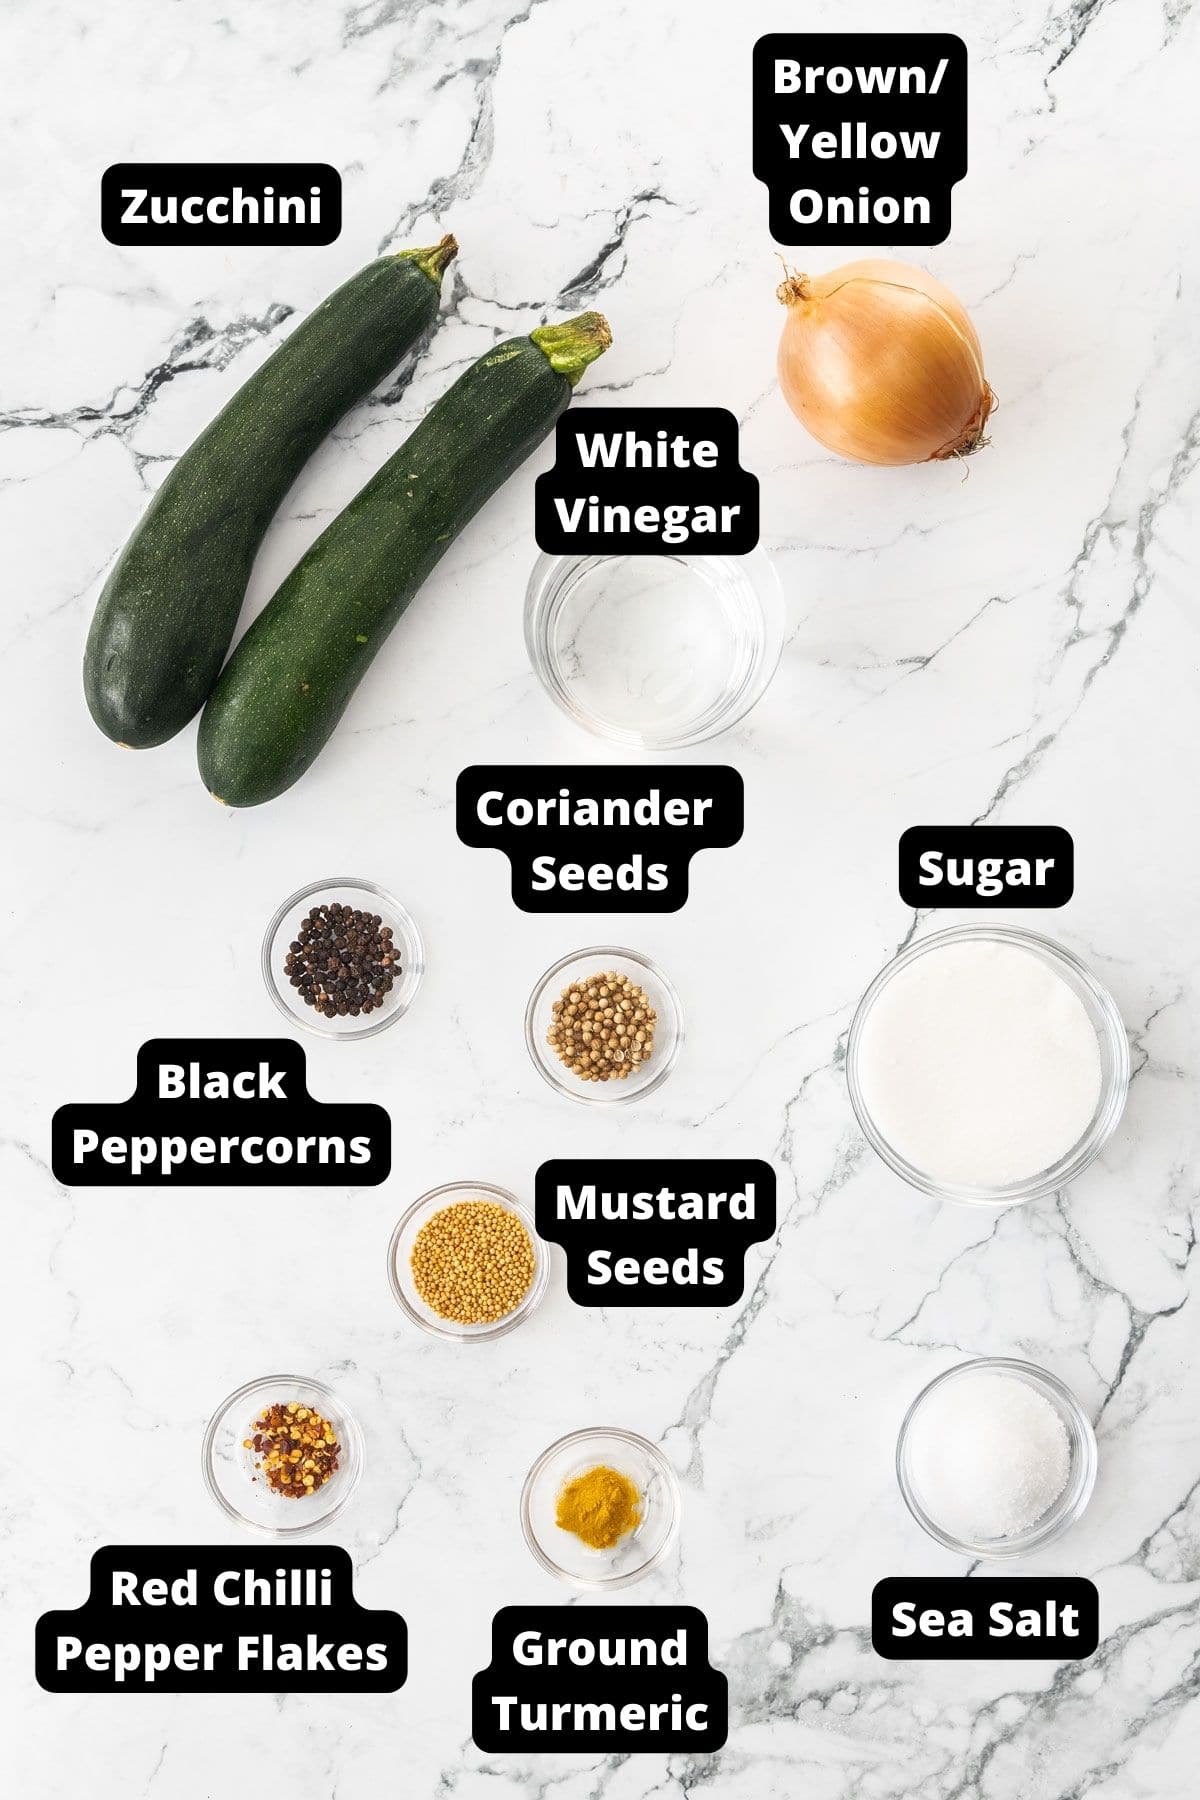
- Zucchini - I like to use young, firm, slim zucchini. You can use any variety.
- Brown/yellow onion - this is a popular, all-purpose onion, that adds great flavour to the pickles. You can use a white onion if you prefer.
- Sea salt - We use the salt to draw out the excess moisture from the zucchini and soften the onion. Use coarse sea salt, not table salt as it is finer, and may contain anti-caking agents which could cause the brine to become cloudy.
- White vinegar - for pickling, we use white vinegar with an acidity of 5%, but you can use white wine vinegar or apple cider vinegar if you prefer.
- White sugar - use regular granulated sugar to help preserve the pickles and balance the acidity of the vinegar.
- Whole coriander seeds - add a bright, slight citrus note to the brine.
- Yellow mustard seeds - add gentle spice to the brine.
- Whole black peppercorns - contribute a spicy element to the pickle.
- Ground Turmeric - adds colour to the brine.
- Chilli flakes - dried red chilli flakes add spice. Add more, or less, as you prefer.
Variations:
Yellow mustard seeds - you can use brown if that's what you have on hand.
Dried chilli flakes - you could just use the whole black peppercorns if you prefer less spice.
How To Make Pickled Zucchini:
Please see the recipe card further along in the post for exact quantities of ingredients and the full method.
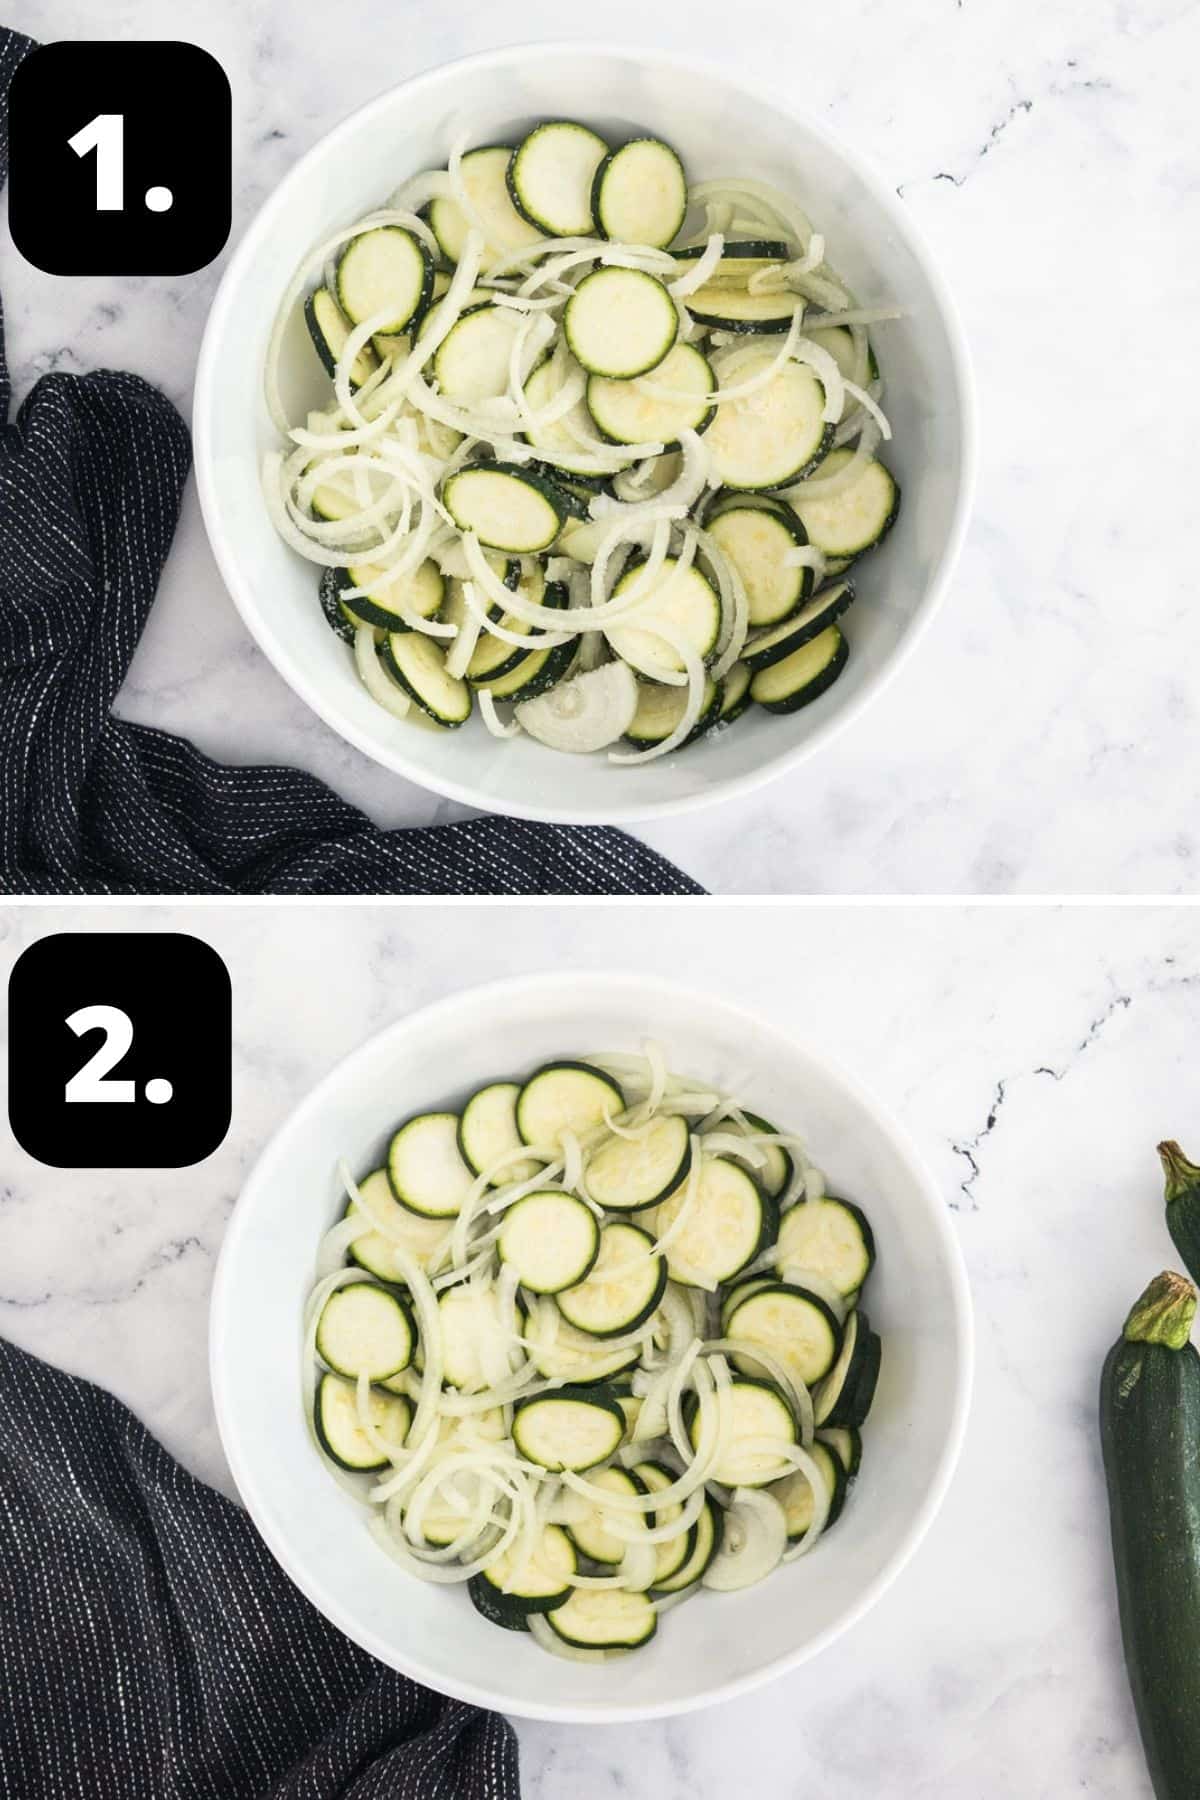
1 - Slice the zucchini and onions:
Remove both ends of the zucchini, and slice into ½ cm (⅕ inch) thick pieces.
Peel the onion and cut into half before thinly slicing each half into half-moons.
2 - Add them to a bowl:
Add the zucchini, onion and salt to a medium-sized bowl, and cover with clingfilm. Refrigerate for 4 hours.
After 4 hours, tip the onions and zucchini into a colander and drain the excess liquid.
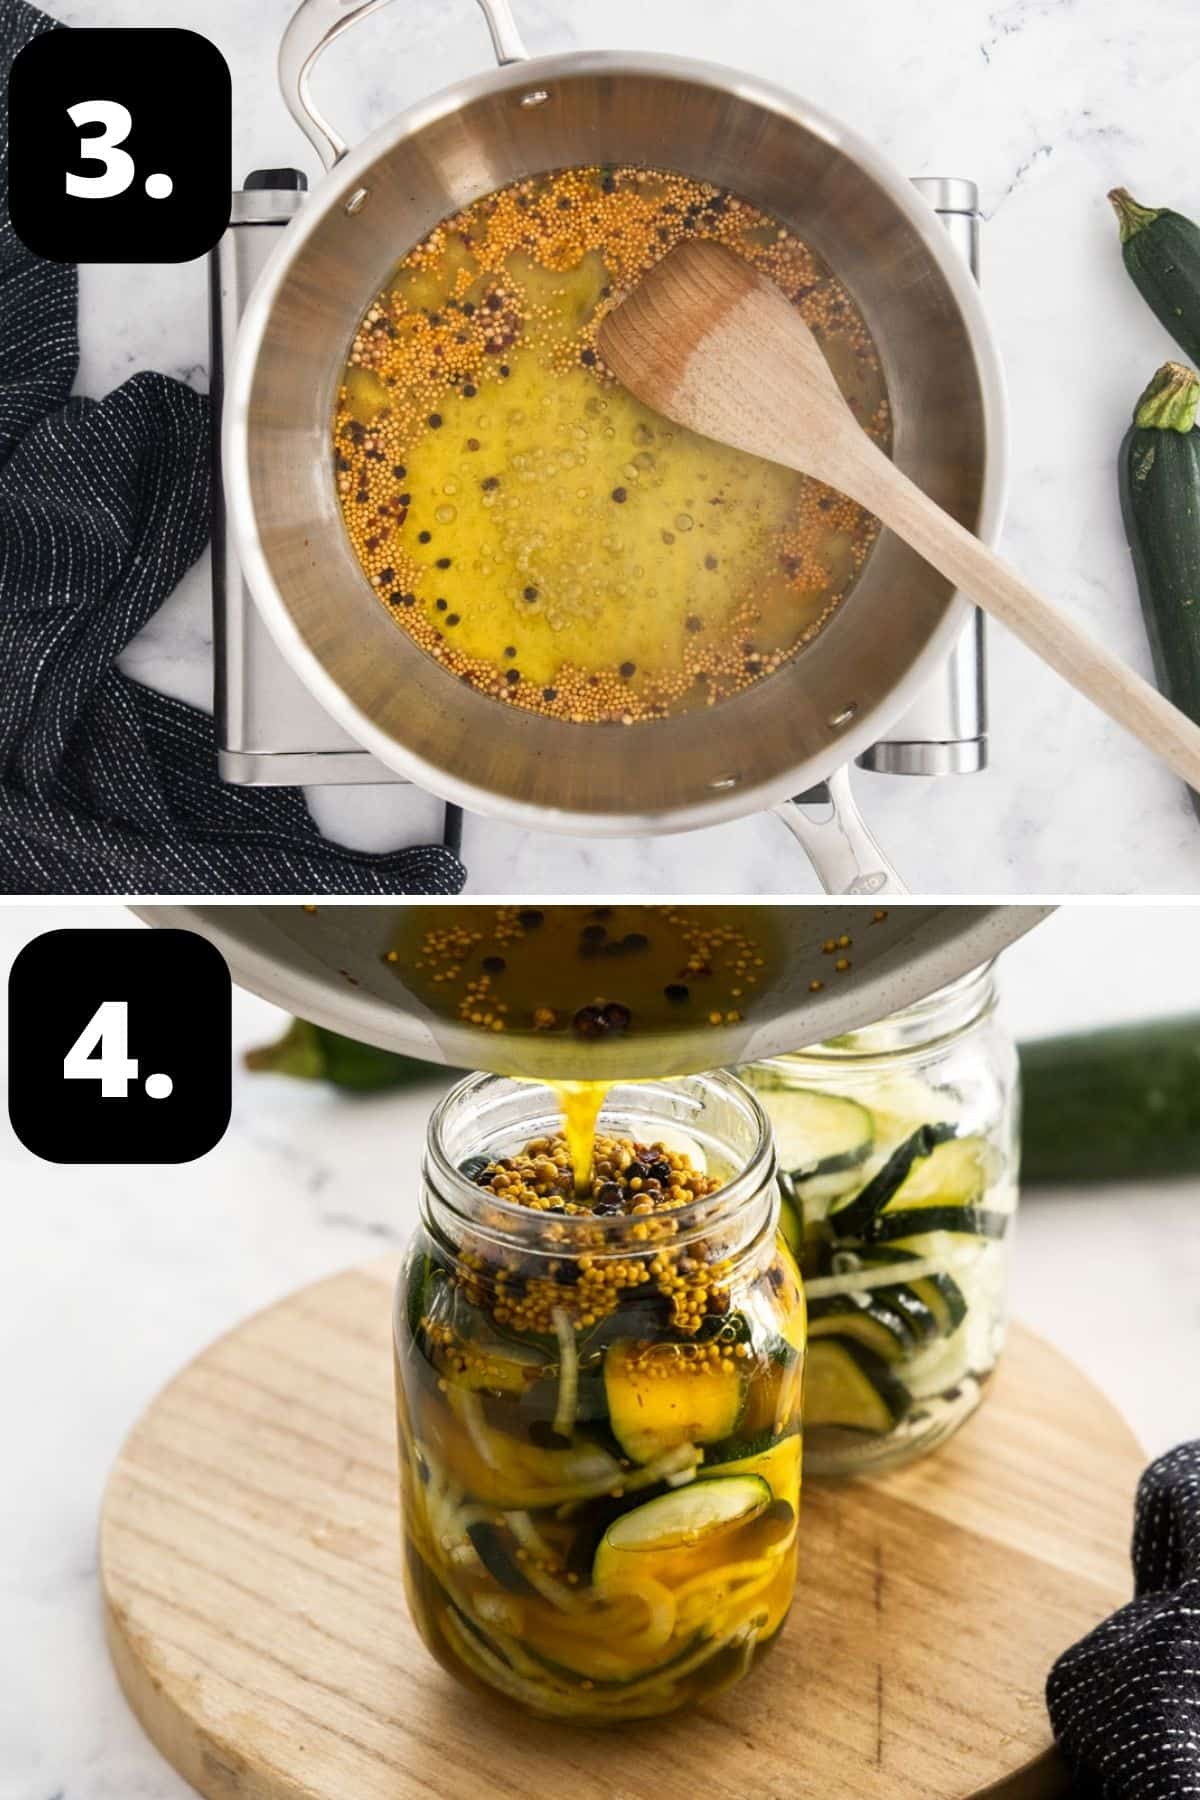
3 - Make the pickling brine:
In a non-reactive pan, add the vinegar, sugar and seasonings. On a medium heat, stir to dissolve the sugar. Once dissolved, simmer for 2 minutes.
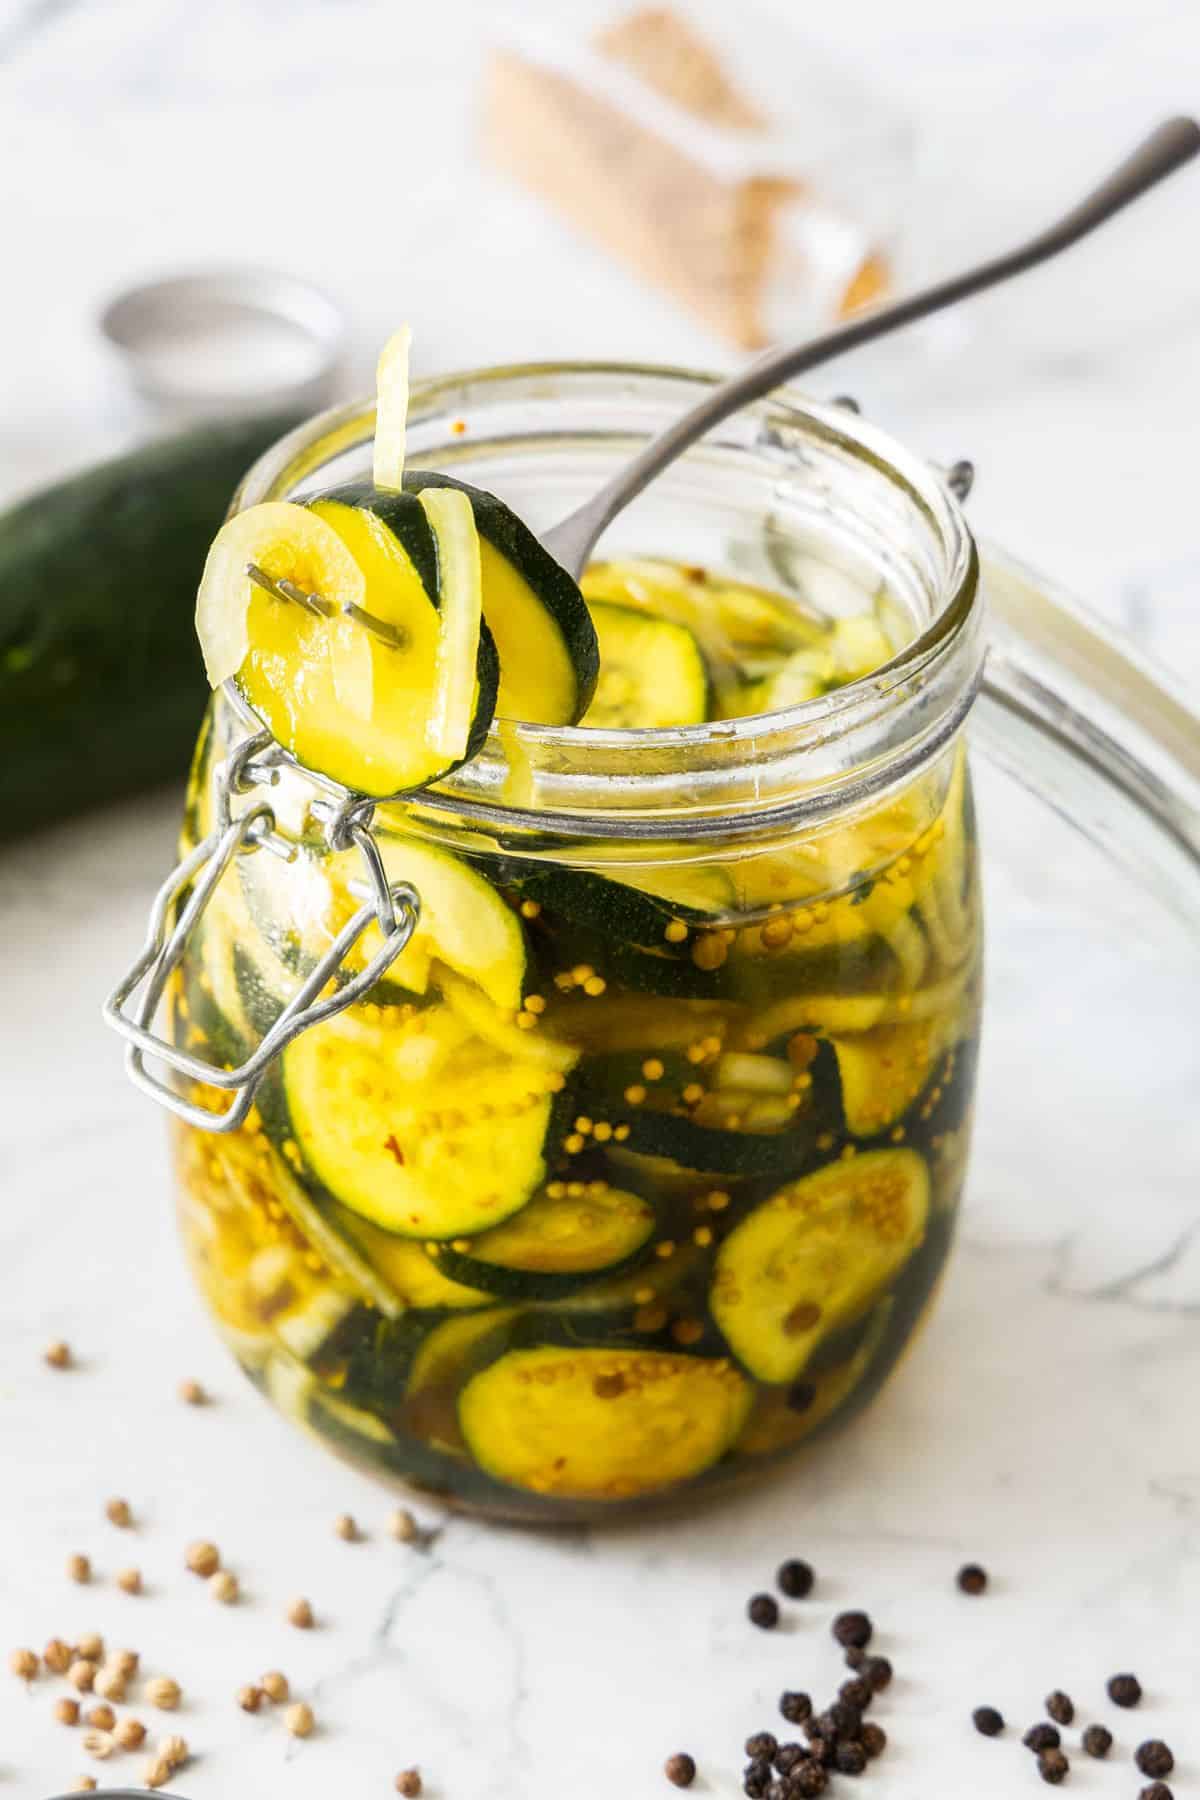
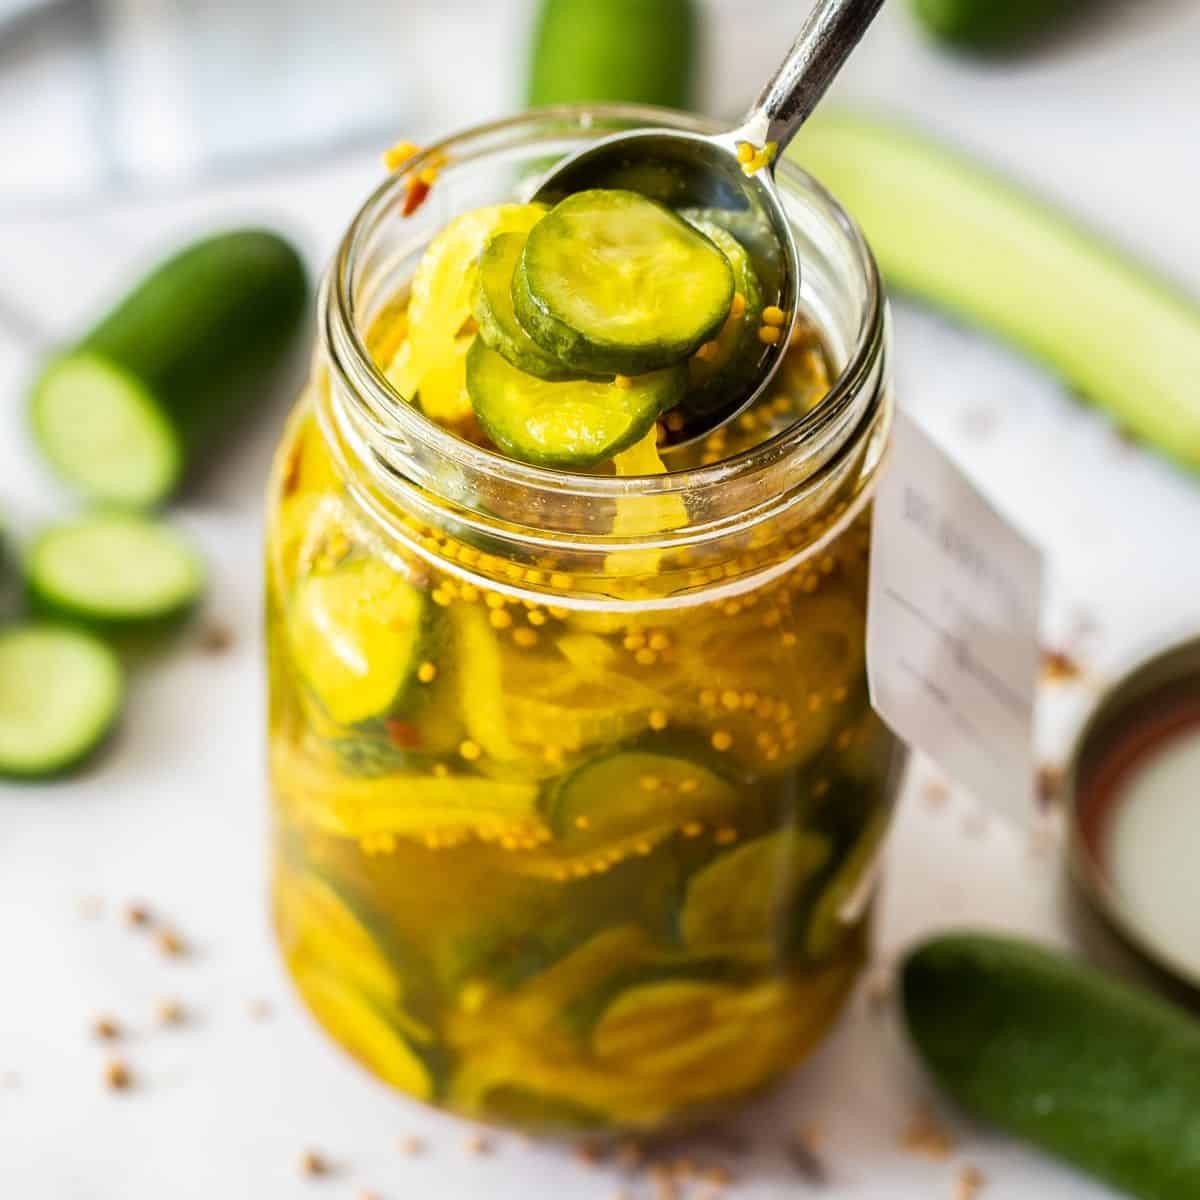
4 - Add to your prepared jar:
Add the zucchini and onion to the warm jar, and carefully top with the vinegar mixture.
Seal the jars immediately and allow to cool on the bench before refrigerating.

Tips for Success, Storage and FAQs:
The best ones to choose are young, small to medium-sized, firm zucchini. The smaller ones have fewer seeds, and when fresh, a crisp texture. When zucchini get large, they have more seeds, and may have a spongey texture. Avoid any that feel spongey or have blemishes.
The pickles will last for three months stored in the fridge. However, they will soften a little over time.
For a clear flavour, I use white vinegar with an acidity of 5 %. But you can use apple cider vinegar or white wine vinegar if you prefer.
Zucchini contain approximately 95% water, and that water can dilute your pickling solution, so we salt them to draw out some of their moisture. This prevents the pickle flavour being diluted and helps soften the sliced onion.
Top Tip:
When making pickles, you will get the best result by using high quality, fresh vegetables, at their peak. Avoid those with blemishes or showing signs of age. This is not the time to use those past their prime.
When you make your own pickles and preserves, it is essential to sterilise the jars in which you will store them. I have given full details for this in the recipe below. As well, I recommend that you use a jar with a wide opening to make it easier to fill with the pickles.
Serving Suggestions:
You will find many ways in which to enjoy these Zucchini Pickles. Some suggestions are:
- As a great addition to a hamburger.
- To add bright flavour to a sandwich.
- With salmon; the Pickled Zucchini balances the richness of the fish.
- With bread and matured cheese, like my Giardiniera.
- To accompany hot or cold roast meats.
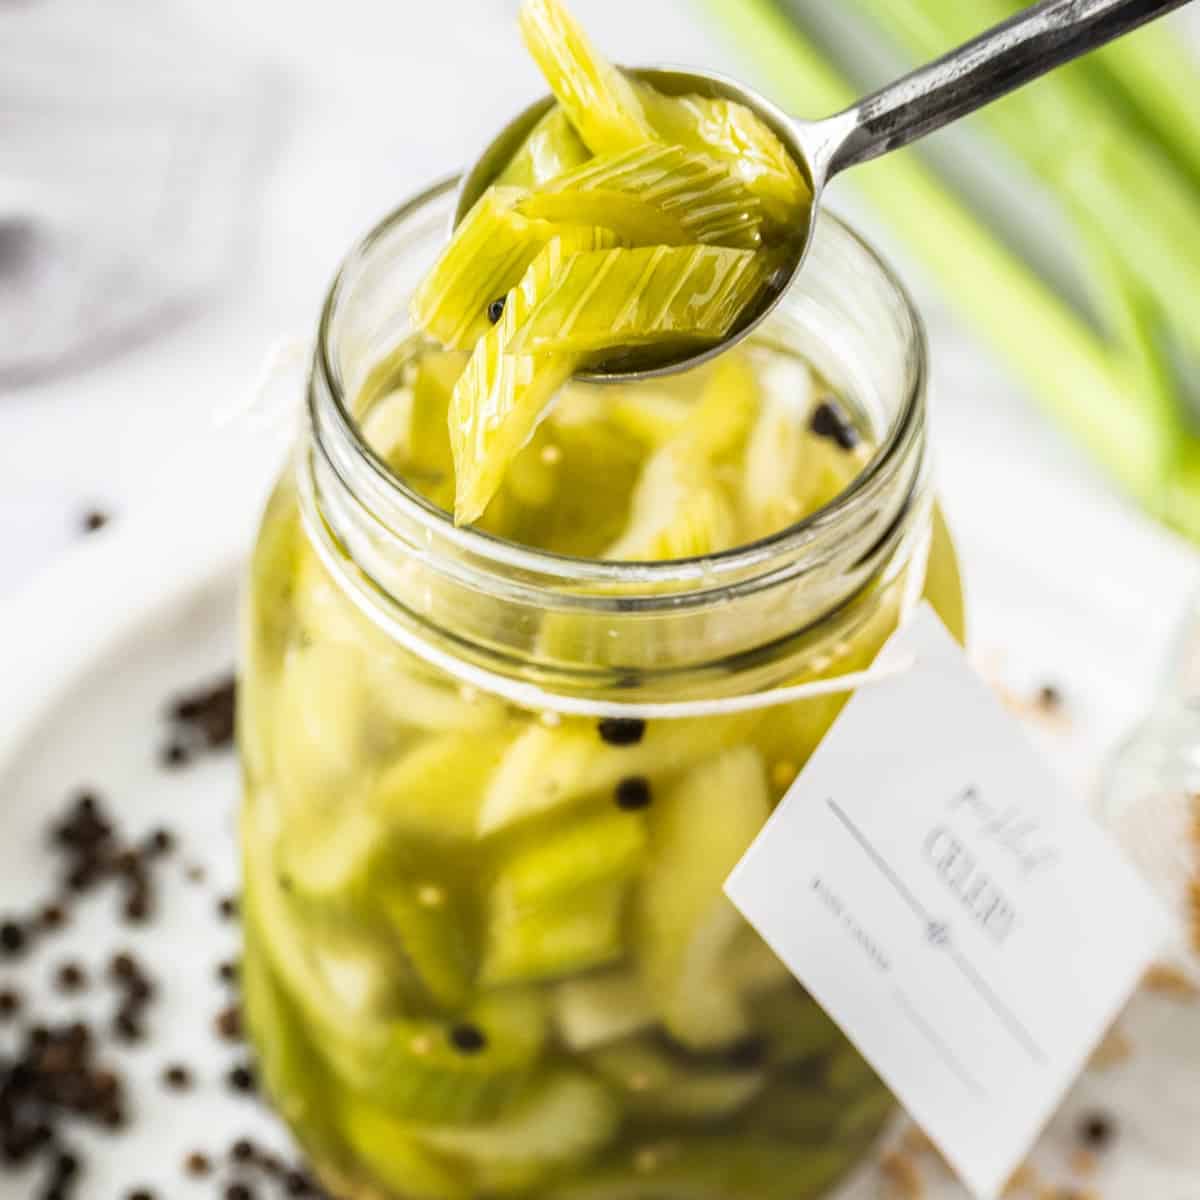
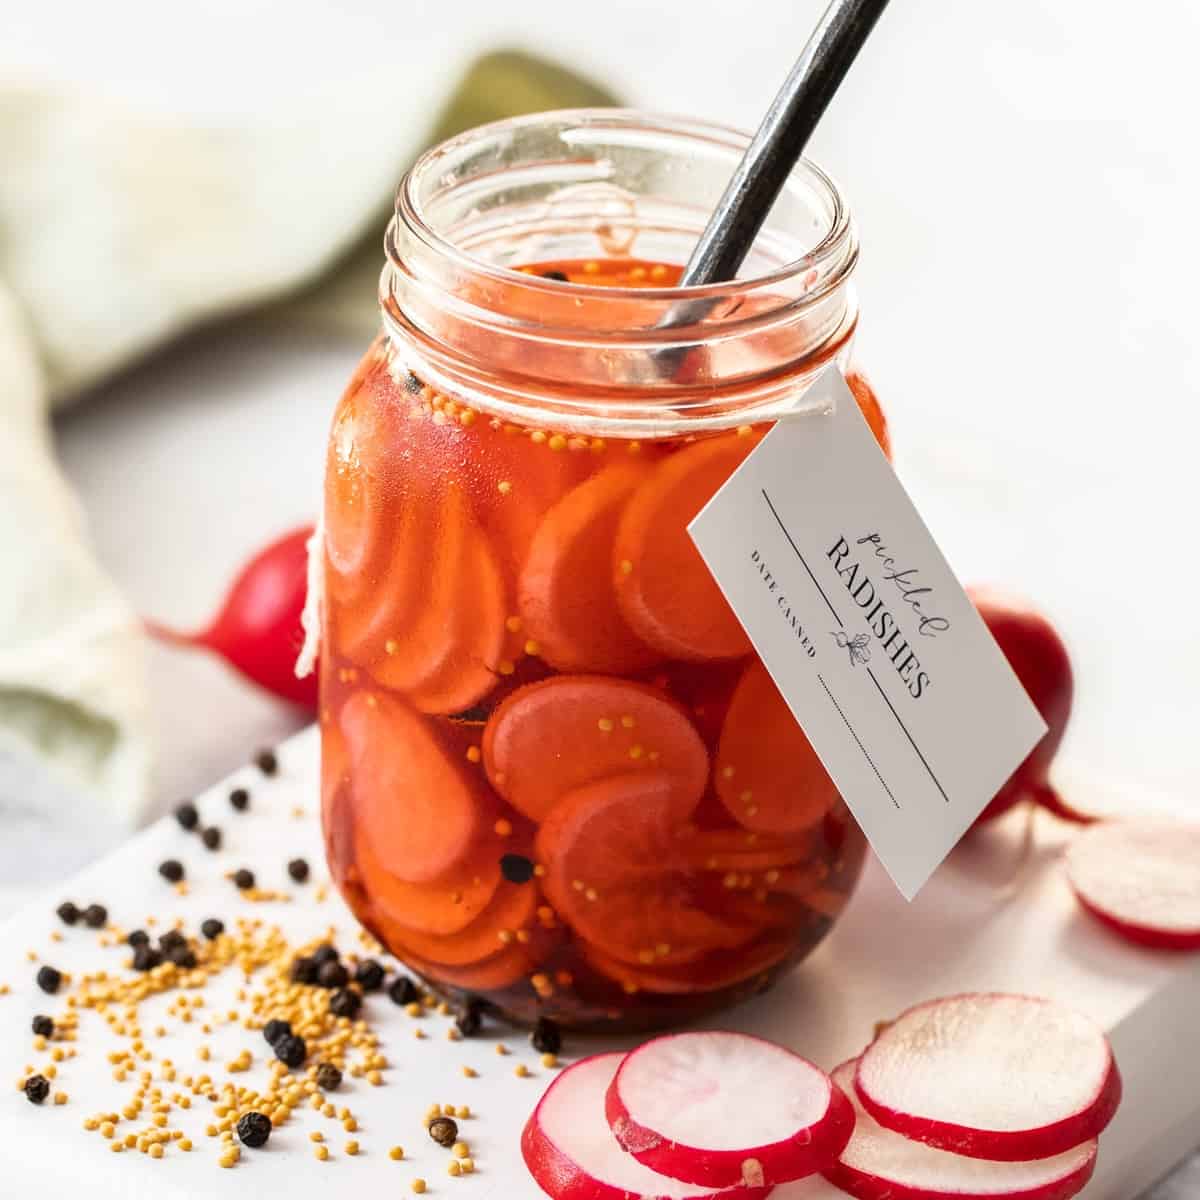
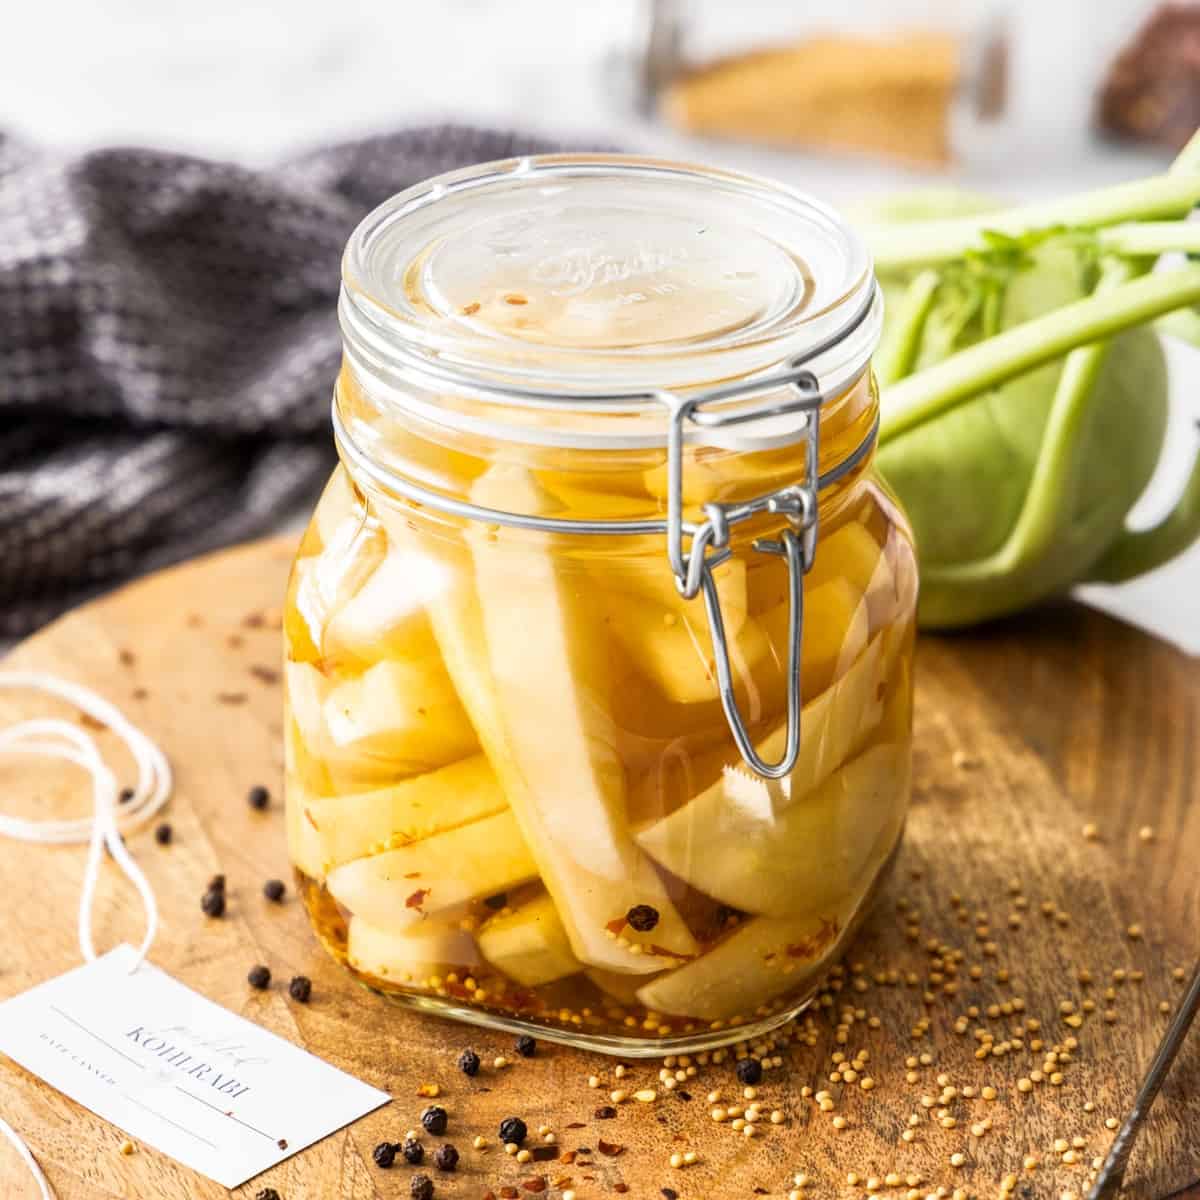
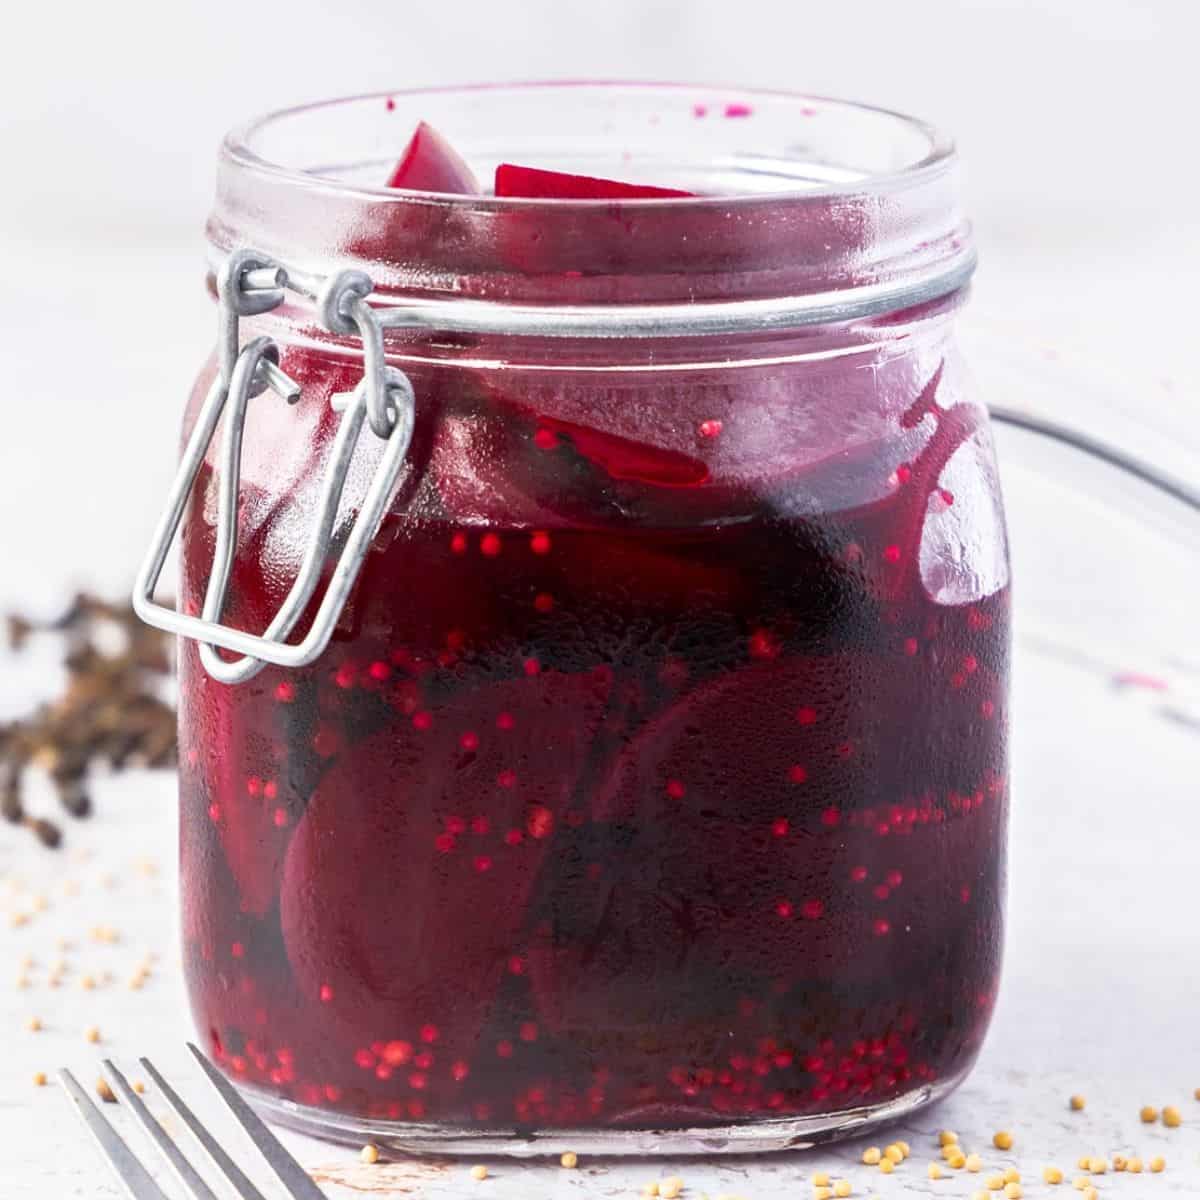
- Tie a pretty ribbon on a jar; they make a great edible gift. You can even print out your own label, as seen in the photos! Simply right-click and save the image below to print out.

These easy pickles will be a delicious addition to your kitchen, and I hope you will love the flavour boost that they provide to so many dishes. Be sure to let me know in the comments below when you have tried them.
Alex xx
More Delicious Recipes For You To Try:
Stay in touch!
Follow me on Facebook, Pinterest, Flipboard and Instagram and subscribe to my newsletter.
Pickled Zucchini
Equipment
- 1 x 700ml (23 fluid oz) Jar
Please note:
For accuracy, when weights are provided, we recommend weighing your ingredients. This will produce the best results. All oven temperatures listed are for fan forced.
Ingredients
- 400 g (14 oz) zucchini - smaller, younger is better See Note 1
- 1 medium brown/yellow onion
- 1 ½ tablespoon coarse sea salt See Note 2 and 3
- 1 cup (250 ml) white vinegar See Note 4
- ½ cup (110 g) sugar
- 1 teaspoon whole coriander seeds
- 2 teaspoon whole yellow mustard seeds
- 1 teaspoon whole black peppercorns
- ¼ teaspoon red chilli pepper flakes
- ¼ teaspoon ground turmeric
Instructions
To Sterilise the Jars:
- Sterilise the jar or jars you'll be using to store the pickles. Choose glass jars with an airtight, metal lid and ensure they have been washed by hand in hot soapy water then rinsed well. Check that the metal lids do not have rubber inserts - if they do, allow them to air dry, instead of placing in the oven.Preheat the oven to 130 Degrees C (270 F) and place the jars in the oven for 15-20 minutes. Keep the jars warm.
For the Pickled Zucchini:
- Wash and dry the zucchini. Remove the top and end.Thinly slice - approximately ½ cm (⅕ inch) thick.
- Peel the onion and remove the tip. Cut the onion in half, and thinly slice into half moons. Discard the root end.
- In a large bowl, add the zucchini, onion and salt. Cover the bowl with plastic wrap, and place in the fridge for 4 hours.
- Tip the zucchini and onions into a colander and drain the excess liquid. Discard the liquid.
- In a non-reactive saucepan (See Note 5), place the vinegar, sugar and spices.On a medium heat, stir to dissolve the sugar. Once the sugar is dissolved, simmer the liquid for 2 minutes.
- Place the zucchini and onion slices into the warm, sterilised jar.
- Remove the saucepan from the heat, and carefully pour the pickling liquid into the jar with the zucchini and onions.
- Seal the jar immediately, and allow to cool on the bench before placing in the refrigerator. The Pickled Zucchini can be enjoyed once cool, but I recommend leaving them for 24-48 hours to allow the flavours to develop.
Notes
- Zucchini: for the best results, use small, young zucchini. The larger and thicker, the spongier the zucchini and this will not yield as crunchy a pickle.
- Coarse sea salt: ensure you use cooking salt or coarse sea salt. Regular table salt may contain anti-caking agents and is much stronger.
- Tablespoon: we use a standard Australian tablespoon which is 20 ml (4 teaspoons).
- Vinegar: I have used white vinegar that is 5% in acidity. You can also use apple cider or white wine vinegar - just ensure the acidity level is 5%.
- Non-reactive saucepans: are those which are ceramic, stainless steel, glass or enamelled cookware. Copper, iron and aluminium pans are reactive. Acidic foods, such as lemons and vinegar, may take on a metallic taste and discolour if cooked in such pans.
- Storage: once the jars have cooled, store the pickles in the fridge for up to three months. This is a quick pickle recipe not designed for long term canning.
- Nutritional information: is based on the entire jar, and includes the pickling liquid.
Nutrition Estimate:
Nutritional Disclaimer:
The nutritional information is an estimate only, and is derived from online calculators. For accurate results, we recommend calculating the nutritional information based on the ingredients and brands you use.
Toby says
Can I divide ingredients in half to make half a recipe?
I did not realize that an Australian tablespoon and a Canadian tablespoon are different until reading your recipe, and it's important information.
I live on Salt Spring Island, BC. I have zucchini growing in the garden and would like to try this.
Alexandra Cook says
Hi Toby,
Yes a half recipe will work just fine 🙂
A lovely use for your homegrown zucchini!
Thanks, Alex xo
Nina says
Can I can the jars to lengthen the life span?
Alexandra Cook says
Hello Nina,
No - as we note in the storage section of the recipe card "This is a quick pickle recipe not designed for long term canning."
I find they don't last very long anyway - as they're very delicious! 🙂
Alex xo
Meg says
Very easy recipe and great flavor. Might even prefer to cucumber pickles!
Alexandra Cook says
Thank you, Meg! I agree - I really love these!
Alex xo
George Flynn says
I wondered if I should have rinsed off the salt. I drained the zucchini and onion and have found my first batch a little salty.
Alexandra Cook says
Hi George,
We don’t rinse the zucchini and onion, no. After draining, they will definitely taste salty, but this helps to add flavour to the brine.
Just wondered how long it had been since you’ve had them in the pickle brine?
The flavours will mellow after 24-48 hours, so if it hasn’t been that long yet, I’d give them another try then.
Let me know how you get on 🙂 Alex xo
Lucy P. says
Put my homegrown zucchini (the last of it, boo!) to good use and these pickles are sooo tasty. Have been adding them to everything - burgers, sandwiches, breakfast plates! I hadn't ever made homemade pickles before but I am looking forward to trying more. So easy for such great results.
Alexandra Cook says
Hello Lucy,
These are my favourite on a burger!
I am so happy you found this recipe easy and tasty.
Thanks heaps for taking the time to let me know! Alex xo
Max says
Hi, Do you rinse off the salt before adding the zucchini to the jars?
Alexandra Cook says
Hi Max,
No, you don't need to. The cucumbers are salty at this stage, but mellow once in the pickling brine, and the salt adds to the flavour of the brine.
Please let me know if you give the recipe a try 🙂
Marie says
This pickled zucchini is so good. Deliciously tangy and a lovely flavour. Will definitely make these again.
Alexandra Cook says
Hi Marie,
I am so happy you enjoyed this recipe and will make it again.
Thank you so much for sharing, Alex xo
Nisha says
Such a wonderful share, nice to learn how to make this recipe of pickled zucchini! Thank you, I found it delicious.
Alexandra Cook says
I am so happy you enjoyed it, Nisha.
Thank you for taking the time to let me know! Alex xo
margaret liddy says
I made these last week, this is the second time, as I grow my own zucchies and usually have heaps. This recipe is easy as and you get great results every time. cheers
Alexandra Cook says
Hi Margaret,
I appreciate you giving this recipe a go and so glad you enjoyed it 🙂
Homegrown zucchini is wonderful!
Thanks for taking the time to comment, Alex xo