


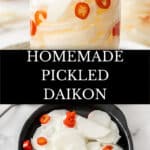


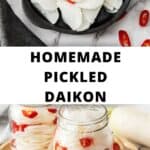
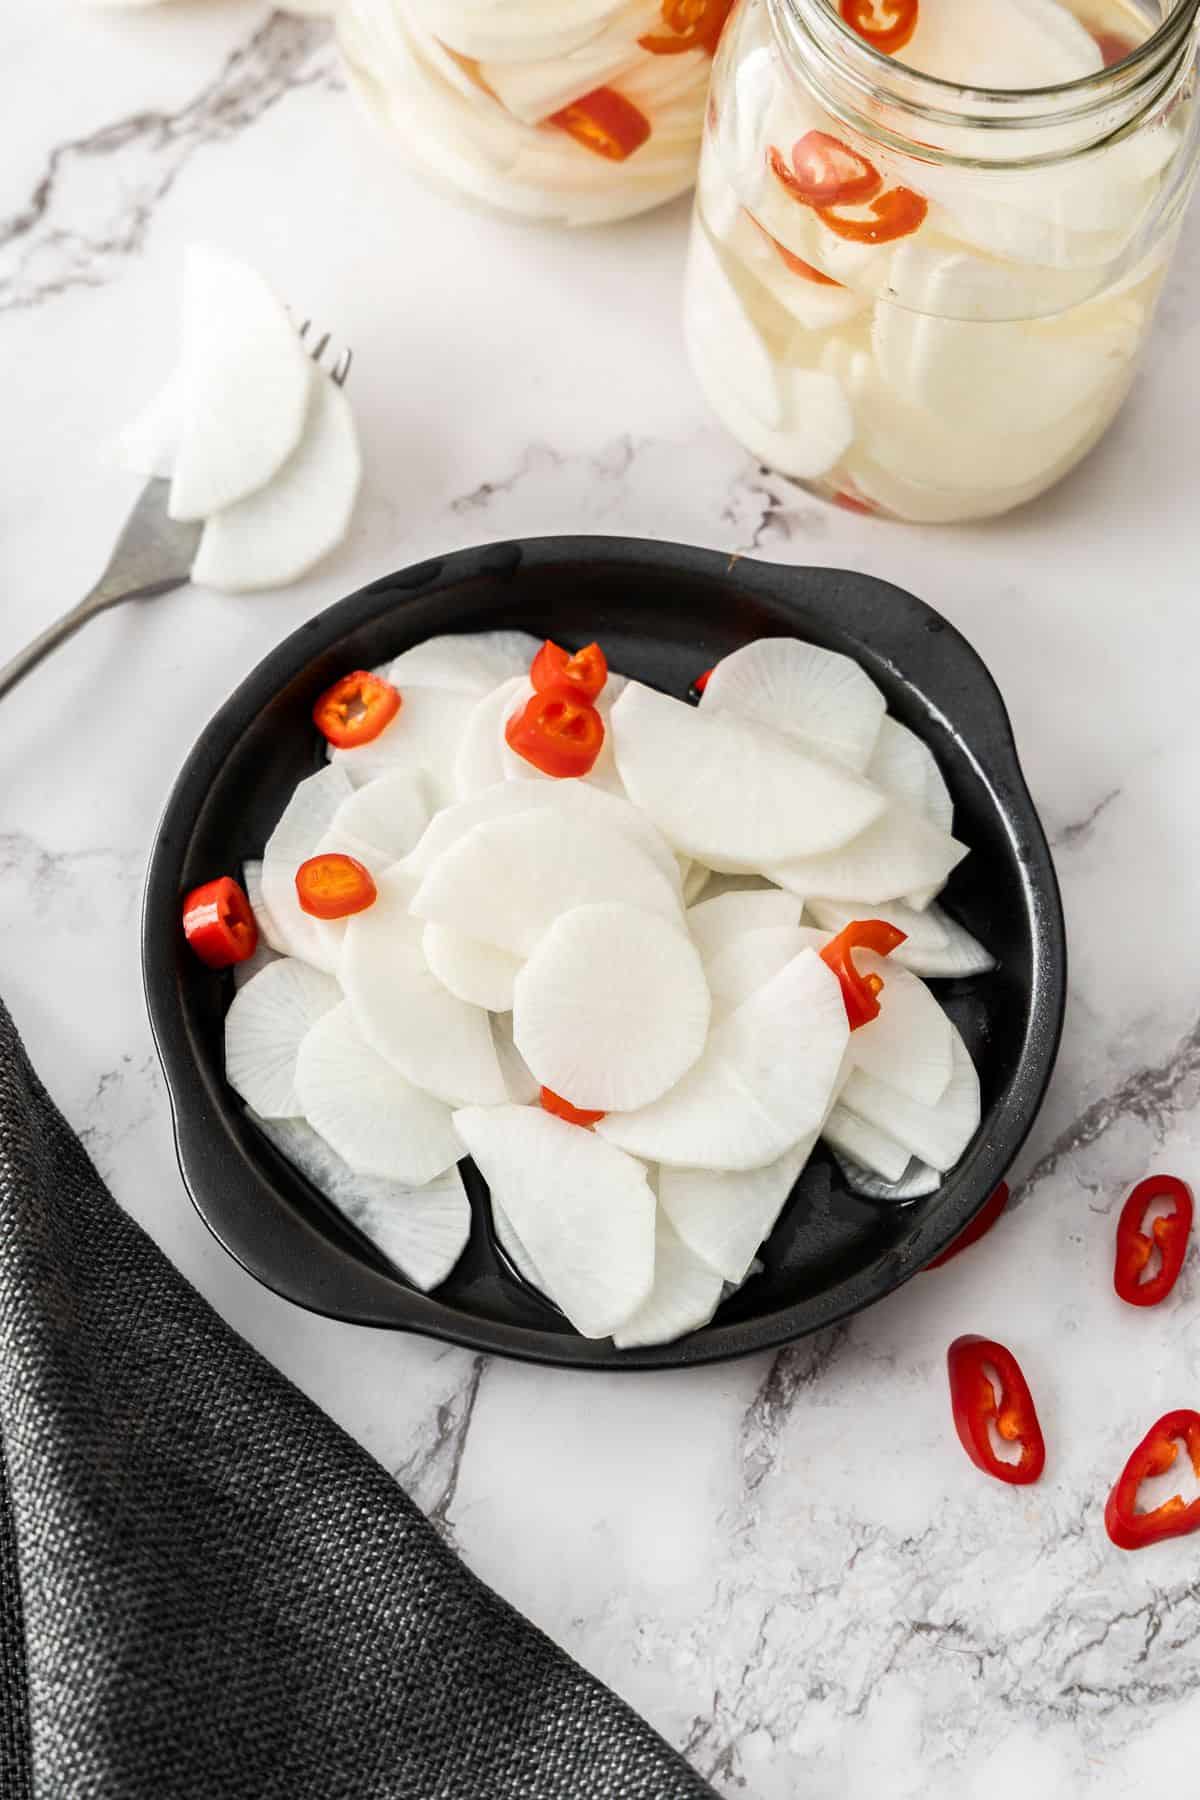
If you enjoy crisp pickles, you will love my easy Pickled Daikon, a crunchy condiment which is an ideal accompaniment to many dishes. Its crisp texture and mild flavour is perfectly complemented by the tangy, slightly sweet pickling liquid. We use a simple technique that is incredibly easy.
First timer here! I had never made pickled daikon before but it was really crunchy and easy to make! Thanks!
– Nora
Why You’ll Love This Recipe:
- The pickles are quickly and easily prepared and versatile in the ways in which they can be served. Keep a jar of this crunchy, refreshing vegetable in the refrigerator to add bright, vibrant flavour to many dishes.
- Their slightly sweet and slightly tangy flavours are perfectly balanced.
- Pickles such as these are traditionally served with meals in many Asian countries. Although I enjoy the traditional way in which these pickles are eaten, I have discovered they are so good that they lend themselves to being used in many other ways.
- This is a quick pickle, sometimes called a refrigerator pickle, which means that they are easily prepared, kept in the fridge, and not intended to be kept for a long time.
- You can scale the recipe up or down, depending on your requirements.
Recipe Inspiration: it was on a visit to Japan that I first fell in love with Pickled Daikon. I had to make my own as soon as I returned home!
Ingredients and Substitutions:
Please see the recipe card further along in the post for exact quantities of ingredients and the full method.
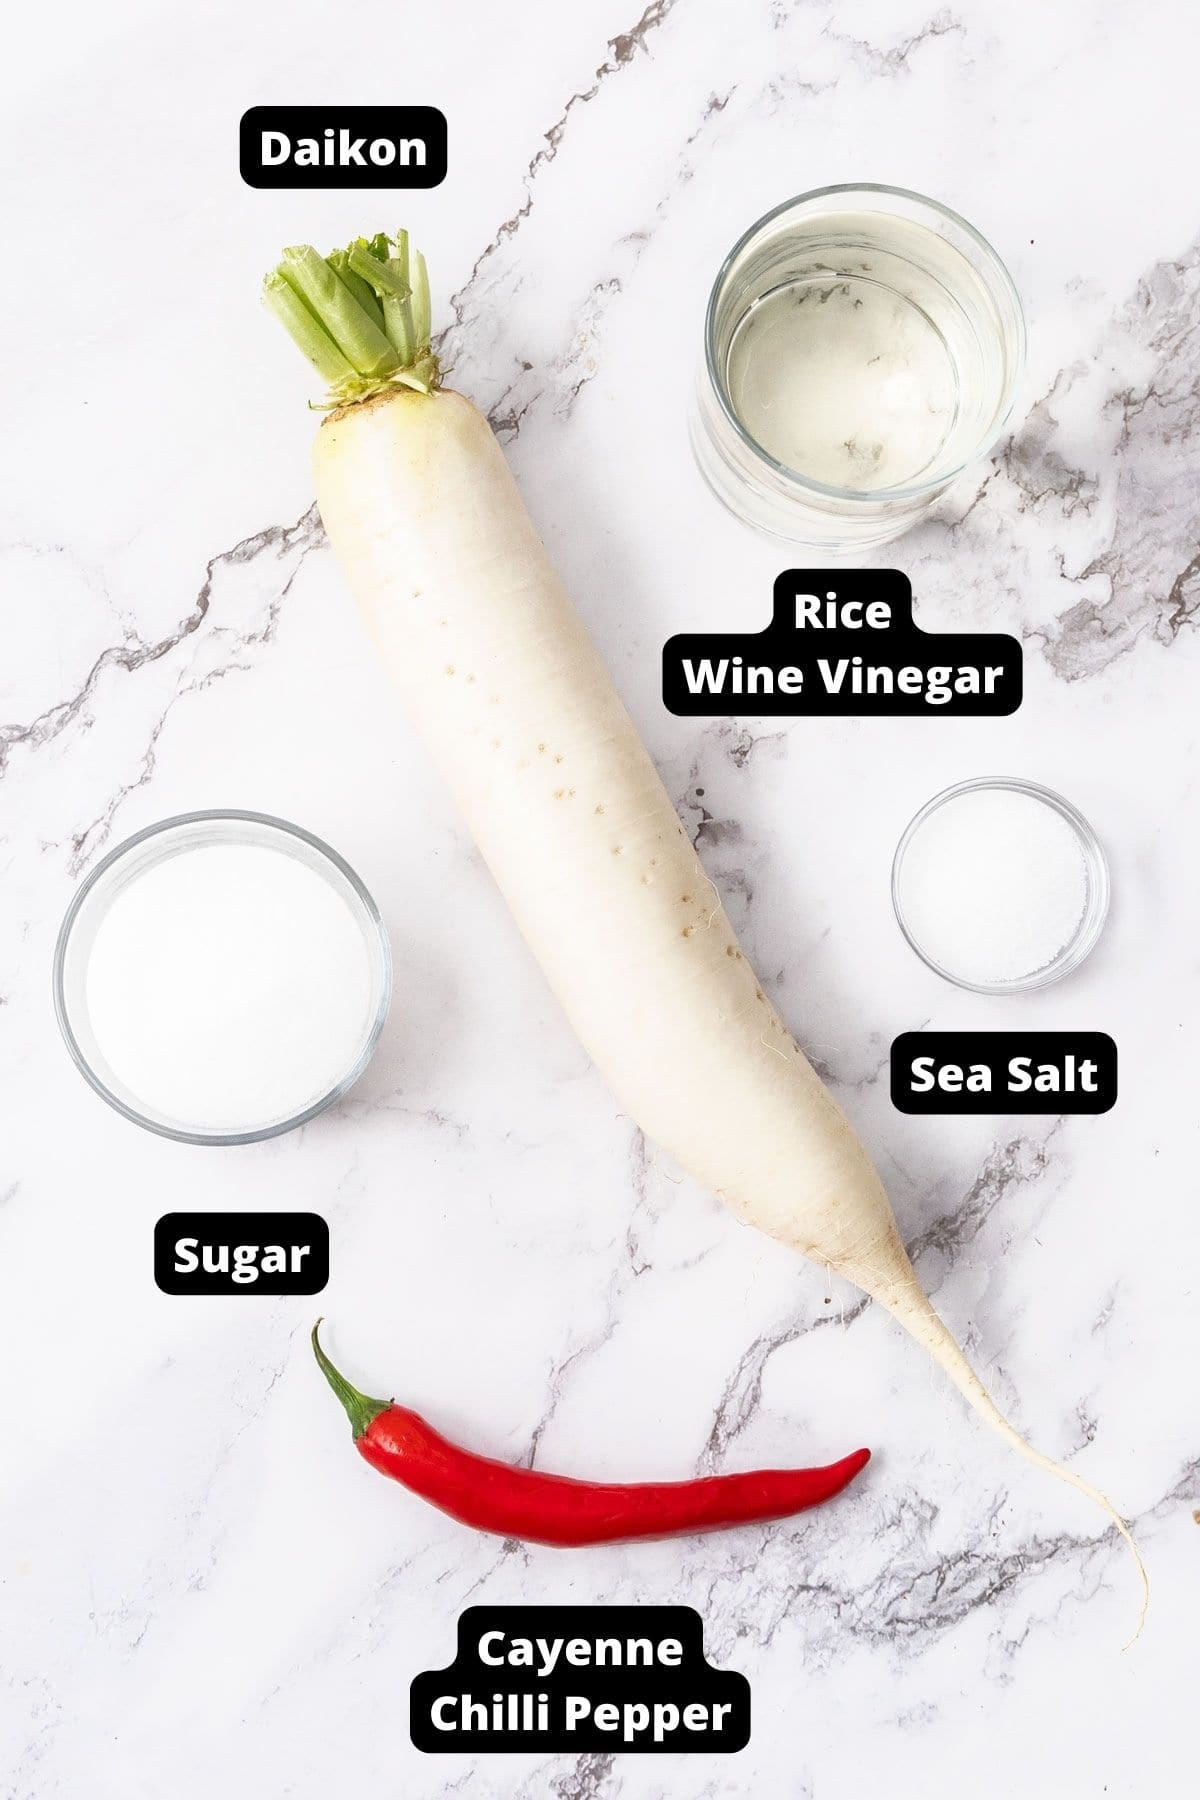
- Daikon radish – a delicious root vegetable. It is also known as Japanese radish, Chinese radish, and winter radish. It has a mild, slightly sweet flavour, without the pepperiness of the red radish varieties. They can be eaten raw in salads, cooked by boiling, baking, or stir-frying, or use them as here in quick pickles.
- Rice wine vinegar – my preference for this traditional pickle as it is delicately flavoured, slightly sweet, and perfect for pickling, especially in Asian preparations.
- Water – we use filtered water to reduce the strength of the vinegar. Avoid water that contains chlorine as it can alter the taste of the pickles.
- Sugar – regular granulated sugar.
- Sea salt – coarse kitchen salt, not table salt.
- Long red chilli – the cayenne chilli adds spice to the pickling liquid.
Variations:
Vinegar – rice wine vinegar is traditional, but you can use apple cider vinegar or white wine vinegar if you prefer.
Chilli – adds spiciness to the pickling liquid, but if you prefer, you can add an amount to suit your taste, or omit it altogether.
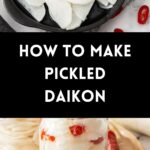
How To Make Pickled Daikon:
Please see the recipe card further along in the post for exact quantities of ingredients and the full method.
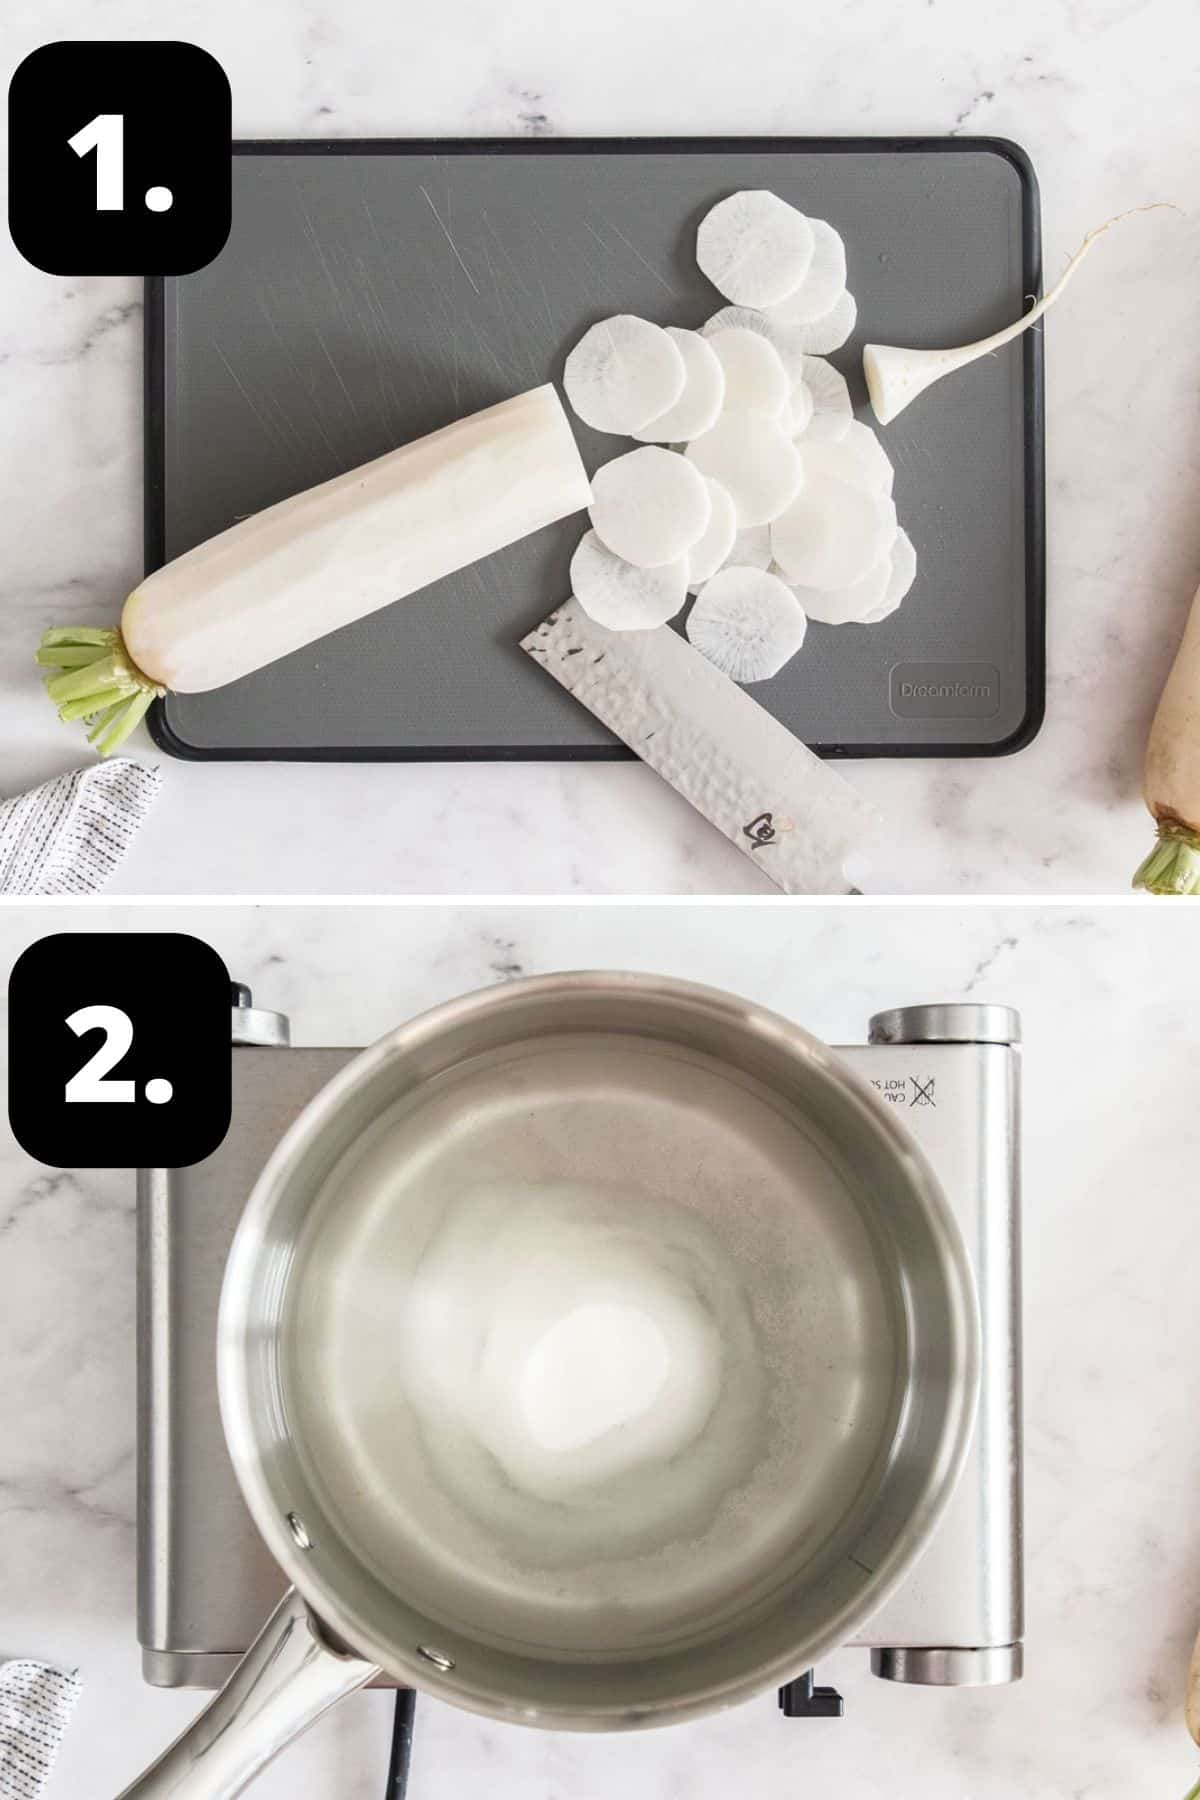
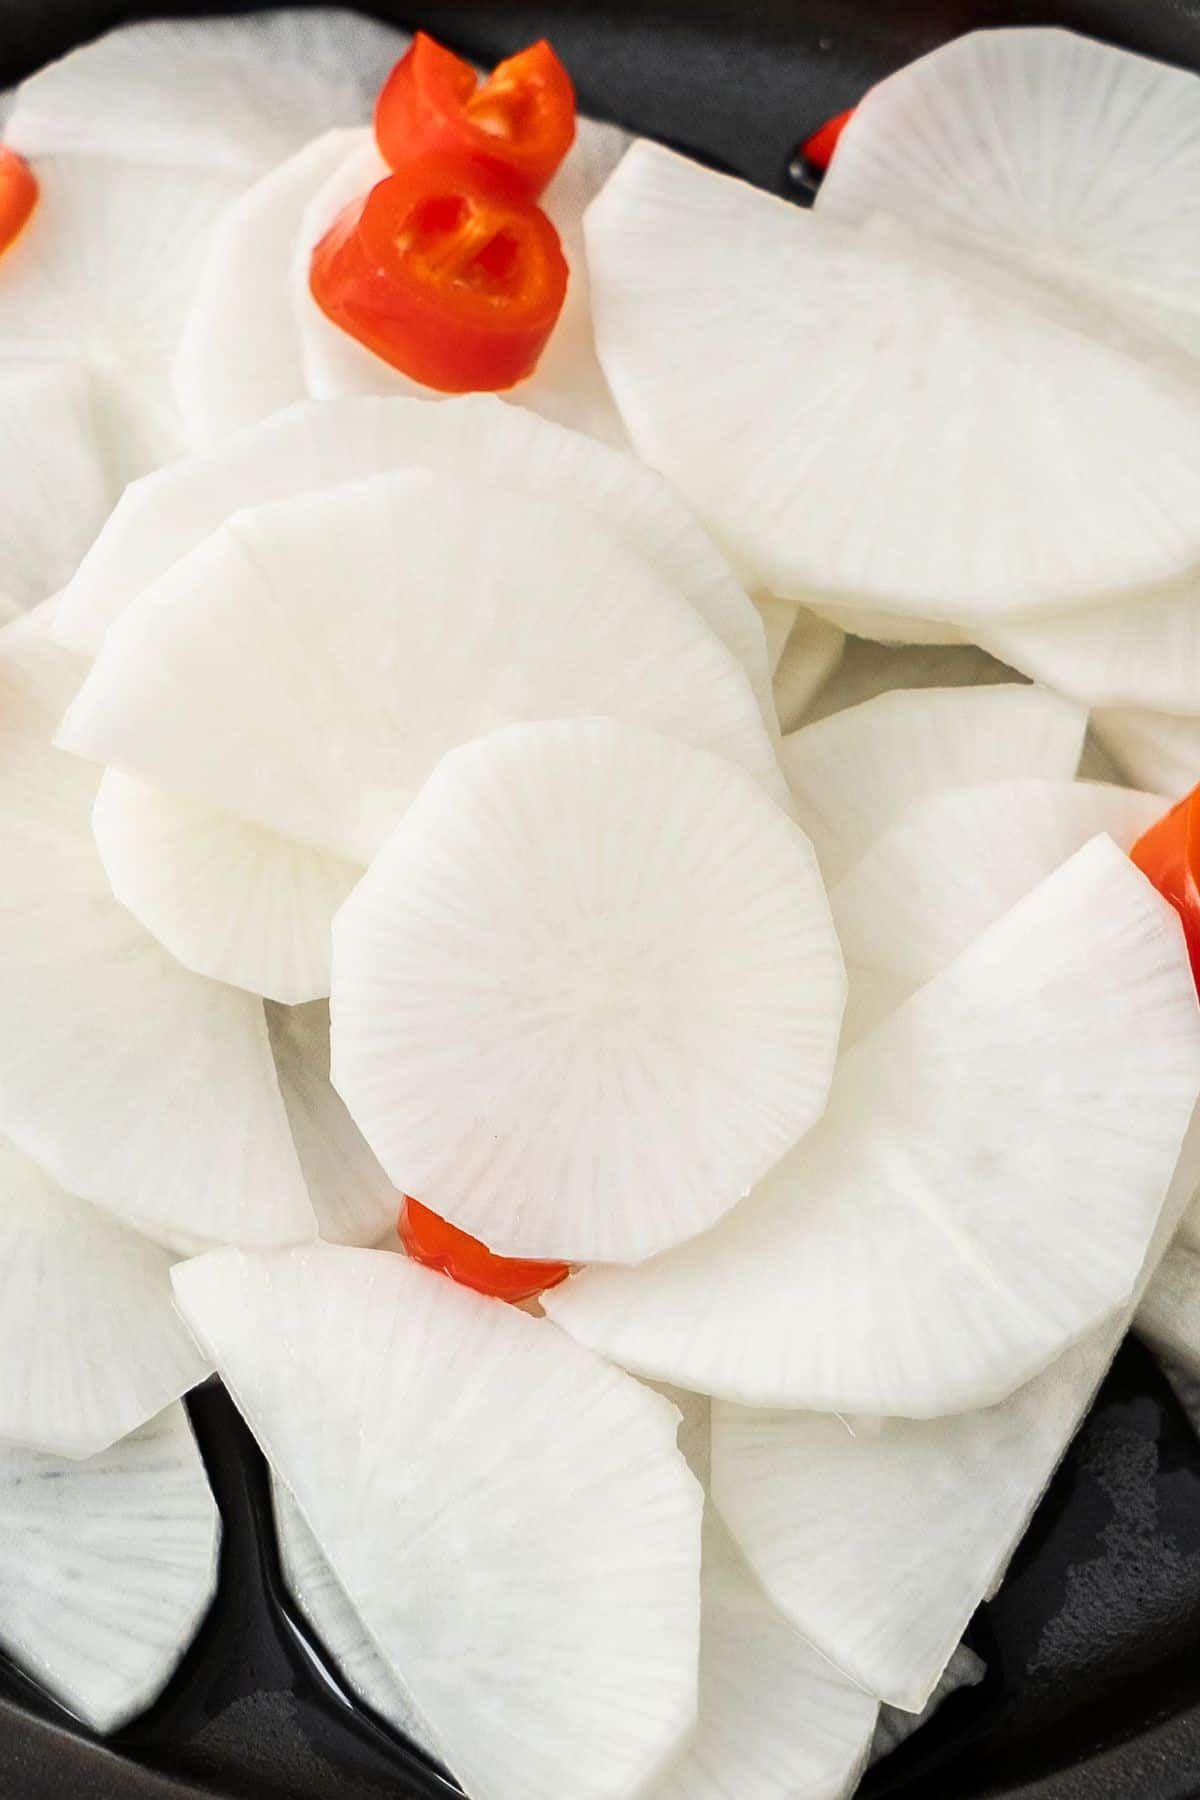
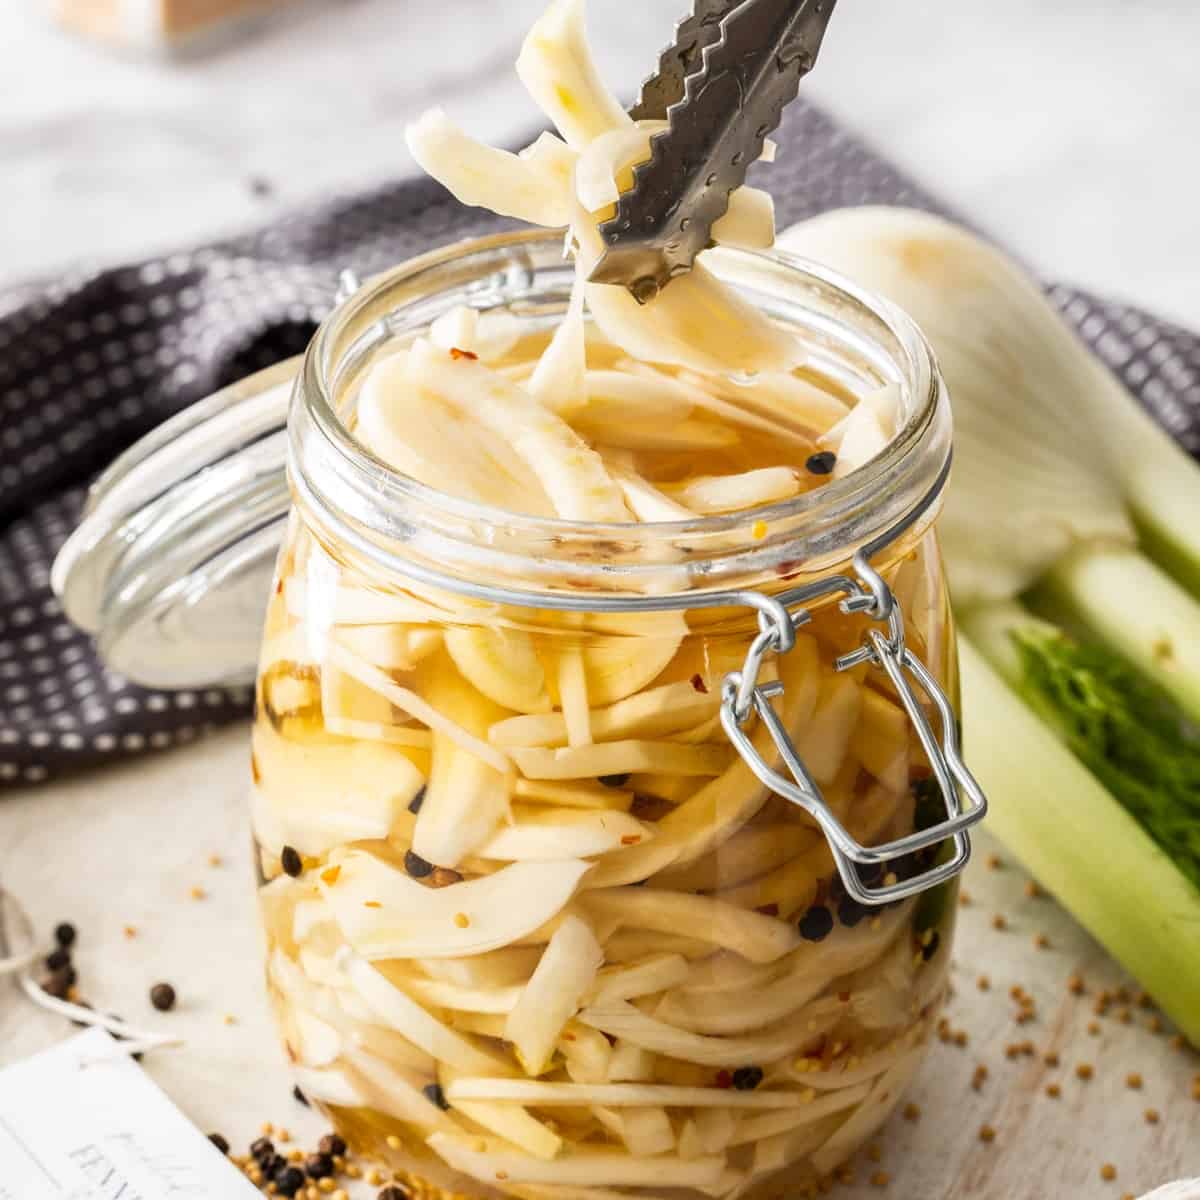
1 – Slice your daikon:
Peel the daikon and thinly slice. Cut large pieces in half. Thinly slice the chilli into rounds.
2 – Prepare your pickling liquid:
For the pickling liquid, combine the rice wine vinegar, water, sugar, and salt and bring to a simmer.
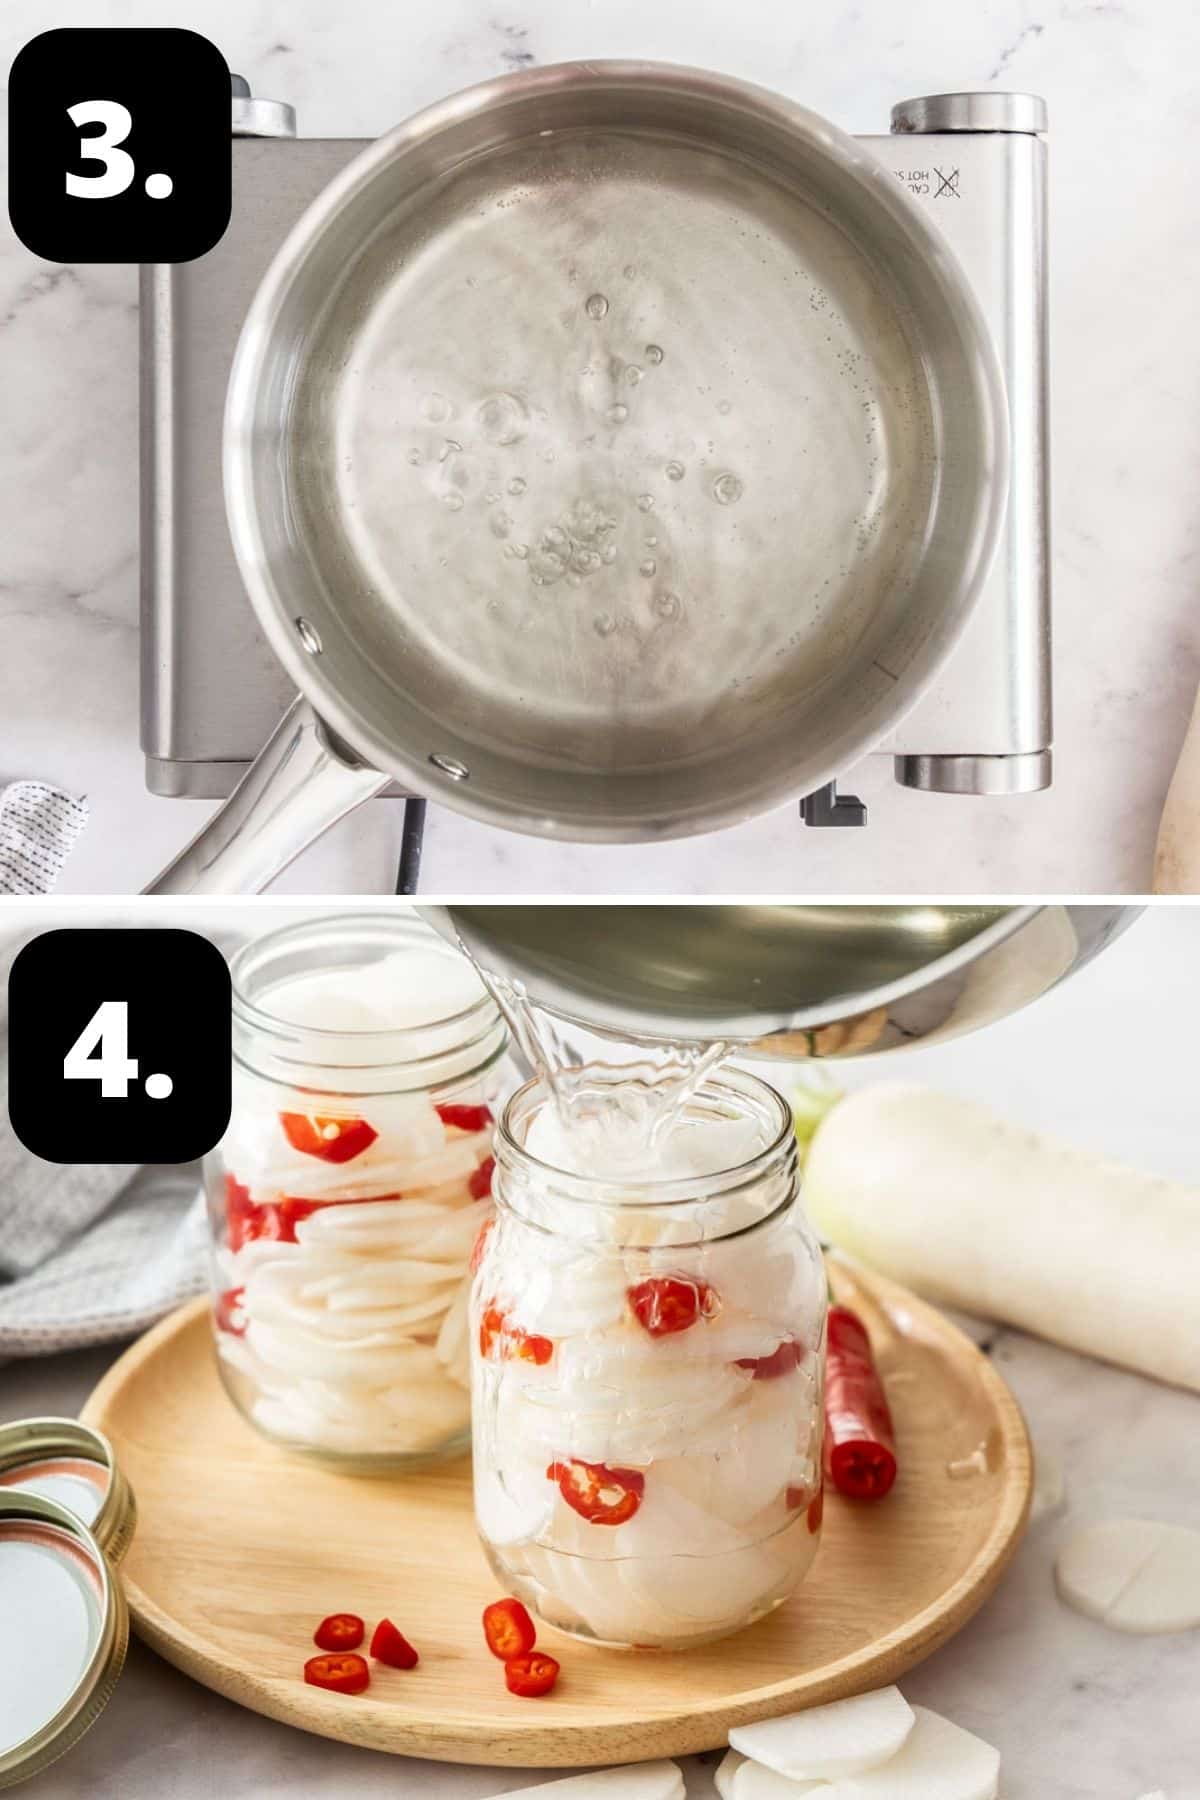
3 – Simmer the liquid:
Stir to dissolve the sugar. Simmer for 2 minutes.
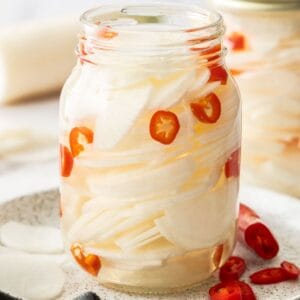
4 – Add to your jars:
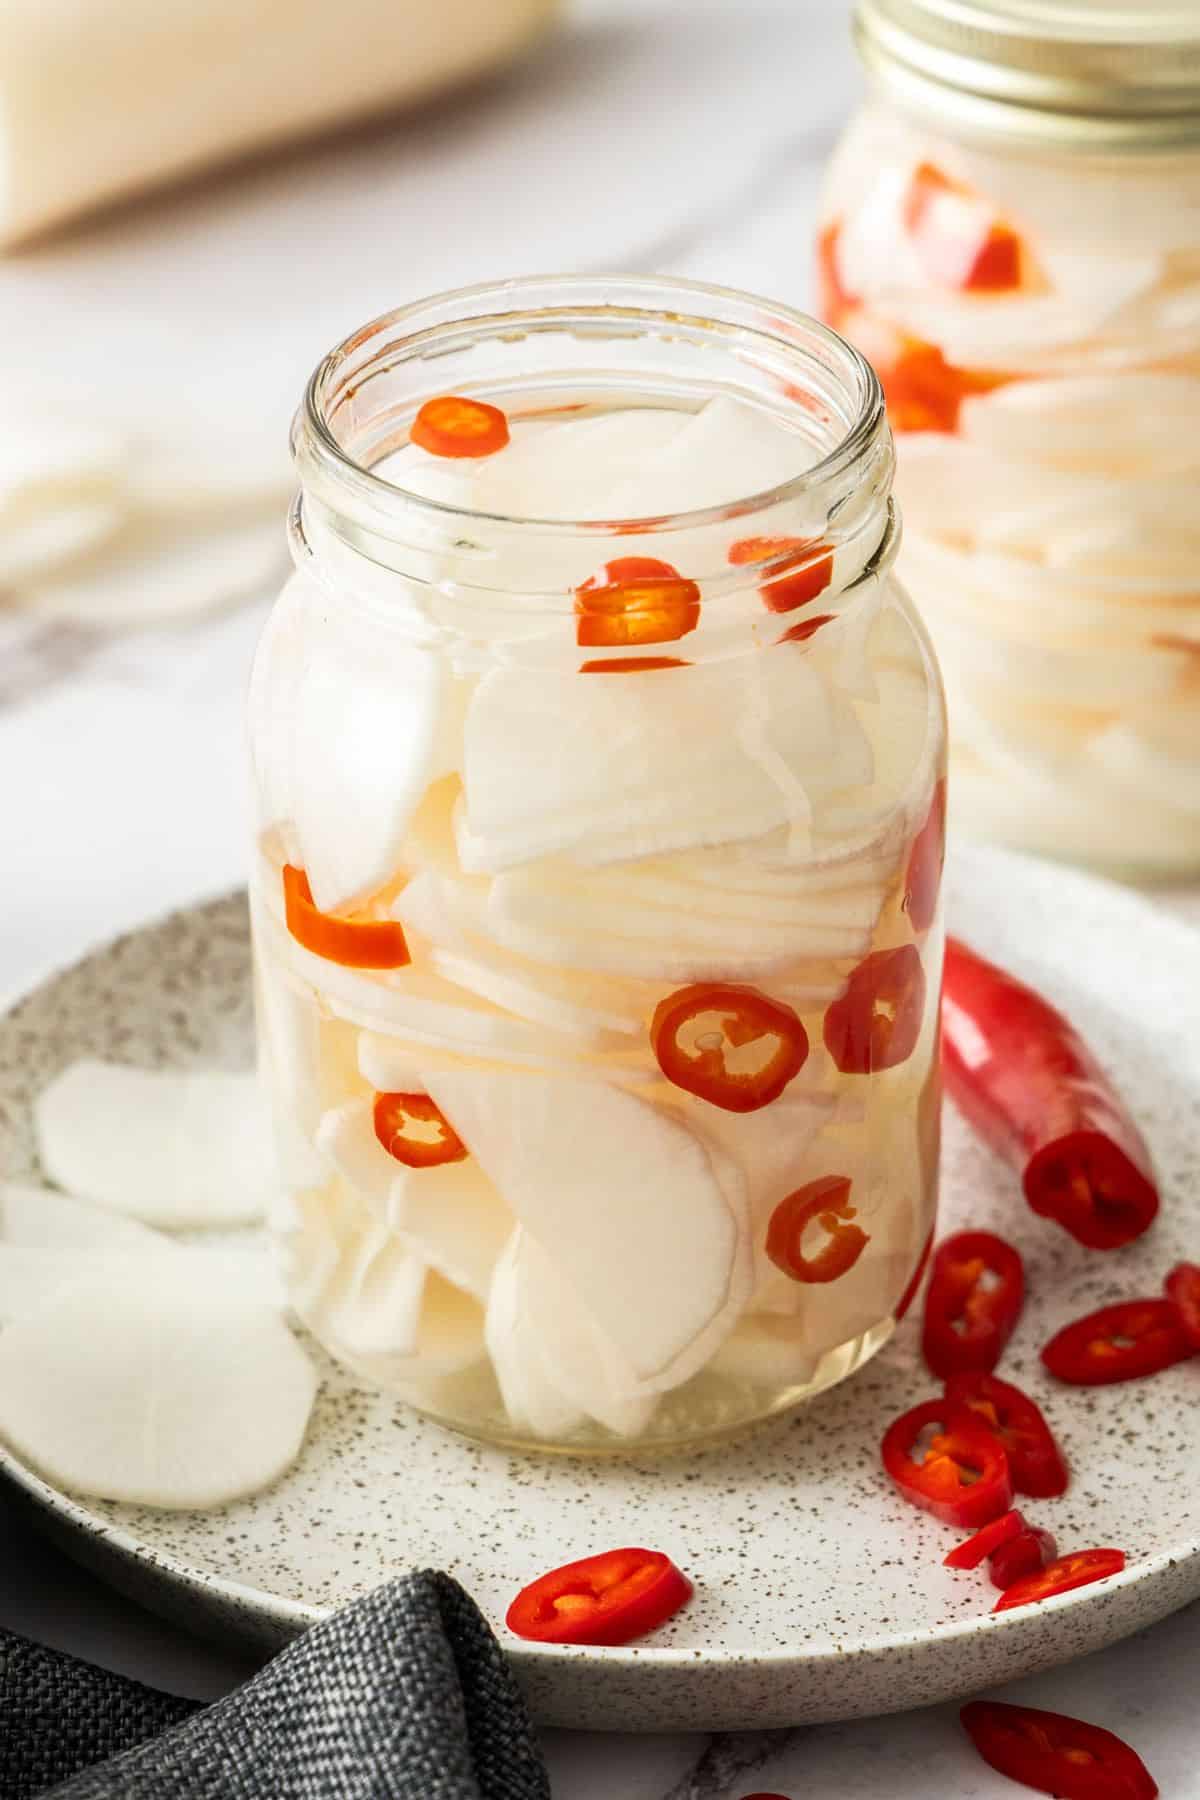
Add the daikon and chilli to the jar, and top with the pickling liquid. Allow to cool before refrigerating.
Hint: although the pickles can be eaten once they have cooled, I recommend leaving for 24-48 hours hours to let the flavours develop.

Tips for Success, Storage and FAQs:
They will last in the fridge for up to three weeks. After this time, the pickles will soften and the flavour will dull. Ensure that the liquid is always covering the daikon and always use a clean utensil to remove the pickles.
You certainly can. This recipe can be adapted to make a smaller or larger batch, depending on your requirements.
Although available year-round, like other root vegetables, they are at their best in winter. When purchasing daikon, select those that feel heavy for their size and have smooth, unblemished skin. The skin should be as white as possible, and the flesh should feel firm. Avoid those with spots, bruises, or wrinkles.
My preference is rice wine vinegar for its delicate, slightly sweet flavour, but you can use apple cider vinegar or white wine vinegar if you wish.
Top Tip:
For the best result, it is essential that you start with the best, freshest produce. A soft daikon past its prime will not give you crunchy pickles.
When making your own pickles and preserves, it is essential that you sterilise the jars you will use. This is very simple to do, and we will tell you how to do this in the recipe.
Serving Suggestions:
You will find many ways to enjoy this easily made pickle. Some suggestions are:
- As companions to fried foods, cutting through the richness of spring rolls or delicious, crunchy Korean Fried Chicken.
- They are good additions to hot dogs, hamburgers, or sandwiches.
- With barbecued meats.
- Alongside my Thai Chicken Meatballs and Mushroom San Choy Bow.
- A plate of these at a drinks party, served with other nibbles, will disappear very quickly.
- They add great crunch to a green salad and are a great addition to coleslaw.
I hope that you will enjoy the crunchy, refreshing flavour of this easily made Pickled Daikon which complements many dishes.
Alex xx
More Delicious Recipes For You To Try:
Stay in touch!
Follow me on Facebook, Pinterest, Flipboard and Instagram and subscribe to my newsletter.
Pickled Daikon
Equipment
- 1 x 30 ounce/900 ml Jar
Please note:
For accuracy, when weights are provided, we recommend weighing your ingredients. This will produce the best results. All oven temperatures listed are for fan forced.
Ingredients
- 500 g (1.1 lb) daikon radish See Note 1
- 250 ml (1 cup) rice wine vinegar See Note 2
- 250 ml (1 cup) filtered water
- 110 g (½ cup) white granulated sugar – or to taste
- 3 teaspoon coarse sea salt See Note 3
- 1 long red cayenne chilli – finely sliced, optional
Instructions
To Sterilise the Jars:
- Sterilise the jar or jars you'll be using to store the pickles. Choose glass jars with an airtight, metal lid and ensure they have been washed by hand in hot soapy water then rinsed well. Check that the metal lids do not have rubber inserts – if they do, allow them to air dry, instead of placing in the oven.Preheat the oven to 130 Degrees C (270 F) and place the jars in the oven for 15-20 minutes. Keep the jars warm.
For the Pickled Daikon:
- Peel the daikon and thinly slice into rounds. Cut the rounds into halves if you prefer.
- For the pickling liquid, combine the rice wine vinegar, water, sugar and salt in a non-reactive saucepan. See Note 4.
- Bring to a simmer, stirring to dissolve the sugar. Simmer for 2 minutes.
- Add the daikon and pieces of chilli to your warm jars (I like to try and evenly disperse the chilli throughout the jar). Pour over the pickling brine.
- Seal the jar immediately, and allow to cool on the bench before placing in the refrigerator.The Pickled Daikon can be enjoyed once cool, but I recommend leaving them for 24-48 hours to allow the flavours to develop.
Notes
- Daikon radish: can be found in Asian grocery stores and through some fruit and vegetable specialists/markets. Although available year-round, like other root vegetables, they are at their best in winter. When purchasing daikon, select those that feel heavy for their size and have smooth, unblemished skin. The skin should be as white as possible, and the flesh should feel firm. Avoid those with spots, bruises, or wrinkles.
- Vinegar: I have used rice wine vinegar in this recipe (also known as just rice vinegar), however, you can also use apple cider vinegar or white vinegar.
- Coarse sea salt: ensure you use cooking salt or coarse sea salt. Regular table salt may contain anti-caking agents and is much stronger.
- Non-reactive saucepans: are those which are ceramic, stainless steel, glass or enamelled cookware. Copper, iron and aluminium pans are reactive. Acidic foods, such as lemons and vinegar, may take on a metallic taste and discolour if cooked in such pans.
- Storage: once the jars have cooled, store the pickles in the fridge for up to three weeks. This is a quick pickle recipe not designed for long term canning.
- Nutritional information: is based on the entire jar, and includes the pickling liquid.
Nutrition Estimate:
Nutritional Disclaimer:
The nutritional information is an estimate only, and is derived from online calculators. For accurate results, we recommend calculating the nutritional information based on the ingredients and brands you use.
Leave a Comment