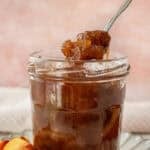

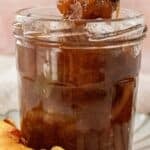


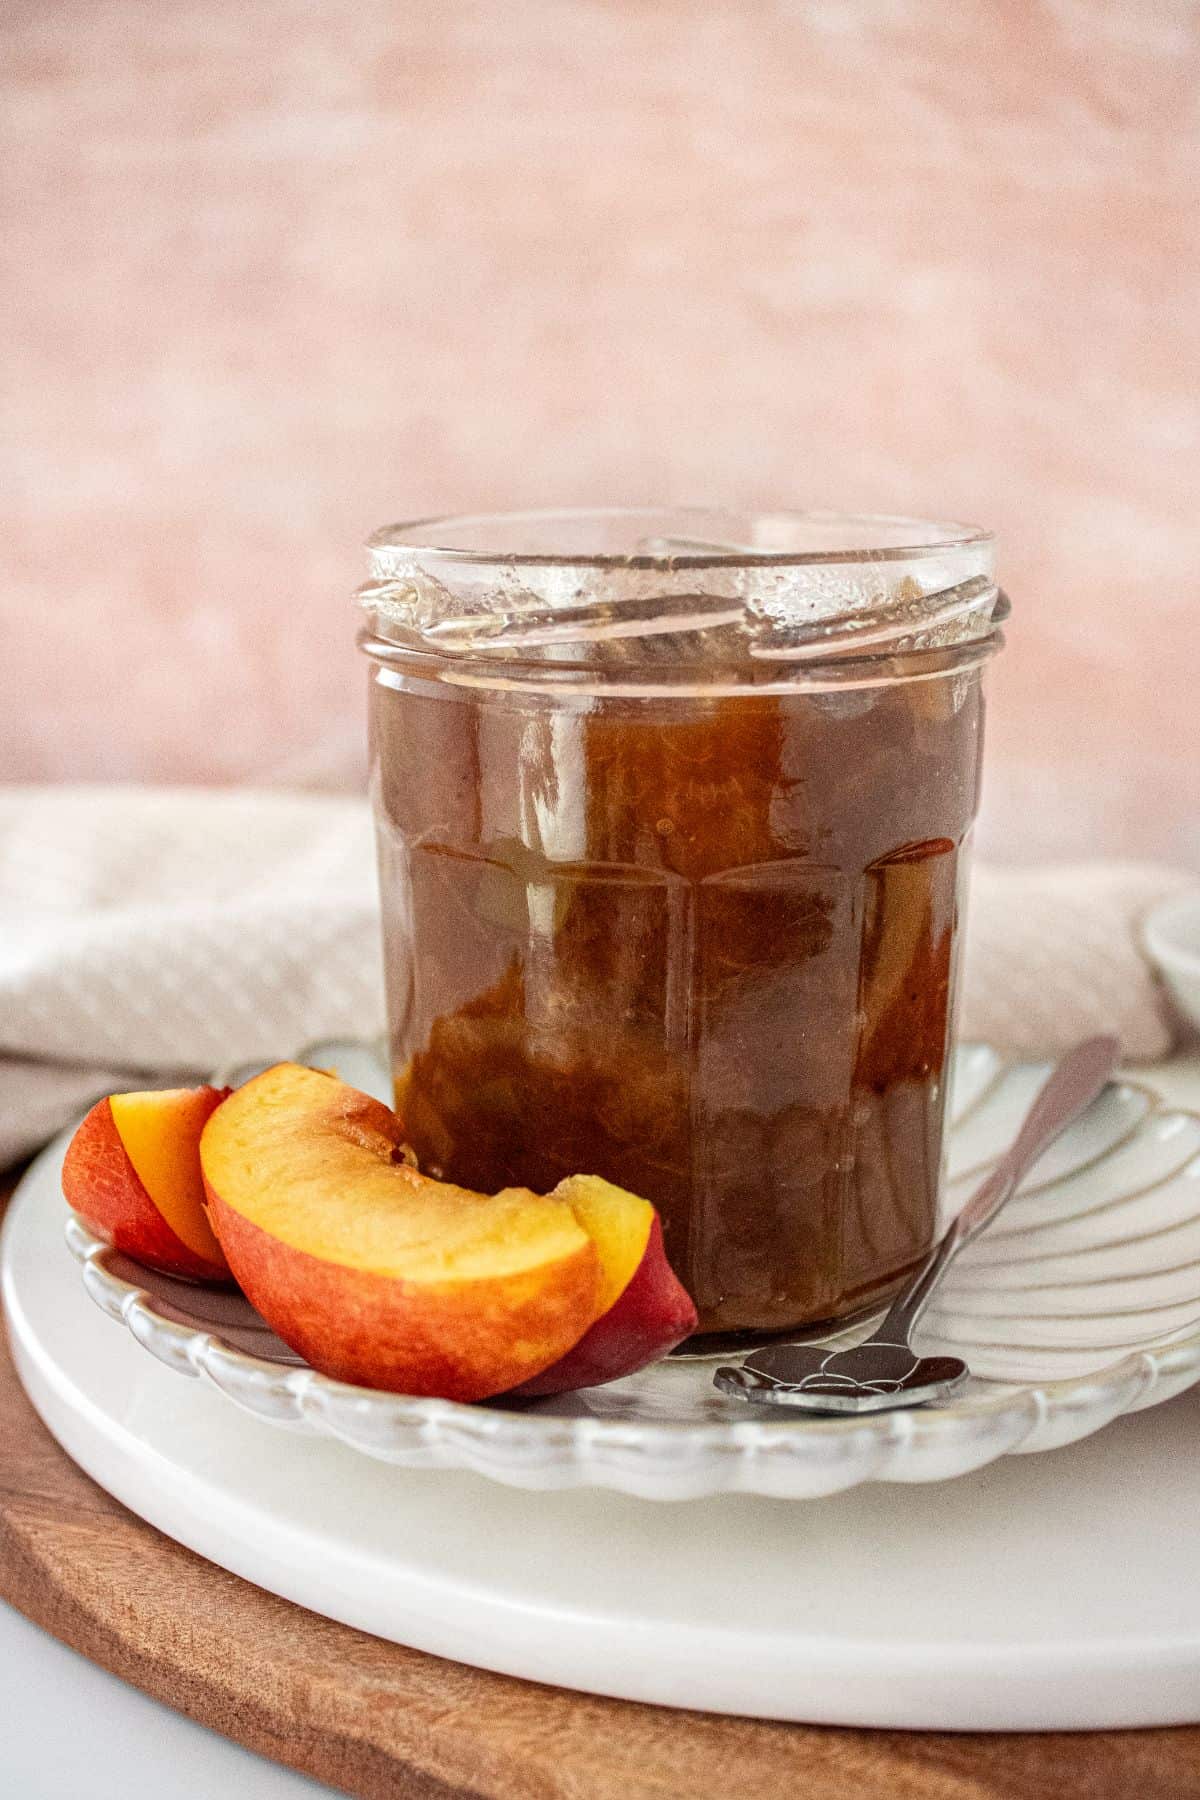
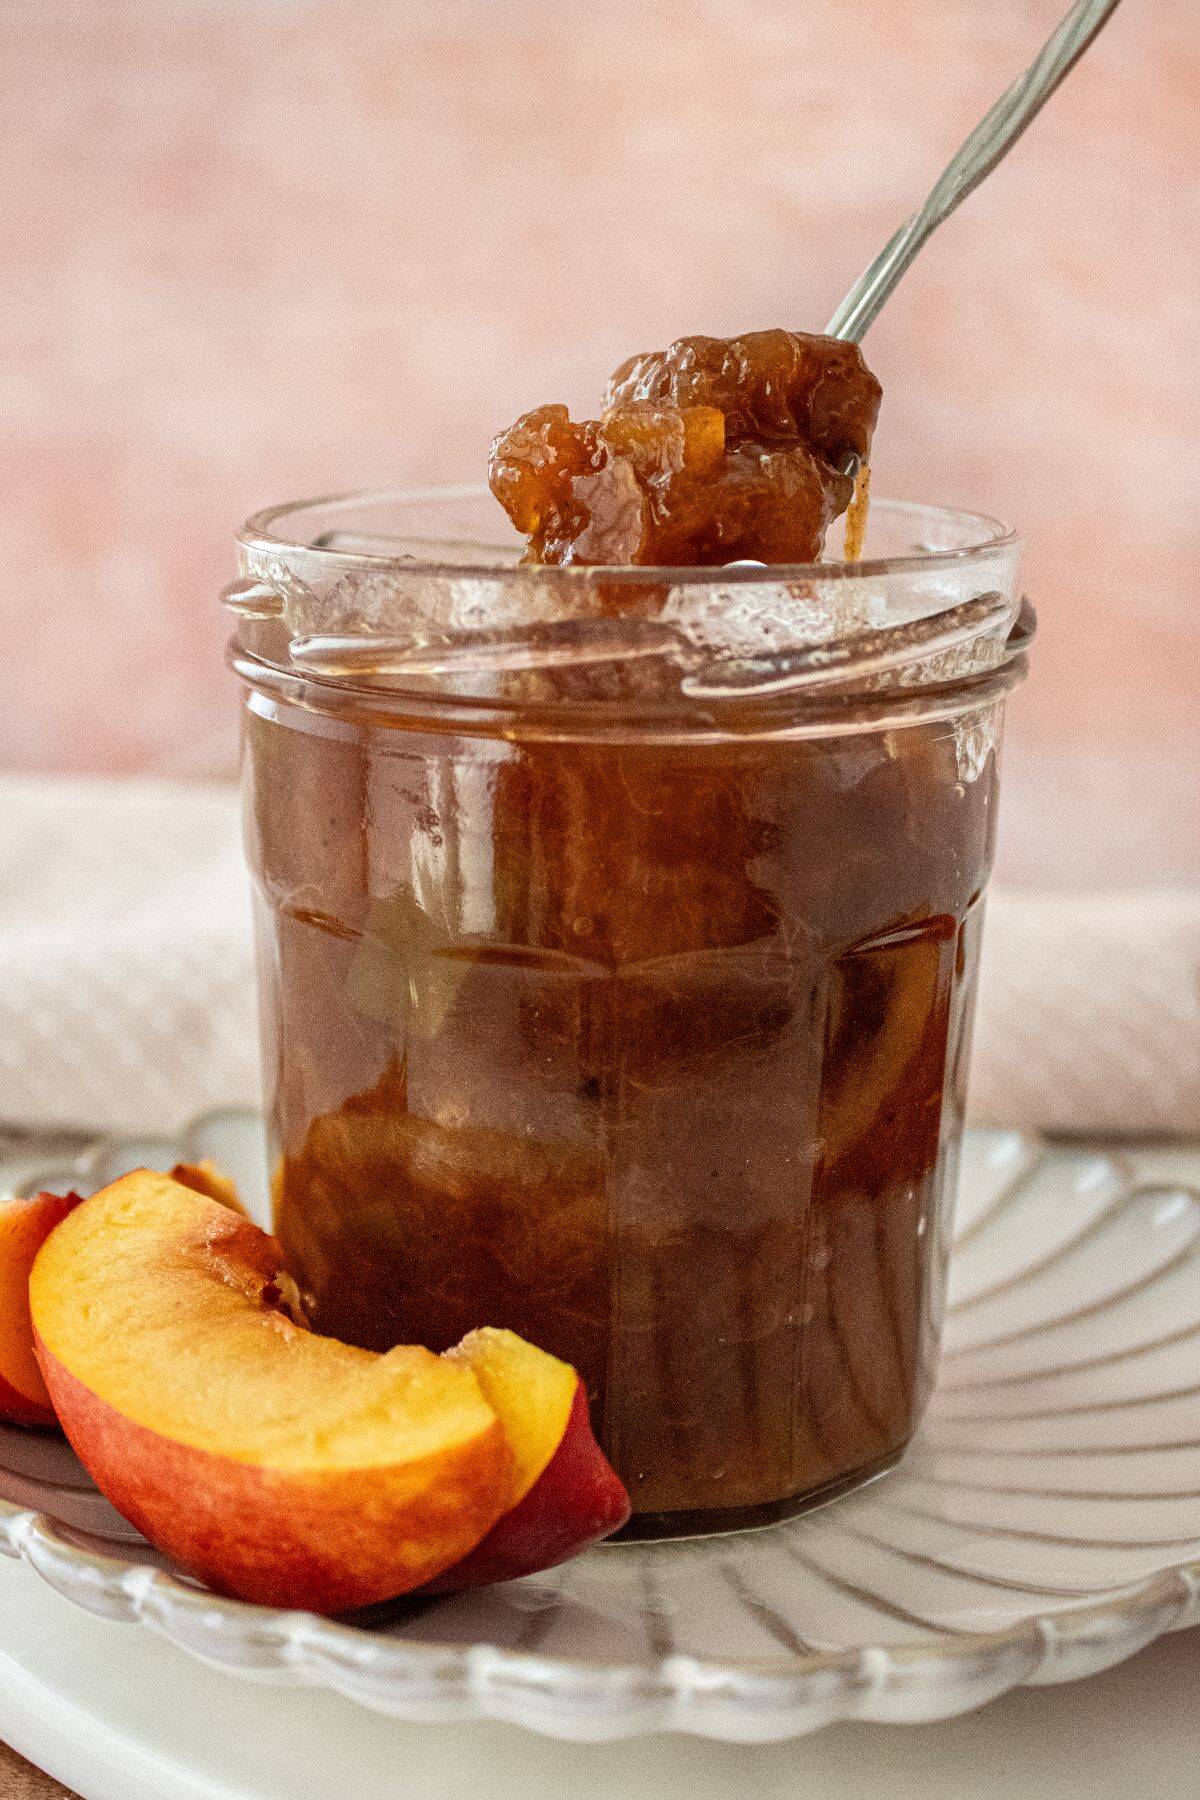
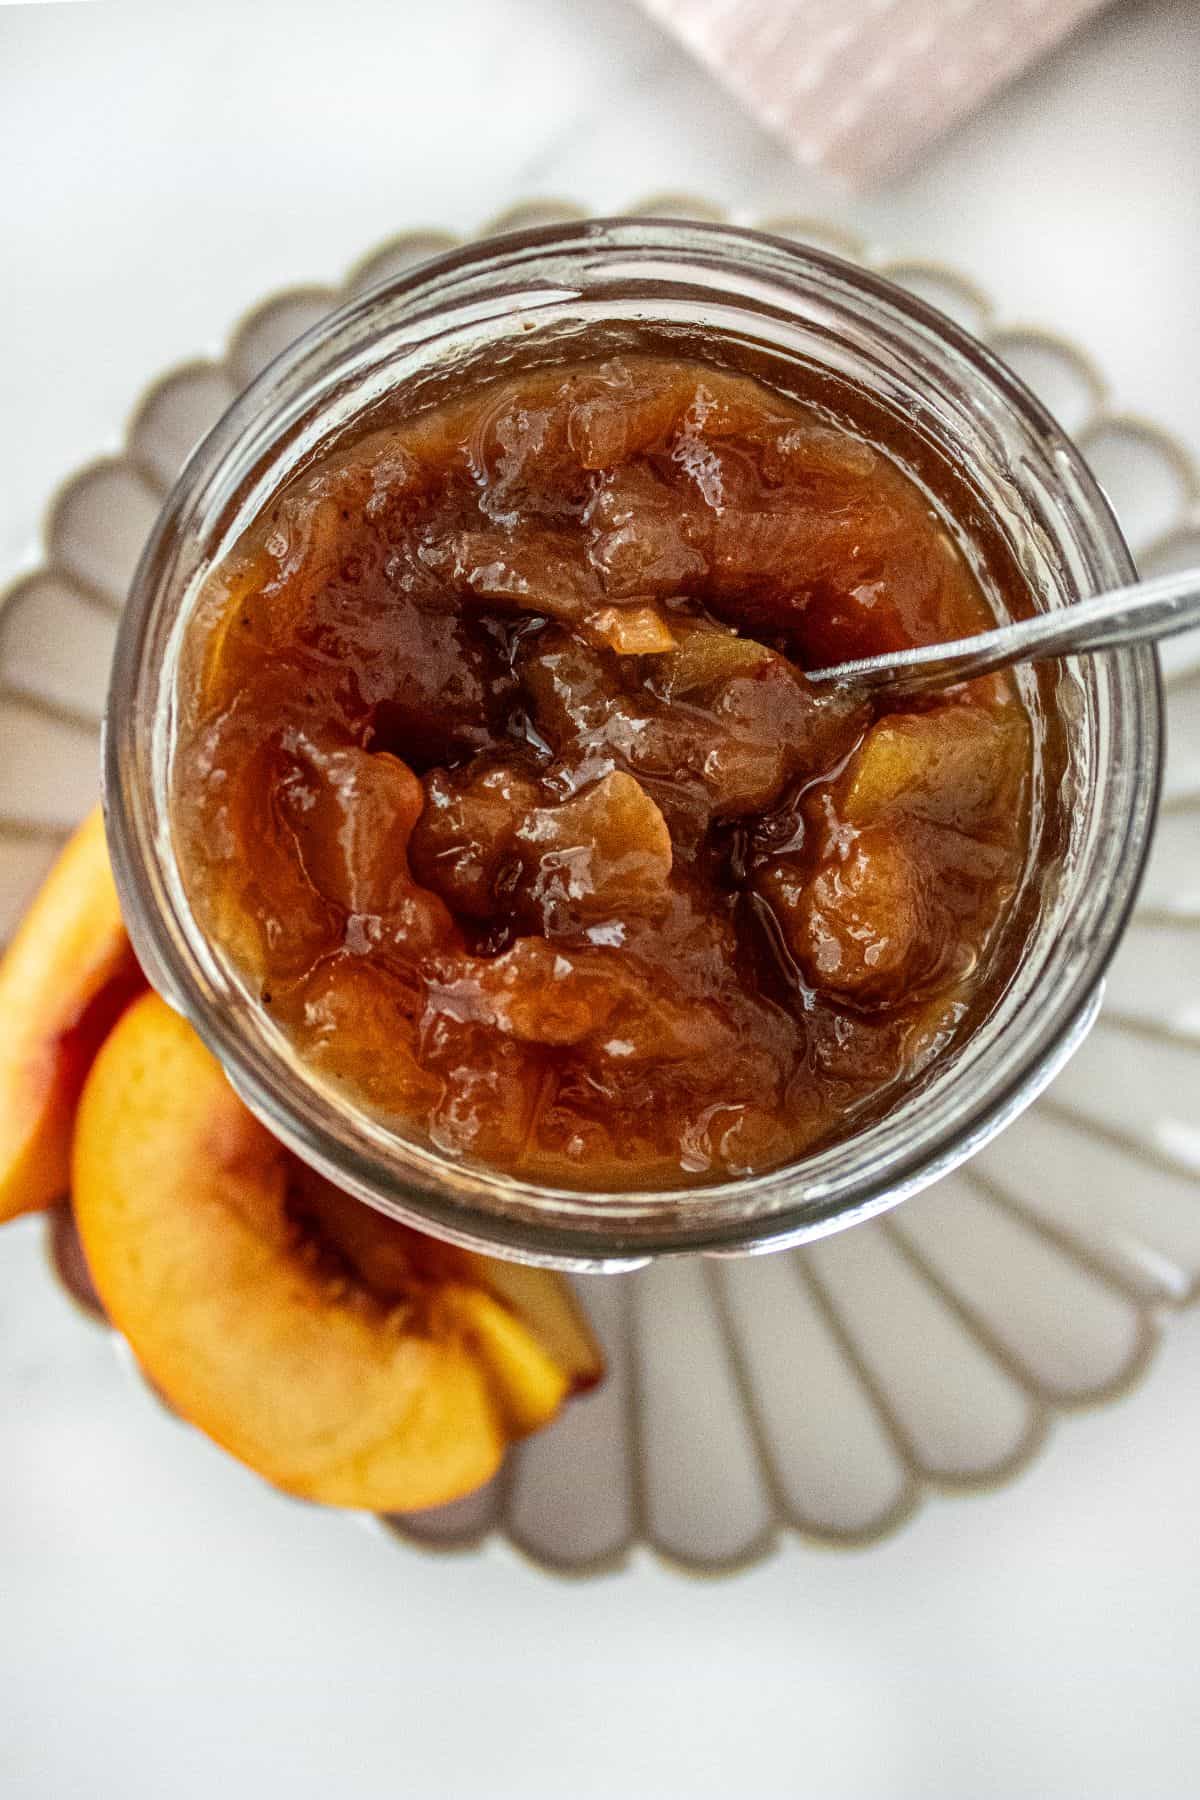
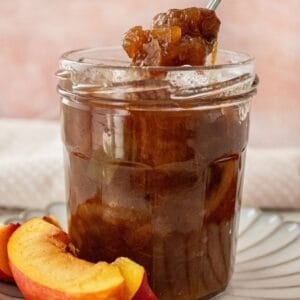
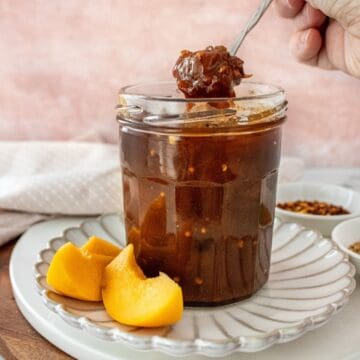
My homemade Nectarine Chutney is a condiment that you will use often. It is sweet, tangy and gently spiced with a depth of flavour that will enhance the foods you serve with it. When nectarines are in season, I like to enjoy them in as many ways as possible and this is one of my favourite ways to preserve this lovely fruit to enjoy in the months ahead.
Why You'll Love This Recipe:
- Preserving nectarines in this manner means that you can enjoy their flavour when they are no longer in season.
- It is not difficult to make chutney, but it does require a small amount of your time. However, there is a great deal of satisfaction in knowing that you made it yourself.
- Making your own chutney means that you have total control over the quality of the ingredients, so there will not be any artificial colours, flavours or preservatives, just natural ingredients.
- Unlike jam, which requires freshly picked fruit in excellent condition, you can use slightly overripe when making chutney.
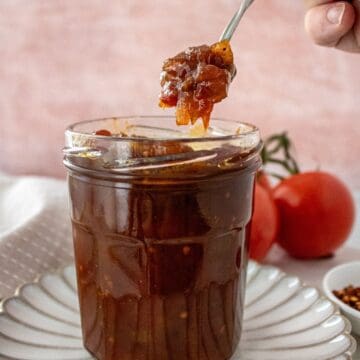
Recipe Inspiration: given their short season, I love to make chutney using stone fruit. This recipe has been adapted from my Fresh Peach Chutney.
Ingredients and Substitutions:
Please see the recipe card further along in the post for exact quantities of ingredients and the full method.

- Fresh nectarines - we have used yellow nectarines for the chutney as they provide lovely colour. When selecting nectarines, look for fruit that is aromatic with smooth, firm skin. The fruit should feel heavy for its size and have rich coloured skin with shades of red and yellow.
- Brown/yellow onions - this is the most popular onion, but you can use white or red onions if you prefer. Onions add both sweet and savoury notes.
- Apple - I have used Granny Smith. It is a tart apple variety, ideal for cooking. Use another variety if you prefer.
- Light brown sugar - adds sweetness and a caramel note.
- Ground black pepper - adds spice.
- Sea salt - we use coarse kitchen salt; fine table salt is not suitable as it is stronger. The salt lifts the flavours in the chutney, as well as assisting with preservation.
- Dried chilli flakes - add a spicy note; add more if you want extra spicy chutney.
- Ground cinnamon, ginger and nutmeg - warm spices that add flavour and aroma.
- Vinegar - this is the main ingredient for preservation. I have used white vinegar with 5% acidity.
Variations:
Nectarines - if you have plums to use, you may like to try our recipe for Plum Chutney.
Spices - you could add a pinch of ground cloves or a star anise. Fresh chilli is also a great addition if you like very hot chutney.
This recipe has not been tested with other substitutions or variations. If you add or replace any ingredients, please let us know how it turned out in the comments below.
How To Make Nectarine Chutney:
Please see the recipe card further along in the post for exact quantities of ingredients and the full method.
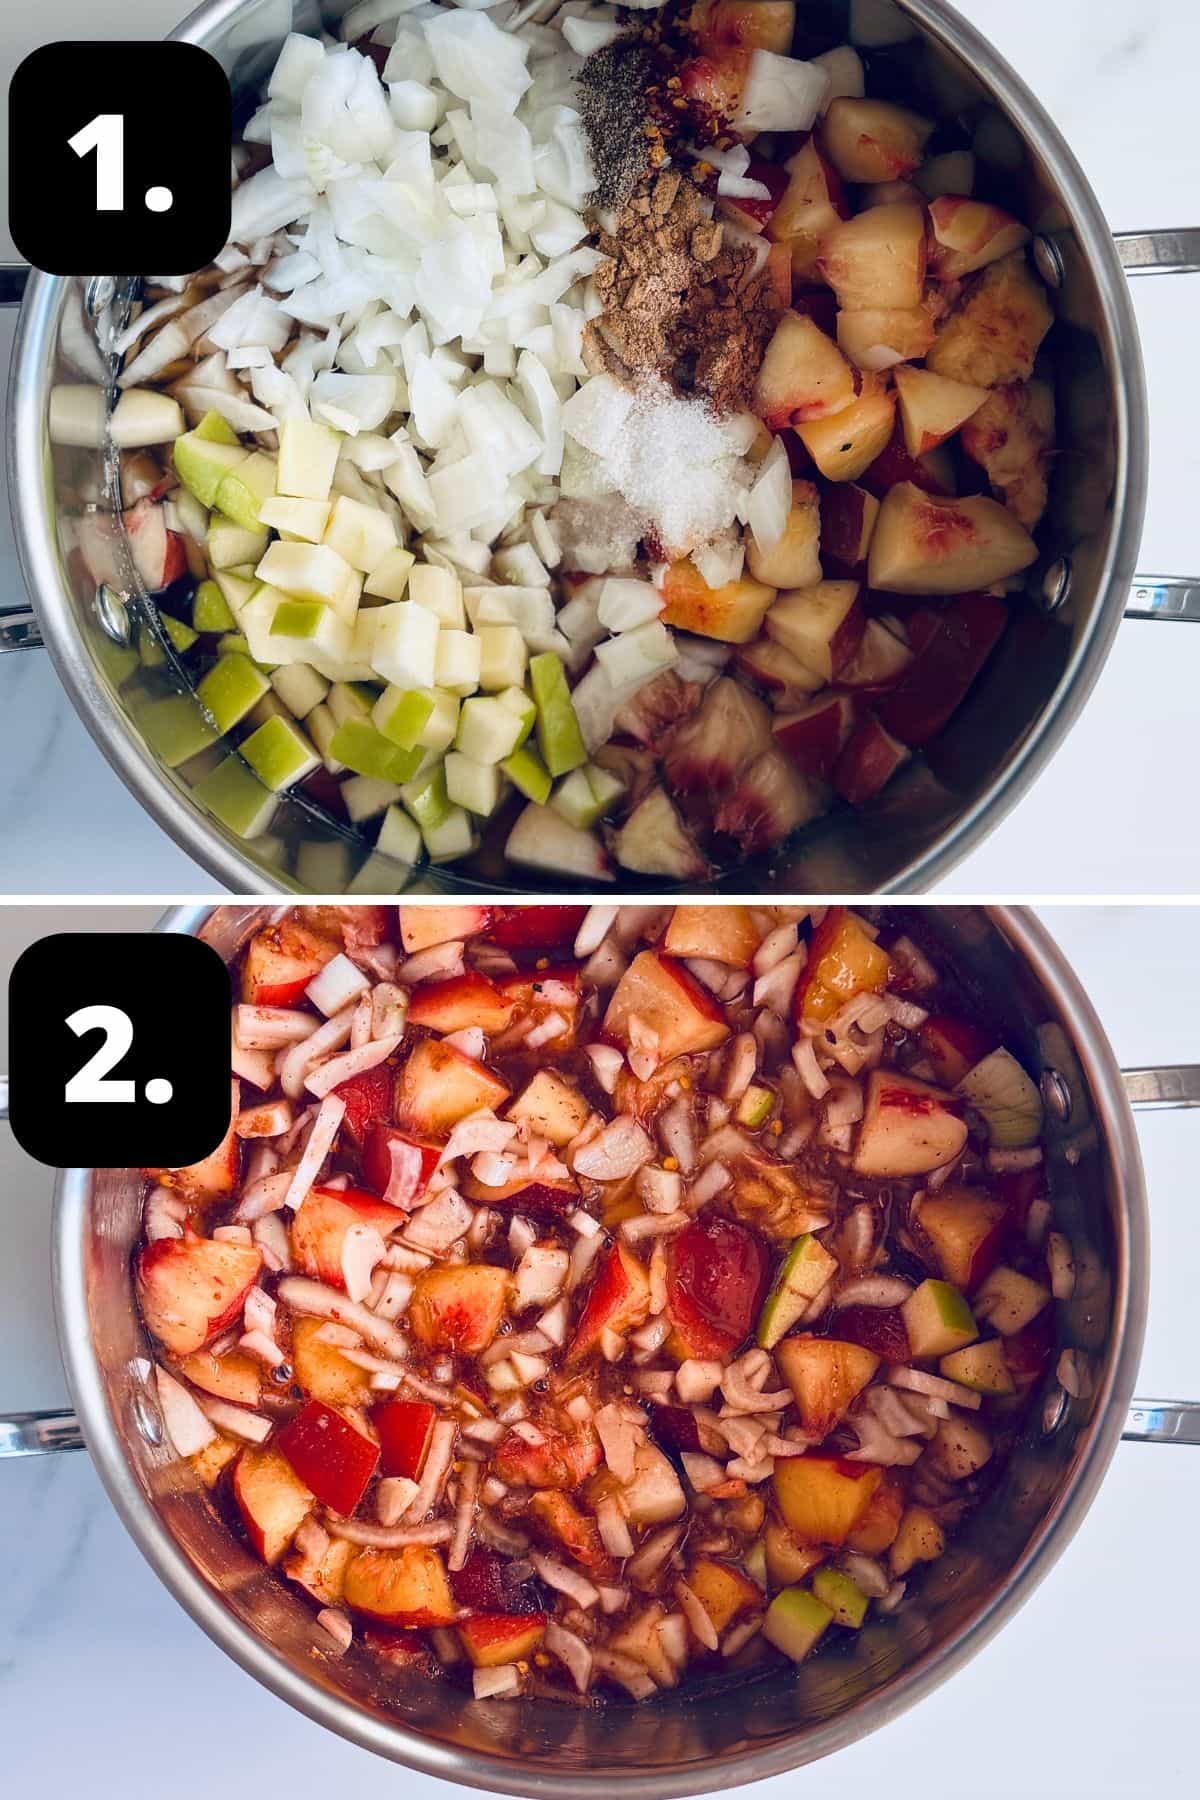
1 - Add your ingredients to a large pot:
To a large, non-reactive saucepan, add all of your prepared ingredients.
2 - Stir to combine:
Give the mixture a good stir and place on a medium-high heat to dissolve the sugar.
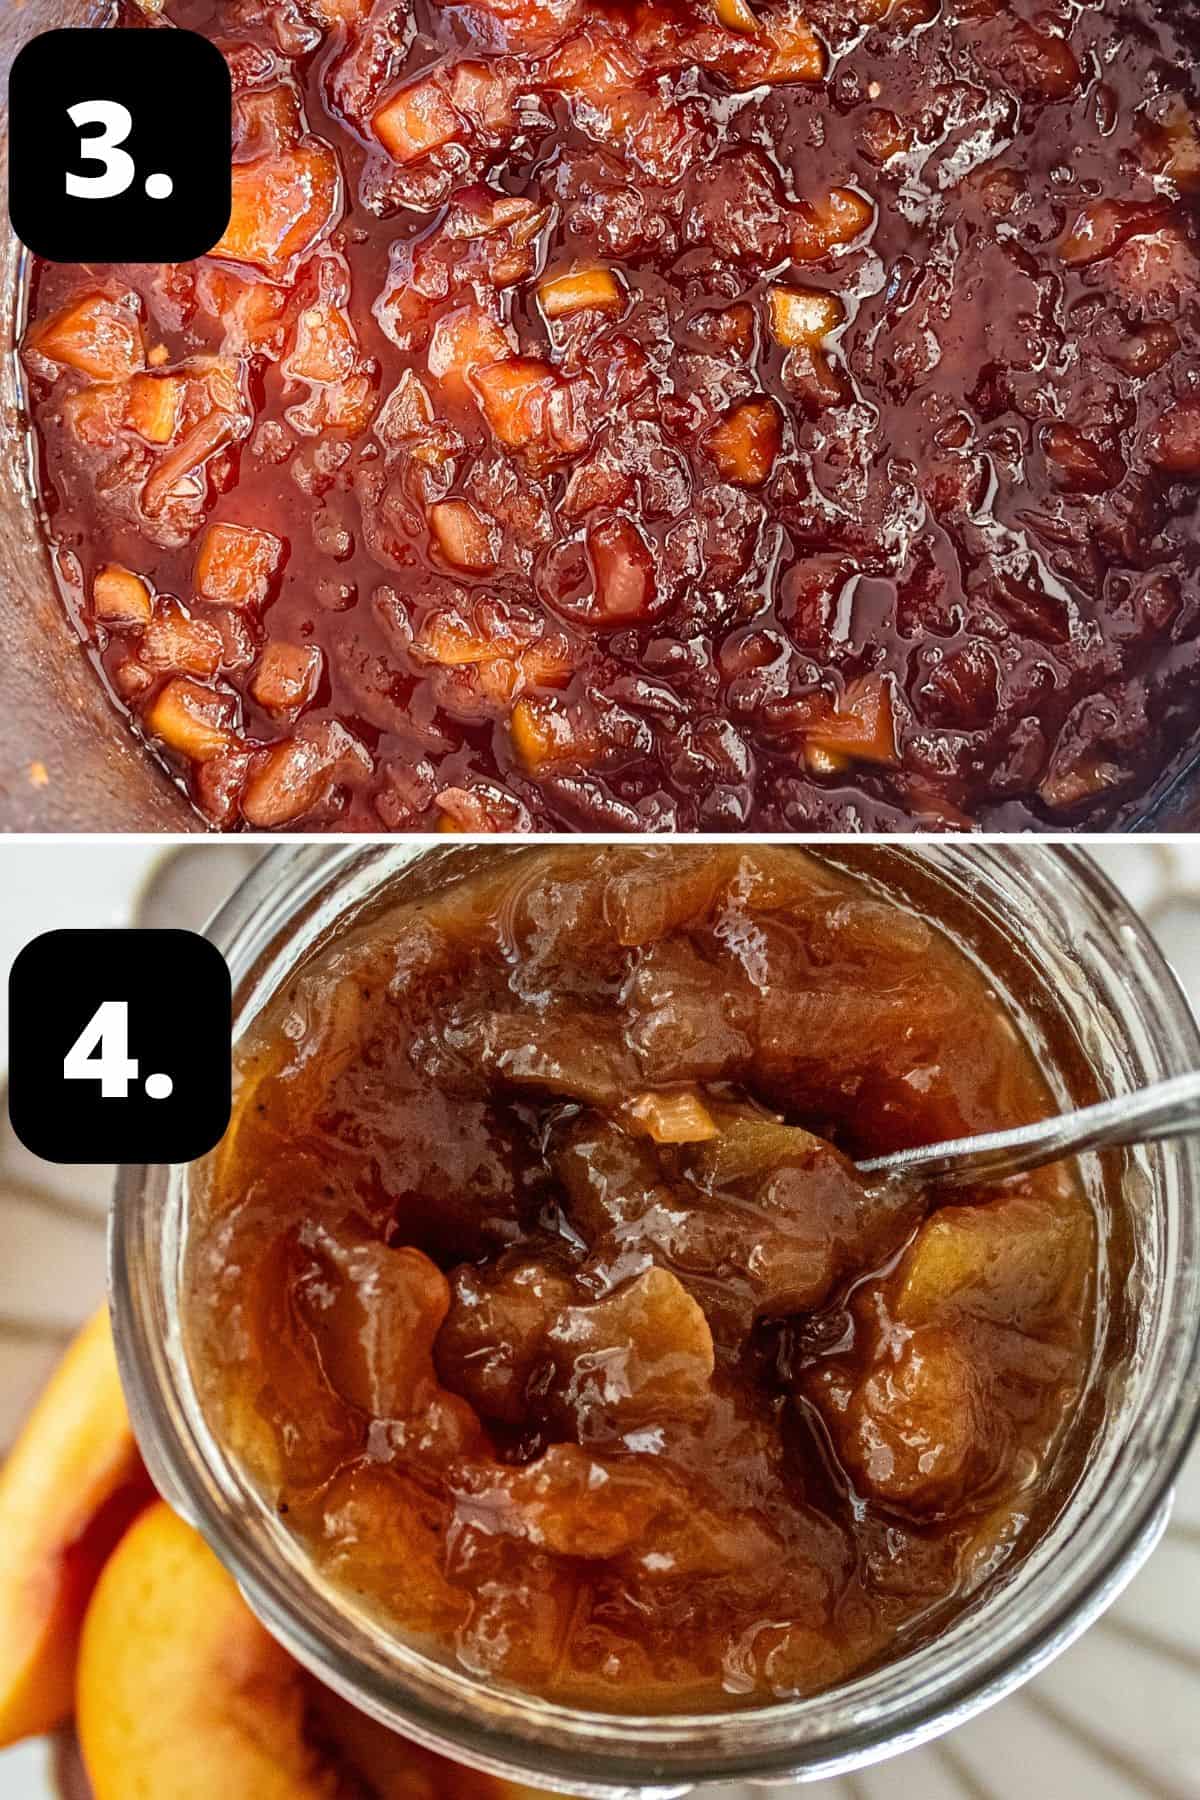
3 - Cook the chutney:
Once the sugar has dissolved and the mixture has been brought to the boil, it will take approximately 40-45 minutes to cook. During this time, stir well to avoid the chutney from sticking to the bottom of the pan.
4 - Add to your jars:
Once cooked and allowed to stand for 10 minutes, the mixture can be added to hot jars and sealed.
Hint: I recommend that you label the jars with the name and date you made it. Otherwise, it can be difficult to identify.
Tips for Success, Storage and FAQs:
If you follow the recipe instructions precisely and your jars are thoroughly sterilised, the Nectarine Chutney should be shelf-stable for nine months.
Store unopened jars of chutney in a cool, dark, dry location. Once a jar has been opened, store in the fridge.
No, you don't need to peel the nectarines - the skin breaks down during cooking.
You can, but for the best result I recommend that you set the chutney aside for at least one week to allow the flavours to develop and the vinegar to mellow.
Top Tip:
Although this is a simple recipe, it does require your attention. Stirring the chutney regularly will stop it from sticking to the bottom of the pan and burning. This is especially important as the chutney begins to thicken.
Serving Suggestions:
There are so many ways to use this vibrant, tangy, full-flavoured chutney. Some of our favourite ways are:
- As an accompaniment to our Maple Glazed Ham.
- Adding it to a cheeseboard - it is ideal with a creamy Brie or a sharp cheddar.
- As an addition to a sandwich or wrap. Try it with Roast Chicken and mayonnaise.
- Served at a barbecue with a variety of grilled meats.
- With shredded Slow Roasted Lamb Shoulder.
- To use it as a glaze for a meatloaf.
- Wrap a pretty ribbon around a jar of chutney. It is a welcome homemade gift.
This recipe for Nectarine Chutney is always popular and I hope that we have encouraged you to make your own. I look forward to hearing how you enjoy it.
Alex xx
More Delicious Recipes For You To Try:
Stay in touch!
Follow me on Facebook, Pinterest, Flipboard and Instagram and subscribe to my newsletter.
Nectarine Chutney
Please note:
For accuracy, when weights are provided, we recommend weighing your ingredients. This will produce the best results. All oven temperatures listed are for fan forced.
Ingredients
- 1 kg (2.2 lb) nectarines - prepared weight, once stones removed See Note 1
- 500 g (2 ½ cups) light brown sugar
- 450 ml (1 ¾ cups + 2 teaspoon ) white vinegar - 5% acidity
- 2 medium brown/yellow onions - finely chopped
- 1 large Granny Smith apple - unpeeled and cut into small cubes
- 1 teaspoon ground black pepper
- 1 ½ teaspoon sea salt
- 1 teaspoon ground cinnamon
- ½ teaspoon red chilli pepper flakes
- 1 teaspoon ground ginger
- ¼ teaspoon ground nutmeg
Instructions
To Sterilise the Jars:
- Sterilise the jars you'll be using to store the chutney. Choose glass jars with an airtight, metal lid and ensure they have been washed by hand in hot soapy water then rinsed well. Check that the metal lids do not have rubber inserts - if they do, allow them to air dry, instead of placing in the oven.Preheat the oven to 130 Degrees C (270 F) and place the jars in the oven for 15-20 minutes. Keep the jars warm.
For the Nectarine Chutney:
- Cut the nectarines in half and gently twist the halves in opposite directions to separate them.Carefully remove the pit with a sharp, pointed knife and discard the pit. Cut away any bruises or blemishes from the fruit.
- Cut the nectarines into large chunks. (About 2.5 cm or 1 inch)
- Place all of the ingredients into a large, non-reactive saucepan or stockpot. See Note 2.Stir over medium-high heat until the sugar dissolves.
- Bring the chutney to boiling point then allow it to simmer for approximately 40-45 minutes.Stir occasionally until the mixture has reduced in volume, the surplus liquid has evaporated and the mixture thickens. The simmering time may vary as it will depend on the size of the pan and the amount of heat applied. As it thickens, you will need to be diligent with stirring and watch that it does not catch on the bottom of the pan. You can check that the chutney is ready by sliding a wooden spoon across the surface of the mixture. It is ready when the chutney does not immediately fill the gap. If the chutney is still too runny, cook it a further 5 minutes and test again.
- Be aware that as the liquid reduces, the mixture may bubble and spit and you need to take great care. I suggest that to be on the safe side, you wear a garment with long sleeves to protect yourself and use a long handled wooden spoon.
- After 40-45 minutes, or your chutney has thickened as per above, remove the saucepan from the heat and stand for 10 minutes to allow the fruit to settle. Remove and discard the star anise.
- Remove your sterilised jars from the oven, and whilst they are still hot, fill with the chutney and seal the jars immediately.
- When the jars are cool enough to handle, remove any spills on the outside of the jars and label and date the chutney. Store it in a cool, dark, dry location. Set it aside for a minimum of one week, ideally two-four weeks. This will allow the flavours of the chutney to amalgamate and the vinegar to mellow.When removing chutney, always use a clean, dry spoon to avoid spoilage. Store open jars in the fridge.
Notes
- Nectarines: for accuracy, we recommend weighing the fruit once you have removed the stones and any blemishes from the fruit. You can use different varieties of nectarines for this recipe - the colour may vary slightly depending on the variety.
- Non-reactive saucepans: are those which are ceramic, stainless steel, glass or enamelled cookware. Copper, iron and aluminium pans are reactive. Acidic foods, such as vinegar or lemons, may take on a metallic taste and discolour if cooked in such pans.
- Maturing the chutney: a preserve made with vinegar needs time to mature. Set it aside for a minimum of one week, ideally two-four weeks. This will allow the flavours of the chutney to amalgamate and the vinegar to mellow.
- Storage: when the recipe is made according to instructions and the jars have been sterilised properly, the chutney will be shelf-stable for nine months when stored in a cool, dark place. A jar should be refrigerated after opening. Always use a clean spoon when removing chutney from the jar. This recipe has not been tested using a canning method. Please refer to the USDA Canning Guidelines for techniques, or follow a recipe designed for long-term canning.
- Nutritional information: is based on one whole jar. The nutritional information is an estimate only.
Nutrition Estimate:
Nutritional Disclaimer:
The nutritional information is an estimate only, and is derived from online calculators. For accurate results, we recommend calculating the nutritional information based on the ingredients and brands you use.
Tom McInnes says
Hi Alex,
I would like to try this chutney recipe but I am allergic to onions. Do you think that it could be made without the onion?
Best wishes,
Tom
Alexandra Cook says
Hello Tom,
Thanks for the question 🙂
I definitely think you can make it without the onion, although I haven't tried this.
My only concern would be that it takes away one of the biggest savoury edges to the recipe.
I would consider possibly adding a bell pepper/capsicum or even a tomato in place?
Let me know how you get on! Alex xo
Tom McInnes says
Thanks Alex, I will try your suggestions when I can get some nectarines. I will let you know how I fare.