


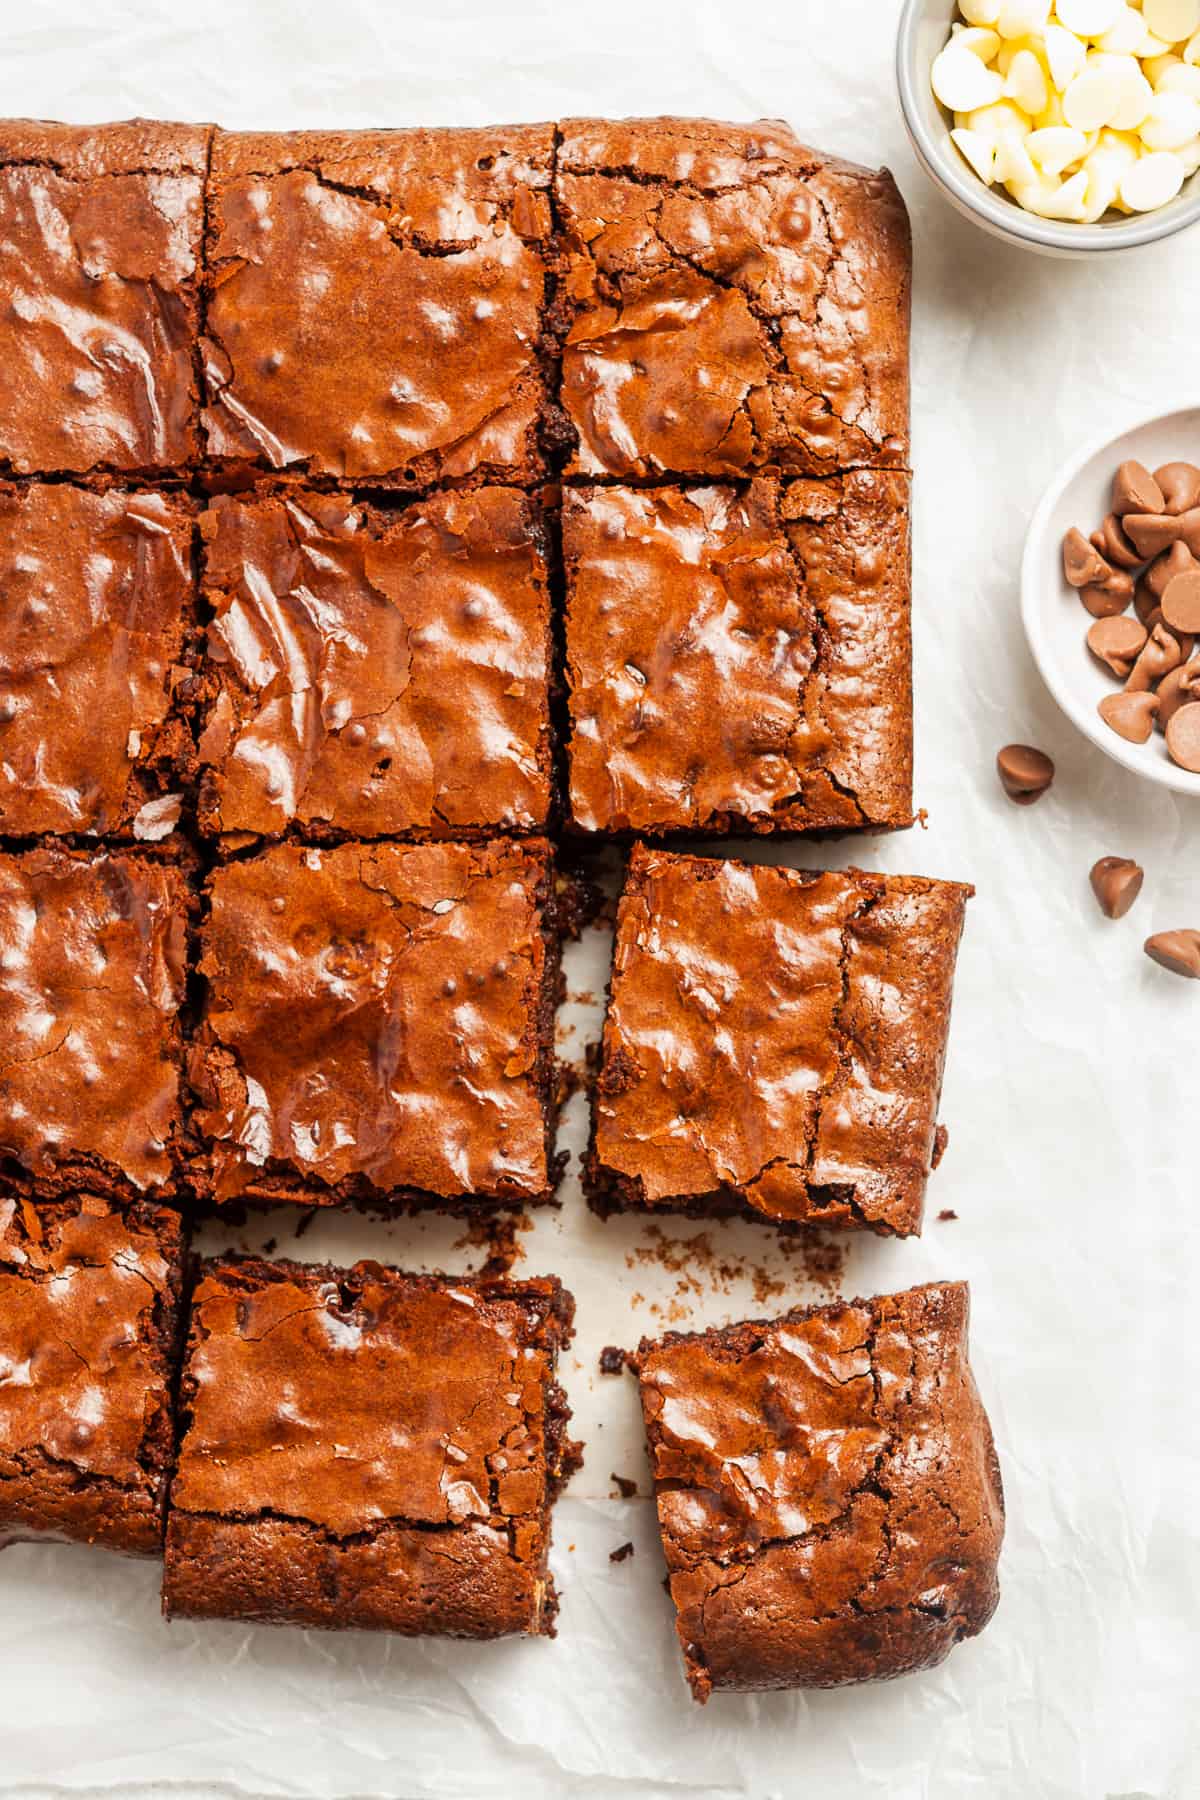
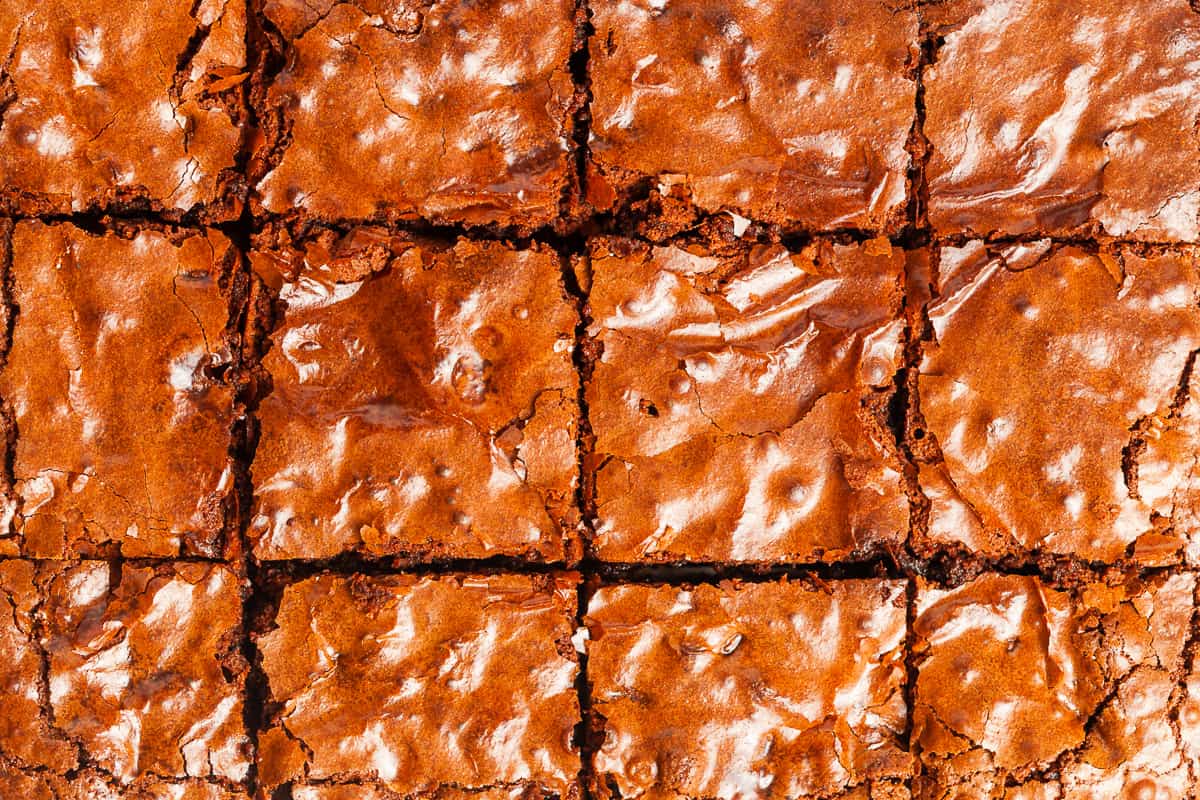
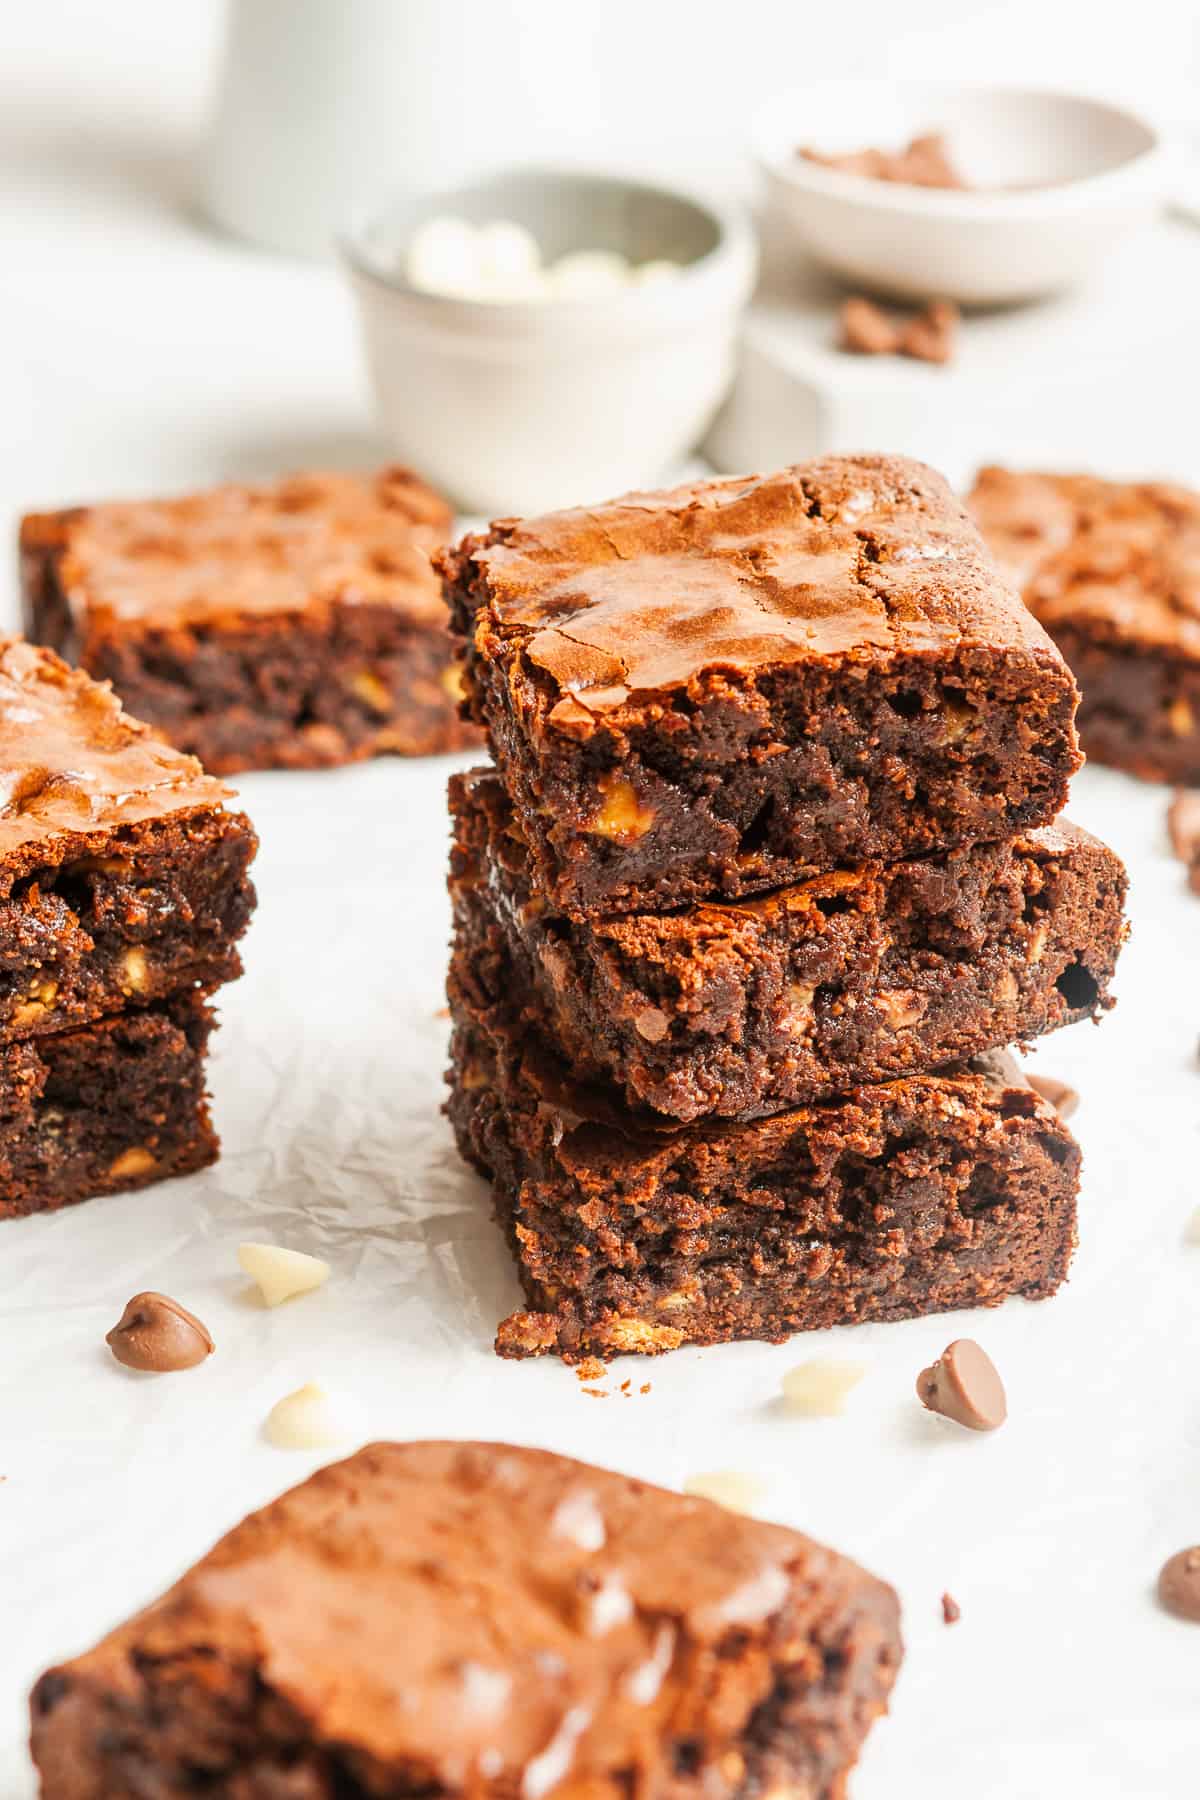
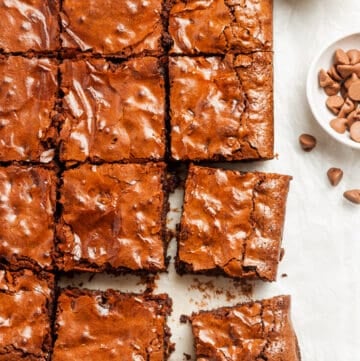
These decadent Gluten-Free Chocolate Brownies are absolutely irresistible! You will love the crisp exterior and fudgy centre. This easy gluten-free brownie recipe will become a favourite!
Jump to:
Why we love this recipe:
With just a few simple steps, you can be enjoying the most delicious, indulgent Gluten-Free Brownies!
We love a brownie that is fudgy, not cakey! Like my Chocolate Raspberry Brownies, these are a chocolate lover's delight.
Many brownie recipes contain nuts, but I prefer to not use them. I think their texture detracts from the luscious fudginess, but that is my preference, and you may like to add some chopped walnuts or macadamias.
Ingredients in this recipe:

Please see the recipe card further along in the post for exact quantities of ingredients and the full method.
Dark Chocolate - use a good quality dark cooking chocolate.
Butter - adds to the depth of flavour and texture of the brownies. We use unsalted butter in this recipe.
Brown Sugar - we use light brown sugar, which adds a lovely caramel flavour.
Eggs - I use large free-range eggs. The eggs add structure and richness.
Vanilla - for the best flavour, be sure to use naturally extracted vanilla, not artificially flavoured.
Corn Flour and Rice Flour - these flours are Gluten-Free, and allow us to produce the most delicious texture of brownie. For a flourless version, try my Almond Flour Brownies!
White and Dark Chocolate Chips - because you can never have too much chocolate!
Step by Step Instructions:
You will need to start by preheating your oven and preparing your brownie tin.
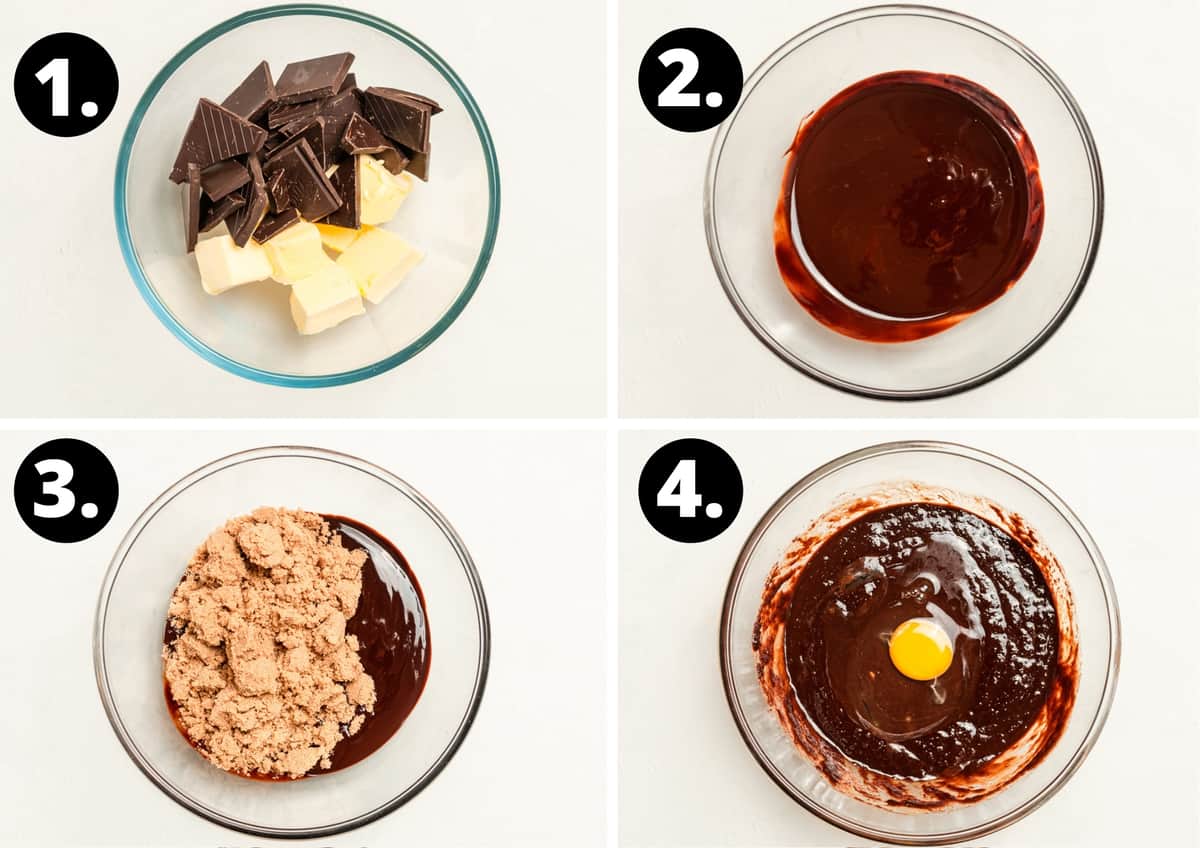
- Put the chocolate and butter into a large bowl & place over a pan of barely simmering water.
- Melt the chocolate and butter then remove from heat.
- Stir sugar into melted chocolate and butter and mix well.
- Add the eggs, one at a time, and mix well. Keep beating until all the eggs are fully incorporated.
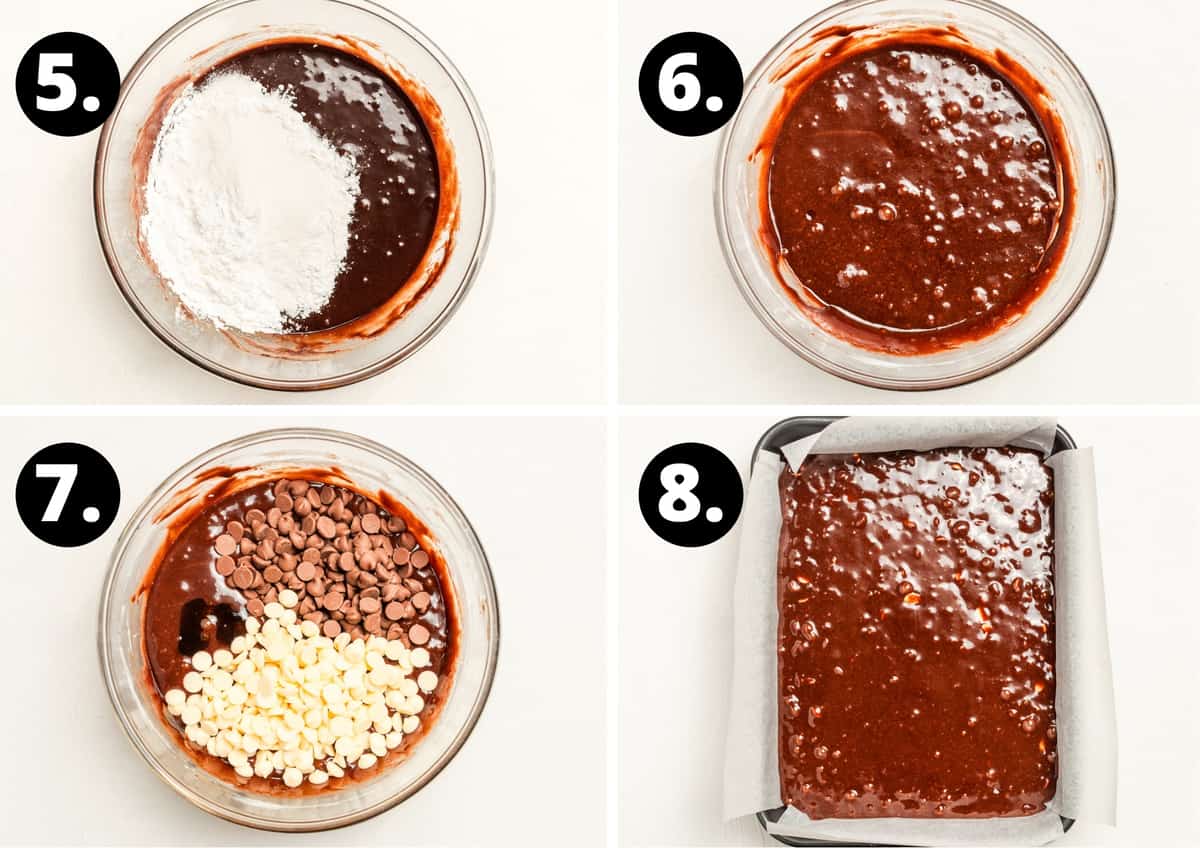
- Sift the flours together and stir them in, making sure all ingredients are combined.
- Your batter should be nice and smooth and well combined.
- Add chocolate chips and vanilla, and gently mix.
- Pour into the prepared tin and bake in the centre of the oven for approximately 40 minutes.
Tips for Success and FAQS:
For the best flavour Gluten-Free Brownies, use a good quality cooking chocolate.
Unlike cakes, you do not want to wait for the toothpick or skewer to come out clean to know when the brownies are done. I bake my Gluten-Free Chocolate Brownies for 40 minutes, however all ovens vary.
I recommend checking the brownies after 30 minutes, then every five minutes after that. Use a very thin skewer to test. You don't want it to come out completely clean, but the mixture should not appear raw. To achieve the desired fudgy centre the skewer needs to come out with a little stickiness. It will continue cooking a little further after removing from the oven. The top will have risen slightly, the edges will feel cooked and the centre soft but not liquid. Unfortunately, if you treat it like a cake and the skewer comes out clean it will be overcooked.
Once the brownies have cooled, store in an air-tight container for up to five days.
Yes, they can be frozen for up to three months. We recommend wrapping in cling film first before placing in a container.
More delicious recipes for you to try:
If you're after some more delicious chocolate ideas, we recommend giving these recipes a try:
- Chocolate Tiffin
- Vegan Chocolate Cupcakes
- Chocolate Popcorn Bars
- Chilli Chocolates
- Homemade Chocolate Freckles
- Or, view our full collection of Chocolate Recipes
These Gluten-Free Chocolate Brownies are delicious served with tea or coffee or perfect for a quick snack. I also like to serve them warm for dessert with my No-Churn Vanilla Ice Cream; I enjoy the contrast of warm and cold, the ice cream slowly melting onto the warm brownie. Bliss!
Enjoy!
Alex xx
This post was originally published in August 2018. It has been updated with new photos and more information. The recipe remains the same.
I have adapted this recipe from Wheat-Free.
Gluten-Free Chocolate Brownies
Please note:
For accuracy, when weights are provided, we recommend weighing your ingredients. This will produce the best results. All oven temperatures listed are for fan forced.
Ingredients
- 125 gm (4.4 oz) dark cooking chocolate See Note 1
- 150 gm (⅔ cup) unsalted butter
- 270 gm (1 ⅓ cup) light brown sugar
- 3 eggs - beaten
- 130 gm (4.5 oz) white chocolate chips
- 100 gm (3.5 oz) milk chocolate chips
- 1 teaspoon vanilla extract
- 50 gm (⅓ cup + 2 tsp) rice flour See Note 2
- 50 gm (⅓ cup + 2 tsp) corn flour See Note 3
Instructions
- Preheat your oven to 180 Degrees C (350 F).
- Line a 27cm x 18cm (11" x 7") brownie tin with baking paper.
- Put the chocolate and butter into a large bowl and place over a pan of barely simmering water. Melt chocolate and butter then remove from heat.(Alternatively - melt together in a microwave, being careful not to burn.)
- Stir the brown sugar into the melted chocolate and butter and mix well.
- Add the eggs, one at a time, to the chocolate and mix well. Keep beating until all the eggs are fully incorporated.
- Sift the flours together and stir them in, making sure all ingredients are well combined.
- Add chocolate chips and vanilla and mix well.
- Pour into the prepared tin and bake in the centre of the oven for approximately 40 minutes.
- To check when they are ready, use a very thin skewer or toothpick. You don't want it to come out completely clean, but the mixture should not appear raw. To achieve the desired fudgy centre the skewer needs to come out with a little stickiness. The brownie will continue cooking a little further after removing it from the oven. Don't look for the skewer to come out clean; the brownie will be overcooked at that stage.
- When cooked, remove the tin from the oven and leave the brownie in the tin until completely cool. Cut the brownie into pieces and enjoy!
Notes
- Use a good quality dark cooking chocolate. My preference is for a 70% cocoa cooking chocolate.
- I use rice flour which is very finely ground. Some rice flour which is available in supermarkets is very gritty. If in doubt, always sift your flour!
- Ensure your corn flour is marked as gluten-free if required. (Some corn flours use wheat and not maize.)
- For the most accurate results when baking, we recommend weighing your ingredients using a kitchen scale.
- I have adapted this recipe from Wheat-Free.
- Please note, the nutritional information is based on the brownie being cut into 12 pieces, and one being enjoyed as a serve. It does not include what the brownie is served with. The nutritional information is an estimate only.
Nutrition Estimate:
Nutritional Disclaimer:
The nutritional information is an estimate only, and is derived from online calculators. For accurate results, we recommend calculating the nutritional information based on the ingredients and brands you use.


Ann R says
These brownies look delicious. I plan to make them, but I need one clarification: you say corn flour in the recipe; is that what we in Canada call corn starch? If I go and buy corn flour here I'm going to have the main ingredient in tacos. I have corn starch that I use in baking or for thickening gravy. Thanks.
Alexandra Cook says
Hello Ann,
Thank you for your question! Yes, that is correct.
Corn starch will be what you will want to use.
Let me know if you give the recipe a try 🙂 Alex xo
Carol Abnett says
Hi Alexandra,
Do you think this would work with brown rice flour, I have some in the pantry that needs to be used up.
Thanks Carol.
Alexandra Cook says
Hello Carol,
I haven't tried this, so I cannot say for sure. Whilst it could work, I would say it may result in a more dense texture.
If you don't have the white rice flour, you can substitute for all-purpose/plain, but I do still recommend using the corn flour as well for the best texture.
Let me know how you get on! 🙂 Alex xo
Mary says
Hi Alex , love all your recipes . Making these brownies at present . Do I use fan oven temperature for all baking or conventional ?
And do you have a recipe book out I could purchase .
Alexandra says
Hi Mary!
Thank you so much!
We use a fan forced oven temperature.
I hope you’ll love the brownies - they’re a family favourite!
No recipe book at this time I am afraid, but would love to one day!
Kind regards, Alex
Julia says
Hi Alex,
I have made your brownie recipe twice and I just love it. It’s so easy and the result - amazing! They don’t last long in our house.
Alexandra says
Hello Julia, I am delighted that you have made the Brownies twice! Thank you for letting me know. They don't last long in this house either. 🙂
Lilly Smith says
Would this recipe still work using only corn flour?
Alexandra says
Hi Lilly,
I wanted to give this a try before I wrote back to you - yes, it does.. but the brownies were a bit flatter and denser. Still delicious, however!
Kind regards, Alex
Tiffany says
These brownies are so good! And I like how easy they are to make. My non gluten-free friend loved them and said they are better then regular ones.
Tiffany
Alexandra says
Thank you so much for sharing, Tiffany!
Courtney says
Baked a batch of these brownies and they were gone before the day was over! Sooo good!
Alexandra says
Yay - that is great news!
Dannii says
These brownies are epic - you can't beat homemade!
Alexandra says
Thank you, Dannii, they really are lovely gluten-free brownies. So rich and delicious! 🙂
NAti says
This recipe is so delicious! and it is exactly what I was looking for!
Alexandra says
Fantastic, Nati 🙂 Enjoy!
Bryon says
Love at first BITE 🙂
Alexandra says
Thank you, Dad xx