


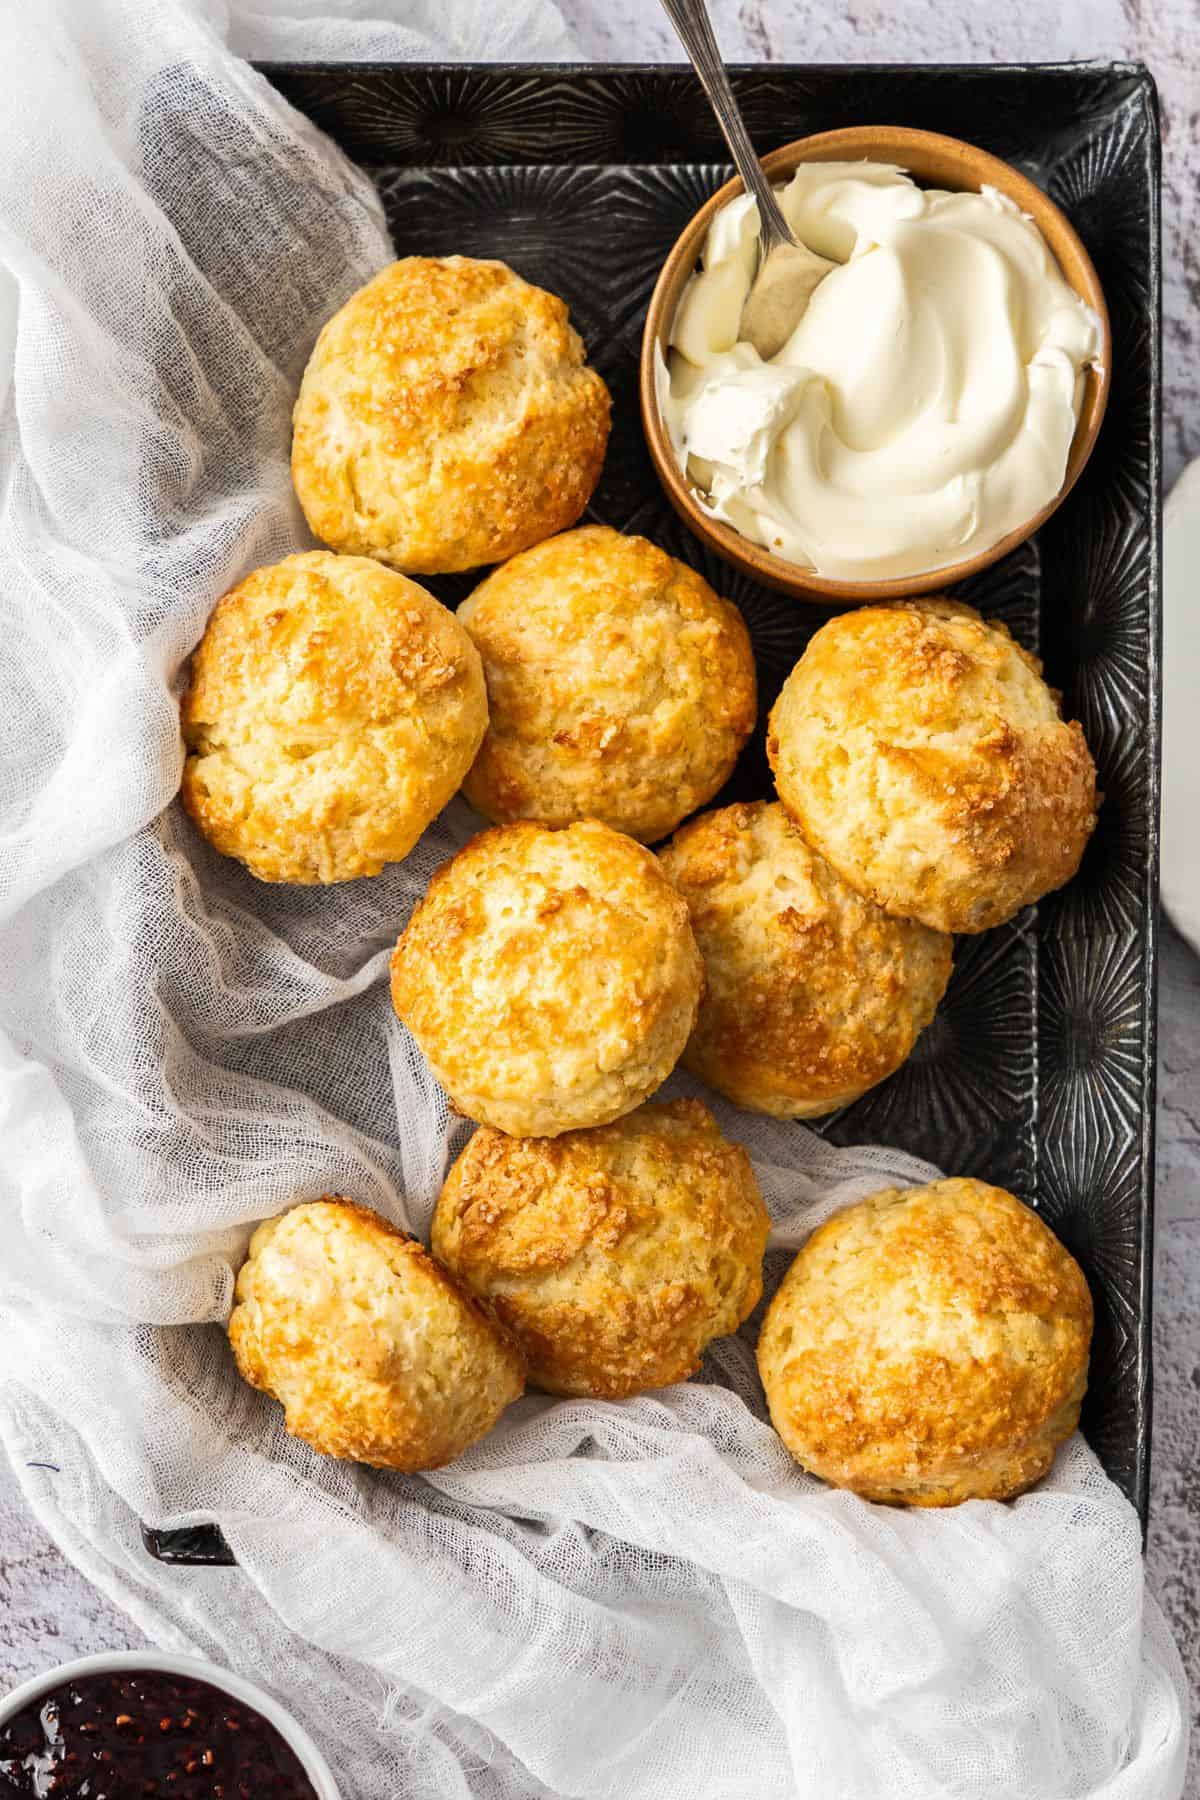
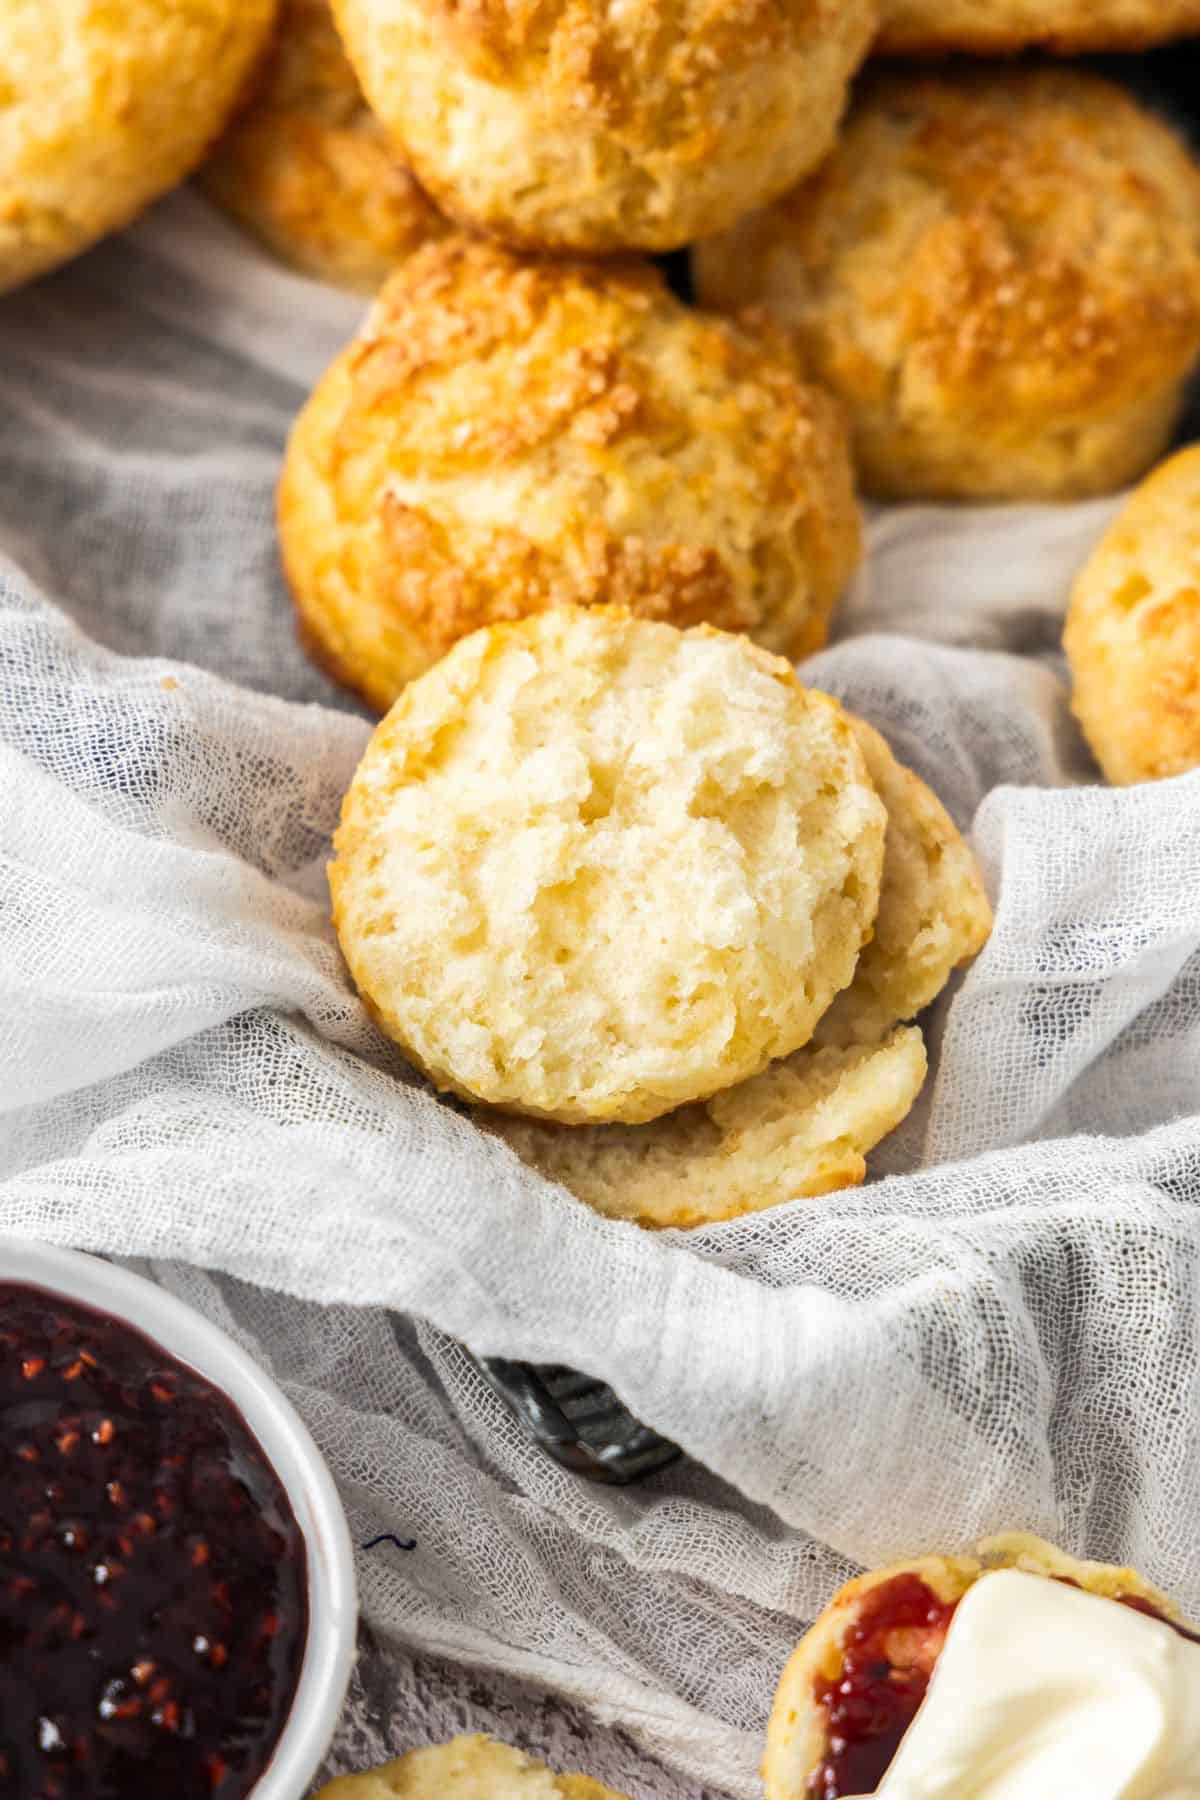
These Buttermilk Scones are my Mum's recipe, and will be a great addition to your baking repertoire. They are so quickly and easily made that you can have a batch on the table within 30 minutes. Made with butter and buttermilk, they are crisp on the outside, deliciously tender and flaky on the inside, and sheer perfection when eaten fresh from the oven. Although scones are traditionally served with jam and cream for morning or afternoon tea, they are so good I find they are also ideal for breakfast, brunch or a simple dessert.
A weekend well spent making some more delicious recipes from your website! 🙂 I made a fresh batch of your Mum's lovely scones Saturday morning for brunch. They were so good and we ate them all - and so I made another batch this morning. Served with your yummy marmalade and whipped cream.
- Lucy
Why You'll Love This Recipe:
- There's nothing quite like a scone that is fresh from the oven. A baked scone is proof that sometimes the simple things in life are the best.
- For many of us, these humble baked items evoke homely, comforting memories.
- Eating them while still warm, accompanied by a cup of tea or coffee, is a great way to pause for a few minutes.
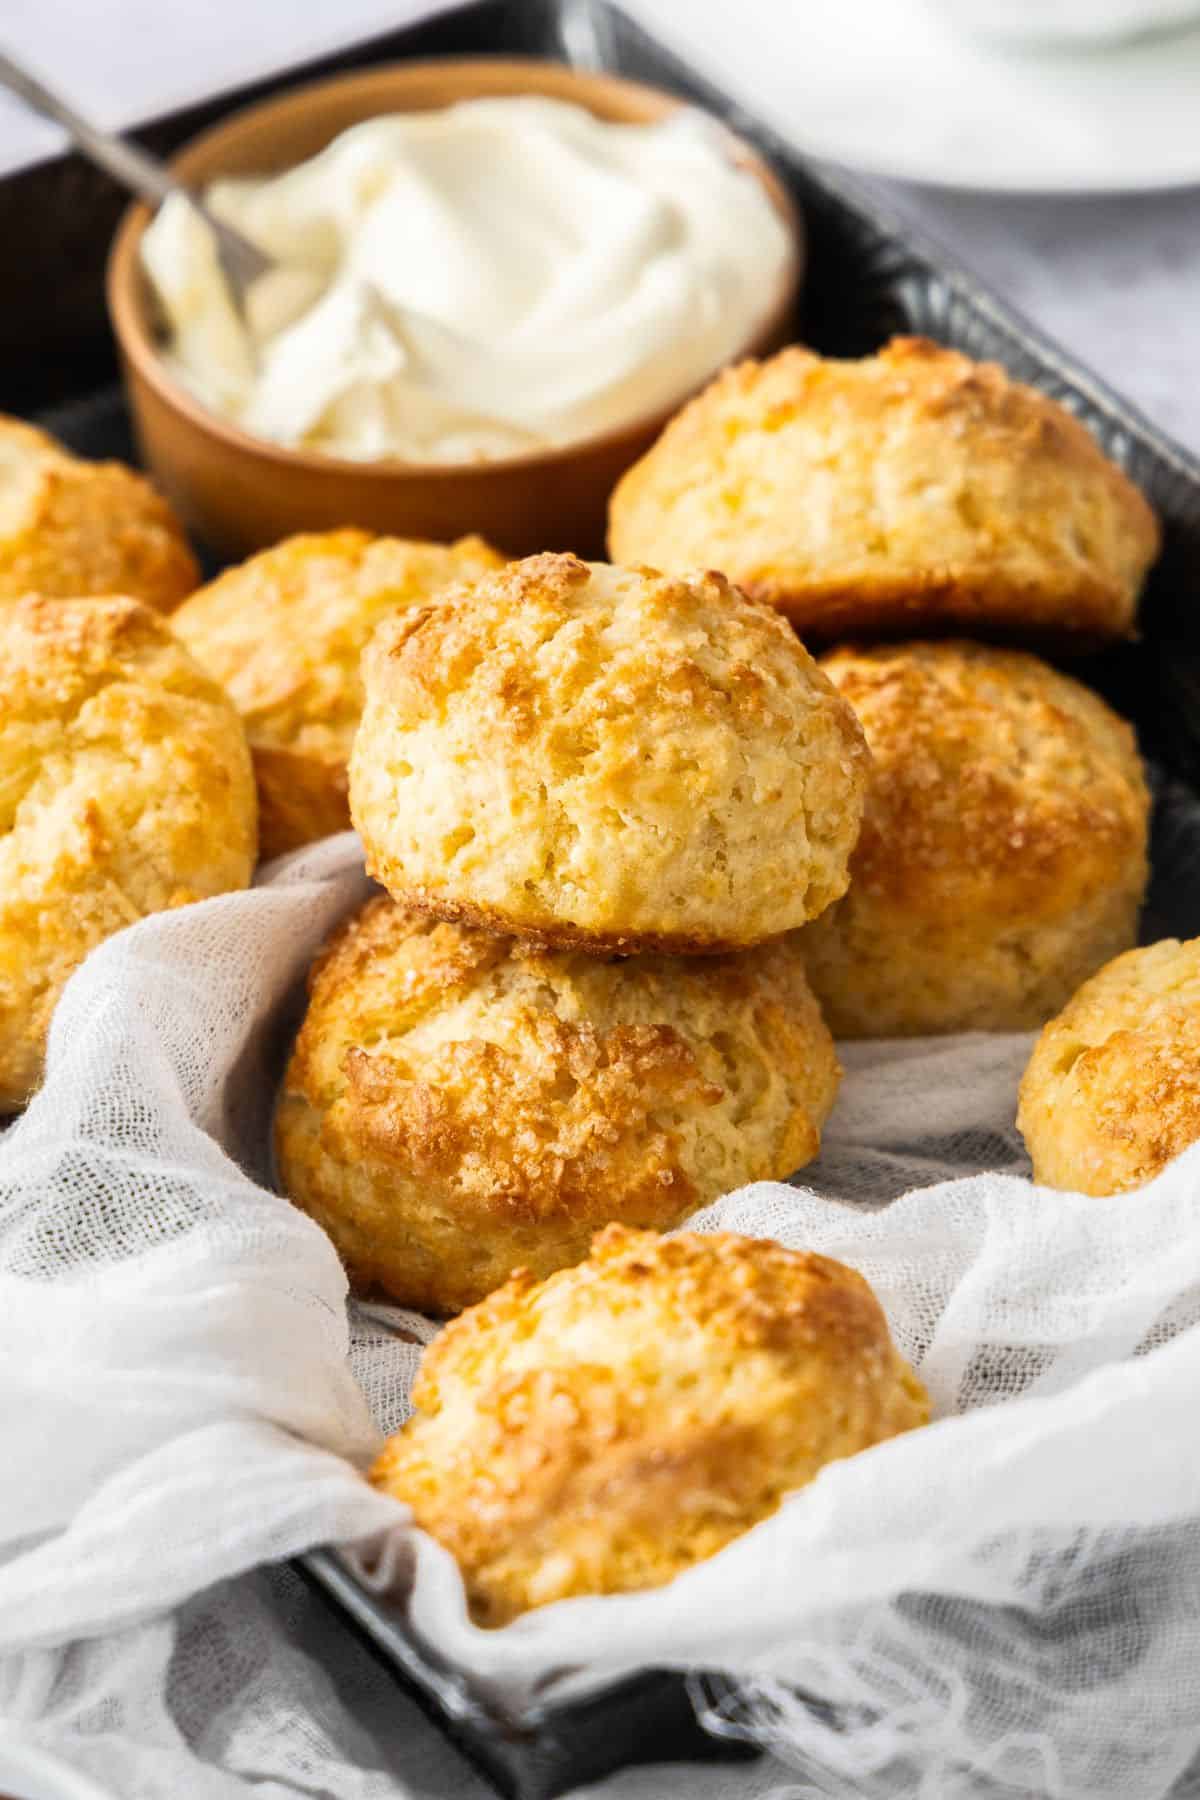
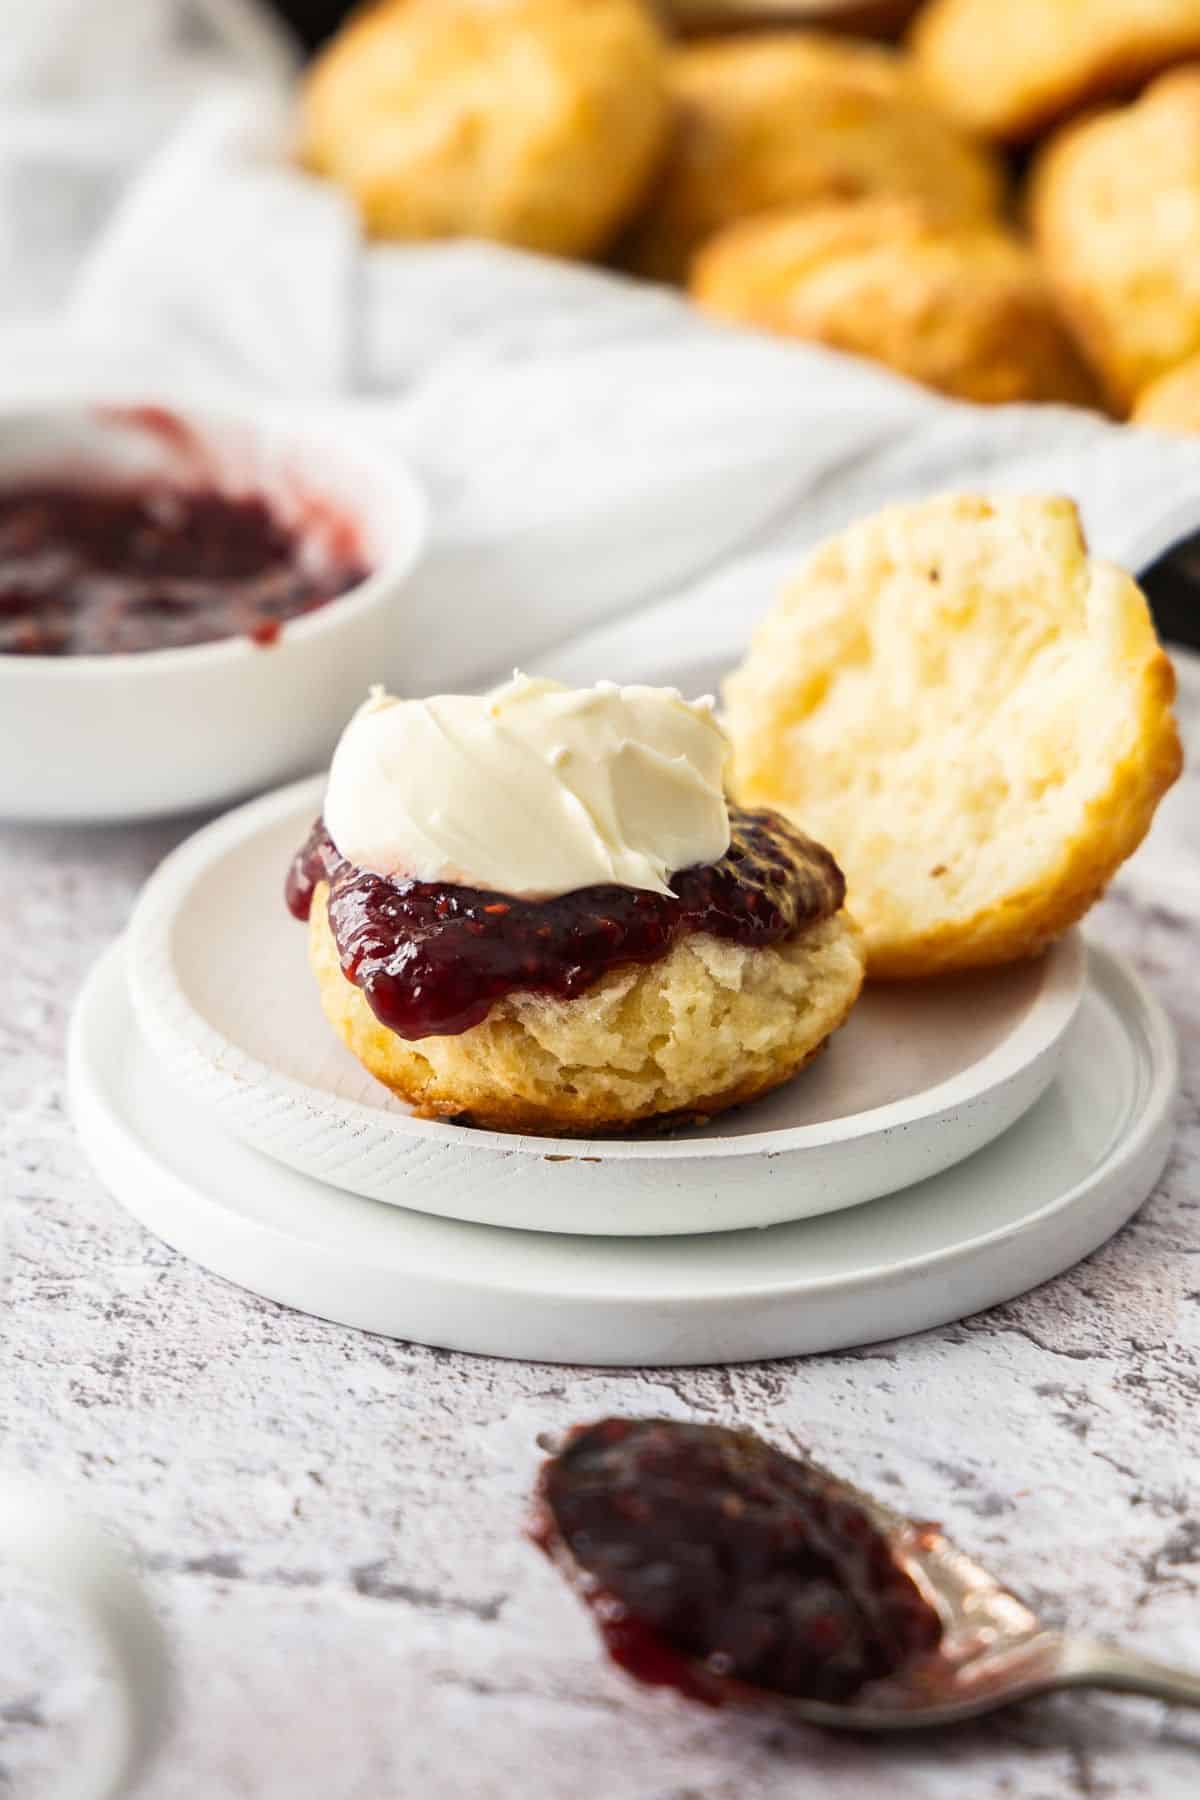
- You can eat them plain, with just butter, or top them with tangy Lemon Curd, glorious Raspberry Jam and whipped cream.
- They are SO easy to make. You can have a batch ready to enjoy in 30 minutes or less.
Recipe Inspiration: my Nanna was noted for her scones. Likewise, they're a speciality of my Mum. This is Mum's recipe, which uses buttermilk instead of cream, which was my Nanna's preferred method. The buttermilk gives the scones a tender, fluffier interior.
Ingredients and Substitutions:
Please see the recipe card further along in the post for exact quantities of ingredients and the full method.
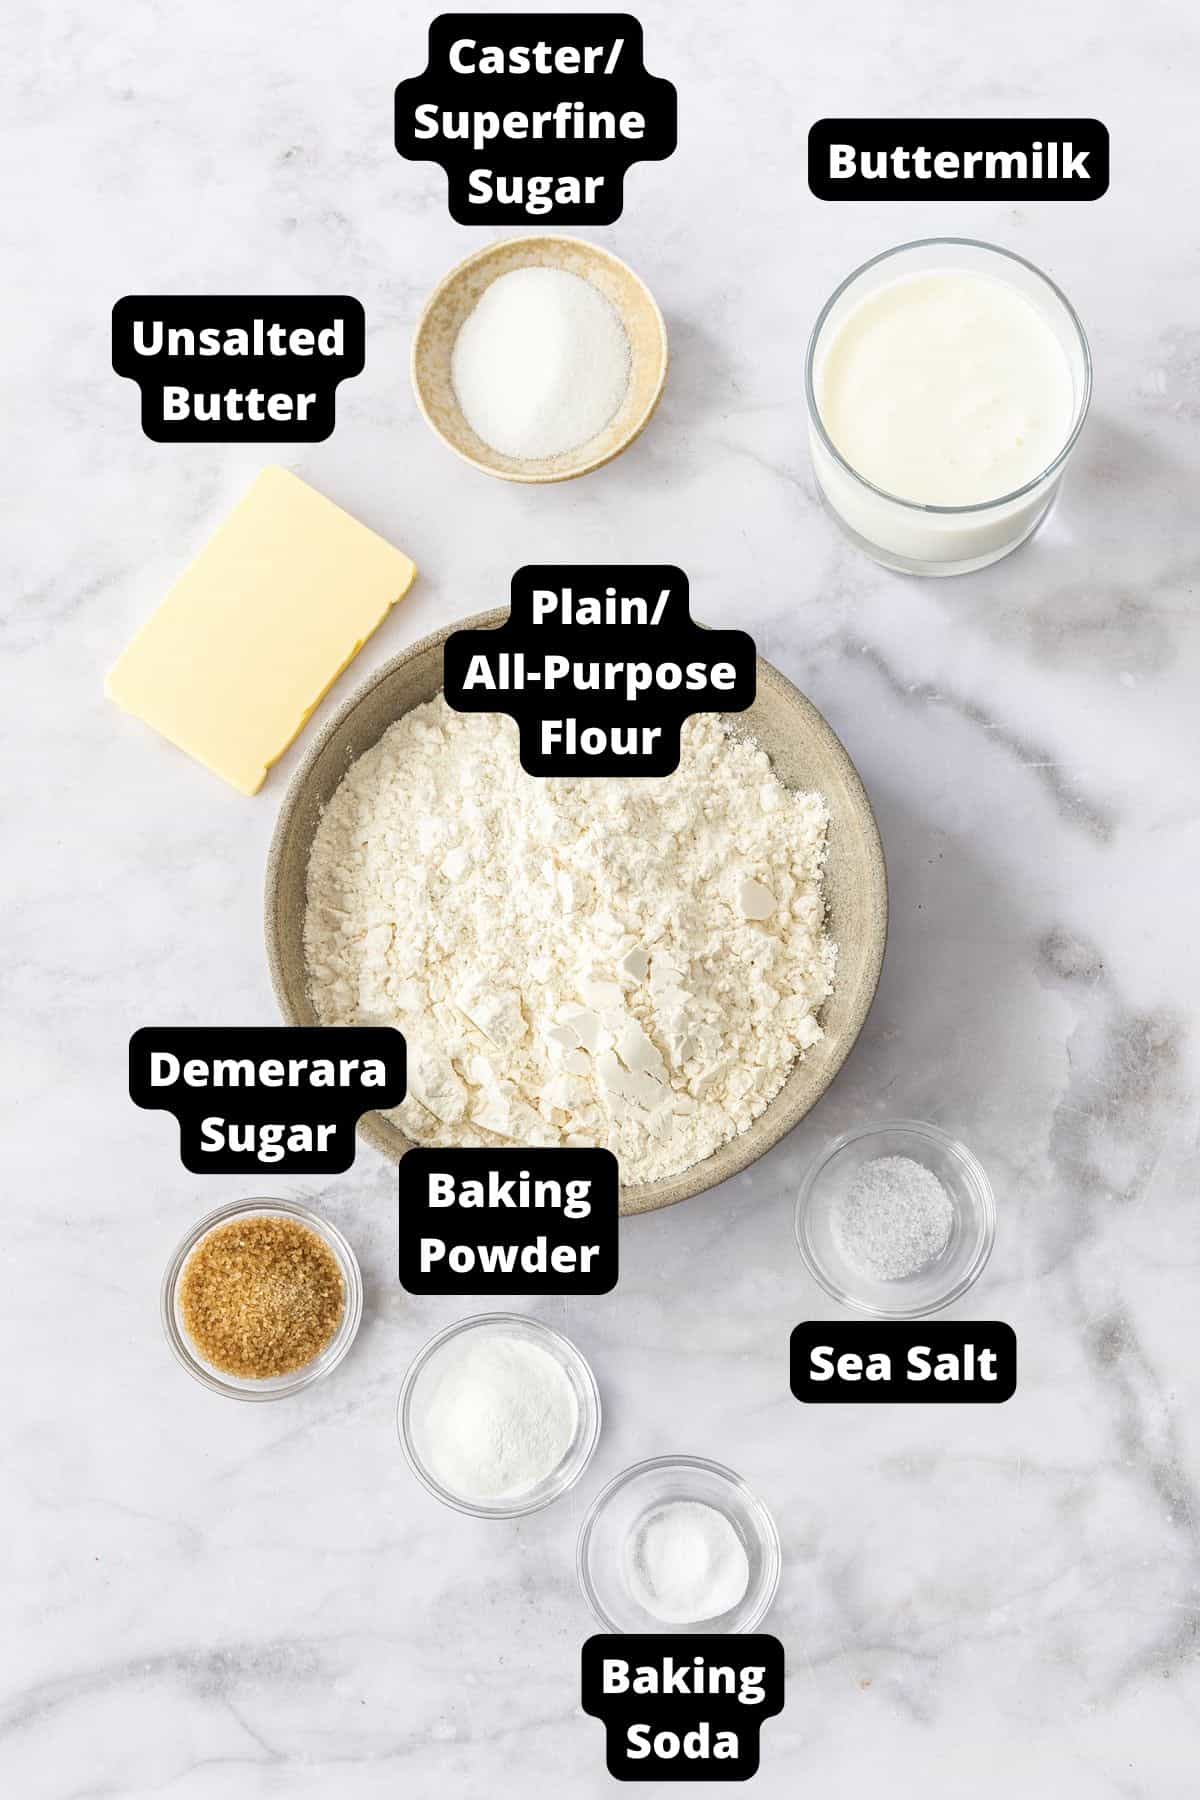
- Plain/all-purpose flour: this is a versatile flour that does not contain a raising agent.
- Baking powder: the main raising agent.
- Baking soda: this reacts with acidic buttermilk and helps the scones rise and become lighter.
- Sea salt: a small amount boosts the flavour of the scones. We use coarse kitchen salt, not table salt.
- Caster/superfine sugar: just a small amount for sweetness.
- Butter: we use unsalted so that we can control the salt in the recipe. We keep the butter frozen - it makes the scones extra flaky.
- Buttermilk: traditionally, buttermilk was the liquid left over after churning butter from cream. Today, we are most likely to buy our buttermilk, and this is a cultured product. The culturing process adds tang and a complex flavour. Buttermilk is an extremely versatile ingredient. In this recipe we use it in the scone mixture as well as the glaze.
- Demerara sugar: a type of raw cane sugar that is minimally refined. It is a pale brown colour, has a large grain, a gentle caramel flavour and a crunchy texture. A sprinkle of demerara sugar (or you can also use turbinado) adds a crunchy finish to baked goods.
Variations:
Flour: the recipe is written to use plain/all-purpose flour. It has, however, been tested with self-raising flour successfully. Omit the baking powder, but still use the baking soda.
Buttermilk: in a pinch, you can make your own "almost buttermilk". It isn't as good as the original, but will do the trick. Simply add 3 teaspoons of lemon juice to 205 ml of whole milk and allow to stand for 10 minutes.
Sugar: if you prefer savoury toppings such as ham and cheese for your scones, just omit the sugar from the recipe.
Flavour variations: although the scones are delicious plain, you may also like to tray some flavour variations. Sultana, Date and Lemon or Chocolate Chip are some of my favourites.
How To Make Buttermilk Scones:
Please see the recipe card further along in the post for exact quantities of ingredients and the full method.
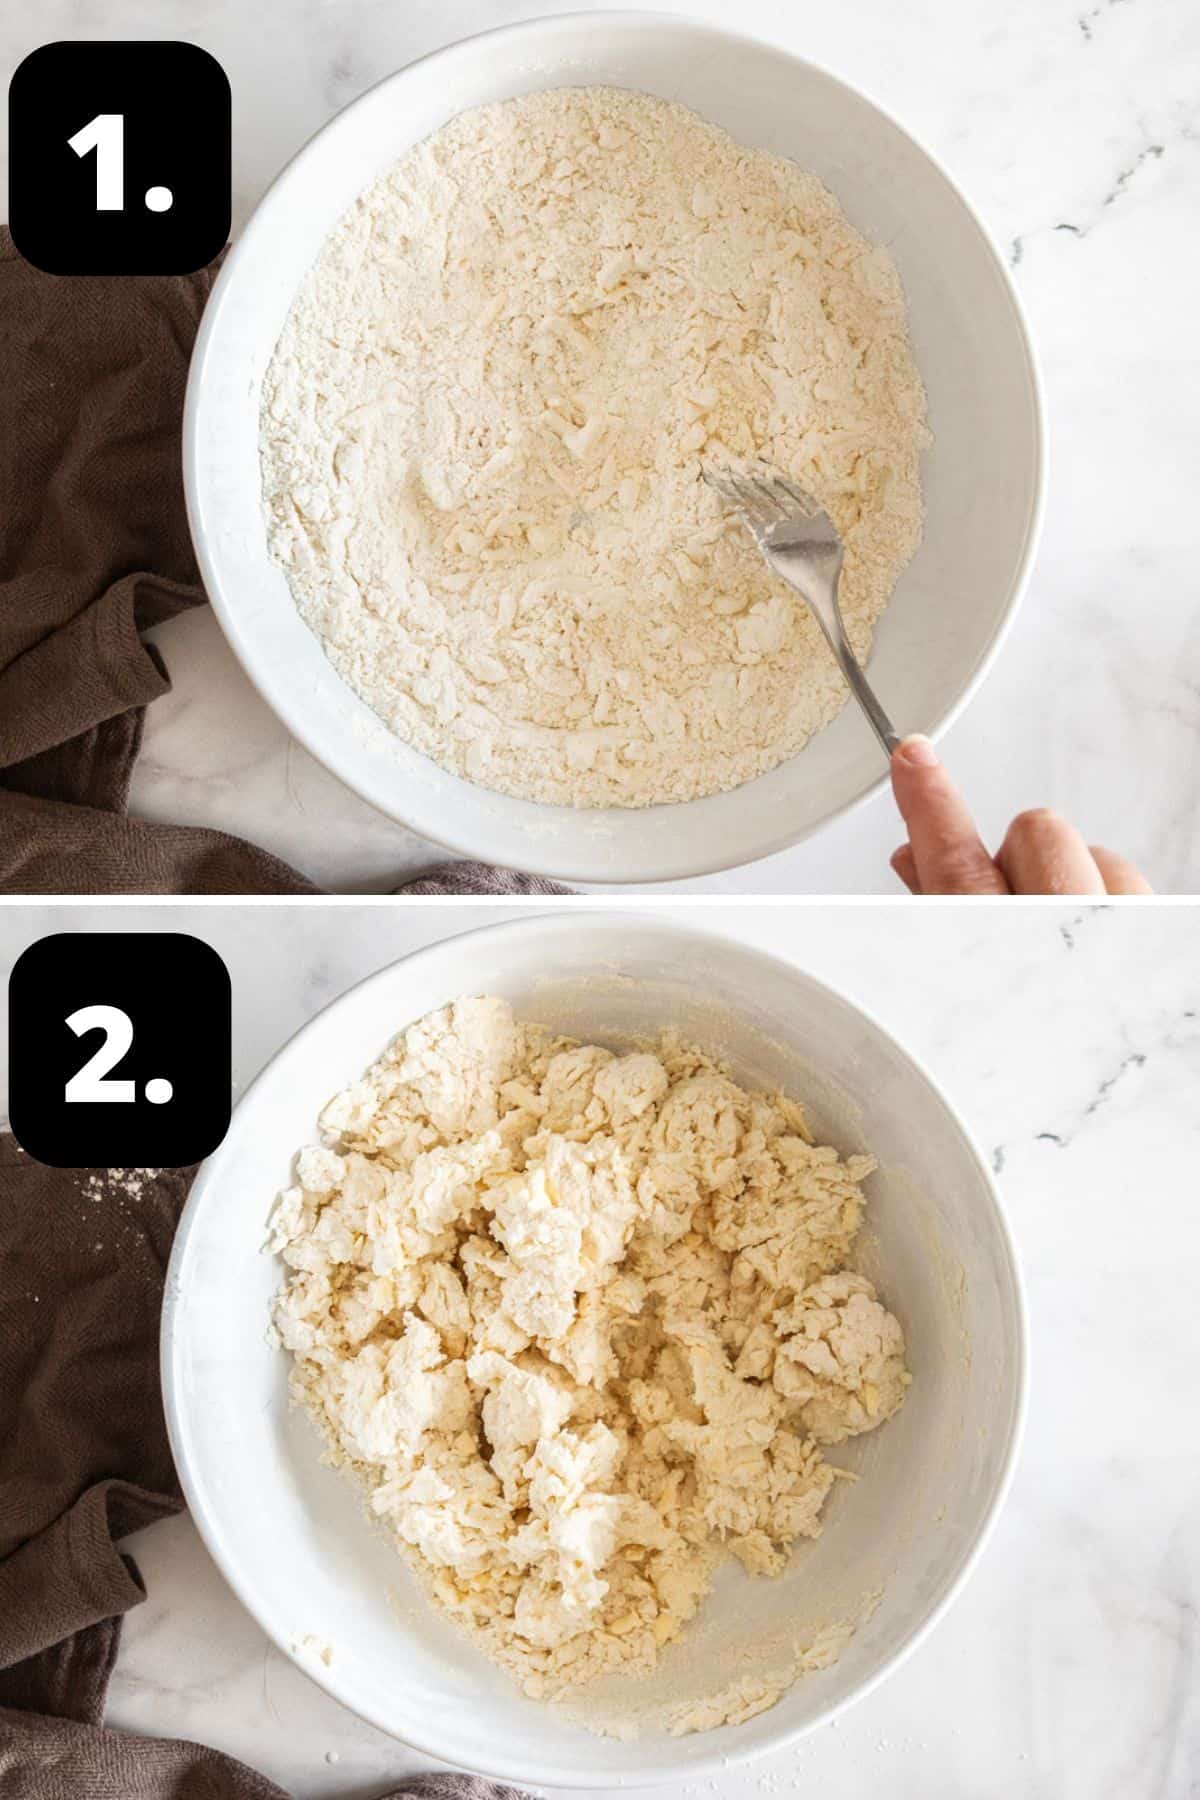
1 - Combine your dry ingredients with the butter:
To a medium size bowl, add flour, baking powder, baking soda, salt, and sugar. Whisk ingredients well to combine.
Using a box grater, grate frozen butter into the flour mixture, use a fork to toss the flour to combine the butter.
2 - Add in the buttermilk:
Make a well in the centre and add buttermilk.
Use a flat bladed knife and quickly stir to combine the ingredients.
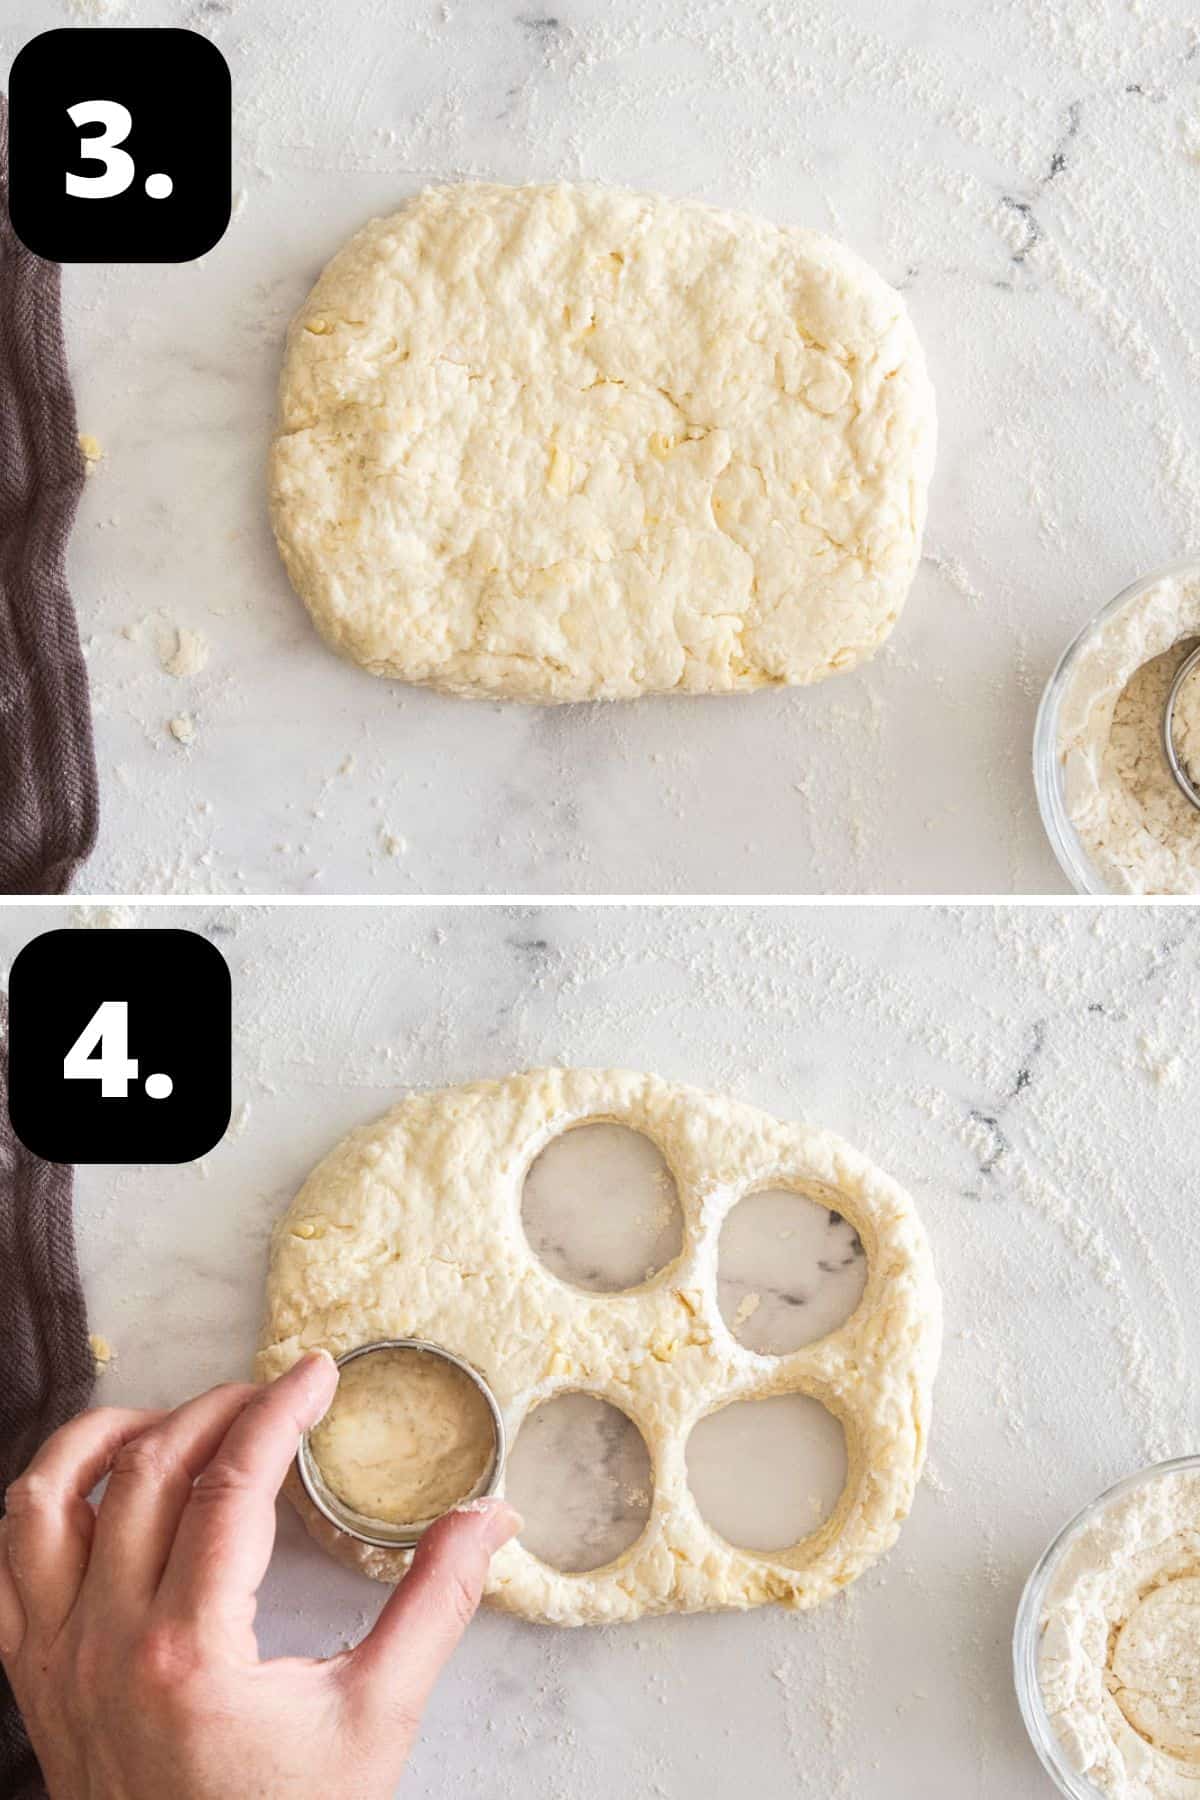
3 - Shape the dough:
Turn out the dough onto a lightly floured surface and gently bring the mix together. Use your fingertips to pat out to a round.
4 - Cut out the scones:
Use a floured cutter to cut out eight circles, re-shaping the dough as necessary.
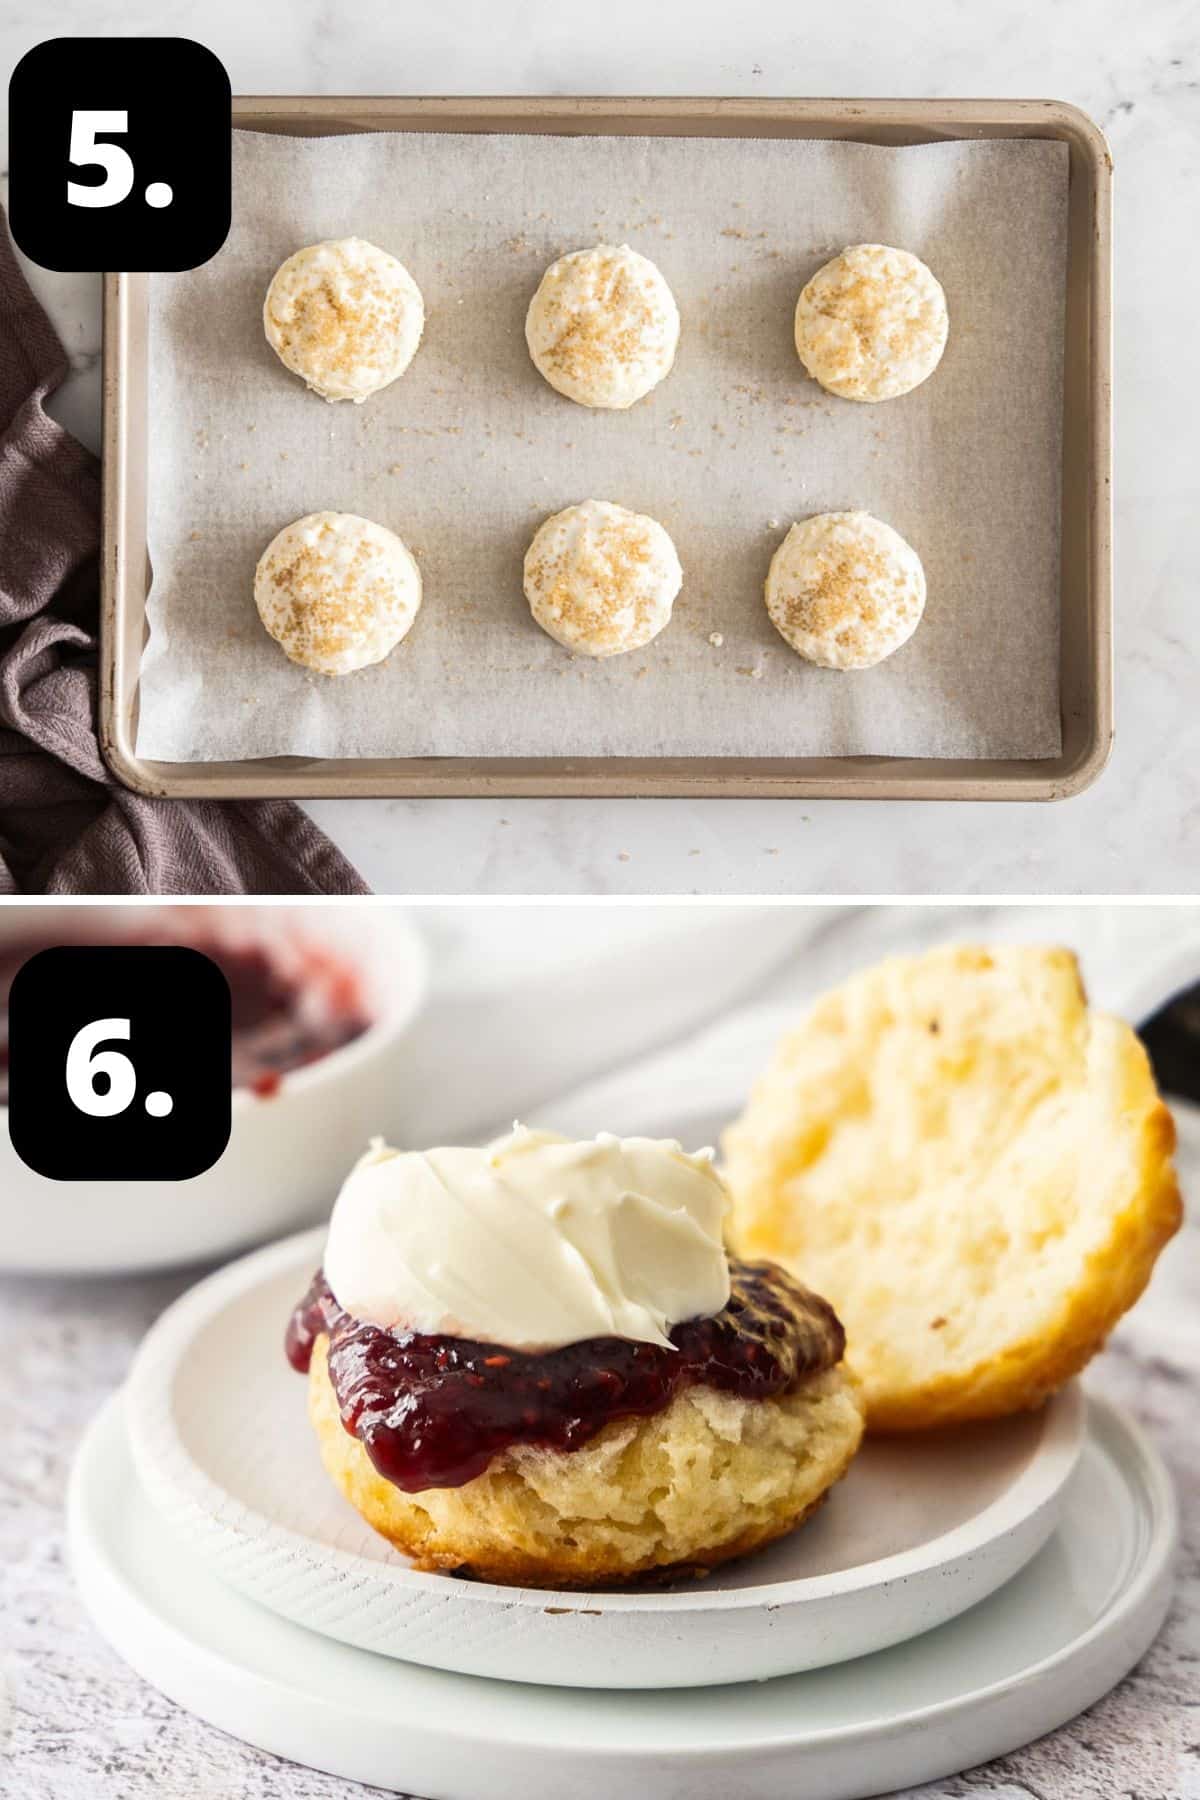
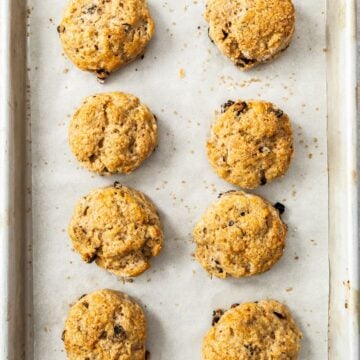
5 - Bake the scones:
Place the scones onto the baking tray. Lightly brush the tops of the scones with buttermilk and sprinkle with demerara sugar.
Place the tray in the oven and bake until deep golden.
6 - Serve and enjoy:
Remove from the oven and enjoy immediately or place onto a cooling rack.
Hint: for a better rise and scones with straight sides, press the cutter straight down, do not twist it.
Tips for Success, Storage and FAQs:
Although scones are at their best when eaten shortly after baking, you can store them on a plate covered with cling wrap or in an airtight container for up to 3 days. They respond quite well to being reheated - see below. Store them at room temperature, the fridge tends to make them hard.
You certainly can. When they are completely cool, place them in an airtight container, clearly labelled with their name and date, and freeze for up to 3 months. Reheat as below.
The best way is to place them on a baking tray or small ovenproof platter, cover loosely with foil and reheat in a 180 degrees C (355 F) oven for about 8 minutes. Uncover for the last 2 minutes to re-crisp the exterior a little.
We have successfully made this recipe using a good quality gluten-free flour containing xanthan gum. The hydration level is different, and an extra 40 ml of buttermilk was necessary with the brand of flour we used. The scones do not rise as much/are flatter, but they still taste delicious, and are a fantastic gluten-free option.
Top Tip:
When making scones, you will get the best result by ensuring your ingredients are cold.
Also, do not overwork the dough, it will develop the gluten and make the scones tough. Use a light hand when mixing the dough and when patting it out.
Serving Suggestions:
There's nothing quite like a scone that is fresh from the oven, and you will find many ways to enjoy them. Some suggestions are:
- Serve them for morning or afternoon tea with jam and thick cream. You may like to provide a choice of jam; two of my favourites are Fig Jam and Apricot Jam.
- Although not traditional, I like to enjoy them for breakfast or brunch.
- Make a simple dessert; split the scone, add thick cream and slices of fresh strawberry and you almost have strawberry shortcake.
- Line a small basket or bowl with a pretty napkin, add the scones and they are an ideal edible gift.
As they bake, the fragrance of these Buttermilk Scones will fill your home. It is warm and comforting, attracting all nearby. And there's no waiting patiently (or impatiently in my case), you can enjoy them straight from the oven as they are at their best while still warm. I do hope you enjoy these beautiful Buttermilk Scones, and my Mum's special recipe.
Alex xx
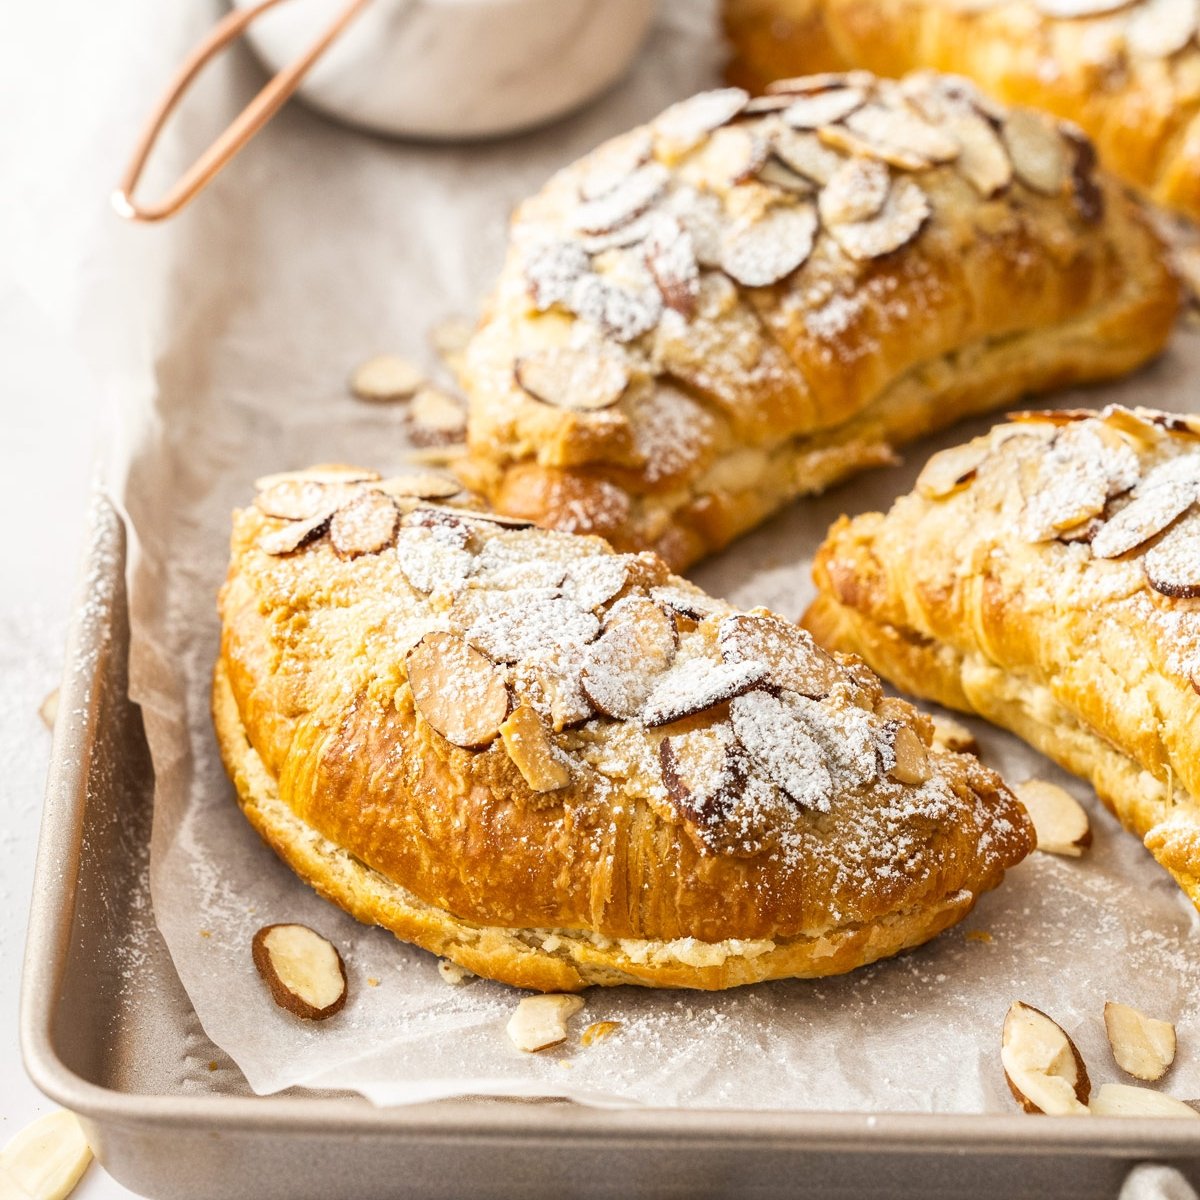
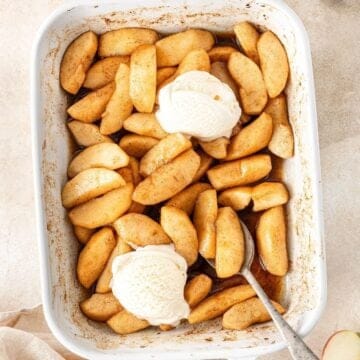
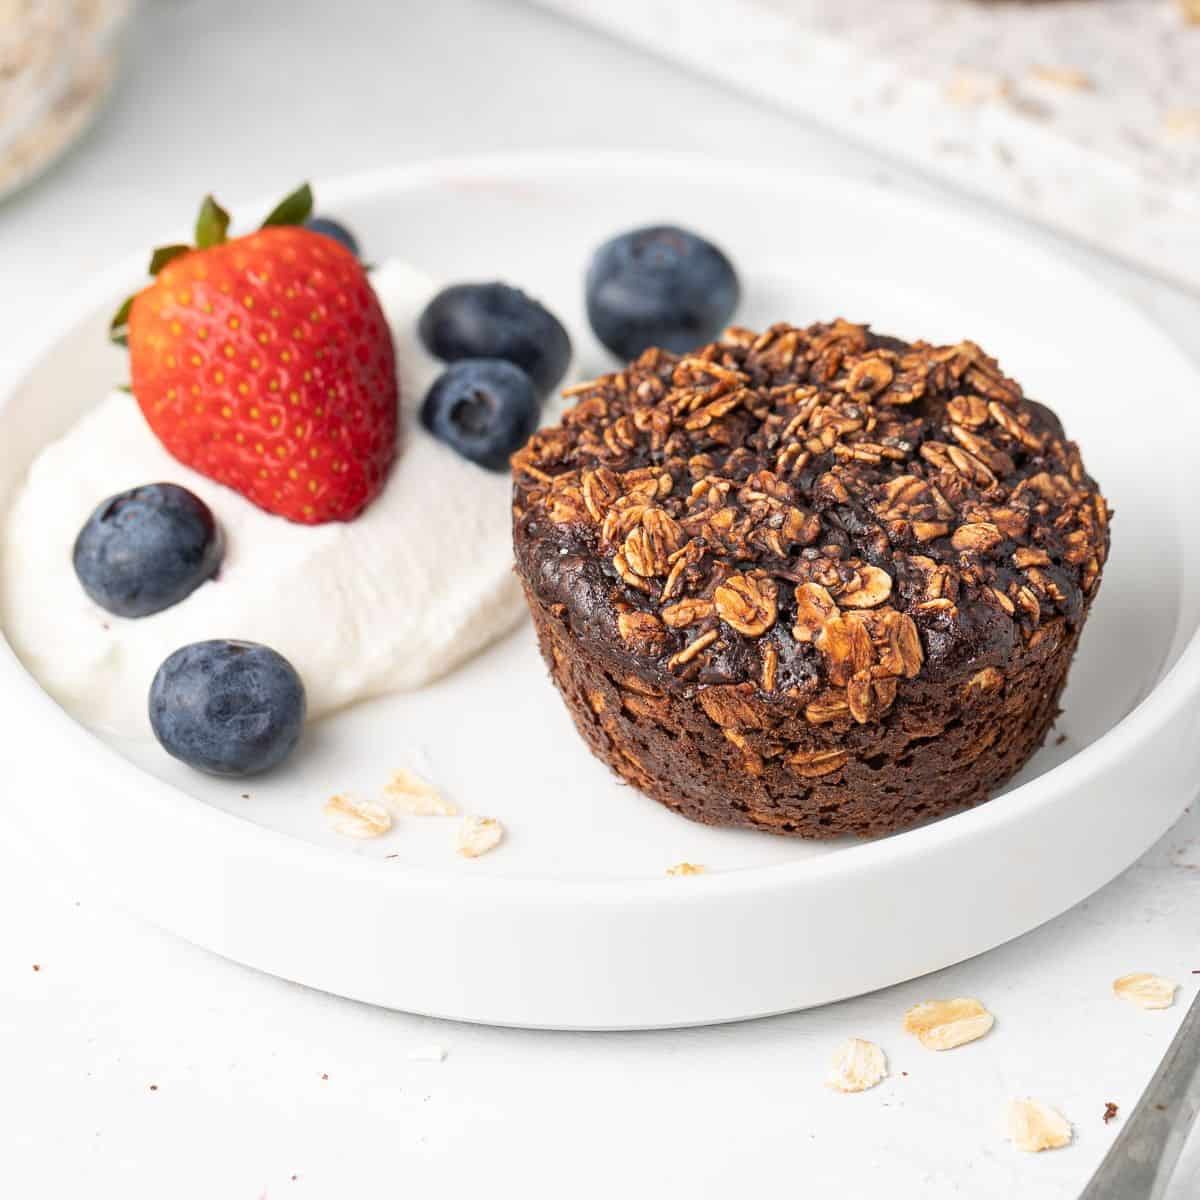
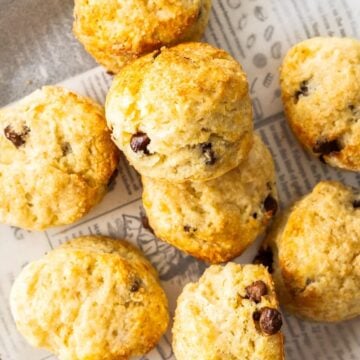
More Delicious Recipes For You To Try:
Stay in touch!
Follow me on Facebook, Pinterest, Flipboard and Instagram and subscribe to my newsletter.

Buttermilk Scones
Please note:
For accuracy, when weights are provided, we recommend weighing your ingredients. This will produce the best results. All oven temperatures listed are for fan forced.
Ingredients
For the Buttermilk Scones:
- 225 g plain/all-purpose flour + more for rolling out as needed See Note 1
- 2 teaspoon baking powder
- ¼ teaspoon baking/bi-carb soda
- ¼ teaspoon sea salt
- 3 teaspoon caster/superfine sugar
- 50 g unsalted butter - frozen
- 220 ml buttermilk - kept chilled
For the Topping:
- 1 tablespoon buttermilk See Note 2
- 3 teaspoon demerara/turbinado sugar
Instructions
- Line a baking tray with non-stick baking paper.Preheat your oven to 220 degrees C. (430 F)
- To a medium size bowl, add the flour, baking powder, baking soda, salt, and sugar. Whisk ingredients well to combine.
- Using a box grater, grate the frozen butter into the flour mixture.Use a fork to toss the flour to combine the butter - you still want to be able to see the butter (makes for flaky scones!), this is just to avoid it clumping.
- Make a well in the centre and add the buttermilk. Use a flat bladed knife and quickly stir to combine the ingredients. The dough should be slightly sticky and soft. Do not over mix.
- Turn out the dough onto a lightly floured surface. Gently bring the mix together.Use your fingertips to gently pat out the dough to a round, about 3 cm (1 ¼ inches) deep. Use a floured 5 cm round cutter to cut out 8 circles, re-shaping the dough as necessary. Press the cutter straight down - do not twist it.
- Place the scones onto the baking tray.Lightly brush the tops of the scones with buttermilk and sprinkle with demerara sugar.Place the tray into the oven and bake for 13-15 minutes, or until a deep golden.
- Enjoy while still warm or place the scones on a cooling rack. The Buttermilk Scones are best the day they are made.We recommend breaking the scones open with your hands instead of cutting in half with a knife as this can compress the scone and make them less fluffy.
Notes
- Flour: if you prefer, you can also use self-raising flour. Omit the baking powder, but still add the baking soda.
- Tablespoon: we use a standard Australian tablespoon which is 20 ml (4 teaspoons). For readers located elsewhere in the world, please use 1 tablespoon + 1 tsp for each listed tablespoon.
- Gluten-free: we have successfully made this recipe using a good quality gluten-free flour containing xanthan gum. The hydration level is different, and an extra 40 ml of buttermilk was necessary with the brand of flour we used. The scones do not rise as much/are flatter, but they still taste delicious, and are a fantastic gluten-free option.
- Storage: although scones are at their best when eaten shortly after baking, you can store them on a plate covered with cling wrap or in an airtight container for up to 3 days. They respond well to being reheated - see below. Store them at room temperature if possible - the fridge tends to make them hard.
- Freezing: when they are completely cool, place them in an airtight container, or wrapped thoroughly to prevent freezer burn, clearly labelled with their name and date, and freeze for up to 3 months. Reheat as below.
- Reheating: the best way is to place them on a baking tray or small ovenproof platter, cover loosely with foil and reheat in a 180 degrees C (355 F) oven for about 8 minutes. Uncover for the last 2 minutes to re-crisp the exterior a little.
Nutrition Estimate:
Nutritional Disclaimer:
The nutritional information is an estimate only, and is derived from online calculators. For accurate results, we recommend calculating the nutritional information based on the ingredients and brands you use.


Lucy says
A weekend well spent making some more delicious recipes from your website! 🙂 I made a fresh batch of your Mum's lovely scones saturday morning for brunch. They were so good and we ate them all - and so I made another batch this morning. Serve with your yummy marmalade and whipped cream. Thinking they would be lovely with salted butter and a bowl of soup too. xx
Alexandra Cook says
Thank you so much, Lucy!
So happy you found some more recipes to try 🙂
Great to hear you made two batches of these scones over the weekend - yum!!
Alex xo
Brian says
An old favourite of mine! Perfect with jam & cream, and a cup of tea. yum xx
Alexandra Cook says
They really are so delicious - we do love Mum's special recipe!
Thank you, Uncle Brian xo