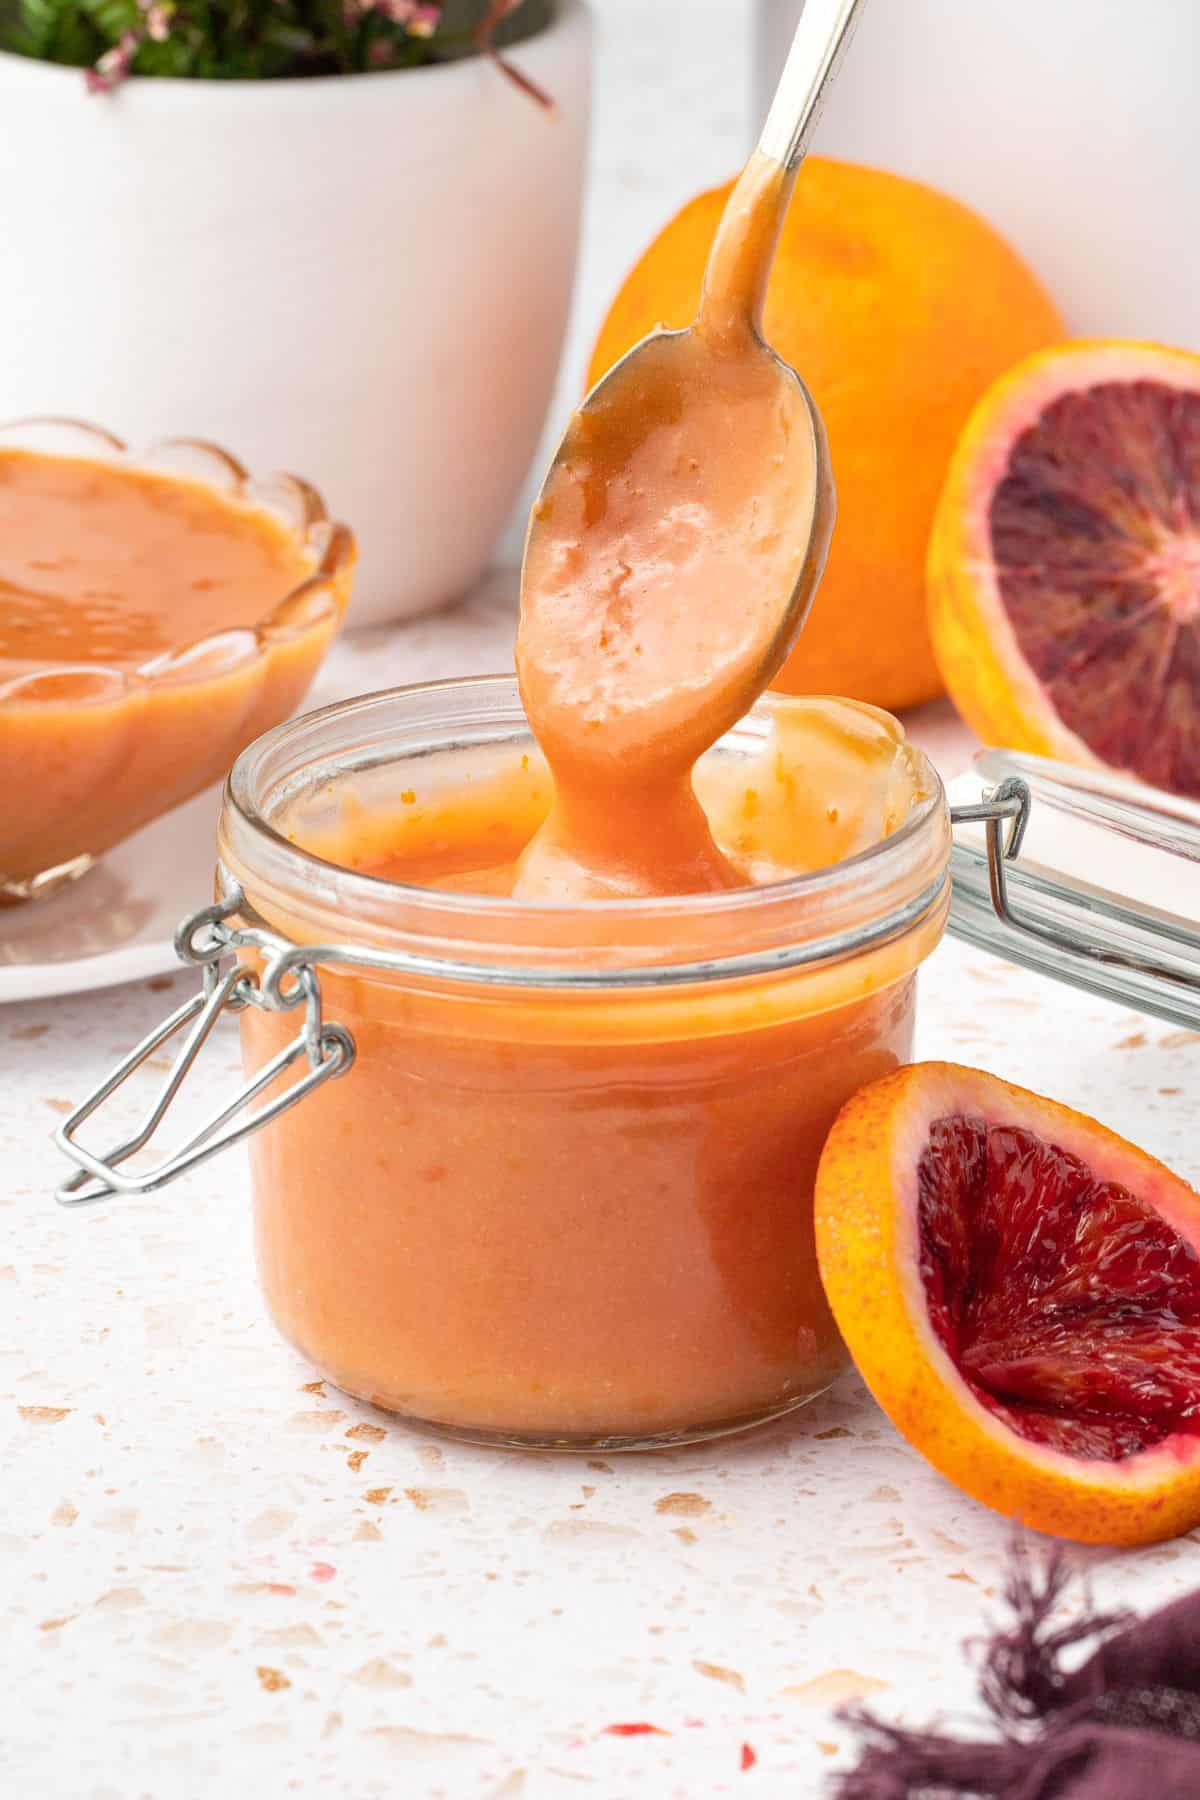
My Blood Orange Curd is smooth, full of vibrant flavour and so easy to make. We use egg yolks to help set the curd, along with butter which also provides a lush, creamy silkiness. With a short season of availability, their glorious colour and their unique, almost raspberry-like flavour, this is a great way to make the most of beautiful blood oranges.
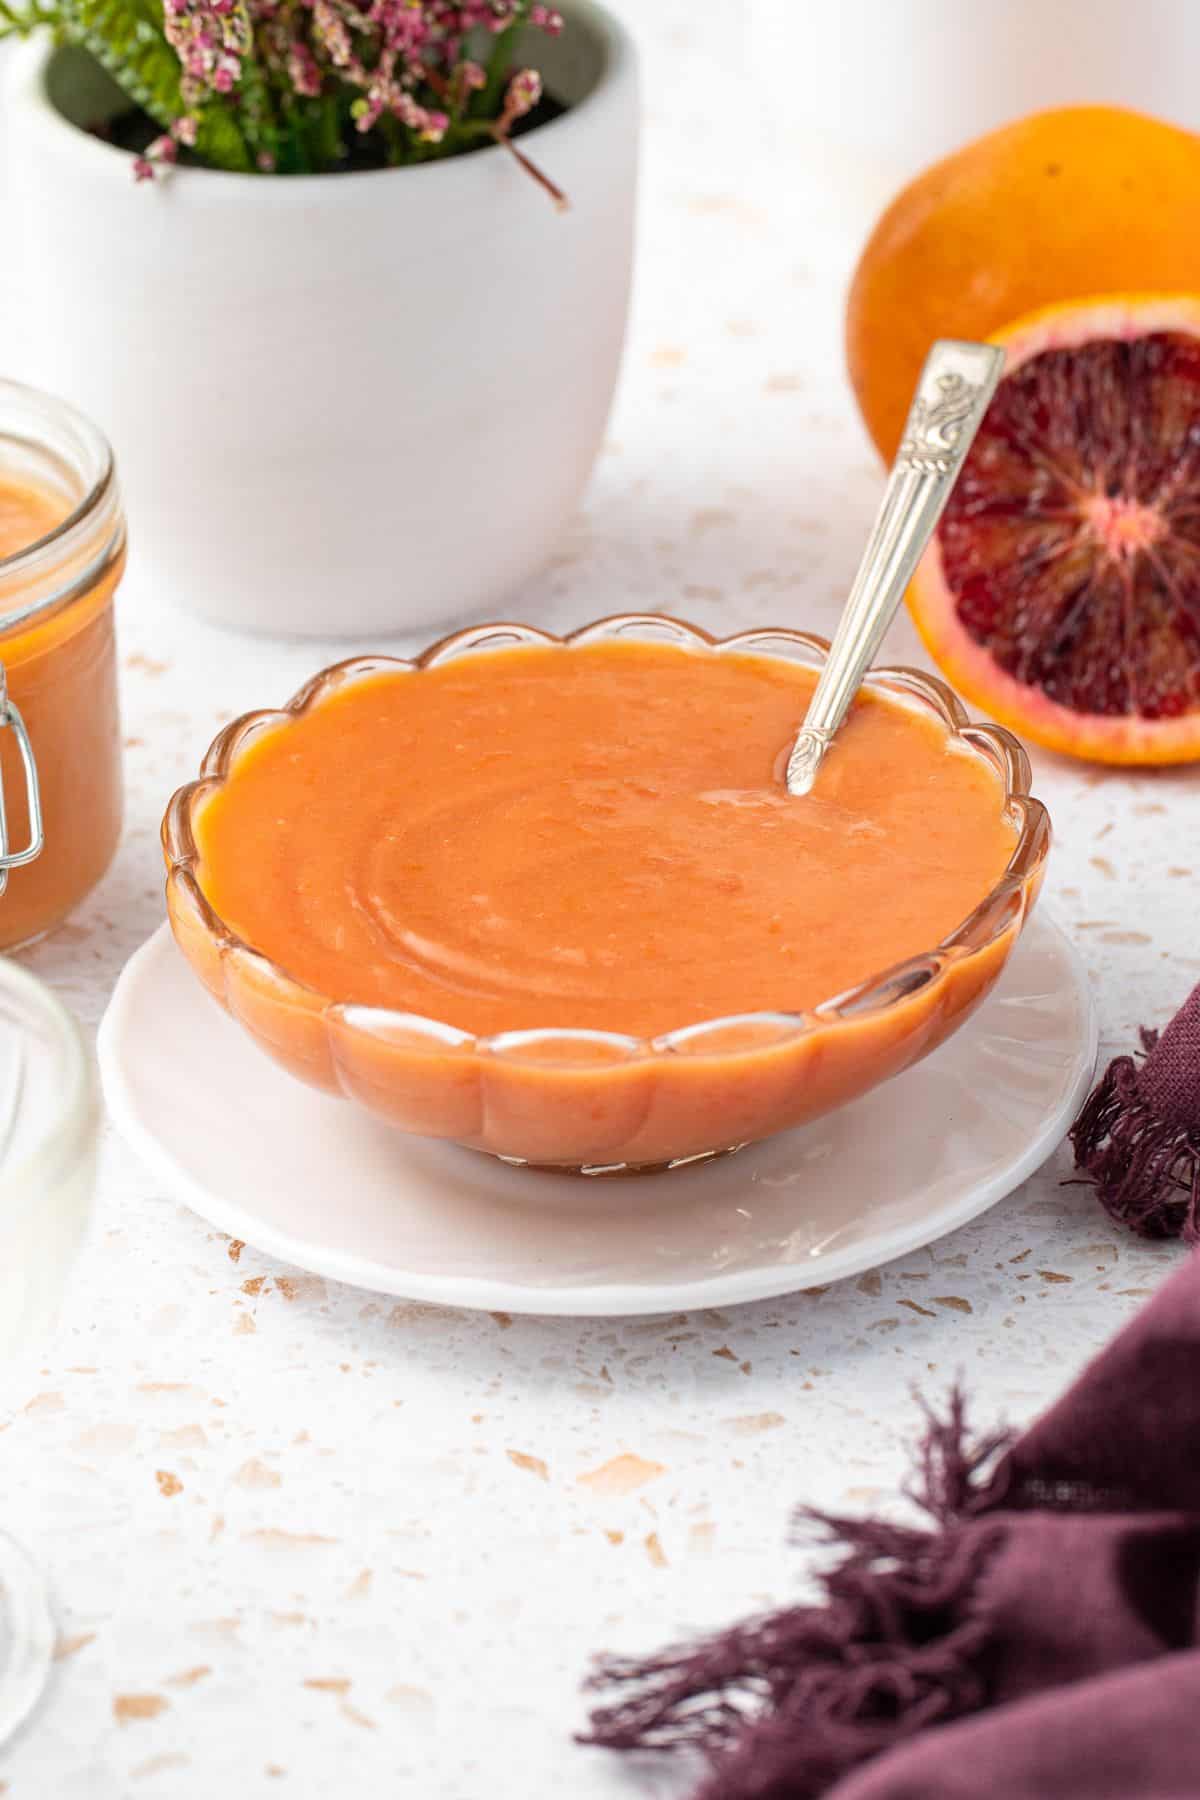
Why you'll love this recipe:
The curd is so easy to make. You don't need any special equipment, nor is there is a requirement for a double boiler. You simply add all the ingredients to the saucepan and cook gently over direct heat.
You'll love the Blood Orange Curd because:
- This easy recipe is ideal for beginner cooks as well as those more experienced.
- You need just four ingredients to make this curd.
- The flavour is bright and tangy.
- There are so many ways to use the curd. It is delicious on scones, toast, to fill tarts or sponge cakes or served with pancakes.
Ingredients in this recipe:
Please see the recipe card further along in the post for exact quantities of ingredients and the full method.
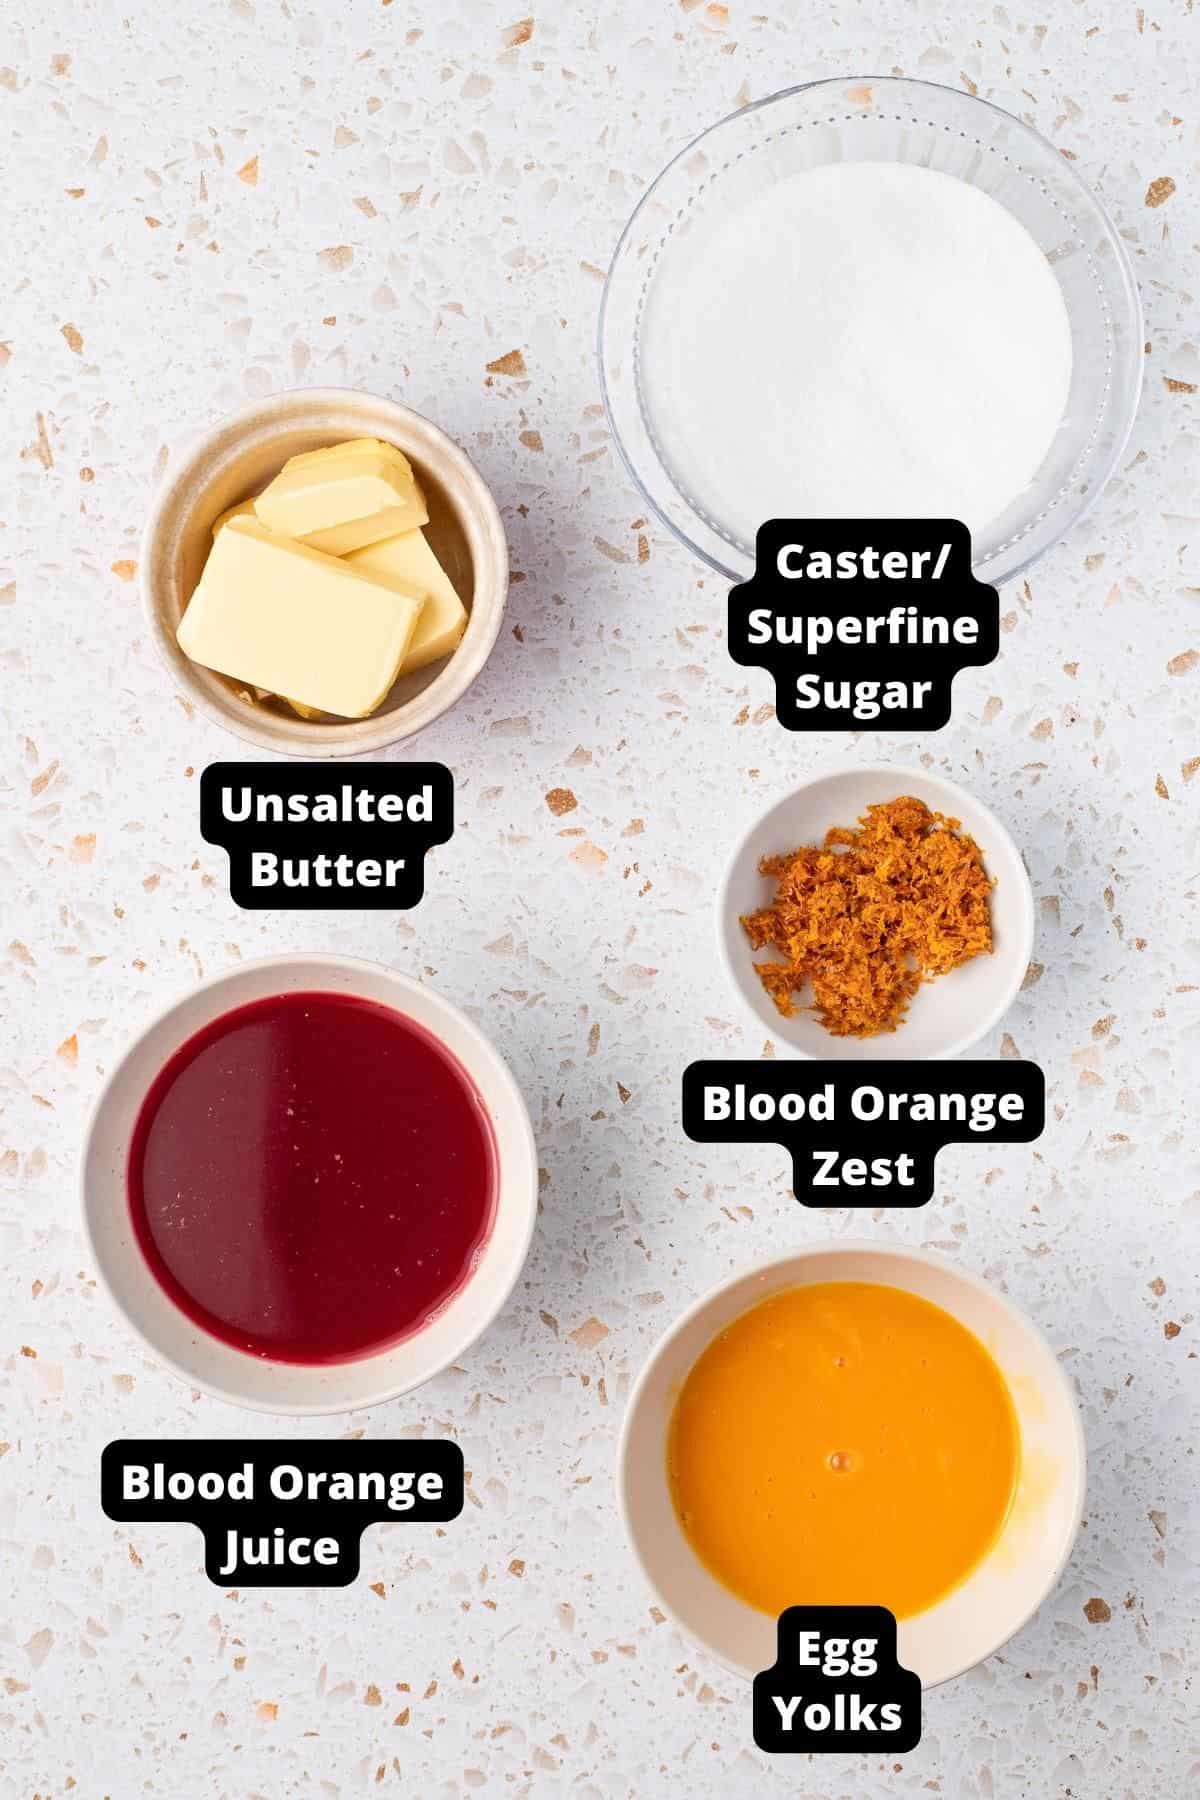
Blood Oranges - the recipe includes both the freshly squeezed juice and finely grated zest. Be sure to zest the oranges before extracting the juice.
Egg Yolks - helps to set the curd. This recipe uses only the yolks from large, free-range eggs, resulting in a curd which is silky-smooth and rich in flavour. See below for some ideas on how to use your leftover egg whites!
Caster/Superfine Sugar - dissolves more readily than granulated sugar, but you can use granulated if you prefer.
Unsalted Butter - provides richness, flavour and a creamy texture, as well as assisting with setting the curd. For those who are lactose intolerant, a non-dairy spread is an alternative, but the curd will have a softer set.
Step by step instructions:
Please see the recipe card further along in the post for exact quantities of ingredients and the full method.
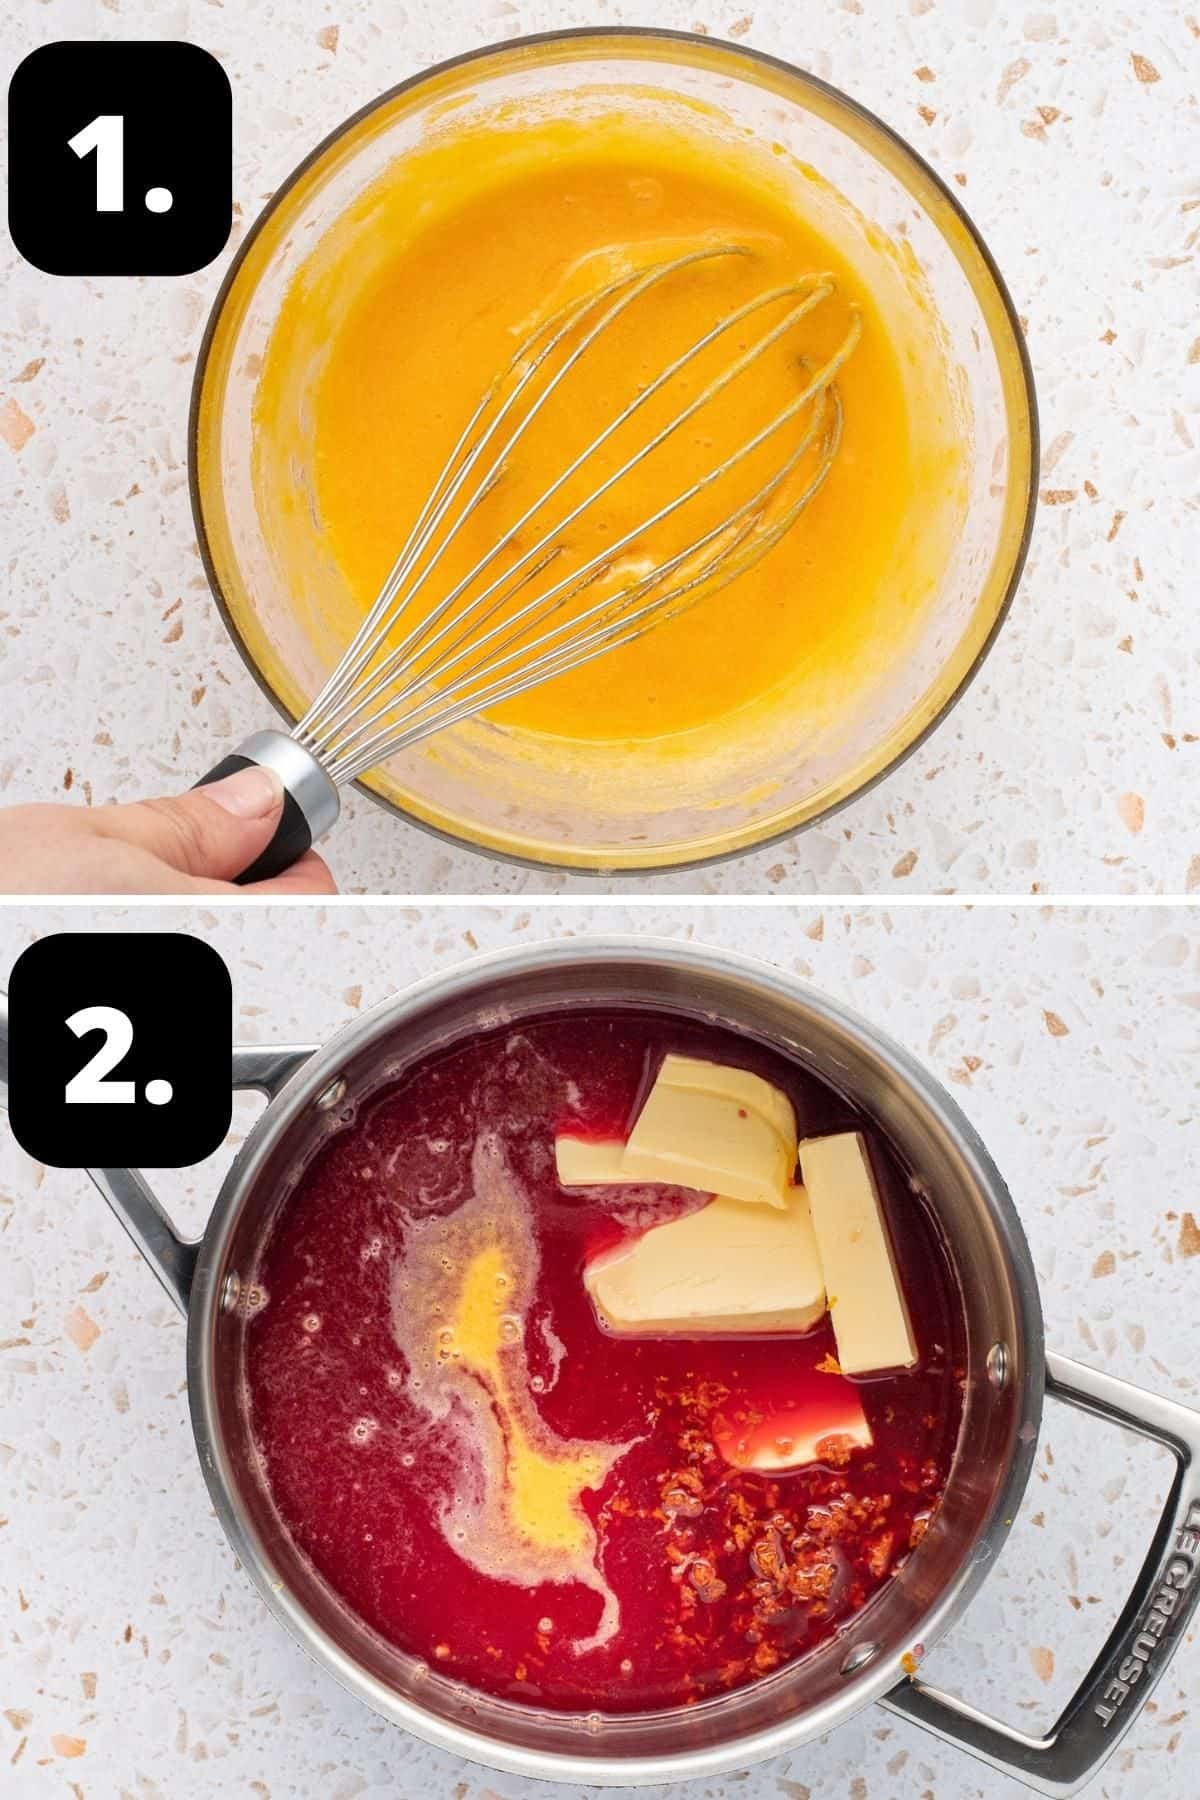
1 - Whisk the egg yolks and sugar:
In a bowl, whisk the egg yolks and sugar together until combined.
2 - Add to a saucepan:
Add the egg yolk and sugar mixture to a medium size saucepan along with butter, the blood orange zest and juice.
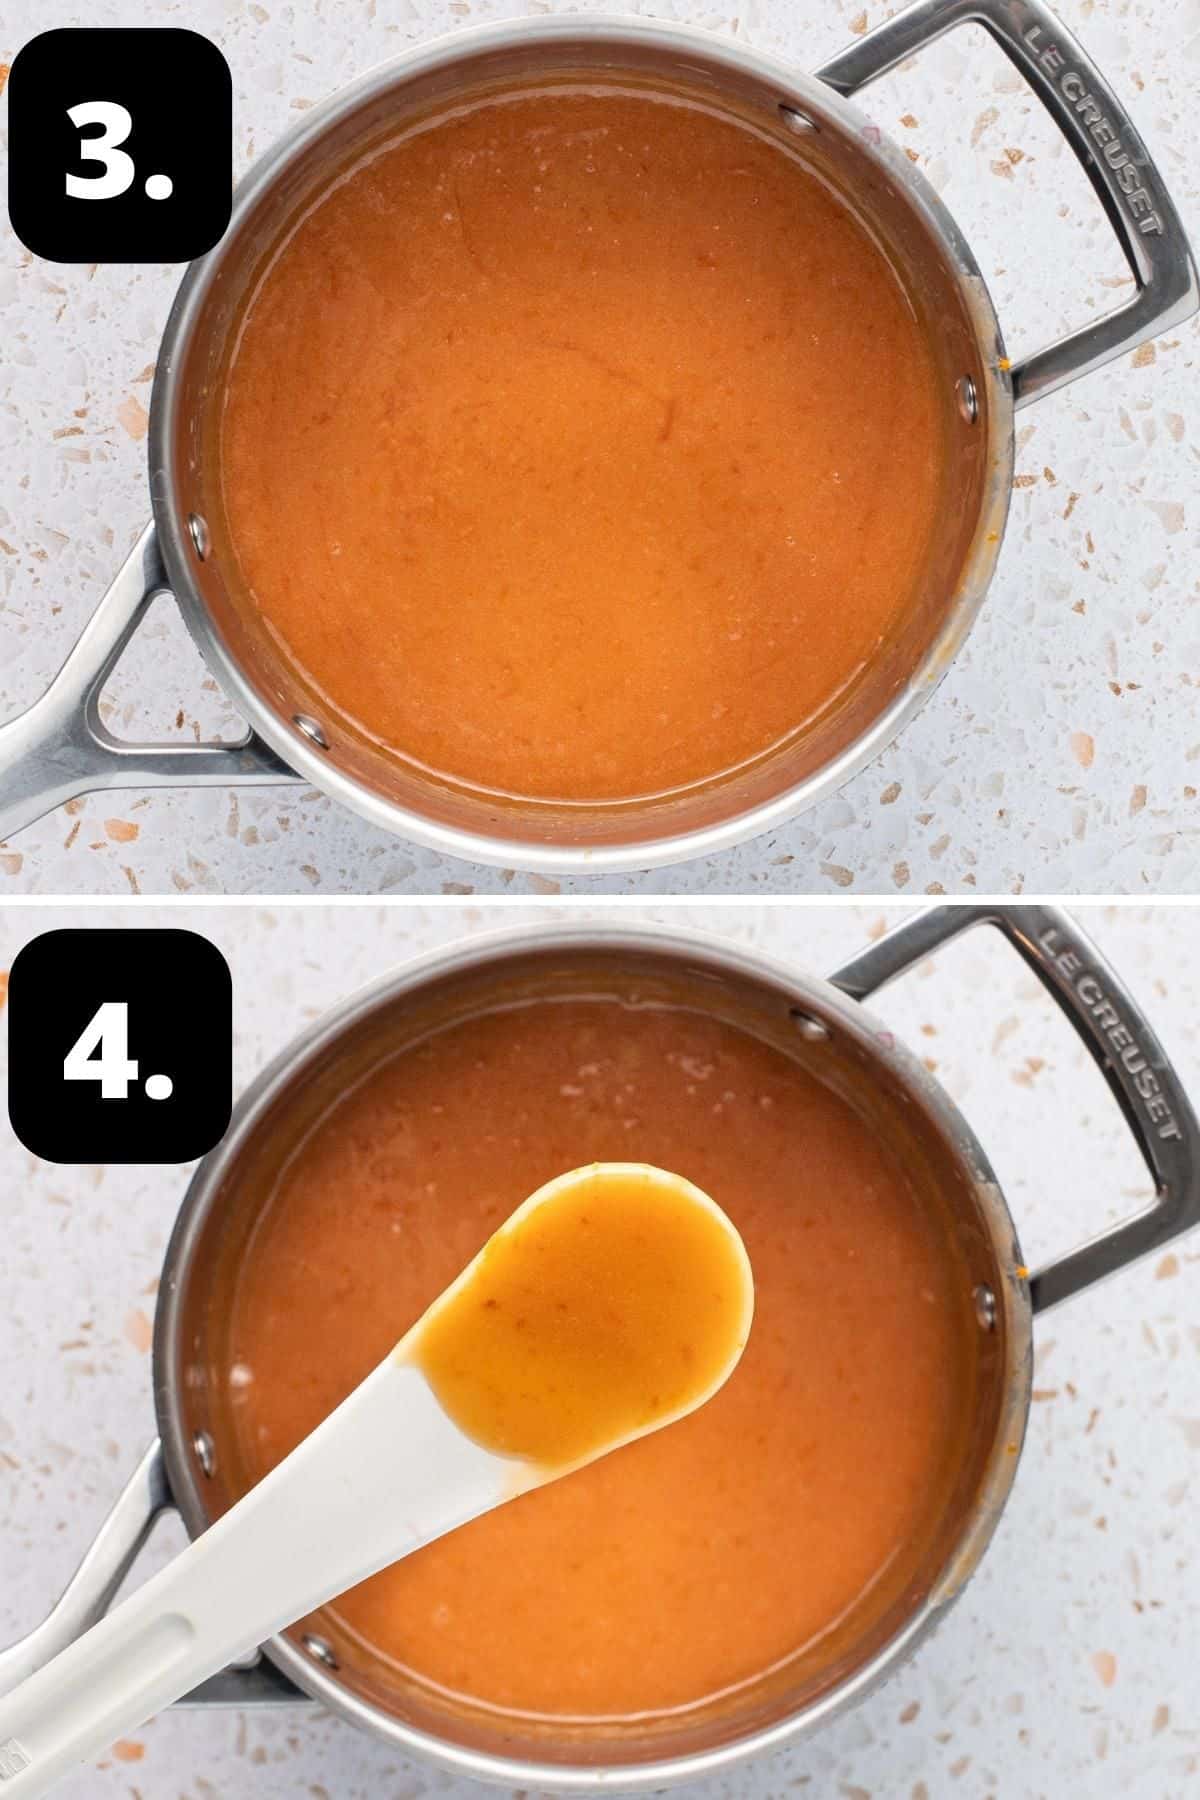
3 - Cook the curd:
Over low heat, heat all the ingredients until the butter melts and the sugar dissolves, whisking constantly.
4 - Remove from the heat:
Whisk until the mixture just comes to simmering point. As soon as the bubbles appear, remove the saucepan from the heat.
Transfer the cooled curd to sterilised jars, seal and refrigerate them.
Tips for success and FAQs:
It is necessary to use a non-reactive saucepan. Non-reactive saucepans are those which are made from stainless steel, glass, ceramic or enamelled cookware. Aluminium, copper and iron pans are reactive. Acidic foods, such as citrus fruits, may discolour and take on a metallic taste if cooked in these pans.
Use a whisk to stir the curd as it makes it easier to get into the edges of the saucepan. Whisk frequently. This will ensure that the Blood Orange Curd is creamy and smooth.
The curd will keep, stored in the refrigerator, for one week.
Yes, it can. If you plan to freeze some of the curd, you may wish to use small freezer-safe plastic containers or sterilised jars. Be sure to label and date the containers as it can be difficult to identify items once frozen. As liquids expand when frozen, leave a gap between the curd and top of the jar of about 1 ¼ cm (½ inch). To maintain the fresh flavour, I recommend storing the curd in the freezer up to 3 months. When you remove it from the freezer, it is best to defrost it in the fridge. Depending on the size of the container, it may take 24 hours.
The most likely reason that your curd appears split is that the cooking temperature was too high, and the egg has partially scrambled. You will get a smooth, creamy curd if you frequently whisk it over low heat.
The colour may vary for two reasons. Firstly, the colour of blood oranges ranges from a deep red to orange flesh with red tinges. As well, it may also be due to the colour of the egg yolks which can range from pale yellow to almost orange. However, the colour will not have any impact on the taste.
Try some of these recipes to use up your leftover egg whites:
Serving suggestions:
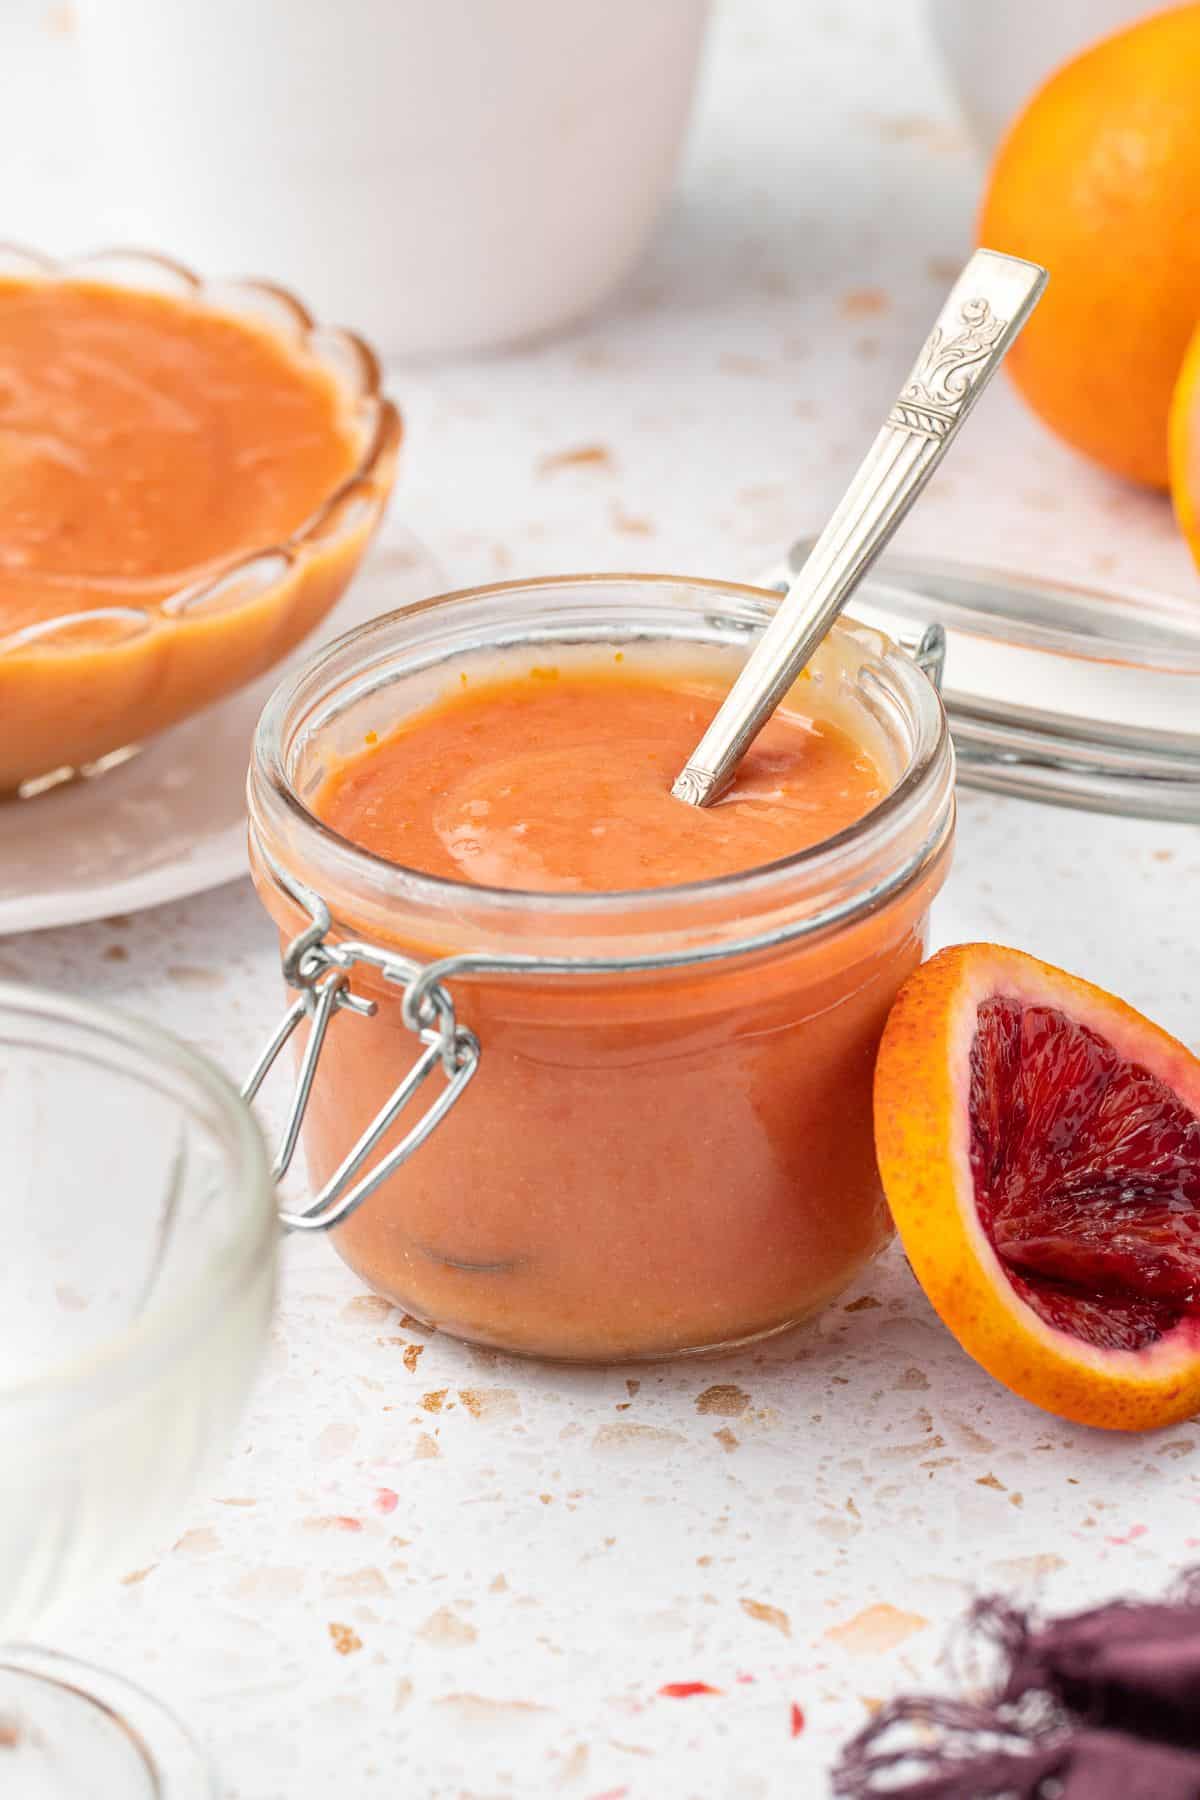
Blood Orange Curd can be enjoyed in many ways, such as:
- A filling for layer cakes, or as a filling in butterfly cakes.
- Spread on scones.
- To top pavlova or meringue nests.
- Simply spread on toast for a luxurious start to the day.
- Drizzled over Vanilla Ice Cream.
- A swirl through Greek yoghurt.
Or tie a pretty ribbon around a jar and give it as a gift. It is always greatly appreciated.
More delicious recipes for you to try:
Making homemade curds, preserves and jams is a great way to use seasonal produce. Here are some more of our favourite recipes for you to try, featuring citrus fruits:
I hope you will enjoy this delicious Blood Orange Curd. Simple to prepare, and with so many uses, this is a recipe I hope you'll make for years to come. Be sure to let me know in the comments below when you have given it a try!
Alex xx
Stay in touch! Follow me on Facebook, Pinterest and Instagram and subscribe to my newsletter.
Blood Orange Curd
Please note:
For accuracy, when weights are provided, we recommend weighing your ingredients. This will produce the best results. All oven temperatures listed are for fan forced.
Ingredients
- 8 egg yolks See Note 1 and 2
- 1 cup (220 g) superfine/caster sugar See Note 2
- ½ cup (125 g) unsalted butter
- 4 teaspoon finely grated blood orange zest - loosely packed See Notes 3 and 4
- 200 ml (¾ cup + 1 tbsp) strained blood orange juice
Instructions
- Add the egg yolks and sugar to a medium-size bowl - See Note 2.
- Whisk the egg yolks and sugar together until well combined.
- Tip the whisked yolks and sugar into a heavy-based, non-reactive saucepan - (See Note 5.) Add the butter, zest and juice to the pan.
- Place the saucepan over low-medium heat and, using a whisk, stir constantly until the mixture just comes to a simmering point. As soon as the bubbles appear, remove the saucepan from the heat. (See Note 6).Stir for a minute or so - this will prevent a skin forming as the curd cools. The curd will thicken as it cools.
- Transfer to sterilised jars (See Note 7) while the curd is still slightly warm. When the curd is cold, add the lids and seal well.The Blood Orange Curd will keep for 1 week if well sealed and refrigerated.
Notes
- Separating eggs: when separating the eggs it is important to remove as much of the white as possible so that it does not leave white specks in the curd.
- Adding the sugar: do not add sugar to yolks and leave to stand. The sugar changes the chemical structure of the eggs and "cooks" the yolk. So, once you add sugar to the yolks, be sure to mix right away for a smooth and creamy result.
- Blood oranges: the number of blood oranges you use may vary, depending on how much juice they contain. I used four large, very juicy oranges.
- Zest: the zest should be extremely fine, unable to be detected. For this, you will need a very sharp, fine grater and ensure that you only grate the surface of the orange and not go deeper to the white pith.
- Non-reactive saucepans: are those which are ceramic, stainless steel, glass or enamelled cookware. Copper, iron and aluminium pans are reactive. Acidic foods, such as lemons, may take on a metallic taste and discolour if cooked in such pans.
- Whisk: I prefer to use a whisk. Using a whisk makes it easier to get into the edges of the pan. Whisk almost constantly. This will ensure that the curd is creamy and smooth.
- Jars: choose small glass jars with an airtight lid. Wash the jars and lids either in the dishwasher or with hot soapy water and rinse well. Place the jars into an oven which has been preheated to 130 Degrees C (270 F). Place the jars into the oven for at least 20 minutes. Remove the jars and leave to cool a little before adding the curd. The jars and curd should both be slightly warm.
Nutrition Estimate:
Nutritional Disclaimer:
The nutritional information is an estimate only, and is derived from online calculators. For accurate results, we recommend calculating the nutritional information based on the ingredients and brands you use.








Becky says
delicious and so easy. After cooking I ran it through a fine mesh strainer. That is so easy and it made it so smooth.
Alexandra Cook says
So happy you enjoyed the recipe, Becky! 🙂
Alex xo
Maryanne says
Wow! So glad I tried this! I am a huge fan of lemon and orange curd but never thought to try blood orange curd- so glad I did! Flavor was very well balanced - nice sweet/tart combination with beautiful color. Will definitely make again.
Alexandra says
Hi Maryanne, I am so pleased that you enjoyed our Blood Orange Curd recipe. Thank you for taking the time to let me know. 🙂
Amy says
OMG..... this is absolute gold! I love lemon curd but had never seen or even thought of making blood orange curd! The colour is stunning. We enjoyed it on some madeleines. Plenty of blood orange around at the moment too. Will make it again!
Alexandra says
Hi Amy, I am so pleased that you enjoyed the Blood Orange Curd. Alex xo
liz says
The texture is very good. The steps to the recipe are very well written.
This is very, very sweet. I would almost say cloying. I think you could easily half the sugar. It may be a difference in the oranges/time in the season, but, if I make it again, I will be making a big cut to the sugar.
Alexandra says
Thank you for taking the time to share your feedback, Liz!
Bev says
Absolutely delicious and easy recipe. Made for a layer cake and it was utterly scrumptious. Will try your lemon curd next! Thanks, Bev
Alexandra says
Thank you, Bev!
I am so pleased to hear that!
Peter says
Love love love this. I love the color and I love how truly versatile this is - you can really use this for so many things. I see so many recipes for lemon curd, but this blood orange is fabulous. LOVE that this really only takes a short time, which is the best kind of recipe. A 20-minute cook time is always great.
Alexandra says
Peter, thank you so much for the fantastic feedback re the Blood Orange Curd. It truly is delicious and I love that there are so many ways to use it. 🙂