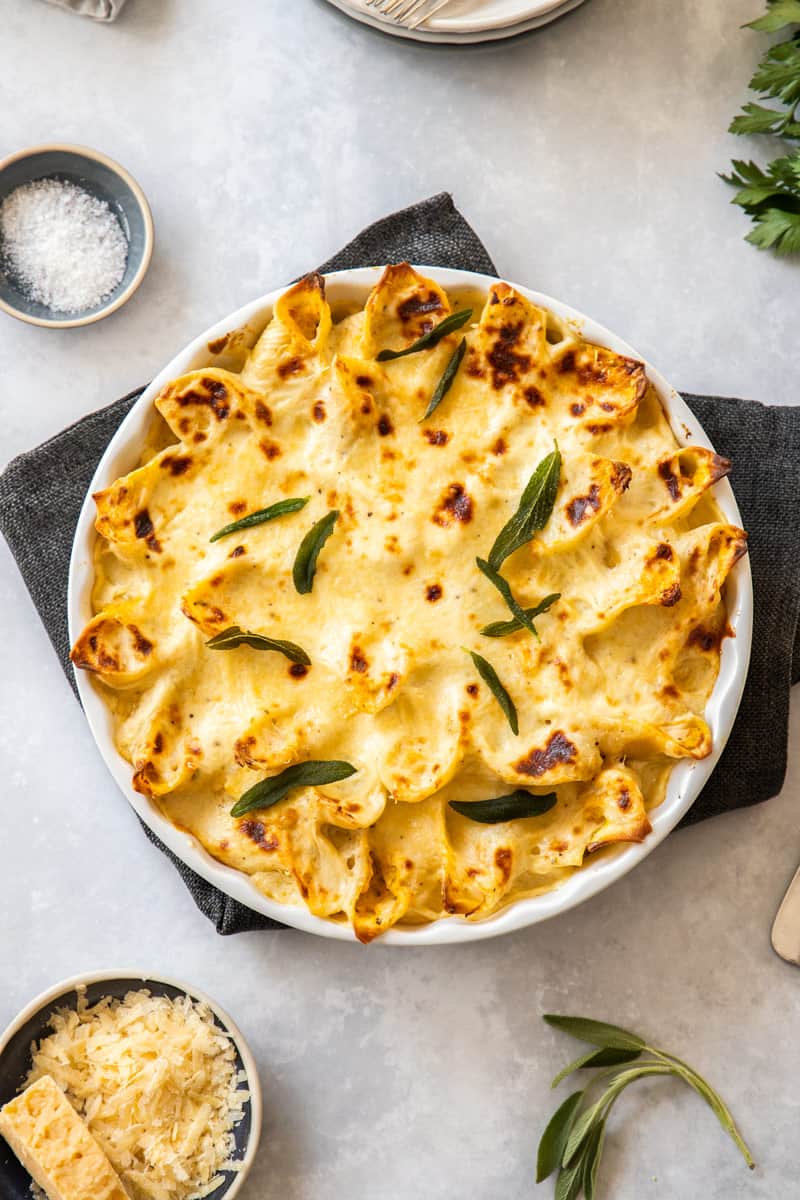
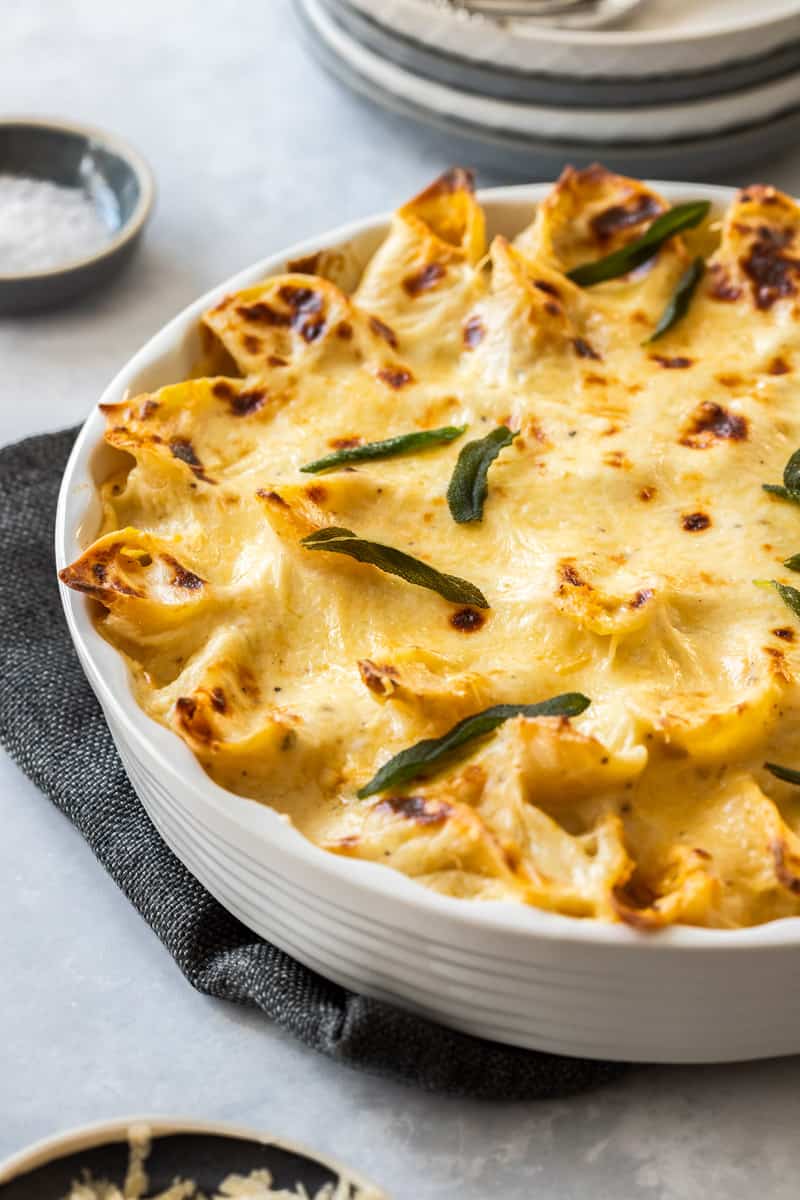
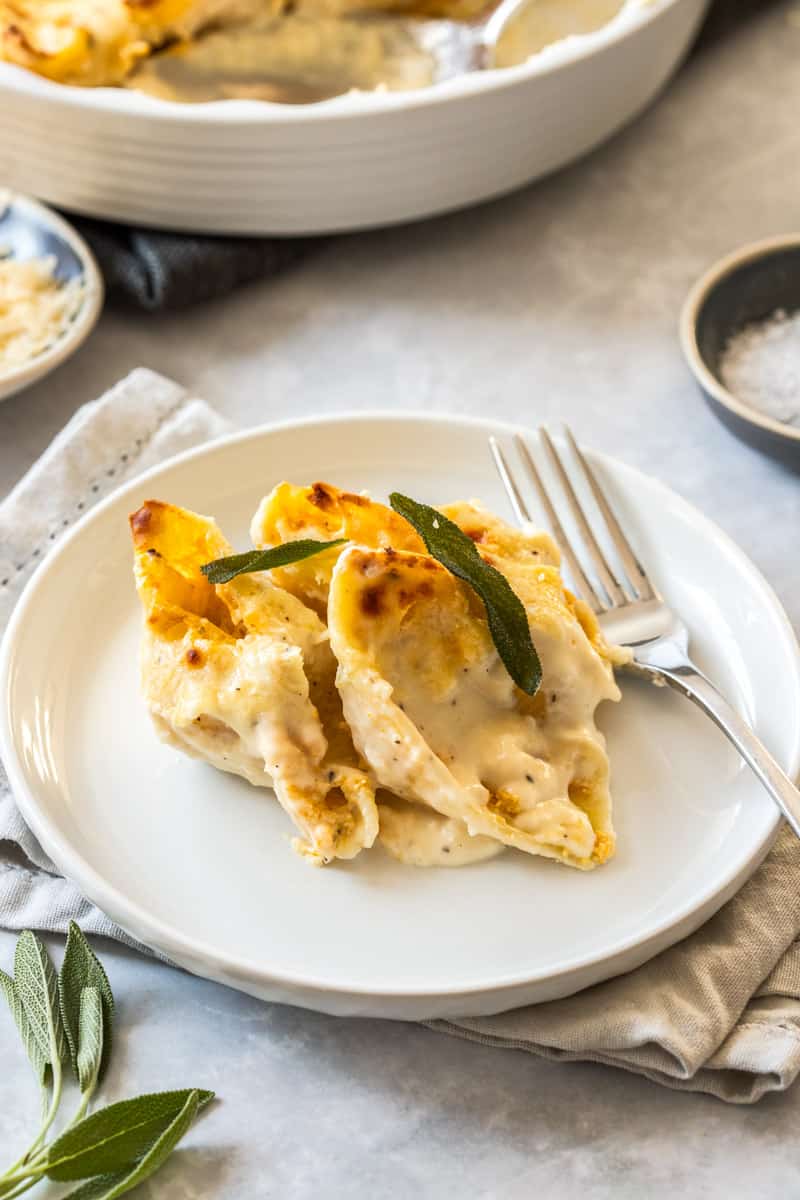
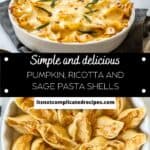
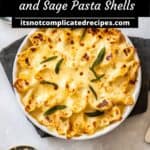
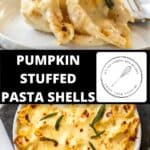
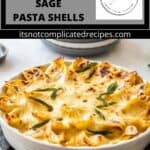
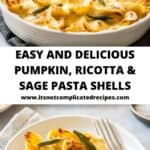
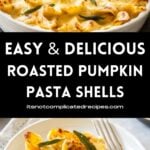
My Roasted Pumpkin and Ricotta Stuffed Pasta Shells are such delicious comfort food. There are few things in the culinary world that are more satisfying than having a dish of baked pasta bubbling away in the oven. The edges of the pasta become crispy and brown whilst the filling remains rich and creamy. This is truly a crowd-pleasing meal!
I have adapted this recipe from one found on Damn Delicious.
Why we love this recipe:
Stuffed shells are the ultimate comfort food. The shells are filled with a full-flavoured ricotta and pumpkin filling and topped with a creamy garlic and parmesan sauce. And then, it is topped with more grated parmesan to finish it off, and this bakes to golden deliciousness.
A pasta bake is second to none when it comes to comfort food - it ticks all the boxes. Ideal to prepare in advance, it makes for a more relaxed mealtime. It is generally accepted by fussy eaters and is perfect for hiding vegetables, as in this recipe. The creamy, comforting filling makes this recipe a hit with everyone around the dinner table. And if there should happen to be any, leftovers are great the next day.
When entertaining, it is important to be as organised as possible. Dishes such as my Pumpkin and Ricotta Stuffed Pasta Shells can be prepared in advance, meaning you won't be spending half your time in the kitchen, missing out on having fun with your guests.
This is a versatile dish; whilst it is ideal for entertaining, it is also a meal which will be enjoyed by the family. It is a great meal for meat eaters and vegetarians alike. And if you can find the appropriate large shells, it can also be gluten-free.
As well, a dish of these stuffed shells would be a great thank-you gift for a friend or family with a new baby.
Ingredients in this recipe:

Please see the recipe card further along in the post for exact quantities of ingredients and the full method.
Pasta and filling:
Extra virgin olive oil - this is the highest quality olive oil available and has fantastic flavour.
Pumpkin - I have used Kent pumpkin. It is sweet and has a firm texture.
Ricotta - for the best flavour I use full fat.
Fresh sage - the vibrant, herbaceous flavour of fresh sage complements the sweet, savoury notes of the pumpkin. Do not use dried sage.
Nutmeg - the best flavour comes from freshly grated nutmeg.
Parmesan cheese - choose a good quality parmesan. I use Grana Padano; it has great flavour and is less expensive than Parmiggiano Reggiano. Avoid pre-grated cheese; they often contain additives.
Salt and pepper - for the best flavour, use good quality sea salt and freshly ground black pepper.
Large pasta shells - they will be labelled "conchiglioni" as they look like a conch shell. You can use gluten-free pasta if required.
Sauce:
Butter - I use salted butter.
Plain/all-purpose flour - you can use gluten-free if required.
Milk - full fat or low fat works fine in this recipe.
Garlic cloves - always use fresh garlic, the flavour is superior to the jarred variety and there are no unnecessary additives.
Step by step instructions:


Although this is not a difficult dish to make, there are a few steps involved to prepare my delicious Pumpkin and Ricotta Stuffed Pasta Shells.
- Cook the pasta shells until they are very al-dente. In other words, slightly undercooked, as they will cook further in the oven.
- Roast some cubed pumpkin for a delicious, caramelised flavour.
- Once the pumpkin flesh is deliciously tender, I mash with ricotta, fresh sage, parmesan cheese and nutmeg. I then fill the shells with the pumpkin and ricotta mixture.
- Prepare your garlic white sauce by melting butter and adding the garlic to cook for a couple of minutes. Add in the flour and cook a little more.
- Add the milk and stir until it starts to thicken. Then, add your Parmesan cheese and season to taste.
- Spread some sauce in the base of a baking dish and begin to fill your shells with the pumpkin and ricotta mixture.
- Add the stuffed shells to the baking dish.
- Top with the remaining sauce and a sprinkle of grated parmesan. The shells are baked until deliciously golden.
Tips for success and FAQs:
Always salt your pasta water. This is the first step in achieving a well-seasoned dish. The salted water flavours the pasta. And then, season each component. Taste your food. Make sure that the filling and the sauce are seasoned to your taste.
For the best flavour, always use quality ingredients; you can taste the difference.
This will depend on the brand that you buy. Cook it less than the time suggested on the packet. The pasta needs to still be a little firm as it will cook further while baking and you don't want mushy pasta. Make sure your water is rapidly boiling when you add the shells and then stir immediately to separate them. You will need to stir frequently while they are cooking. When they are sufficiently cooked, drain them in a colander and then tip onto a clean tea towel. As soon as you're able to handle them, turn them concave side down so that they do not continue to cook and any remaining water drains off.
Yes, you can prepare the dish a day ahead. Just ensure that your ricotta cheese is fresh.
More delicious recipes for you to try:
We love a good pasta dish, and here are some more of our favourites:
- Spinach and Ricotta Pasta Shells
- Roasted Cherry Tomato Pasta
- Creamy Tuna Pasta
- Chicken and Broccoli Pasta Bake
- Creamy Prawn Linguine
- Baked Tuna Pasta Shells
- And be sure to read tips for making your own Homemade Pasta.
I have always loved cooking for my family and friends. I get such pleasure from it. In my opinion, nothing beats good company, conversation, delicious food and a couple of glasses of wine! For relaxed entertaining, I like a dish that can be prepared ahead of time and my baked Pumpkin and Ricotta Pasta Shells are ideal.
Creamy, rich and comforting, just pop this pasta bake into the oven when your friends arrive. Serve with a salad and crusty bread and you have the ideal meal.
Alex xx
This post was originally published in April 2019. It has been updated with new photos and more information. The recipe remains the same.
Roasted Pumpkin and Ricotta Stuffed Pasta Shells
Please note:
For accuracy, when weights are provided, we recommend weighing your ingredients. This will produce the best results. All oven temperatures listed are for fan forced.
Ingredients
Filling:
- 1 tablespoon extra virgin olive oil See Note 1
- 500 g (1 lb) pumpkin See Note 2
- 500 g (1 lb) ricotta - full fat See Note 3
- 2 tablespoon fresh sage - finely chopped See Notes 1 and 4
- ¼ teaspoon nutmeg - freshly grated
- 1 cup (100 g) grated Parmesan cheese See Note 5
- salt and pepper - to taste
- 26 large pasta shells (conchiglioni) See Note 6
Sauce:
- ¼ cup (60 g) butter
- ¼ cup (40 g) flour
- 2 cups (500 ml) milk
- 5 cloves garlic - peeled and finely chopped See Note 7
- ½ cup (50 g) grated Parmesan cheese
- salt and pepper - to taste
Topping:
- ¼ cup (25 g) grated Parmesan cheese
- fresh sage leaves - optional
Instructions
Filling:
- Preheat your oven to 180 degrees C (350 F).Peel the pumpkin, and chop into 1-inch (2.5cm) cubes. Toss in a little olive oil, and season with salt and pepper.
- Roast until the pumpkin flesh is tender and slightly caramelised - this will take 25 minutes approximately.
- Remove the pumpkin and mash with a fork until it is smooth. Allow it to cool slightly.
- Once cooled, add the ricotta, fresh sage, Parmesan cheese and nutmeg to the pumpkin.
- Combine the mixture well, and season with salt and pepper.
Pasta Shells:
- Bring a large pan of salted water to a boil.Add the pasta shells and stir well. I cook them for about 8 minutes, stirring occasionally, but the time will differ between brands. When I use gluten-free shells they take about 5 minutes. Don’t be guided by the cooking time on the packet; the shells must be slightly undercooked as they will finish cooking when heated in the oven.
- Drain the shells well and spread them out, concave side down, on a clean tea towel to prevent them from cooking further and ensure all water drains off.
Garlic White Sauce:
- Melt the butter in a saucepan over medium heat. Add the chopped garlic and stir frequently for 2 minutes.
- Add the flour, and allow it to cook for about 1 minute, being sure to whisk or stir frequently.Add in half of the milk, whisking constantly. Add the remainder of the milk and continue to whisk.
- Add your Parmesan and season to taste with sea salt and freshly ground black pepper. Cook until the mixture thickens. If it thickens too much, add a little additional milk.
Assembling the Shells :
- Preheat oven to 180 Degrees C (350 F).
- Put ⅓ cup of the garlic white sauce in the base of a large ovenproof dish. Using a dessert spoon, fill the pasta shells with the pumpkin and ricotta mixture, and place in the ovenproof dish.
- Drizzle the remainder of the garlic cream sauce over the pasta shells. Top with a ¼ cup of Parmesan cheese.
- To prevent the shells from burning, cover with foil for the first 30 minutes that they're in the oven. Remove the foil and bake uncovered for the final 10 minutes. With the tip of a sharp knife, check that the pasta is completely cooked.Sprinkle with additional fresh sage prior to serving if you wish.
Video
Notes
- In Australia, the tablespoon is 20 ml or 4 teaspoons. In many other countries, it is 15 ml or 3 teaspoons. You may have to adjust the recipe accordingly.
- I have used Kent pumpkin. It is sweet and has a firm texture. If you prefer, you can use canned pumpkin, and omit the step of roasting the pumpkin to create your own puree. You will need to adjust the seasoning accordingly.
- I generally buy a tub of ricotta from the supermarket and gently turn it onto paper towel to absorb excess moisture. If you buy a wedge of ricotta from the deli section at the supermarket it has a drier consistency and you will not need to drain it.
- Use only fresh sage; the dried herb does not have the same flavour.
- For the best flavour, use a good quality Parmesan. I use Grana Padano; it has great flavour and is less expensive than Parmiggiano Reggiano. Avoid pre-grated cheese; they often contain additives.
- The number of shells may vary depending on their size. The dish is gluten-free if you use gluten-free pasta shells and flour in the sauce.
- Always use fresh garlic; the flavour is more vibrant than the jarred variety.
- This dish can be prepared the day before and baked when required. And if there should happen to be any leftovers, It does reheat well, with a little additional moisture - ie: cream/water.
- Please note, the nutritional information is based on this recipe serving six people (approximately 4 pasta shells). It does not include what the dish is served with. The nutritional information is an estimate only.
- Recipe: adapted from Damn Delicious.
Nutrition Estimate:
Nutritional Disclaimer:
The nutritional information is an estimate only, and is derived from online calculators. For accurate results, we recommend calculating the nutritional information based on the ingredients and brands you use.

Lyndell says
Delicious, I had some pumpkin and ricotta to use up and found this recipe, I adapted to make what I could in my thermomix, worked out great. Thanks
Alexandra Cook says
Thank you so much, Lyndell!
Appreciate you taking the time to comment. Alex xo
Debbie says
I’ve made this twice for family and friends dinner. All have loved it- I love that you can make it 24 hours beforehand and just pop it in the oven.
Alexandra Cook says
Thank you so much, Debbie! 🙂
Really appreciate you taking the time to comment. Alex xo
Brooke says
this is absolutely beautiful & so easy.
can you freeze it?
Alexandra Cook says
Hello Brooke!
I wasn't sure if you were looking to freeze the assembled dish or leftovers, so I'll add notes about both 🙂
For the assembled dish:
Assemble the dish but do not cook. Allow the dish to cool completely before wrapping the dish well to avoid freezer burn. Freeze for up to two months. When you’re ready to cook, defrost in the refrigerator and allow the dish to come to room temperature 20 mins before cooking. Follow directions for cooking as per the recipe.
For leftovers:
Allow to cool and then store in an air tight container. When reheating, a little water or cream is advised as they will be a little dryer. I like to allow them to defrost before warming through in the oven.
Thanks! Alex xo
Lorraine says
This recipe looks amazing! Can I make a week ahead ( thinking Thanksgiving ) and freeze? Has anyone tried freezing?
Alexandra Cook says
Hi Lorraine,
Yes, you can. Assemble the dish but do not cook. Allow the dish to cool completely before wrapping the dish well to avoid freezer burn. Freeze for up to two months. When you’re ready to cook, defrost in the refrigerator and allow the dish to come to room temperature 20 mins before cooking. Follow directions for cooking as per the recipe below.
Kind regards, Alex
Patricia says
What a wonderful dish - it's so comforting. Love the touch of sage!
Alexandra says
Thank you, Patricia! So pleased you enjoyed the recipe!
Kim says
I made this for a party and everyone LOVED it!! I didn’t have nutmeg on hand but I’m sure it would have made it taste even yummier. Thank you for a great recipe.
Alexandra says
Hi Kim, thank you so much for your fantastic feedback on the Pumpkin and Ricotta Stuffed Pasta Shells. I am delighted that your party guests enjoyed them and appreciate that you took the time to let me know. 🙂
Lisa says
This is divine!
Alexandra says
Thank you, Lisa!
Rosa says
Yummmm this looks so comforting! I love a tasty pasta dish! Must try.
Alexandra says
Thank you Rosa, please let me know if you make the Pasta Shells. 🙂
Rosa says
Wowww! So I made these last night and what a hit! So tasty and so comforting!
Alexandra says
Thank you Rosa, I am delighted that you enjoyed the Pasta Shells. 🙂