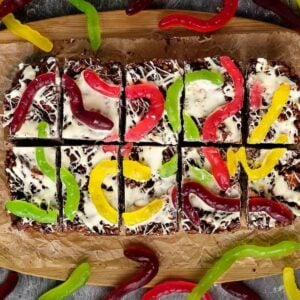
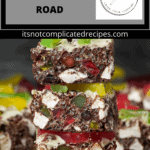
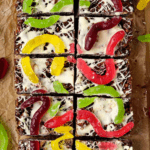
Halloween Rocky Road is fun, delicious and an ideal sweet treat or edible gift. It is a favourite no-bake dessert for chocolate lovers. Dark and milk chocolate are combined with rice bubble cereal, marshmallows and snake lollies. Decorated with a drizzle of white chocolate for a spider web effect and more snakes, this is the ideal festive Halloween treat!
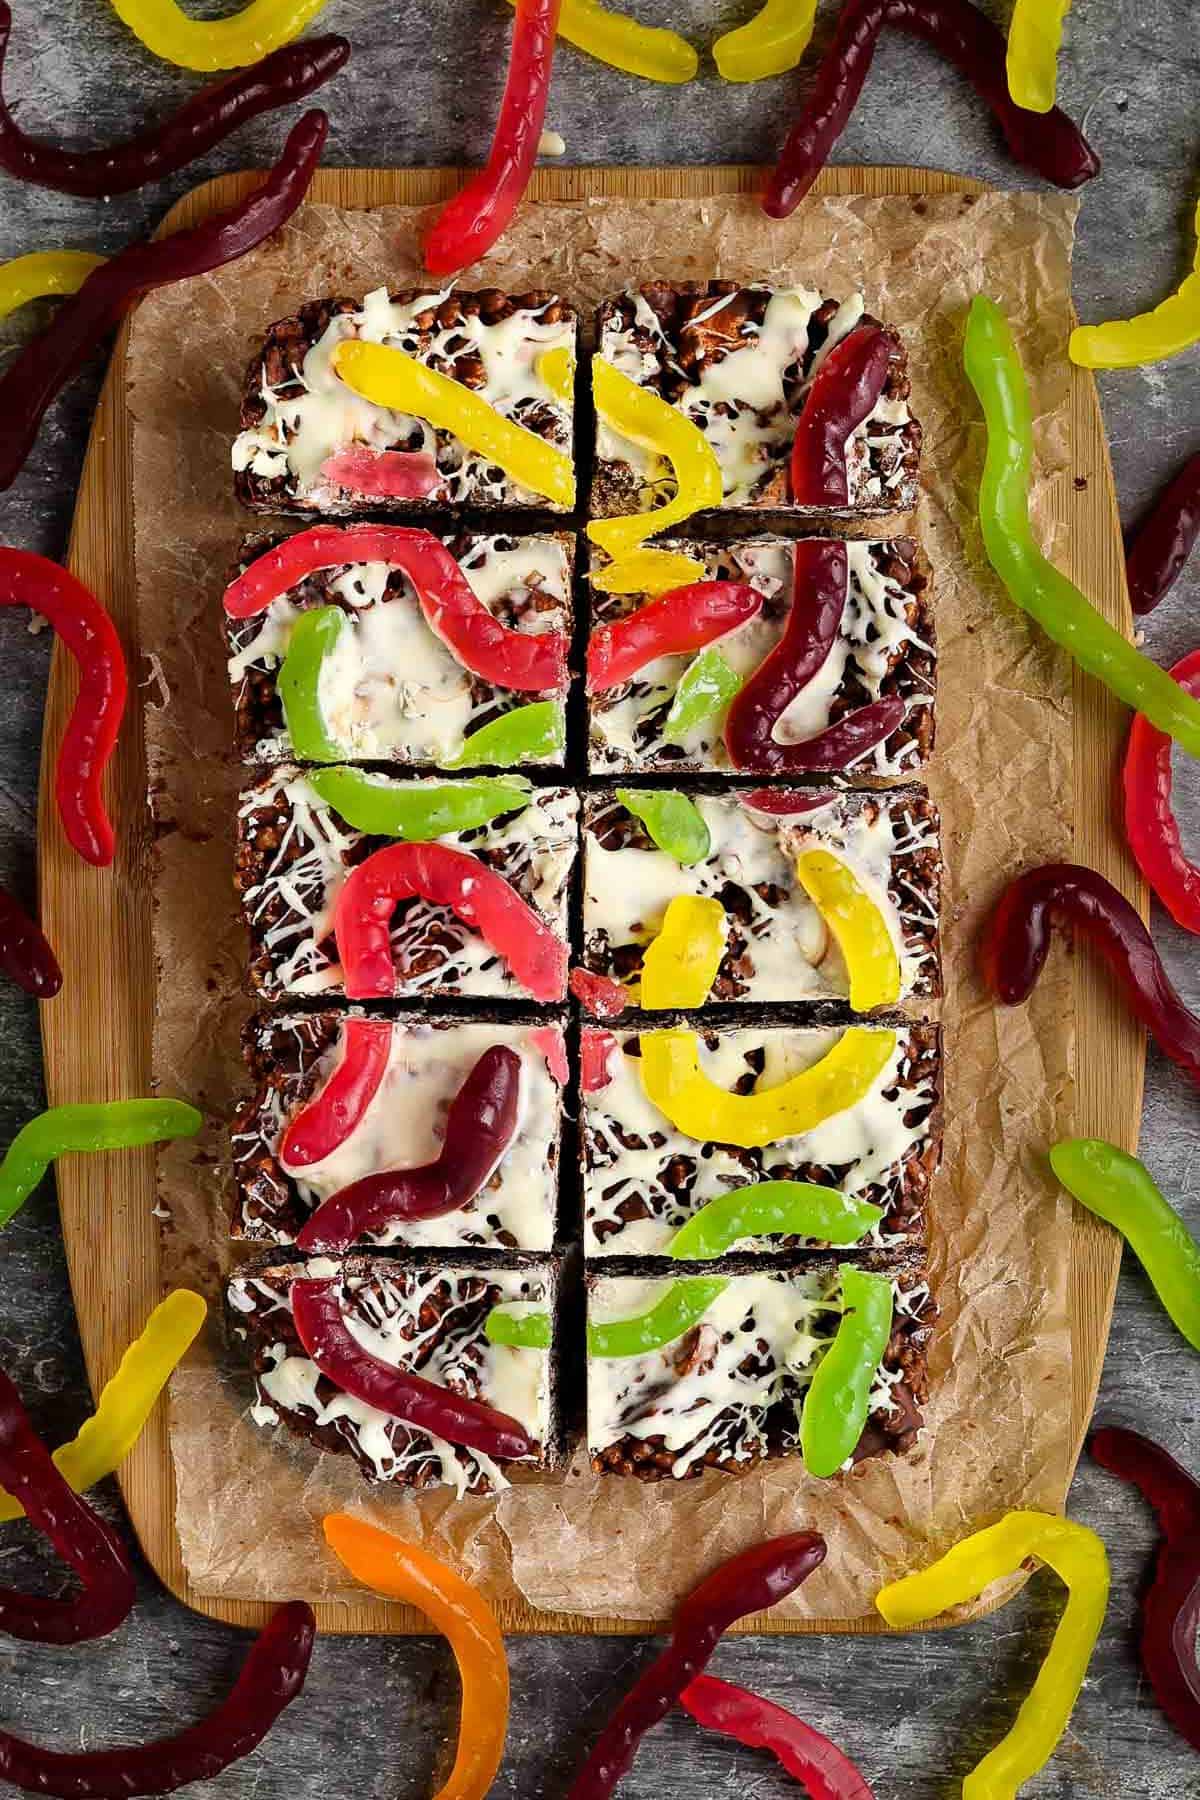
You’ll love this Halloween Rocky Road because:
- This slice is no-bake. All you need to do is chop your ingredients, melt the chocolate and mix them together. Once the slice is set, it is ready to enjoy!
- It is an ideal recipe to make with the whole family.
- My Halloween Rocky Road is ideal to make in advance. It is perfect to have on hand for when guests stop by and makes a great edible gift.
- You can decorate it to your liking – I have used some melted white chocolate to create a spiderweb effect and snake lollies, but the options are endless – any spooky Halloween candy is ideal!
- Of its flexibility – there is a Rocky Road for all occasions! Be sure to try my Easter Rocky Road and Christmas Rocky Road.
Ingredients in this recipe:
Please see the recipe card further along in the post for exact quantities of ingredients and the full method.
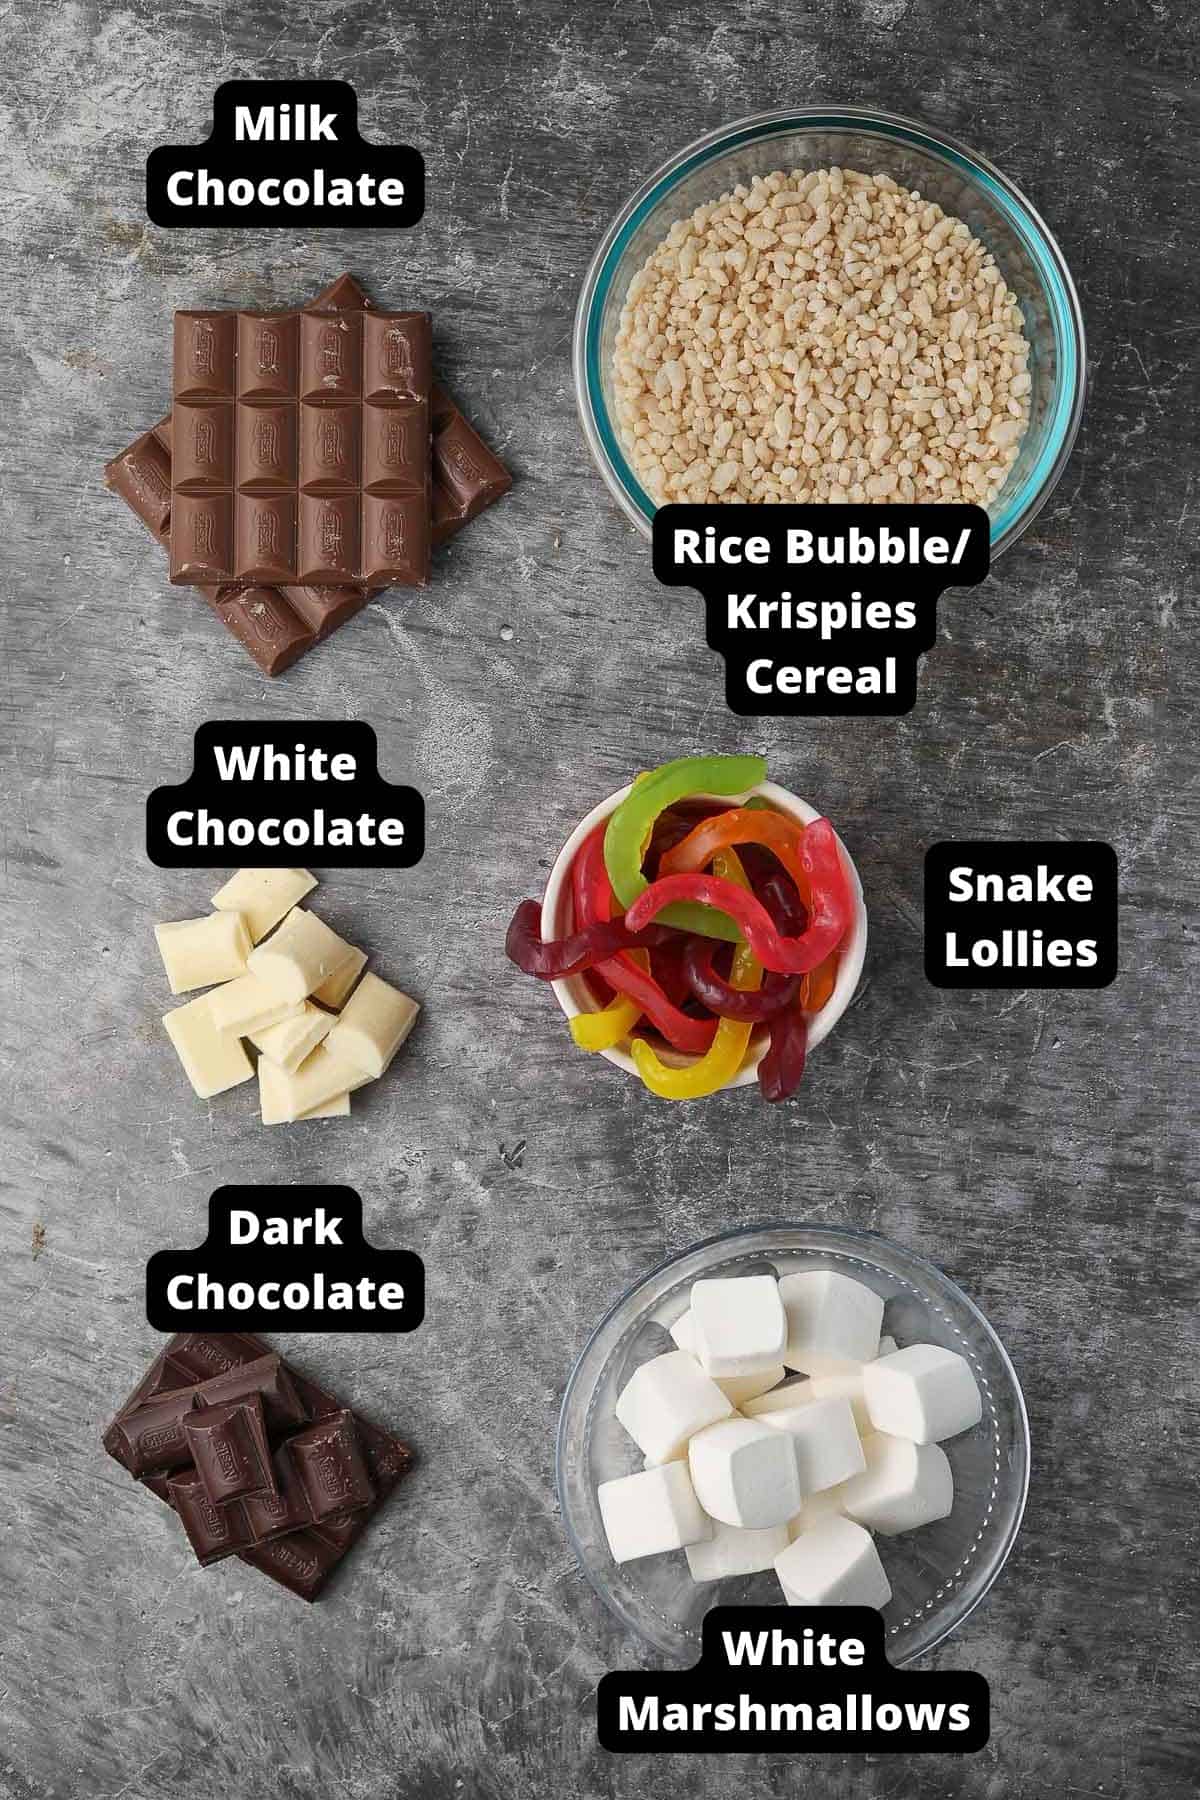
Milk, dark and white chocolate – for the best result, use good quality ingredients. Use chocolate you enjoy eating.
Rice Bubble cereal – also known as Rice Krispies cereal. Adds great texture to the Halloween Rocky Road.
Marshmallows – I use white marshmallows for colour contrast.
Snake lollies – delicious and chewy, these jelly lollies are an ideal filling. Gummy bears or other lollies of your choice will work well too.
Decorations – I have used additional snake lollies, but you can use any Halloween candy of your liking.
How to Make Halloween Rocky Road:
Please see the recipe card further along in the post for exact quantities of ingredients and the full method.
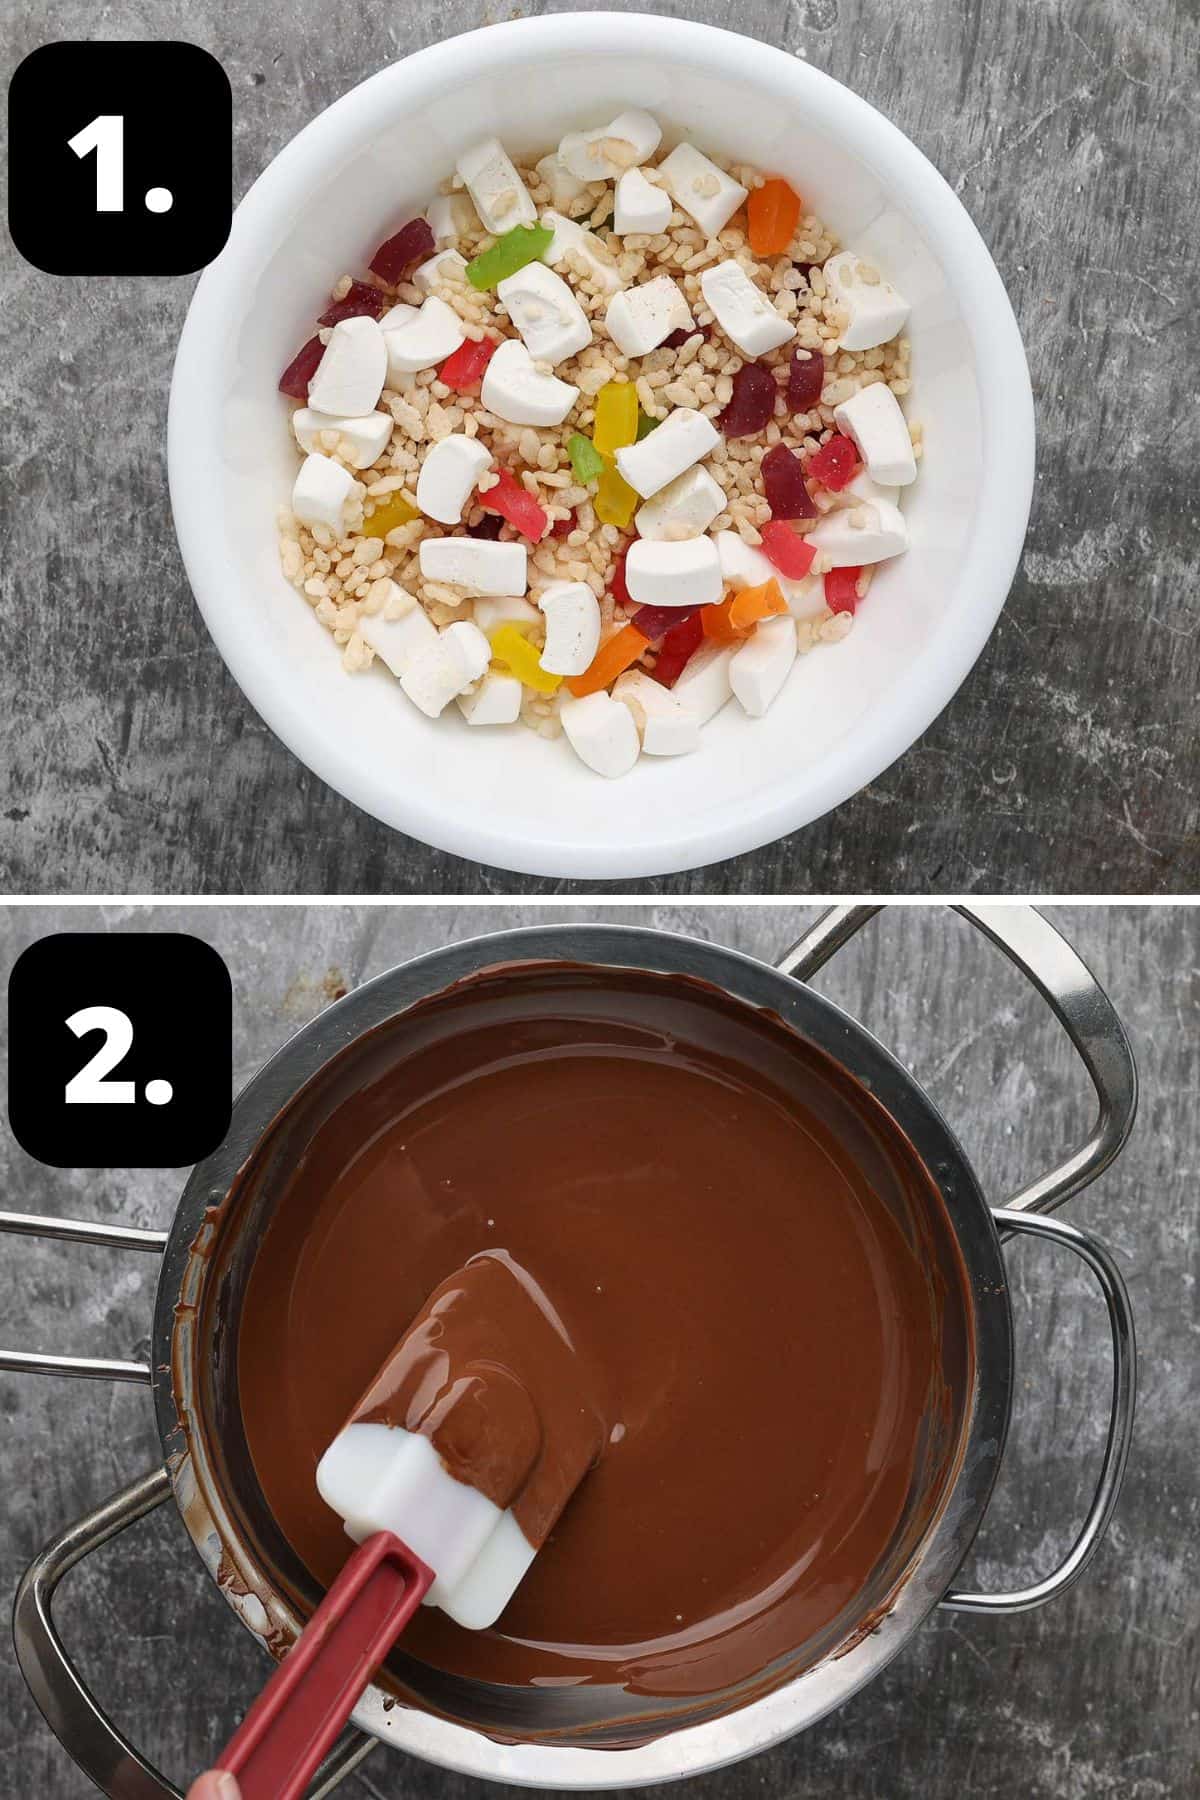
1 – Prepare your ingredients:
Make sure that your ingredients are prepared for the Halloween Rocky Road before you begin to melt the chocolate. Place the rice cereal, quartered marshmallows and chopped snake lollies into a large bowl, and stir. Line an 18 cm x 13 cm (7 x 5 inches) slice tin with non-stick baking paper.
2 – Melt the milk and dark chocolate:
Chop the chocolate into even-sized pieces and place them into the top of a double boiler or heatproof bowl set over a pan of barely simmering water. Make sure that the bowl doesn’t touch the water and steam does not get into the chocolate. Stir occasionally with a metal spoon or spatula until the chocolate has almost melted. Remove it from the heat; the residual heat will melt the remaining chocolate. Give it a final stir.
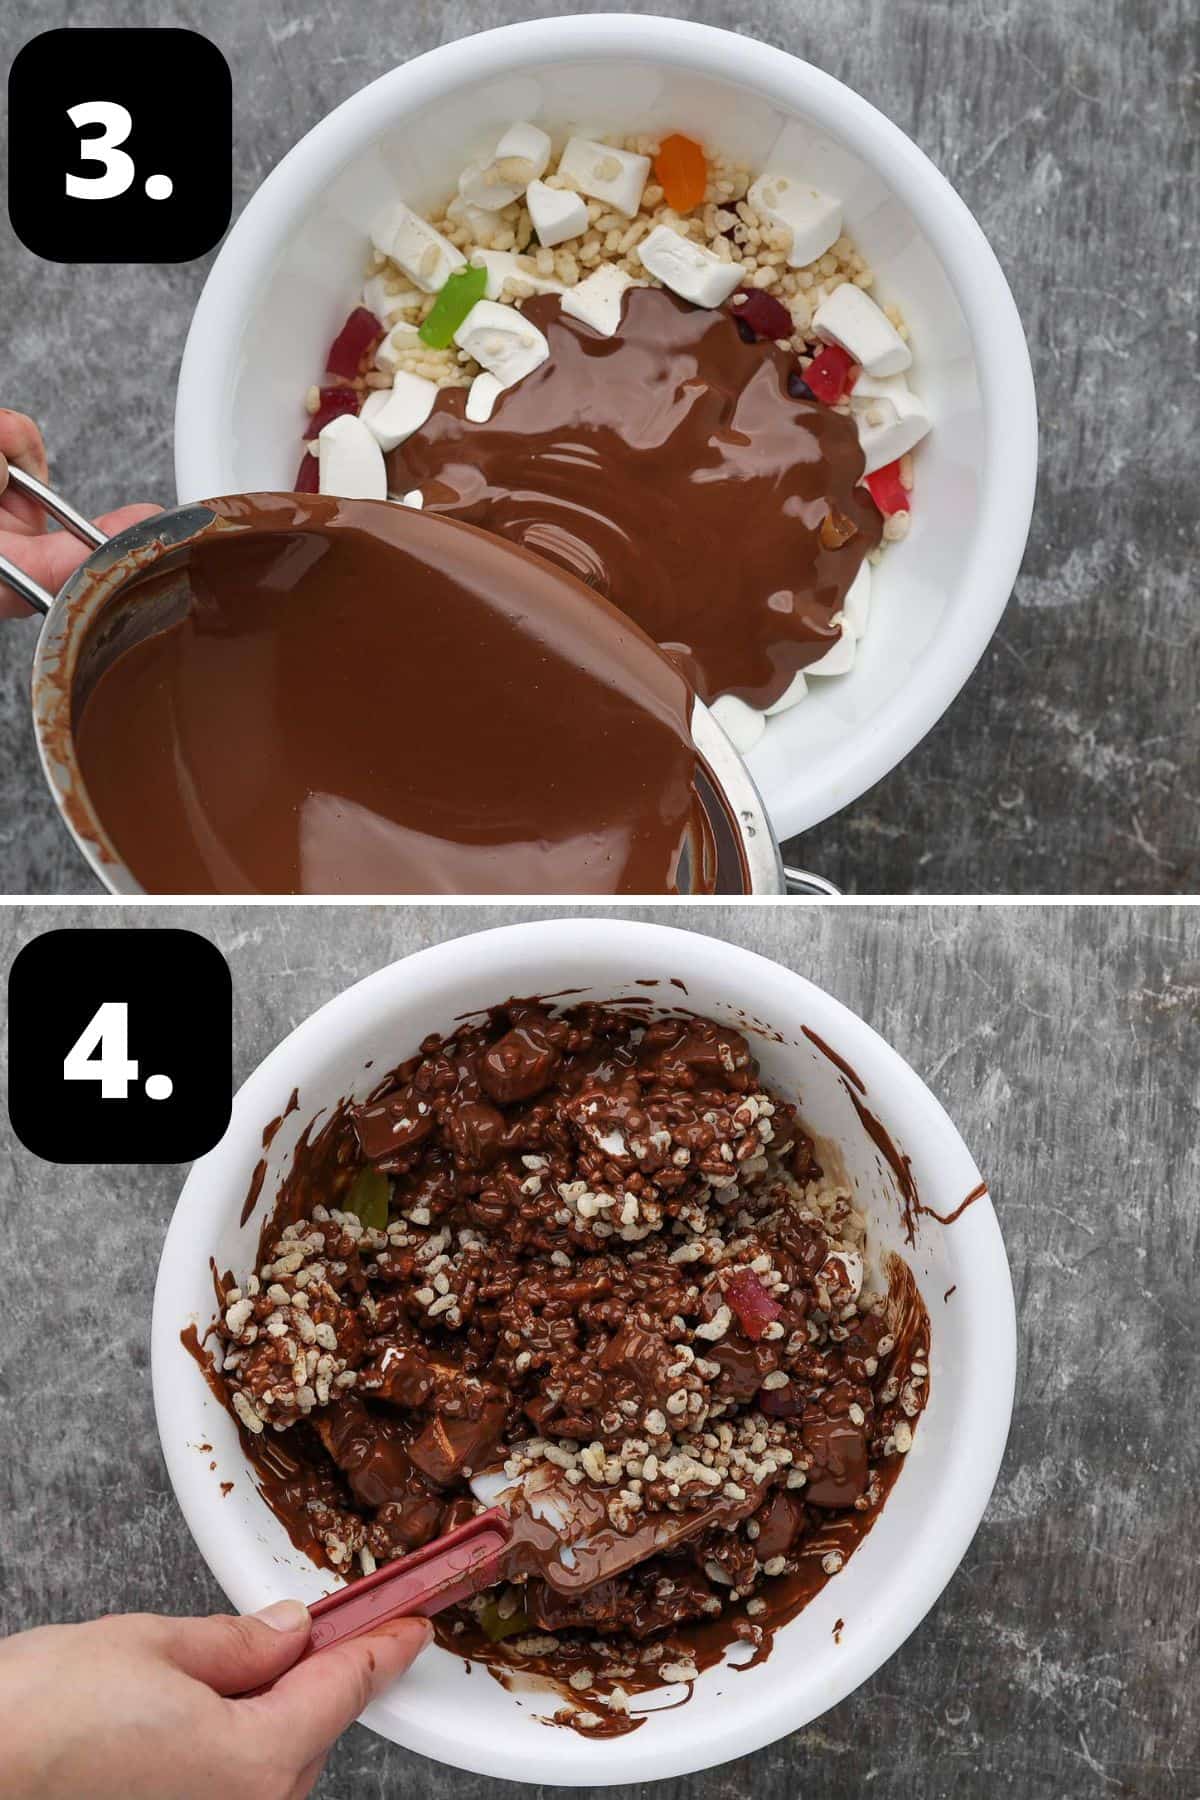
3 – Add the chocolate to the fillings:
When the chocolate has melted, let it cool for a minute or two then add to the bowl. If it is too warm it may begin to melt the marshmallows.
4 – Combine the mixture:
Stir well to combine, ensuring that everything is evenly coated in the chocolate.
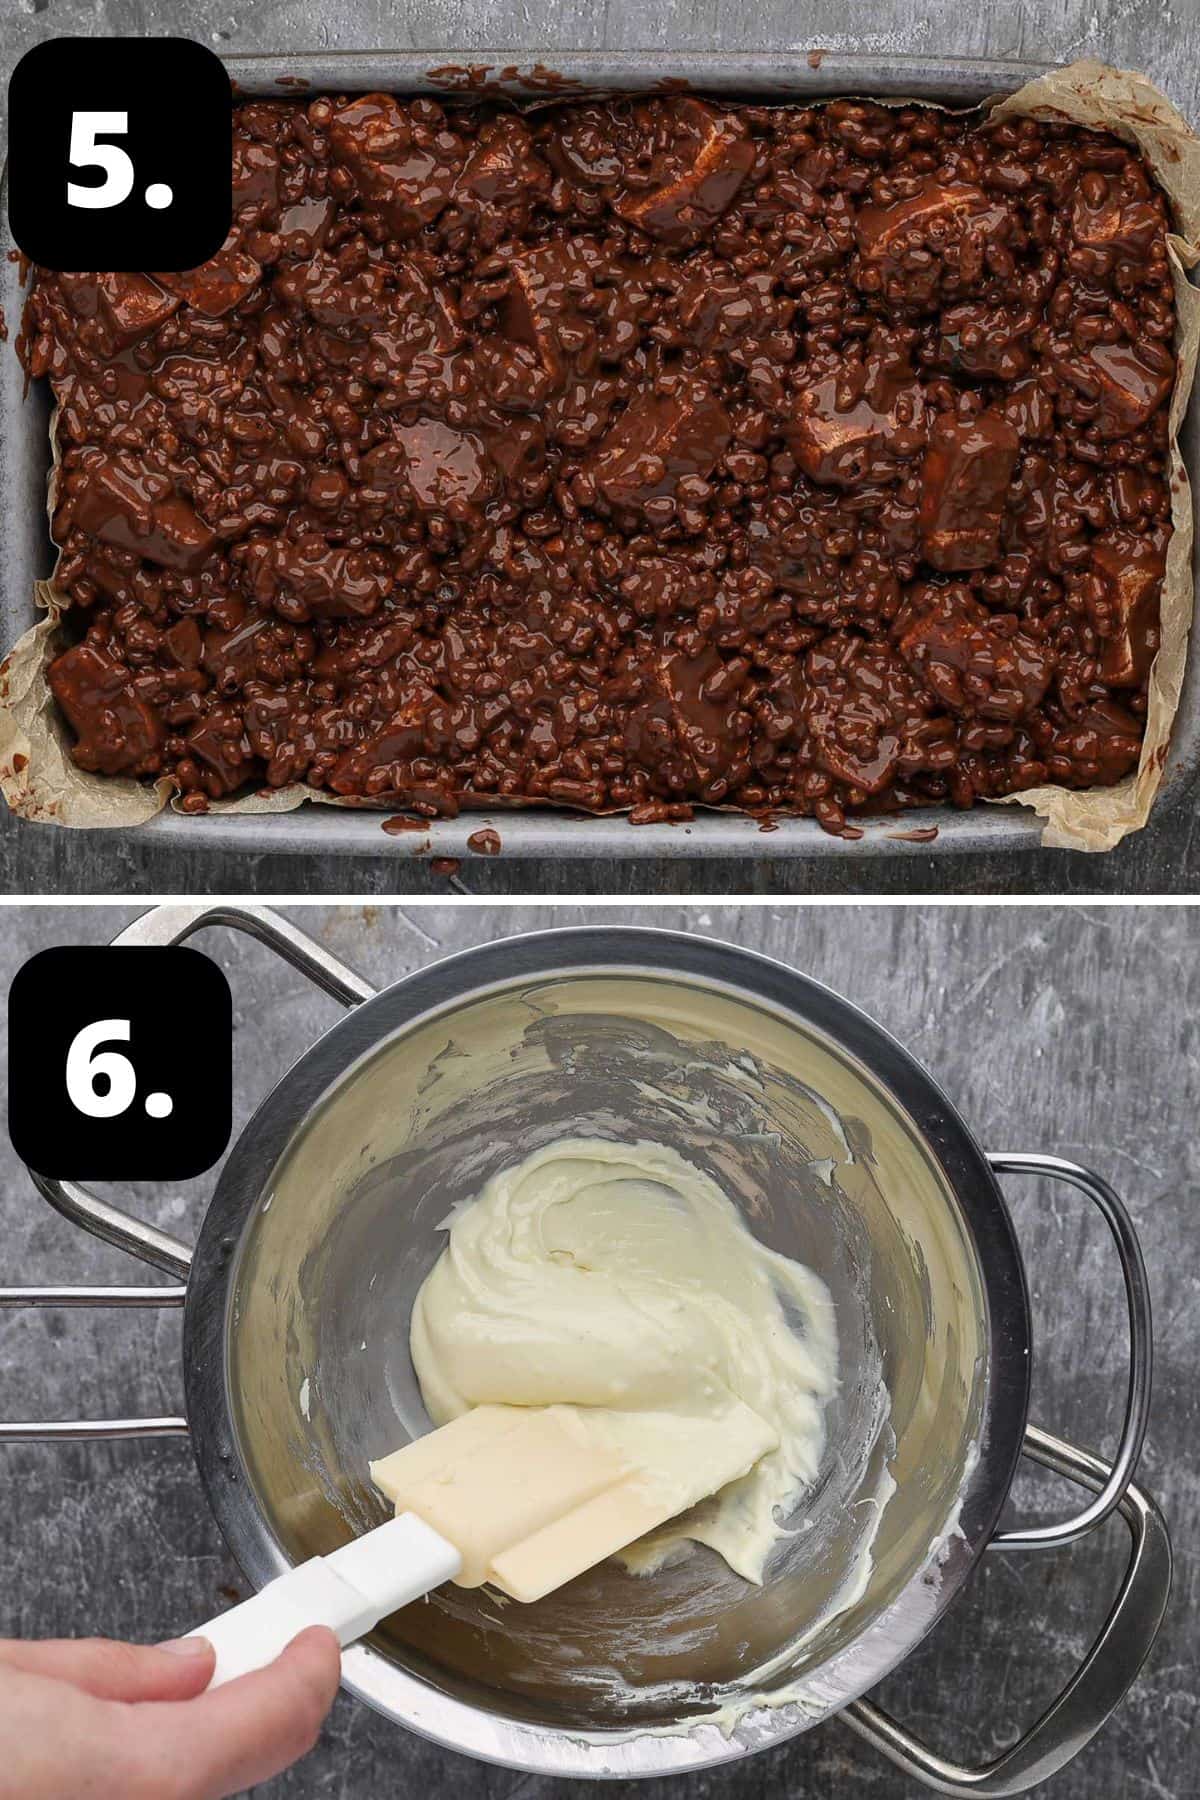
5 – Add the mixture to the tin:
Add the mixture to the prepared tin and press down to flatten with a metal spatula or spoon. Place in the fridge for 45 minutes.
6 – Melt your white chocolate topping:
In a clean bowl, add your white chocolate pieces and melt.
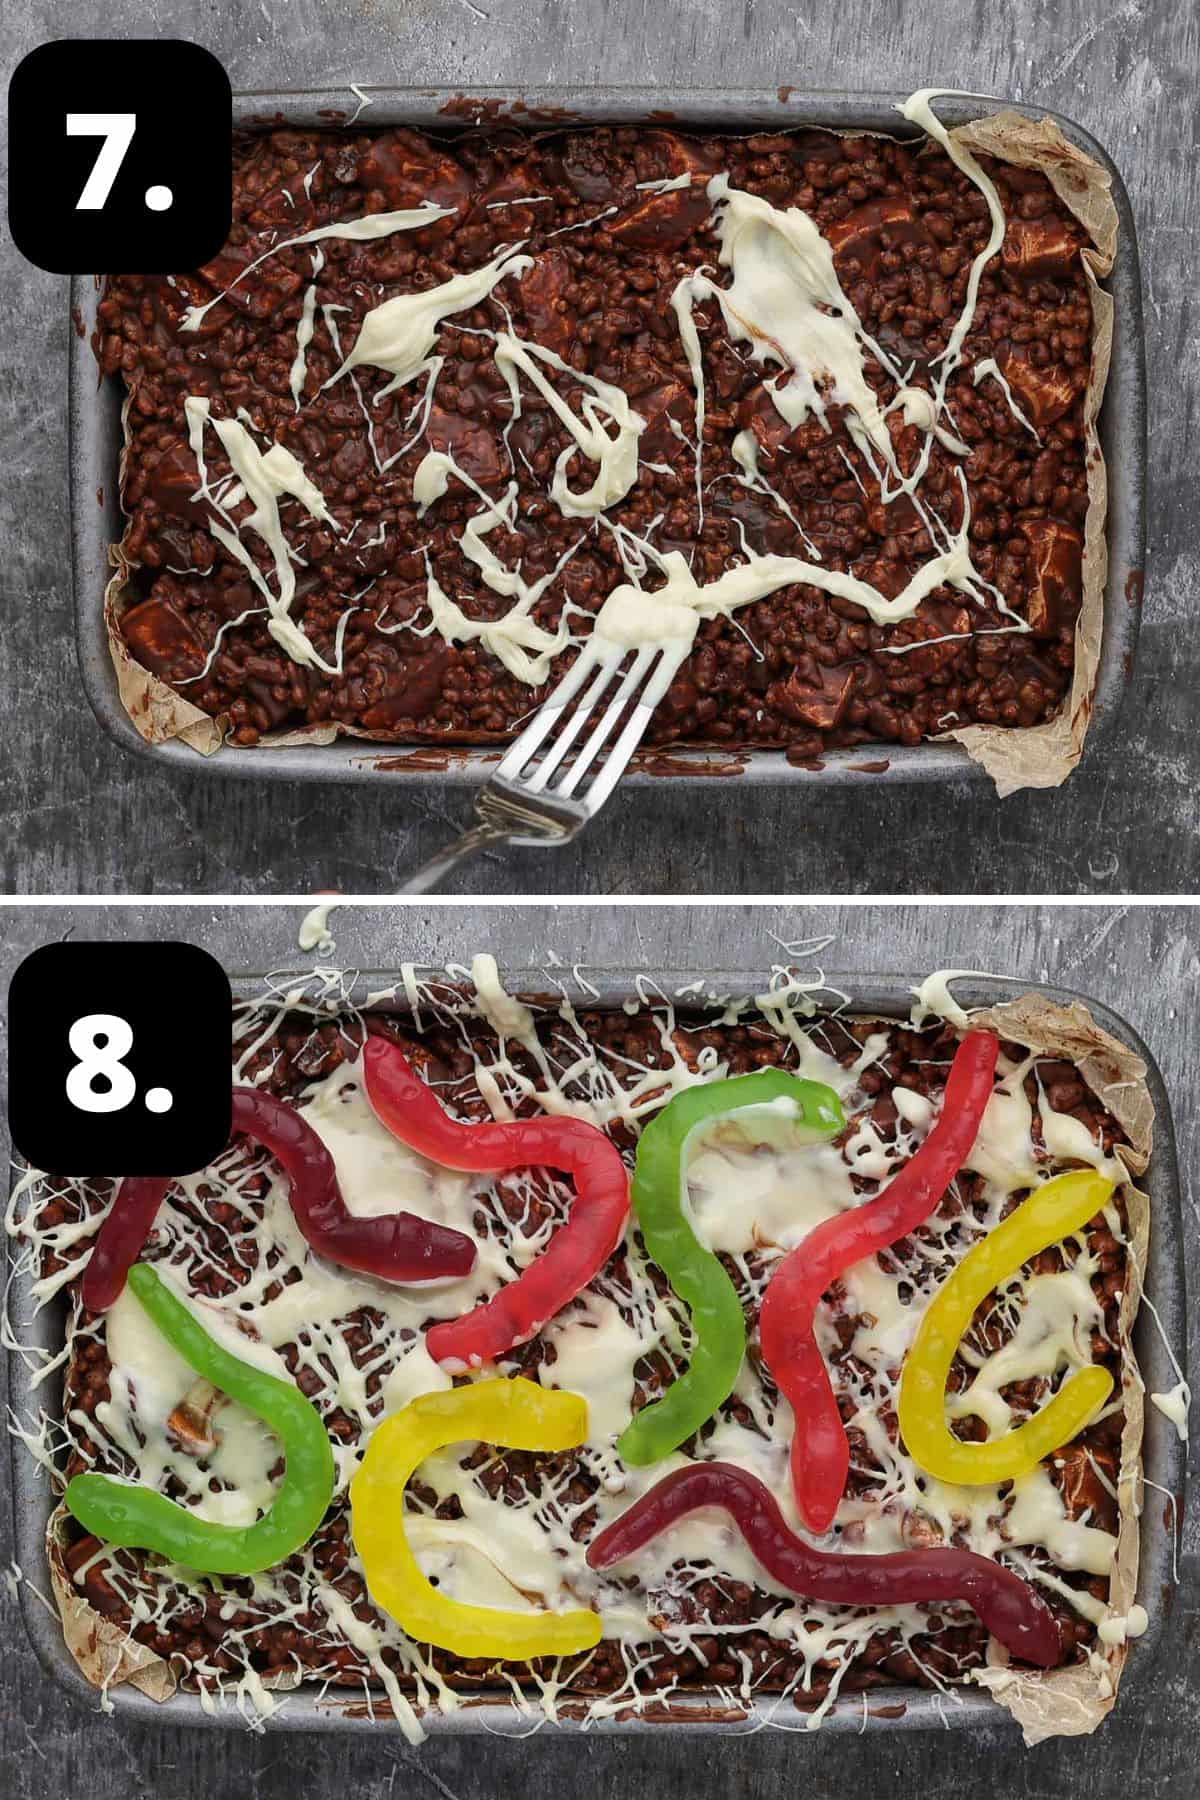
7 – Pour the white chocolate over:
Using a fork, drizzle the slightly chilled slice with the melted white chocolate, to create a spiderweb effect.
8 – Decorate the Halloween Rocky Road:
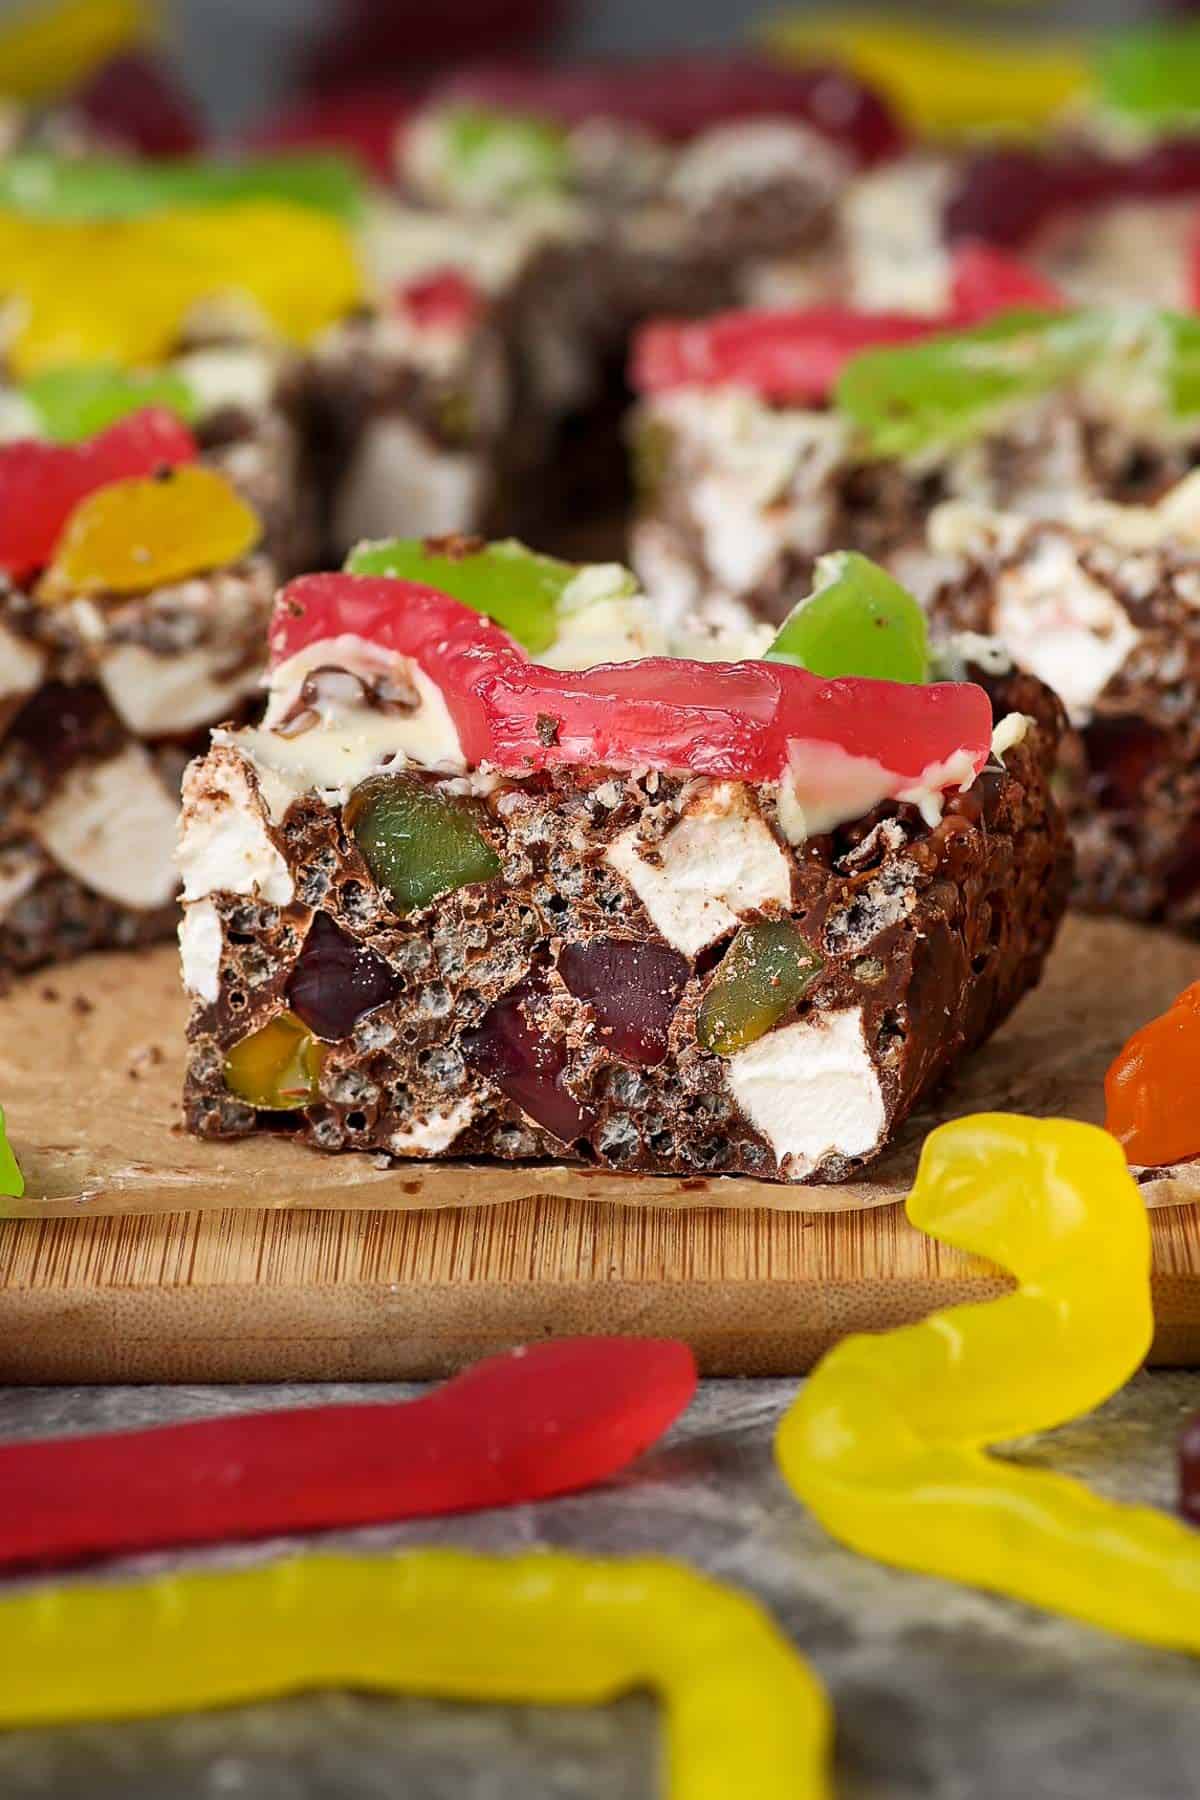
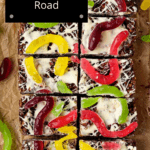
Decorate with additional snake lollies or your preferred toppings/Halloween candy. Place in the refrigerator for 2 hours or until set. Once set, remove it from the fridge for 15 minutes and use a hot knife to cut it into 10 pieces.
Tips for success and FAQs:
For the best taste and result, it is important to use good quality chocolate. Choose one that you enjoy eating – it will make all the difference.
The key to making great rocky road is to have everything prepared before you melt the chocolate. Otherwise, the chocolate may begin to set, making it lumpy and difficult to combine with the other ingredients.
Moisture is the enemy when melting chocolate as it can cause the chocolate to seize. If some water, even a very small amount, gets into the chocolate when it is melting, it will transform from a smooth, flowing mixture to one which is thick and grainy and not able to be used for this recipe.
I like to use the stovetop method, as a double boiler gives the best control over the heat. When using a double boiler, which is, a bowl placed over a saucepan of water that has just begun to simmer, care must be taken to ensure that not a drop of water gets into the bowl or the chocolate will seize. Further, the bowl must not touch the water in the saucepan. To stir the chocolate, I use a metal spatula or spoon. Wooden spoons can retain moisture. For the best result, I recommend that you do not rush the process. Chocolate melts readily at a lower temperature than you may expect. Just think of what happens to it on a hot day. A high heat may cause it to burn.
You can also use a microwave to melt the chocolate. Melt in 20-second increments, stirring occasionally. Keep an eye on it to ensure that it does not burn.
Prior to cutting, remove the slice from the fridge for 15-30 minutes (depending on the weather). Heat a large knife under hot water before slicing. This will help the knife to move more easily through the chocolate.
The Halloween Rocky Road can be stored in an airtight container in the fridge for up to one week. Place a few sheets of kitchen paper in the bottom of the container to help absorb any moisture.
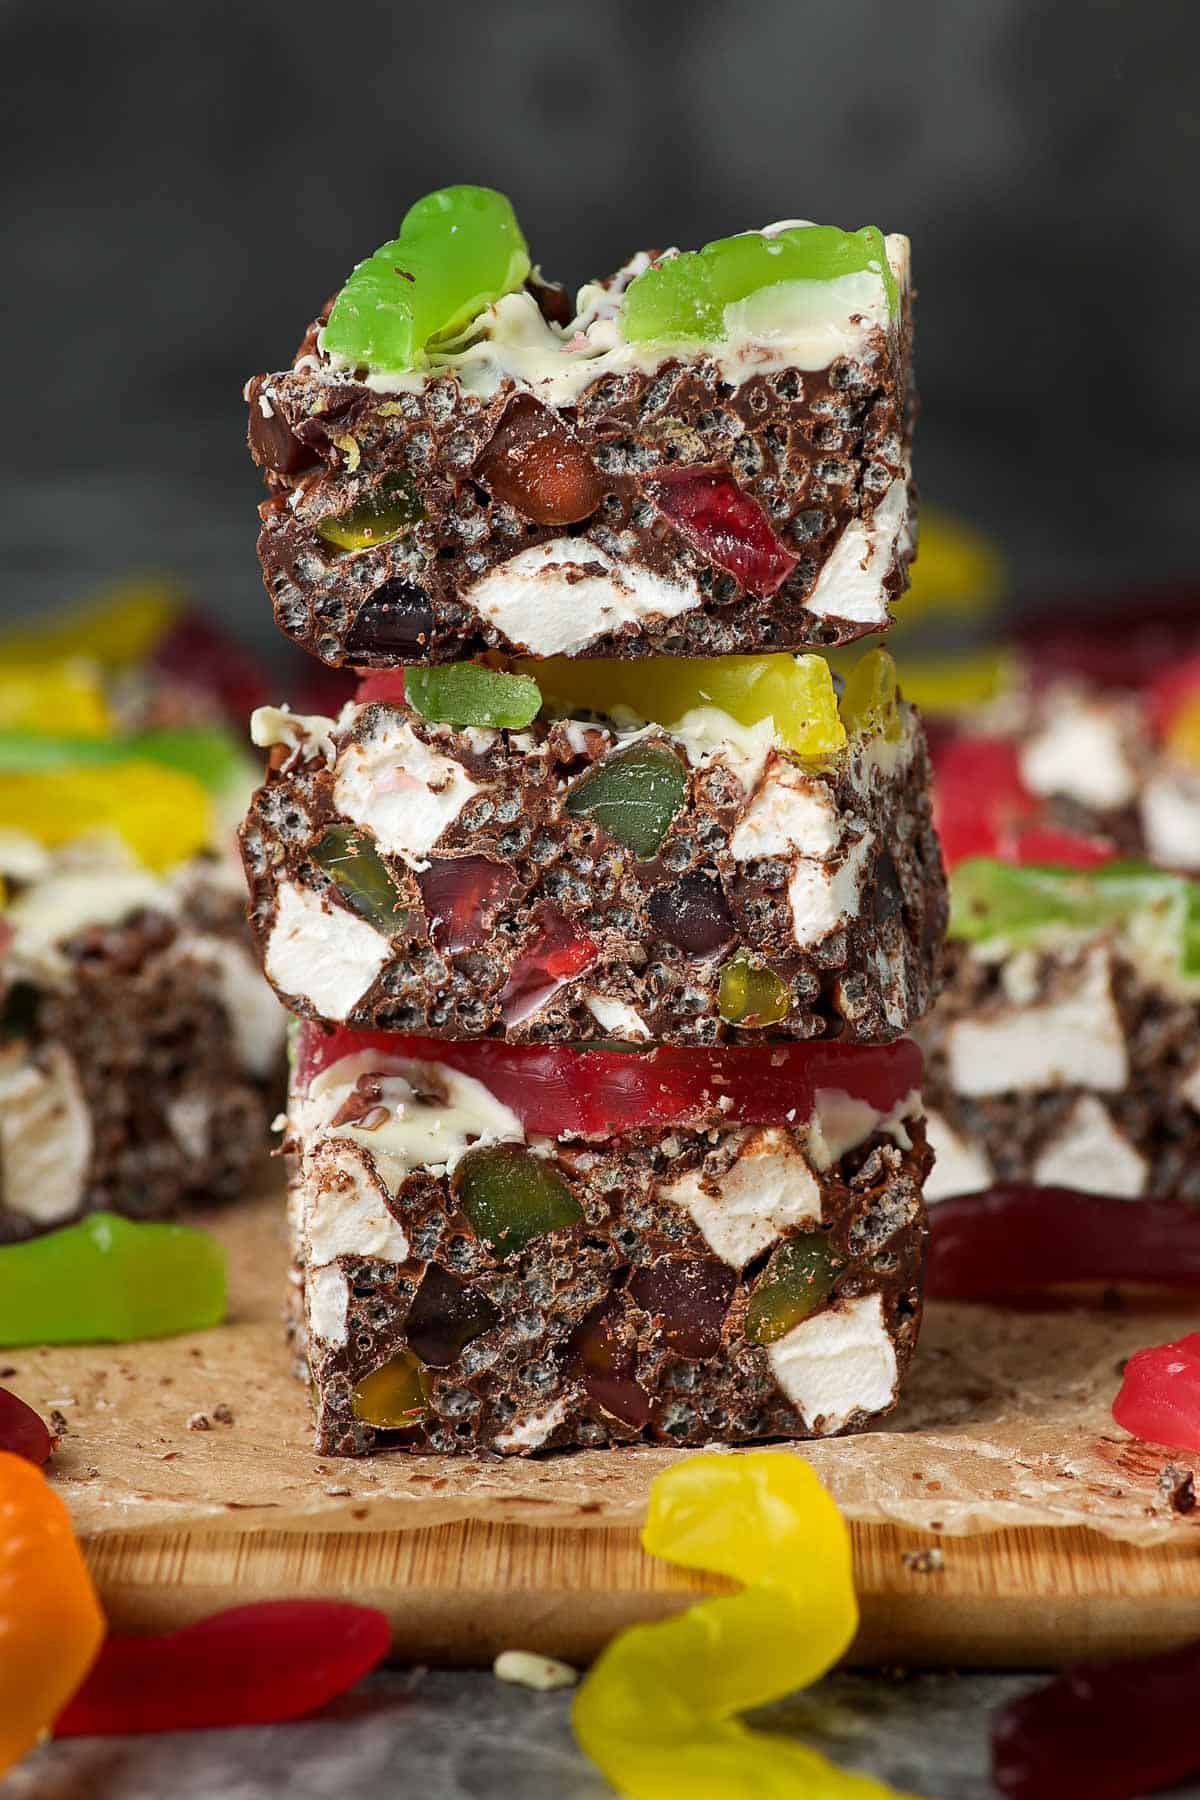
Enjoy this easily prepared, fun and delicious Halloween Rocky Road. Please let me know when you have tried this recipe in the comments below.
Alex xx
More delicious recipes for you to try:
Stay in touch!
Follow me on Facebook, Pinterest and Instagram and subscribe to my newsletter.
Halloween Rocky Road
Please note:
For accuracy, when weights are provided, we recommend weighing your ingredients. This will produce the best results. All oven temperatures listed are for fan forced.
Ingredients
For the base:
- 200 g (7 oz) milk chocolate – cut into even pieces See Note 1
- 100 g (3.5 oz) dark chocolate – cut into even pieces
- 1 ¼ cups (65 g) Rice Bubble/Krispies cereal
- 1 cup (80 g) white marshmallows – quartered See Note 2
- 100 g (3.5 oz) snake lollies – cut into 1cm/0.5 inch pieces
For the topping:
- 50 g (1.7 oz) white chocolate
- 100 g (3.5 oz) snake lollies
Instructions
- Line an 18 cm x 13 cm (7 inch x 5 inch) slice tin with baking paper.
- Place the rice cereal, quartered marshmallows and snake lollies into a large bowl.
- Melt the milk and dark chocolate: place the chopped chocolate pieces in a bain-marie/double boiler or heatproof bowl set over a pan of barely simmering water, making sure the bowl doesn’t touch the water. Stir with a metal spoon or spatula until the chocolate has almost melted. Remove from the heat – the residual heat will melt the remaining chocolate.
- Once the chocolate has melted, leave it for a couple of minutes to cool slightly. See Note 3.Once cooled slightly, pour into the bowl with the marshmallows, rice cereal and snake lollies.
- Stir well so everything is covered in the chocolate.Pour into the prepared tin and flatten down with a spatula or metal spoon. Place in the refrigerator for 45 minutes.
- In a clean bowl, melt your white chocolate. Using a fork, drizzle the top of the slightly chilled rocky road with the white chocolate to create a spiderweb effect. Place additional snakes on top.
- Return to the fridge for 2 hours or until set.
- Cut into 10 pieces using a warm sharp knife. It’s easier to cut if you take it out of the fridge 15-30 minutes before you cut it.Store in the fridge in an airtight container for up to 1 week.
Notes
- Use the best quality chocolate that you can – this will produce the best result.
- If using regular marshmallows, cut them into quarters. Alternatively, use mini marshmallows.
- Leave the chocolate to cool for a minute or two before pouring over the marshmallows. If the chocolate is too hot, they can begin to melt.
- If you prefer, you can melt the chocolate in the microwave – melt at 20 second intervals, stirring after each one.
- Please note, the nutritional information is based on the Halloween Road being cut into 10 pieces. The nutritional information is an estimate only.
Nutrition Estimate:
Nutritional Disclaimer:
The nutritional information is an estimate only, and is derived from online calculators. For accurate results, we recommend calculating the nutritional information based on the ingredients and brands you use.


Sarah
Made with my kiddos to use up leftover Halloween candy. Easy and so delicious – thank you!
Alexandra Cook
Thank you, Sarah!
So happy you enjoyed this recipe! Alex xo