My Gluten-Free Sweet Shortcrust Pastry will be a great addition to your baking, and you will be delighted by how easy it is to make. It contains readily available ingredients which come together to form a pastry that is easy to handle and is buttery and flaky when baked.
Jump to:
Why we love this recipe:
If you are daunted by the thought of making your own pastry, let me assure you, this recipe is not difficult to make. As always, homemade is best. The pastry does not contain artificial or unnecessary ingredients which may be in commercial varieties. As well, we have a step-by-step guide and video to help you achieve the best result.
We love this Gluten-Free Shortcrust Pastry recipe because:
- It contains ingredients that are readily available in the supermarket.
- The dough comes together easily in the food processor.
- It is buttery and flaky, flexible and easy to handle.
- It will be a great addition to your gluten-free baking. There will be many ways to use it.
Ingredients in this recipe:
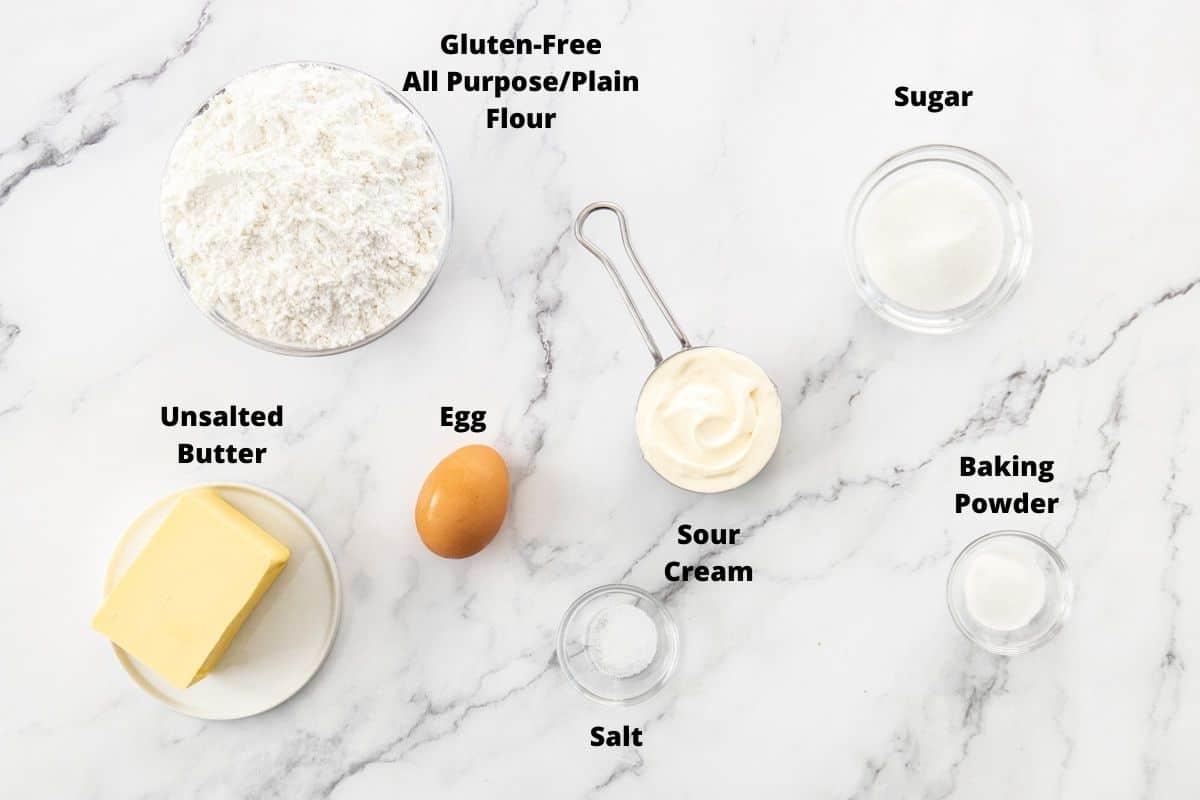
Please see the recipe card further along in the post for exact quantities of ingredients and the full method.
Gluten-free plain/all-purpose flour – our gluten-free flour blends contain either xanthan or guar gum to stabilise and provide structure to our recipes. If your flour blend already contains either of these gums, there is no need to add more. Not all gluten-free flour blends are equal. It may take trial and error to find one which you like.
Sugar – for a touch of sweetness.
Baking powder – aids the texture of the pastry. Ensure your baking powder is gluten-free. It is not the same as bicarbonate/baking soda.
Salt – coarse kitchen salt, not table salt. A small amount brightens flavours.
Unsalted butter – adds richness and flakiness.
Sour cream – full fat, helps make the pastry richer and flakier as well as easier to work with.
Iced water – to bring the dough together.
Egg – for egg washing the pastry – optional, but recommended.
Step by step instructions:
Prepare all the ingredients before you start. The butter and sour cream need to be chilled so measure them out just before you begin.
In a glass or small bowl, add some ice to a quarter cup of water and set it aside.
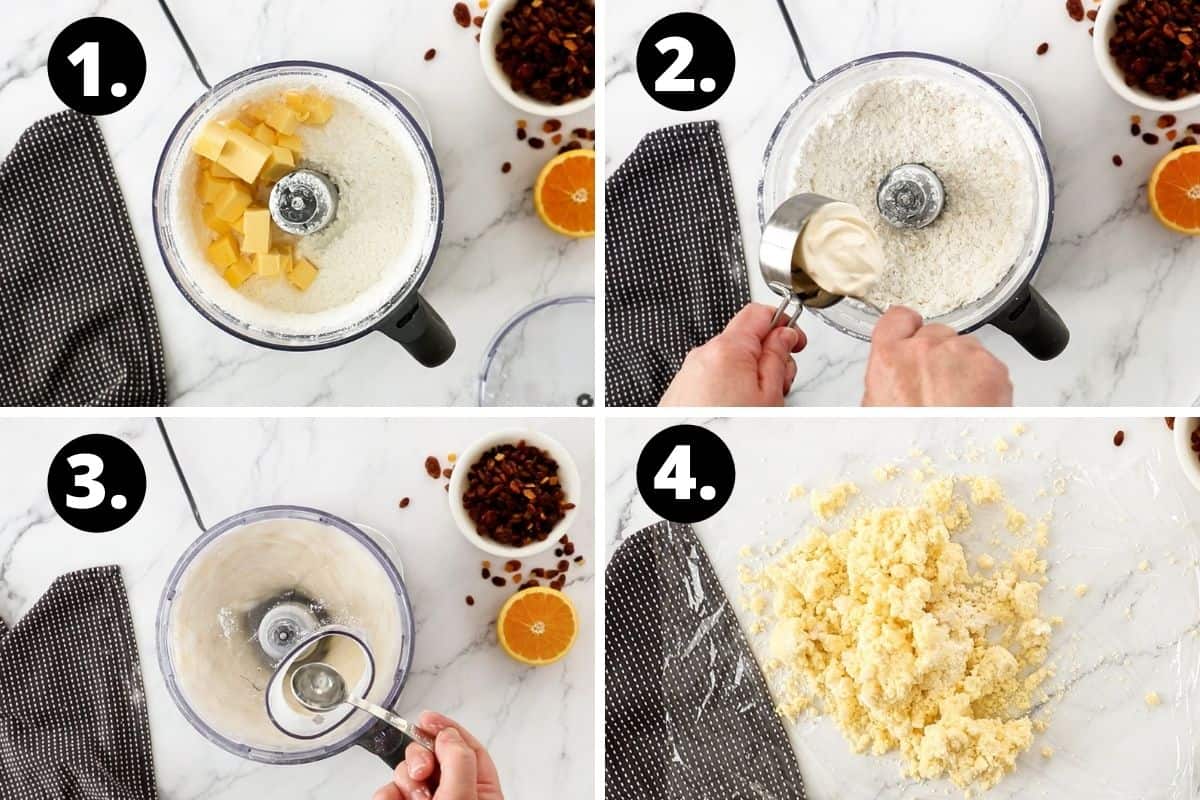
- Add the flour, sugar, baking powder and salt to the bowl of a large food processor. Pulse twice to combine the ingredients. Add the butter and pulse until the butter is about the size of a pea.
- Add the sour cream and pulse until just combined.
- Start the processor, and with the machine running, gradually add iced water through the feed tube until the dough starts to come together and is damp. Add the water slowly, being careful to not make the pastry wet and sticky. Test by squeezing some with your fingers to see if it will come together. If not, add a teaspoon at a time until it does. If it becomes too wet and you need to add extra flour it will negatively affect the texture.
- Turn the dough onto a piece of cling wrap and bring it together with your hands.
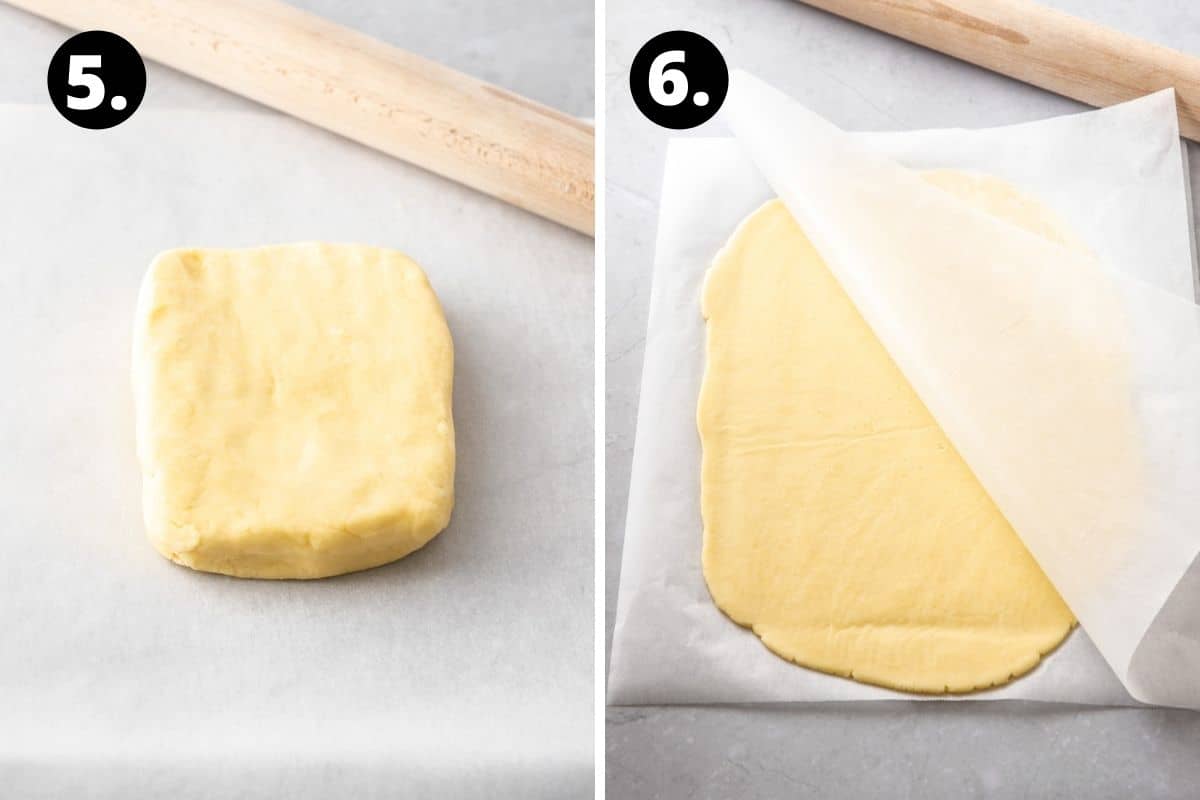
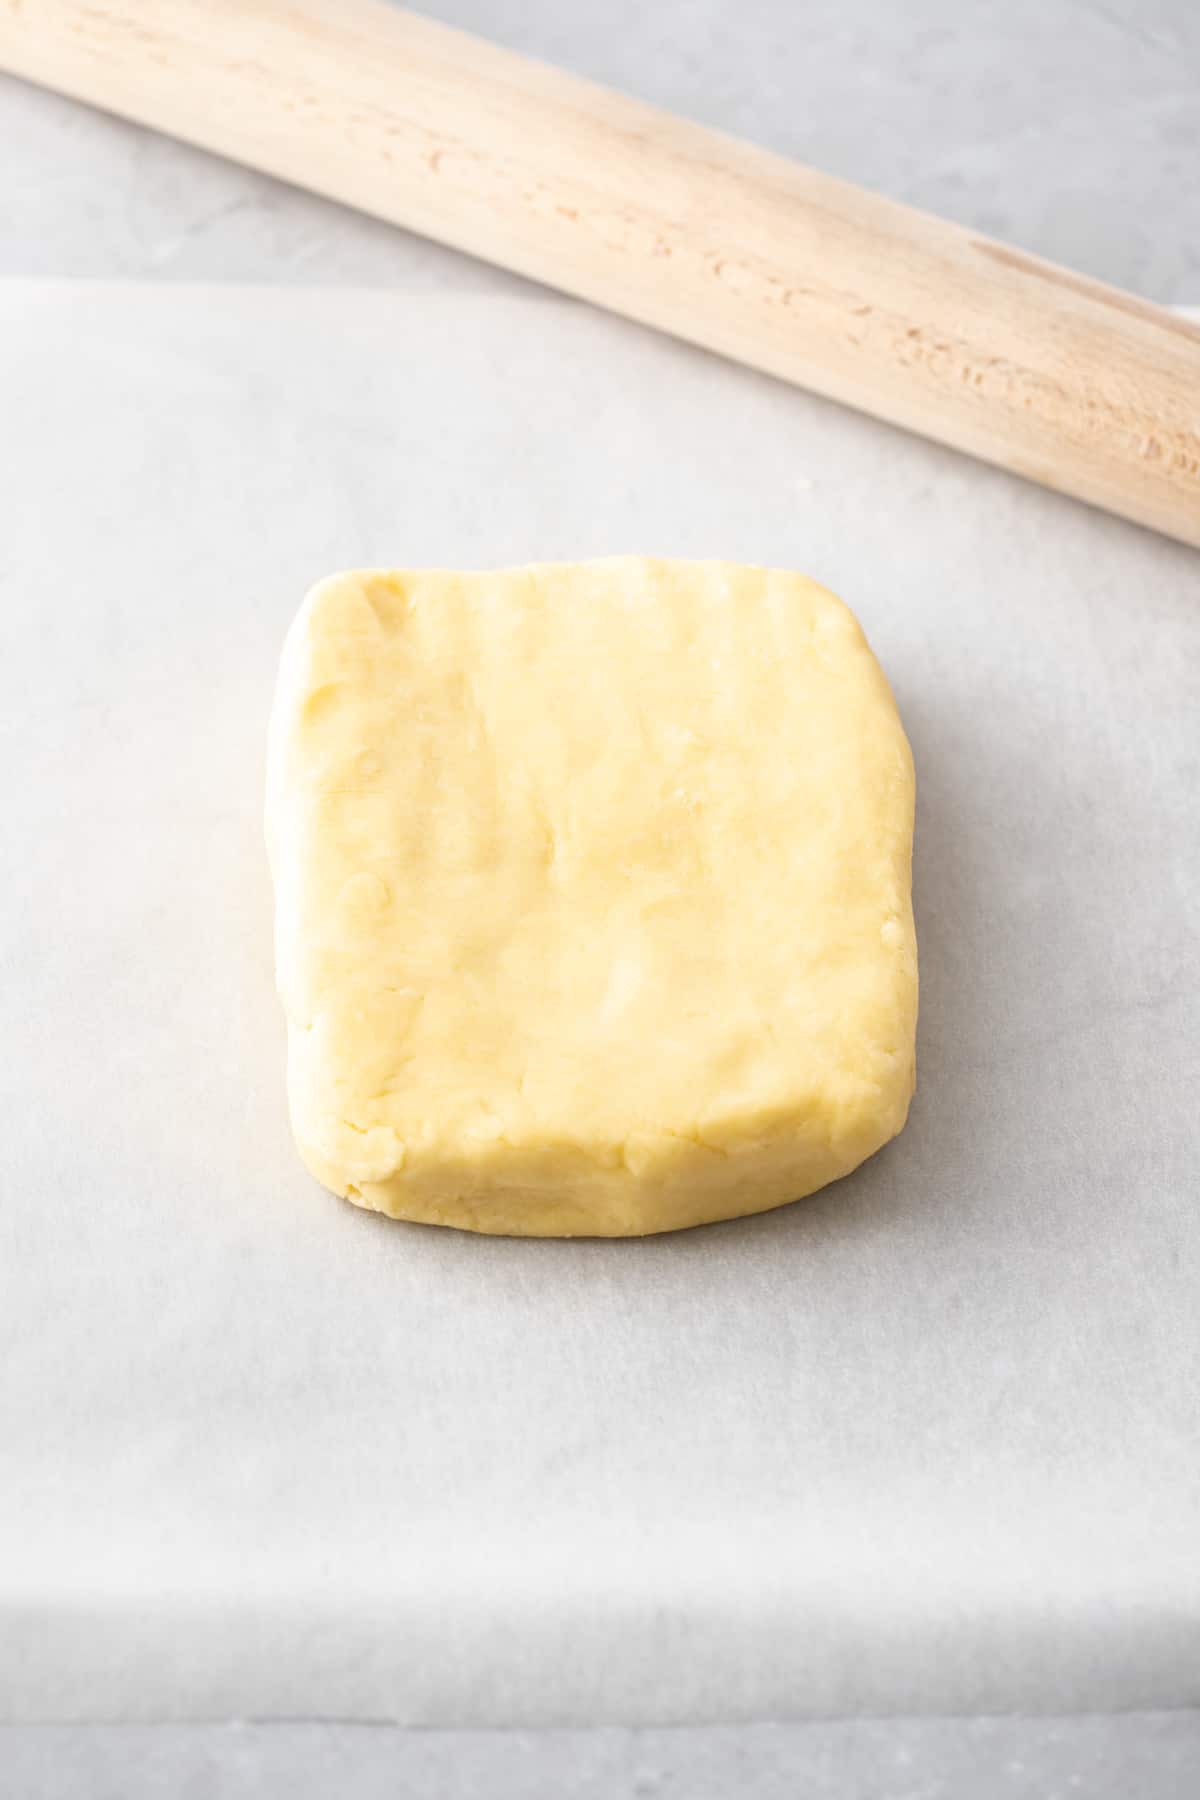
- When the ingredients are thoroughly incorporated, flatten into a block and smooth with your hands, turning it over once or twice and making sure there are no cracks. Wrap in the cling wrap and refrigerate for 1 hour.
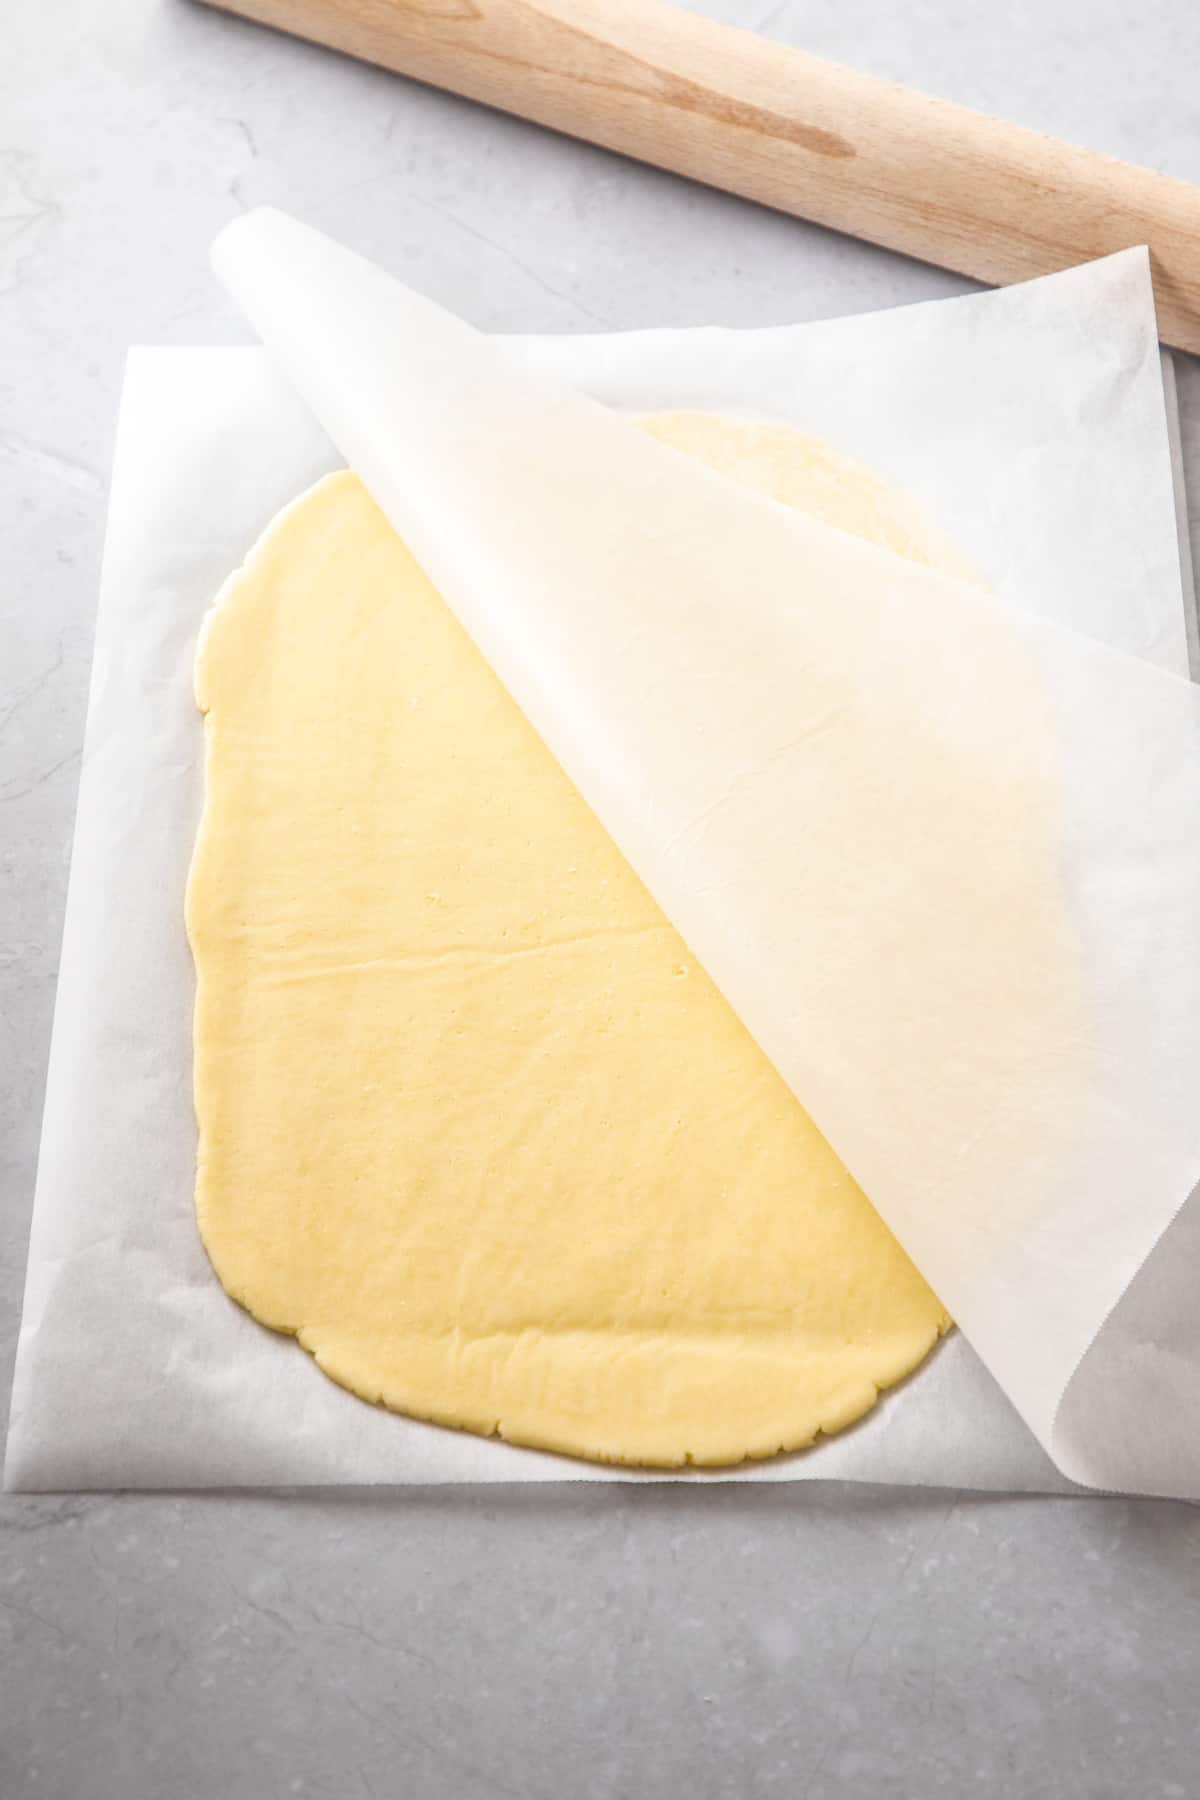
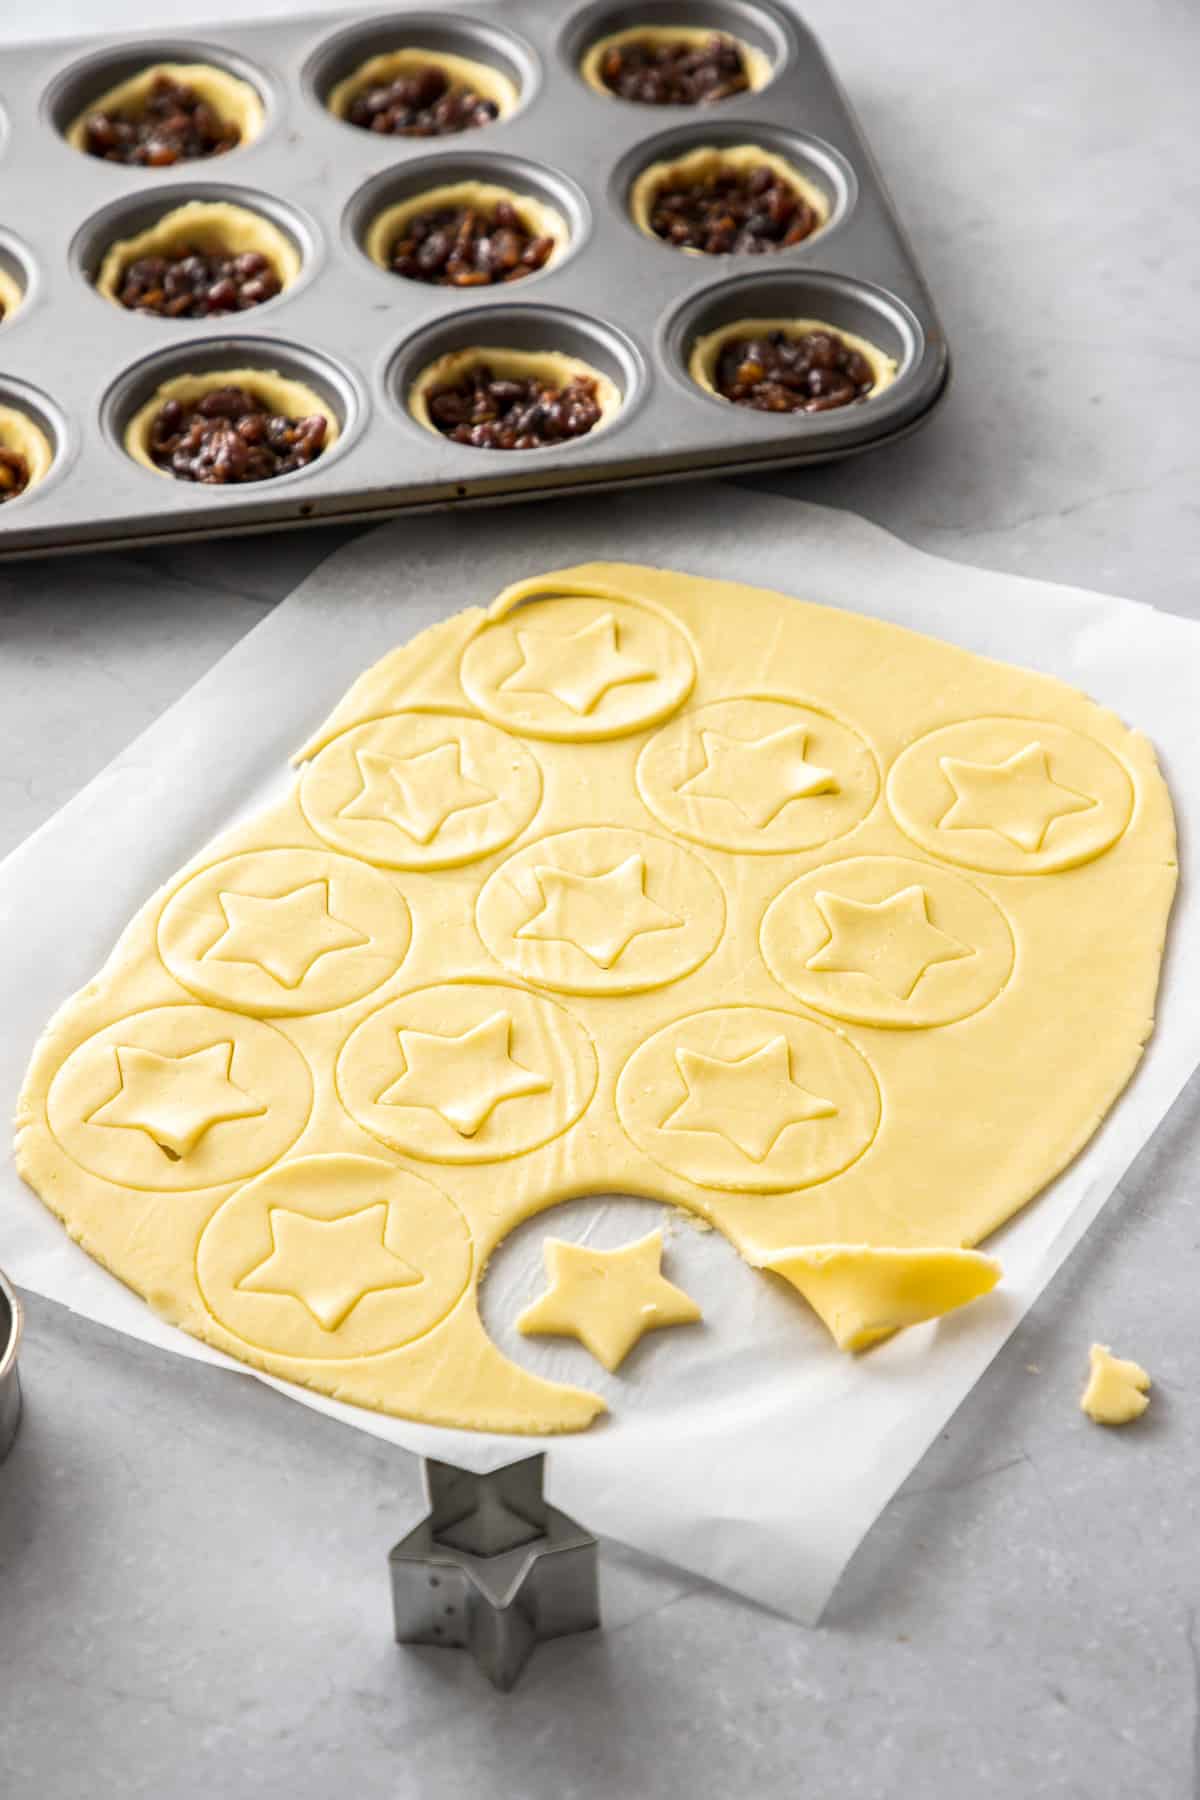
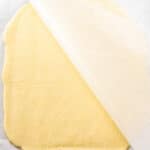
- Remove from the refrigerator about 10 minutes before you want to use it. Place the pastry between two sheets of non-stick baking paper to roll. This will avoid adding extra flour. With your rolling pin, start at the centre of the block of pastry and roll away from you. Give the pastry a quarter turn and repeat this procedure. Work quickly and evenly, occasionally lifting the baking paper, then return it to the surface of the pastry and turn the pastry over. Doing this occasionally helps to roll the pastry evenly and keep it from sticking to the baking paper.
Depending on how you are using the pastry, it may be easier to work with if you cut it in half. I do this when making Mince Pies.
The pastry needs to be kept cold. If it becomes warm as you are working, cover it and return to the fridge to chill.
Tips for success and FAQs:
The most important tip that I can give you is to make sure that your ingredients are cold and to keep the pastry cold throughout, returning it to the fridge as you work, if necessary. Handle it as little as possible so that the butter does not melt into the flour.
When re-rolling leftover pieces of pastry, don’t roughly squash them, stack the pieces on top of each other before rolling. This way, the pastry will not toughen.
To avoid using additional flour which would toughen the pastry, I recommend rolling the pastry between two sheets of non-stick baking paper. Further details are in the recipe.
The pastry needs to chill in the fridge for 1 hour to allow the flour to hydrate and to firm up, making it easier to use.
For this pastry, my preference is butter. Firstly, it will provide the best flavour. As well, a soft spread, such as margarine, could make the pastry difficult to handle.
When making Gluten-Free Shortcrust Pastry, it is often necessary to add a small amount of water to hydrate the flour and prevent the pastry from crumbling when you roll it. The amount of water required is dependent on several factors; the type of flour, the humidity and the type of fat used. It is important to add water slowly until the dough just starts to come together. Test by pressing a small amount between your fingertips. If it is still crumbly, gradually add water a teaspoon at a time, just enough so the dough feels damp but is not sticky. If you add too much water and you need to add flour, it will make the pastry tough.
If necessary, you can chill it for 24 hours. Let it sit out of the fridge for about 30 minutes before you attempt to roll it or it will crack.
Yes, you can freeze the pastry for up to 2 months. Ensure it is wrapped well in clingfilm to prevent freezer burn. Defrost the pastry overnight in the fridge prior to using it.
More delicious recipes for you to try:
You can find many more recipes to try in our collection of Gluten-Free Recipes.
Follow this recipe for our Gluten-Free Pastry and Homemade Fruit Mince to make delicious Gluten-Free Mince Pies.
You will discover many ways in which to use my sweet Gluten-Free Shortcrust Pastry. I look forward to hearing from you when you try it.
Alex xx
I have adapted this recipe from one found on Delish.
Gluten-Free Shortcrust Pastry
Please note:
For accuracy, when weights are provided, we recommend weighing your ingredients. This will produce the best results. All oven temperatures listed are for fan forced.
Ingredients
- 2 ¼ cups (340 g) gluten-free all purpose/plain flour See Note 1
- 2 tablespoon sugar See Note 2
- ½ teaspoon baking powder See Note 3
- ¼ teaspoon coarse cooking salt
- ¾ cup (185 g) unsalted butter – cut into 1 ½ cm (½ inch) cubes
- ½ cup (120 g) full-fat sour cream See Note 4
- iced water – if required See Note 5
For Baking:
- egg – for egg washing the pastry (optional)
Instructions
- Prepare all the ingredients before you start. For accuracy, it is best to weigh your ingredients. The butter and sour cream need to be chilled so measure them out just before you begin.
- In a glass or small bowl, add some ice to a quarter cup of water and set it aside.
- Add the flour, sugar, baking powder and salt to the bowl of a large food processor. Pulse twice to combine the ingredients.
- Add the butter and pulse until the butter is about the size of a pea. Add the sour cream and pulse until combined.
- Start the processor, and with the machine running, gradually add iced water, if needed, through the feed tube until the dough starts to come together. The amount of water required is dependent on several factors; the type of flour, the humidity and the type of fat used.Be careful to not make the pastry wet and sticky. Test by squeezing some with your fingers to see if it will come together. If it crumbles, add a teaspoon at a time until it will form a dough. If it is too wet and you need to add extra flour it will negatively affect the texture. Do not overmix.
- Turn the dough onto a piece of clingwrap and bring it together with your hands. When the ingredients are thoroughly incorporated, flatten into a block, approximately 15cm x 12cm (6 x 4 ¼ inches), and smooth with your hands, turning it over once or twice and making sure there are no cracks. Wrap in the cling wrap and refrigerate for 1 hour.
- Remove from the refrigerator about 10 minutes before you want to use it. Place the pastry between two sheets of non-stick baking paper to roll. This will avoid adding extra flour.
- With your rolling pin, start at the centre of the block of pastry and roll away from you. Give the pastry a quarter turn and repeat this procedure. Work quickly and evenly, occasionally lifting the baking paper, then return it to the surface of the pastry and turn the pastry over. Doing this occasionally helps to roll the pastry evenly and keep it from sticking to the baking paper.If your pastry is cold and starts to crack, leave it for another 5 minutes.
- Depending on how you are using the pastry, it may be easier to work with if you cut it in half. I do this when making Mince Pies.
- The pastry needs to be kept cold. If it becomes warm as you are working, cover it and return to the fridge to chill.When baking, we recommend brushing with egg wash.
Video
Notes
- I used Orgran Gluten-Free Plain Flour. Our gluten-free flour blends contain either xanthan or guar gum to stabilise and provide structure to our recipes. If your flour blend already contains either of these gums, there is no need to add more. Not all gluten-free flour blends are equal. It may take trial and error to find one which you like.
- In Australia, the tablespoon is 20 ml or 4 teaspoons. In many other countries, the tablespoon is 15 ml or 3 teaspoons. Please adjust the measurement if necessary.
- Check that your baking powder is gluten-free.
- The sour cream that I used was very thick. If yours is quite thin, you may not need as much water.
- If you need to add water, do it gradually. To bring the pastry together, I needed to add 1 tablespoon plus 2 teaspoons of water.
- The cooking time will depend on how you use the pastry.
- We have provided both volume and weight measurements, but when it comes to baking, weighing your ingredients is more accurate.
- I have adapted this recipe from one found on Delish.
- Please note, the nutritional information is based on the entire quantity of pastry. The nutritional information is an estimate only.
Nutrition Estimate:
Nutritional Disclaimer:
The nutritional information is an estimate only, and is derived from online calculators. For accurate results, we recommend calculating the nutritional information based on the ingredients and brands you use.







Bert’s Bakes
Love this recipe & im using for my business now 🙂 thank you
Alexandra Cook
Thanks so much for taking the time to let me know, Bert! 🙂
I appreciate your comment! Alex xo
Lynda Marston
I used your GF shortcrust pastry recipe for the first time this weekend to make a cherry pie. It was perfect. So short and delicious. I followed the recipe 100% and it came out exactly as you said it would. It will be my go to recipe from now on. Thankyou
Alexandra Cook
Hi Lynda,
That is so lovely to hear – thank you 🙂 A cherry pie sounds delicious, and I am so pleased this will be your go to recipe from now on.
Thanks so much for taking the time to leave a comment! Alex 🙂
vicki
Can I omit the sugar for a savoury shortcrust, do I increase the salt?
Alexandra
Hi Vicki, yes, you can omit the sugar. I recommend using 1/2 teaspoon salt to allow for the saltiness of any fillings you may use with the pastry. I hope this helps. 🙂
Sammy
Hi does margarine work in this recipe instead of butter ?
Alexandra
Hi Sammy, we haven’t tried the recipe with margarine, so I can’t say for sure. I would think that the pastry wouldn’t have as nice a flavour as one made with butter. If you do try, please let me know how you get on. Thanks, Alex
Adamujakku
Finally a recipe that you can scroll easily to without reading someone’s long winded story about how they discovered their recipe. Straight to the point, probably because you are Australian haha, and the link to click is even easier, cheers, thanks!
Alexandra
I’m so glad you enjoyed the pastry.
Margaret
This pastry is absolutely the bomb. I haven’t bitten into it yet, but I pie pies in my pie maker and the crusty overflow is so short and delicious!!! Will def do again. Thanks #itsnotcomplicated. Love it.
Alexandra
Hi Margaret, I am delighted that you enjoyed the GF Shortcrust Pastry. Thank you for taking the time to let me know. 🙂
Helen
I’m about to try this recipe, but I’m wondering why the picture of the ingredients includes an egg, but the ingredients list and method don’t. Which on is incorrect? I’m going to try with an egg.
Alexandra Cook
Hi Helen!
The egg is for egg washing the pastry (the recipe was developed for our Mince Pies and we brush the pastry with egg for extra shine before baking.) – there is no egg in the pastry recipe. Please follow the ingredients and method as written.
We will update the post to avoid confusion and confirm the egg is for egg washing only.
Kind regards, Alex
Patricia Franks
Best ever.Works every time !Thankyou.
Never thought I’d find a recipe to make such excellent GF pastry.
Very happy with all your recipes.
Alexandra
Hi Patricia, thank you so much for your lovely comments on the GF Shortcrust Pastry. I am so pleased that you like our recipes and appreciate that you took the time to let me know. 🙂
Stephen
This is pretty close to a top notch wheat pastry. Only limited by the quality of ingredients one uses to make it and is better than anything commercially made in a packet gluten free or otherwise, Thanks
Alexandra
Hi Stephen, thank you so much for the fantastic feedback on the GF Shortcrust Pastry. I am so pleased that you like the pastry and appreciate that you took the time to let me know. 🙂
Andrea
so good!
Alexandra
Hi Andrea, thank you so much! 🙂