


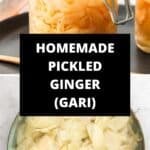
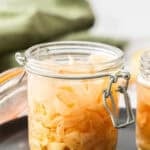


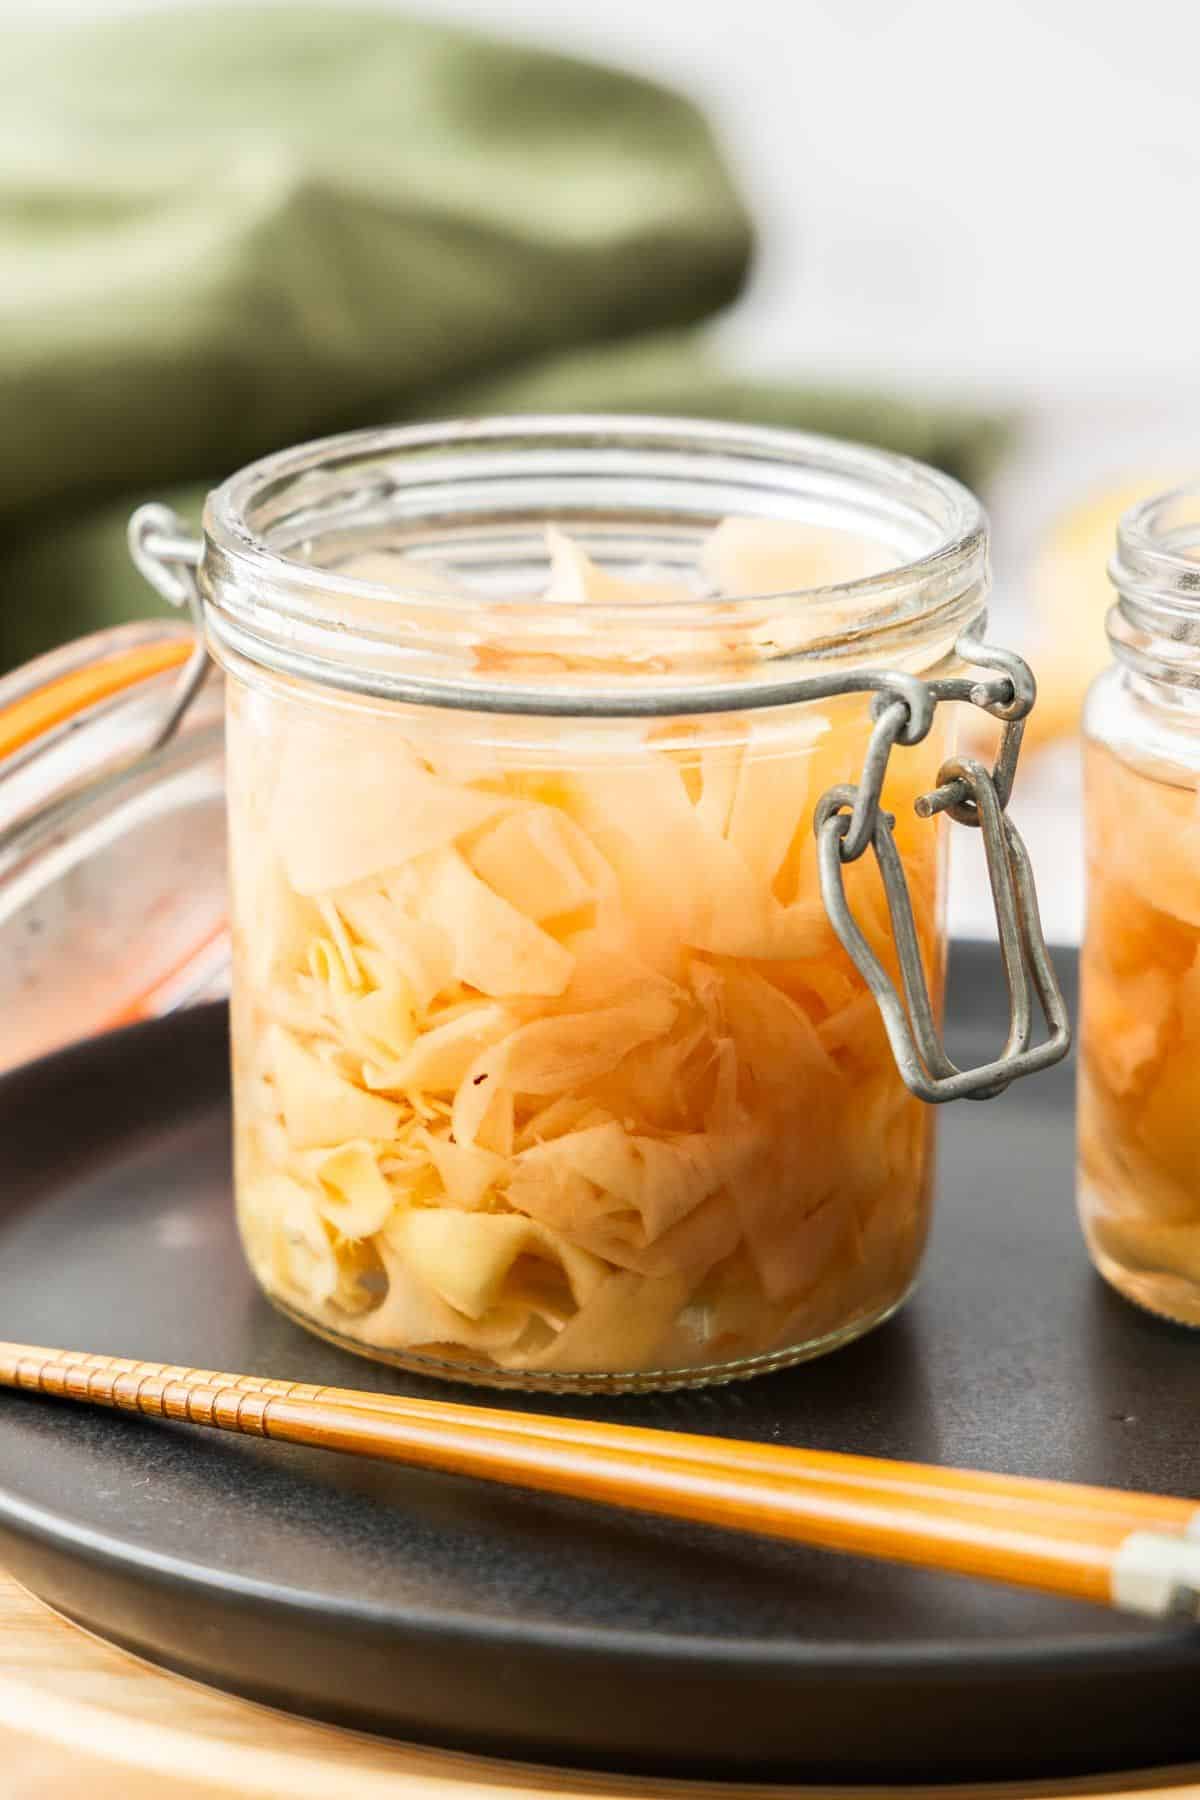
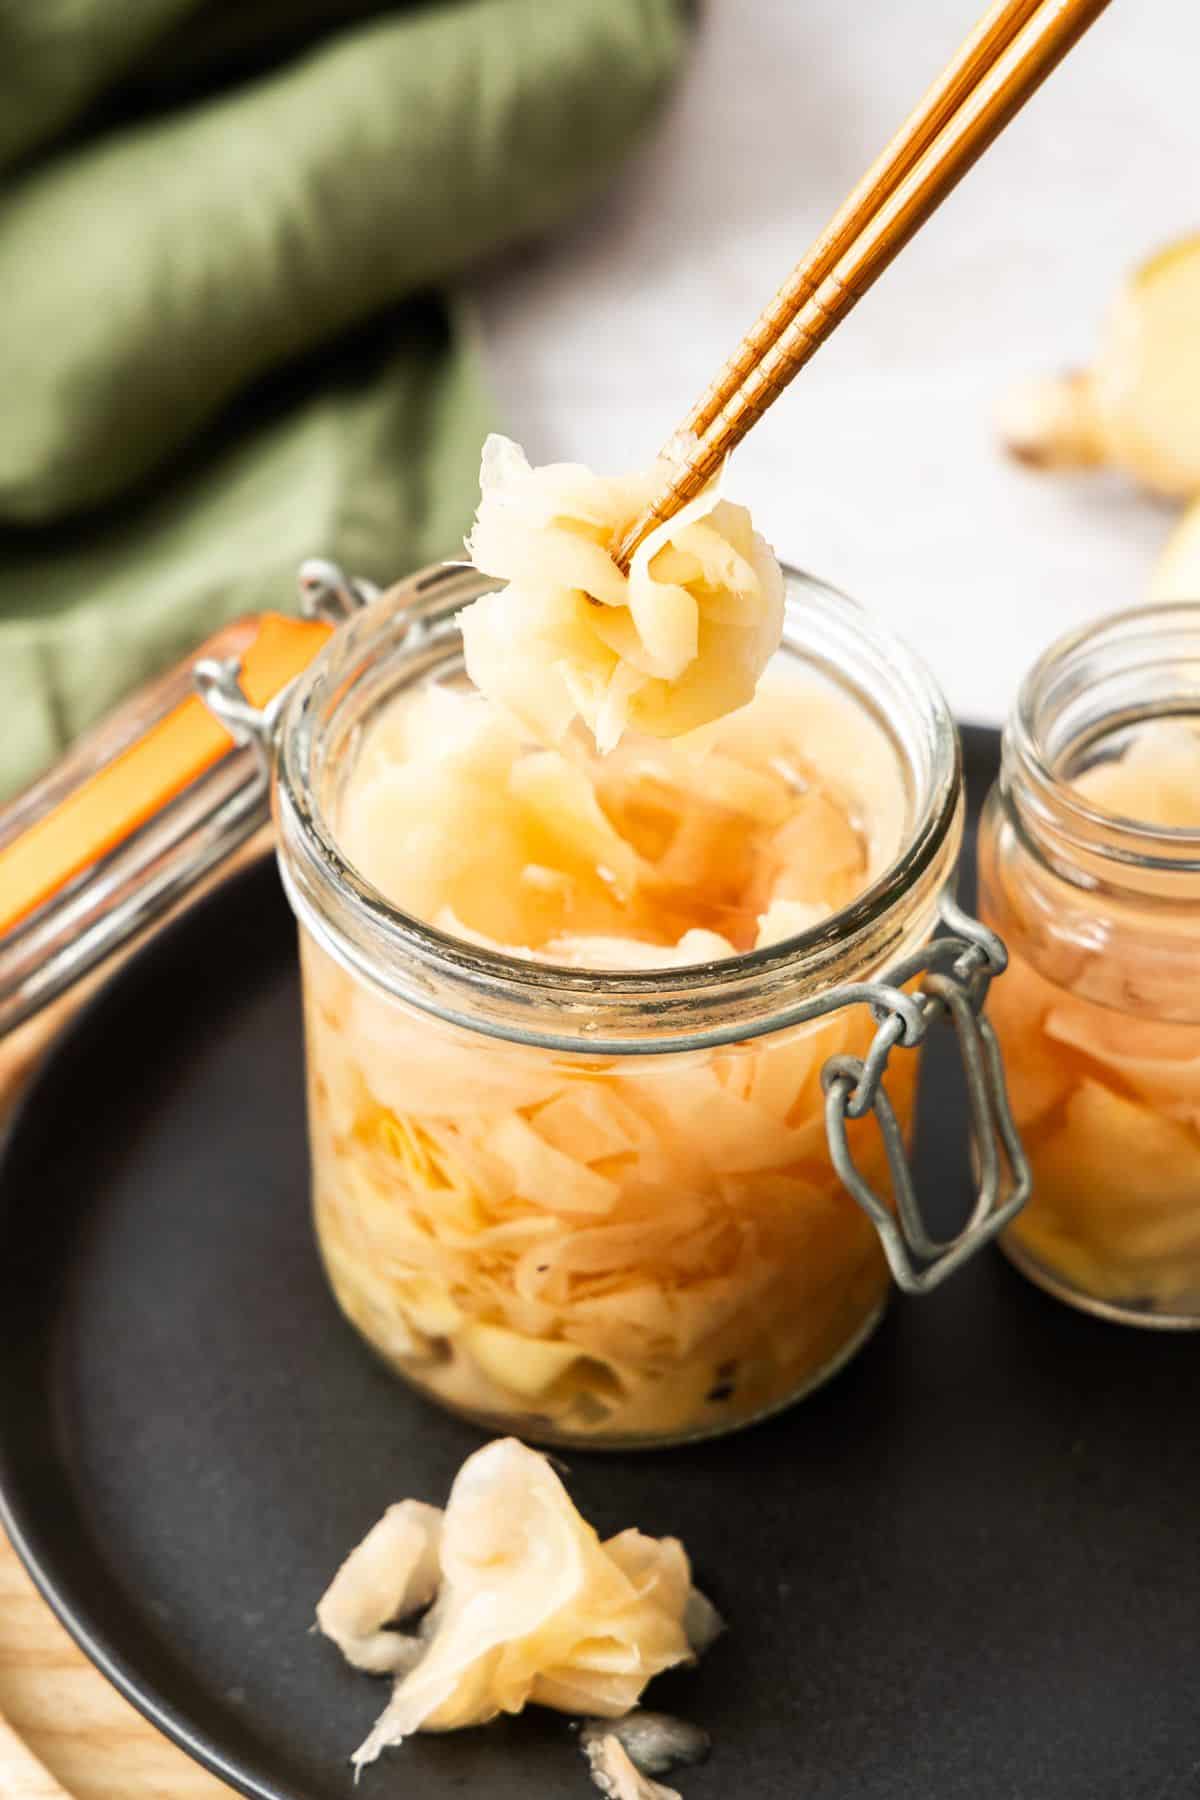
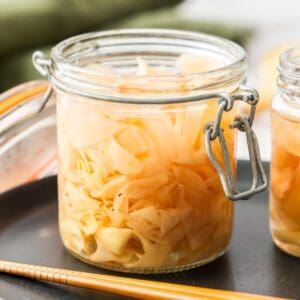
This easy recipe for Pickled Ginger (Gari) is so delicious, with a wonderful flavour and warmth. To make it, we soak thin slices of young ginger in a sweet rice wine vinegar brine. As they soak, they become a very soft, natural shade of pink. Serve thin slices of this pickle alongside sushi, sashimi and so much more.
I like to make a lot of things from scratch but I never thought pickled ginger would taste much different. Boy am I happy to be wrong! This is AMAZING!!! So much better than any of the store-bought jars I've ever tried.
- Marie
Why You'll Love This Recipe:
- It is very simple to prepare.
- This recipe contains only natural ingredients - commercial Pickled Ginger often contains preservatives, artificial sweeteners and colours.
- The flavour is superior to store bought.
- Ginger is a great flavour booster; you can use it in many ways. It is fresh and delicious.
Recipe Inspiration: in 2019, I was fortunate to visit Japan for the first time. During my stay, my delightful host taught me how to make Gari, this Easy Pickled Ginger. I am so pleased to share this recipe with you now. I have always enjoyed eating ginger with my sushi and sashimi, but what I learnt from my host is that Pickled Ginger is meant to be enjoyed as a palate cleanser, eaten between different varieties of sushi.
Ingredients and Substitutions:
Please see the recipe card further along in the post for exact quantities of ingredients and the full method.

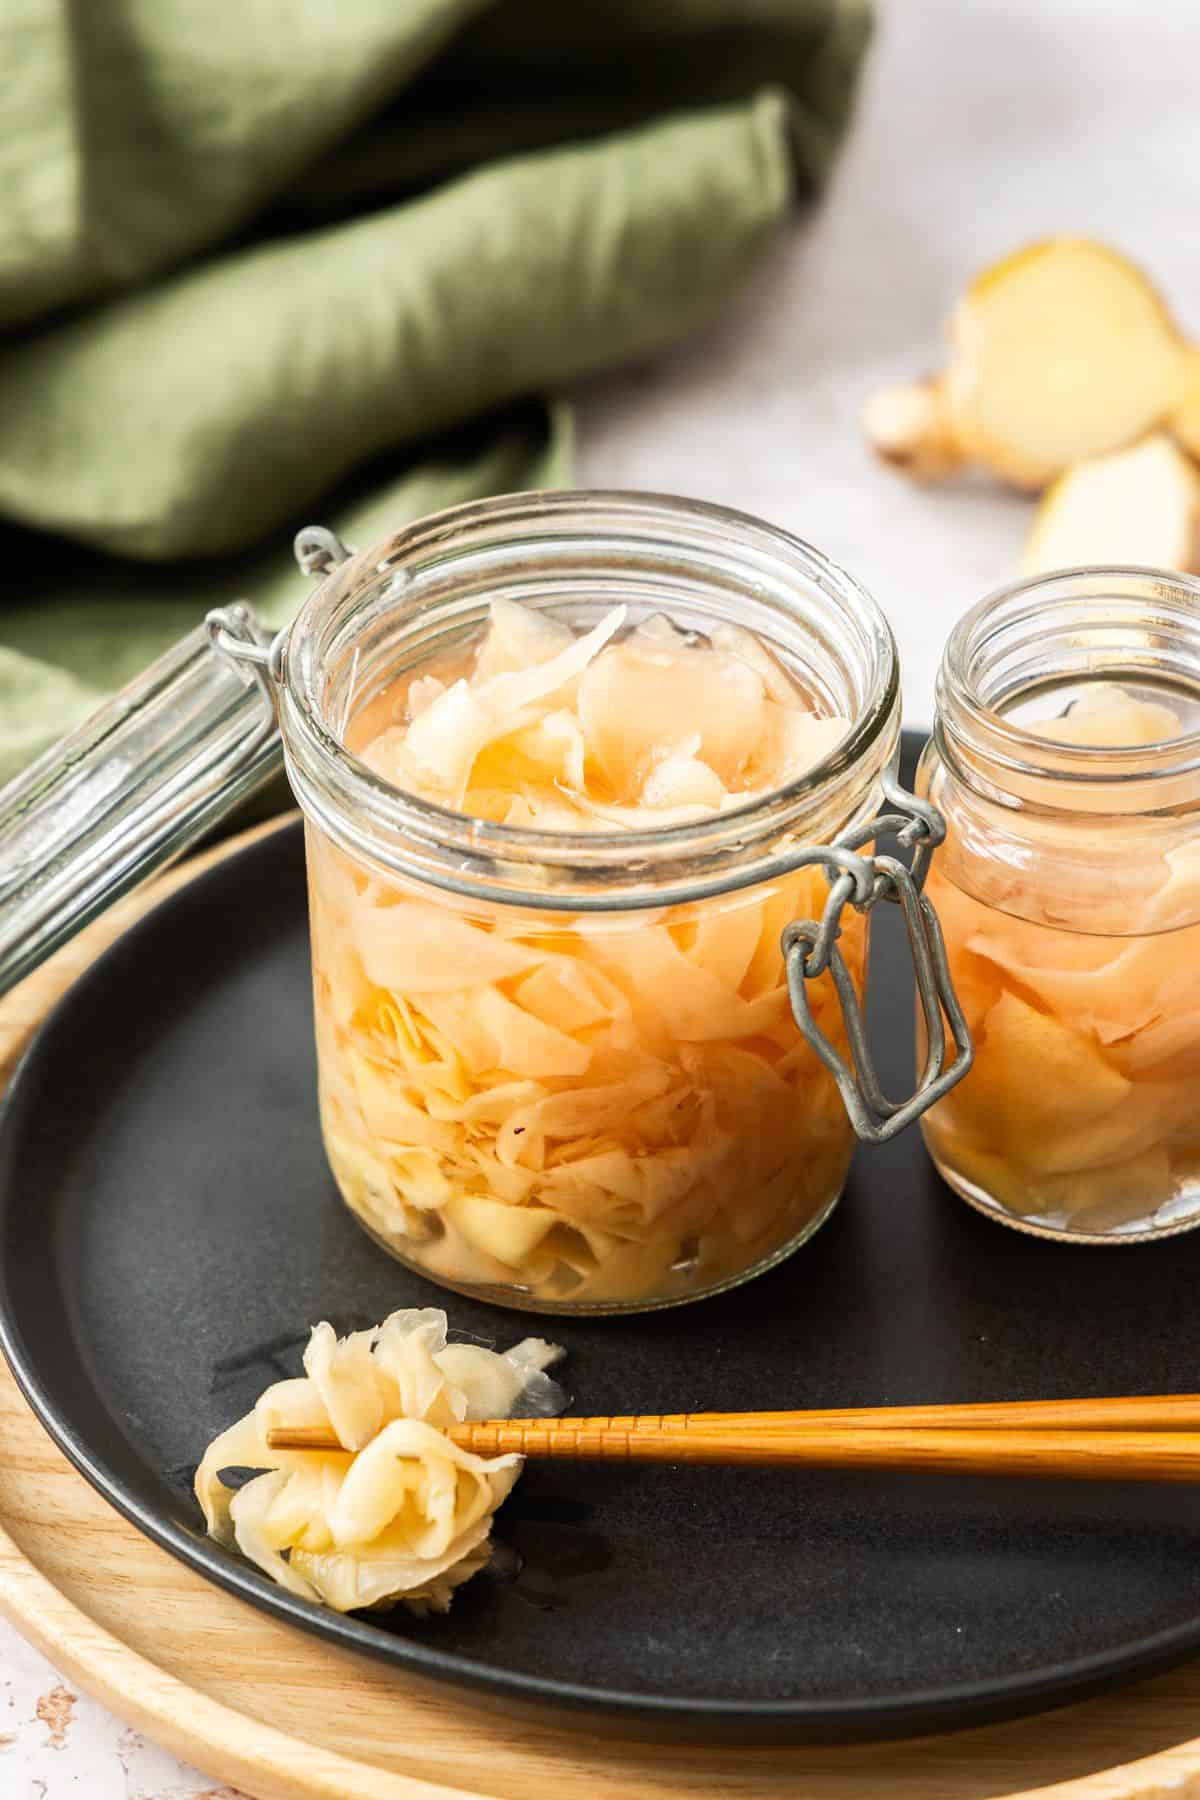
- Ginger - fresh, young ginger is preferred. The skin is thin, the flesh tender and the flavour milder. When covered with the pickling liquid, slices of young ginger will turn a delicate, pale pink shade. If you are unable to find young ginger, you can use mature ginger, readily available in supermarkets or grocery stores. However, the older ginger is more fibrous and harder to slice.
- Rice wine vinegar - is less acidic than many other vinegars. It has a delicate flavour and less acidic bite and works so well with the ginger. It may also be labeled as just rice vinegar.
- Caster/superfine sugar - this finer textured sugar is ideal for the pickling brine. If you only have regular granulated sugar, this can also be used.
- Salt - we use cooking sea salt. This remove excess moisture and helps to soften the ginger. Table salt is not suitable for this recipe.
- Water - we briefly blanch the ginger. For the best flavour, I recommend using filtered/un-chlorinated water.
How To Make Pickled Ginger:
Please see the recipe card further along in the post for exact quantities of ingredients and the full method.
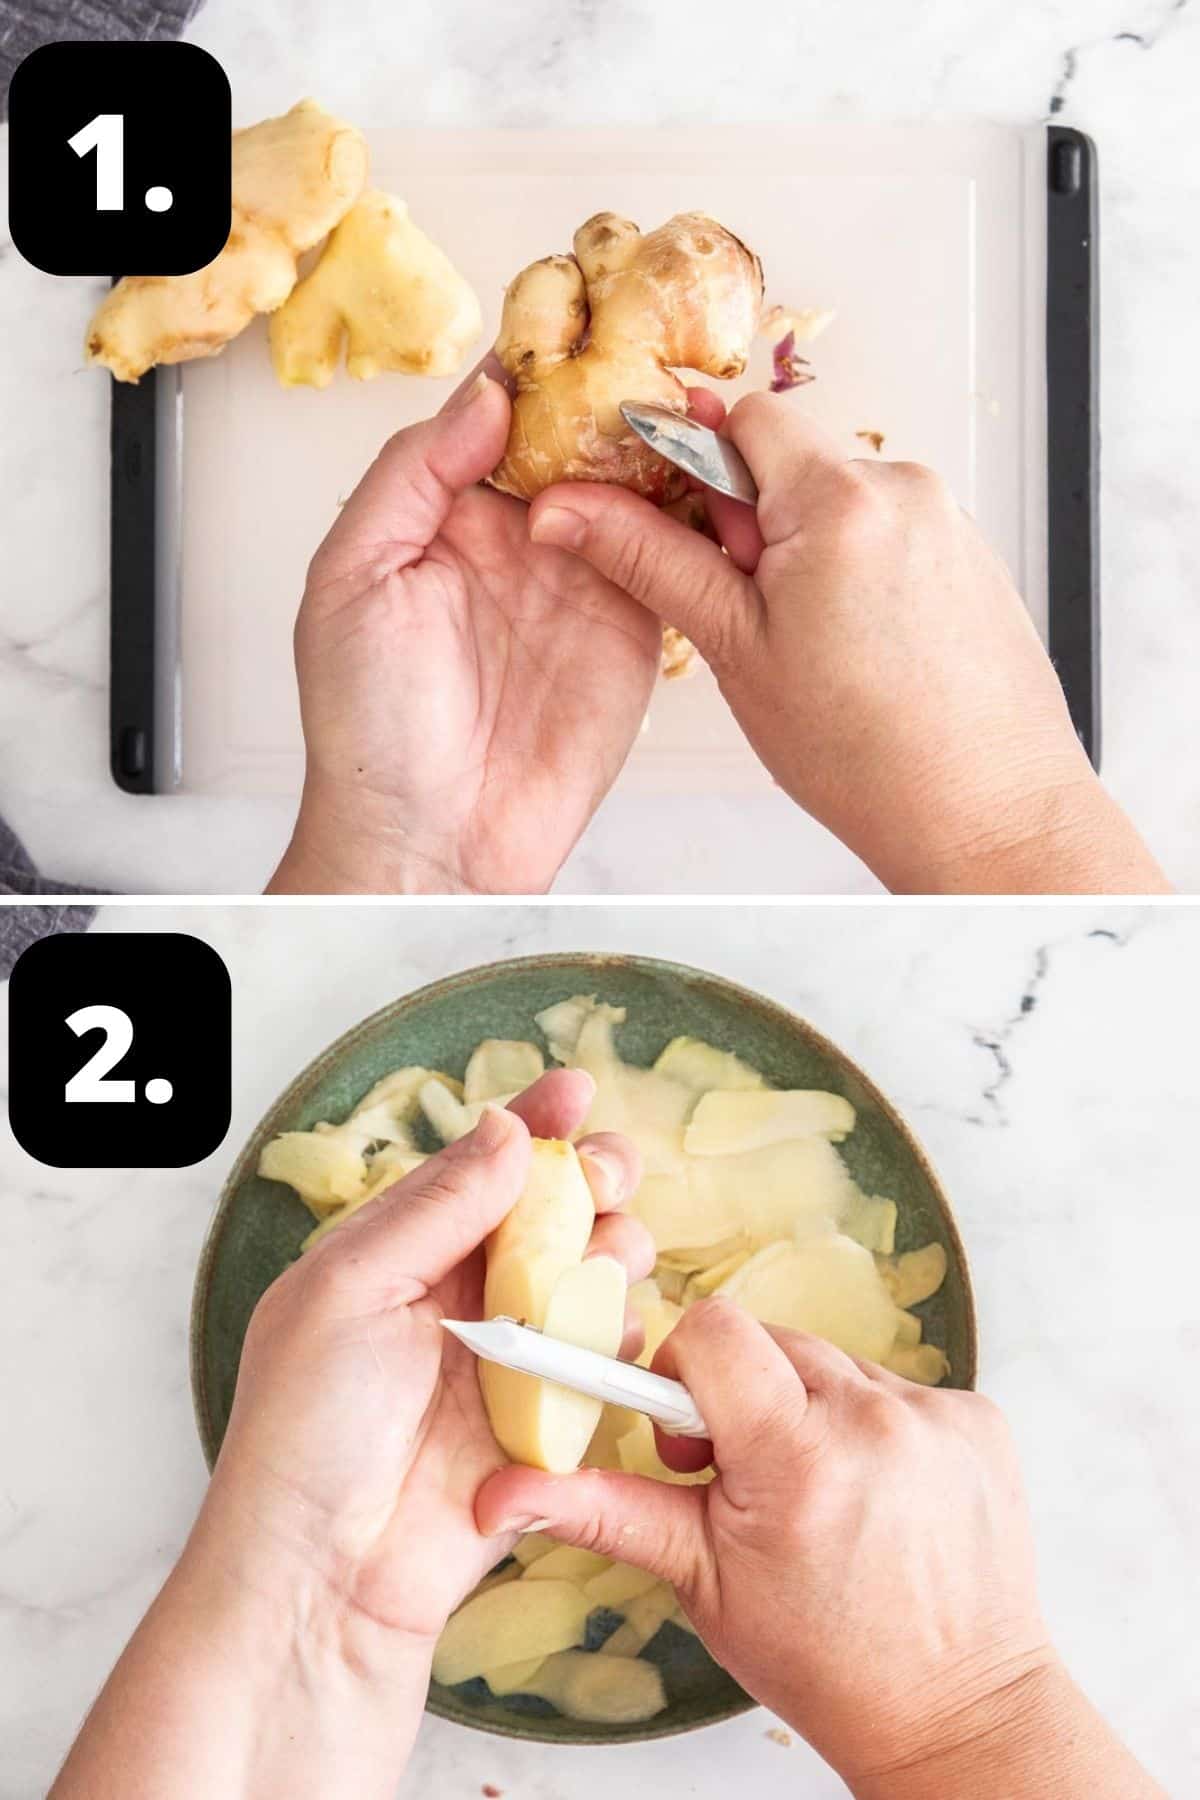
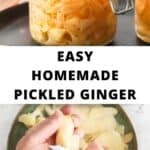
1 - Prepare the ginger:
Using a spoon, scrape the ginger to peel off the skin. Remove any blemishes.
2 - Peel the ginger:
Slice as thinly as possible - for ease, a vegetable peeler is perfect. You can also (very carefully) use a mandoline slicer.
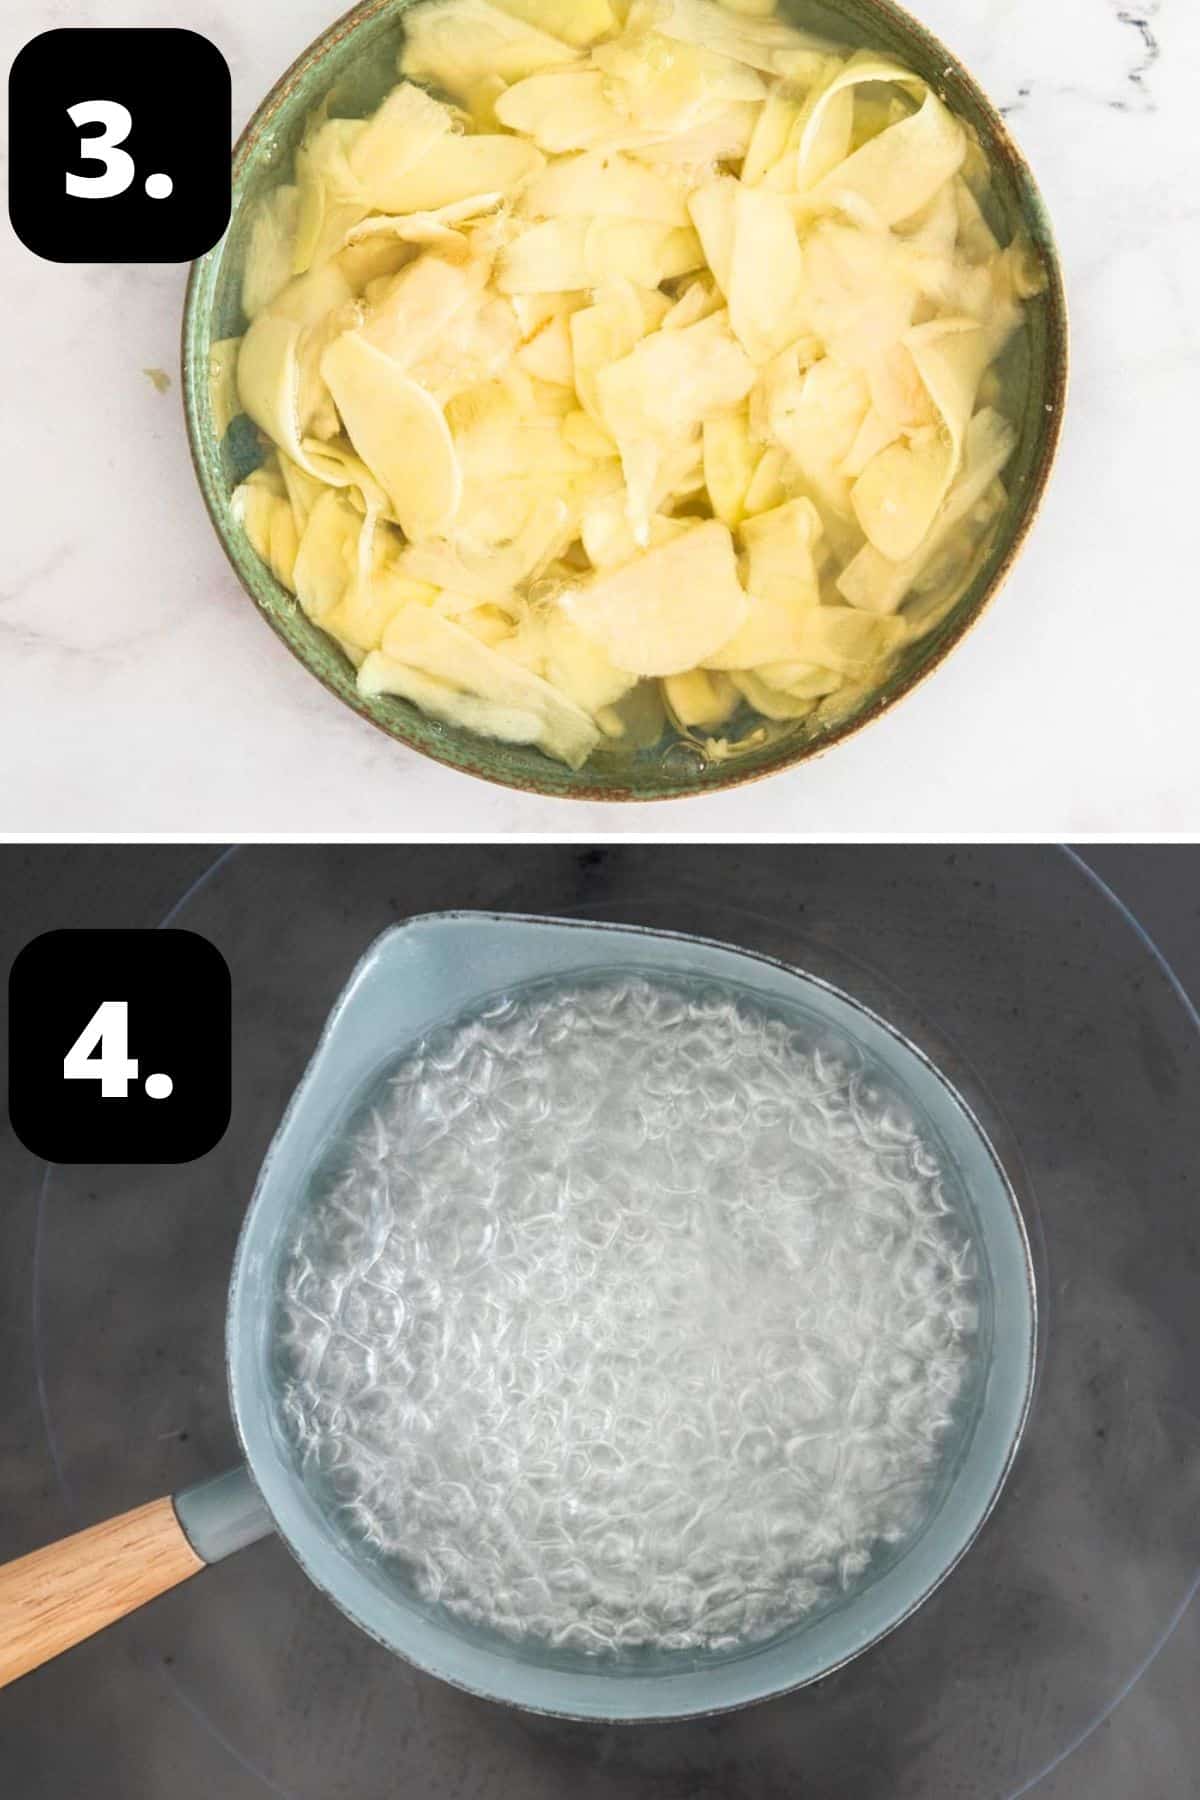
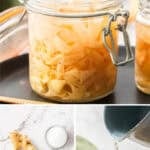
3 - Soak the ginger:
Salt the ginger and set aside, before covering with boiling water.
Once soaked, drain the water and squeeze out excess liquid. Set aside to drain further on some paper towel.
4 - Prepare the pickling brine:
Prepare your pickling liquid by placing the water, rice wine vinegar and sugar in a non-reactive saucepan. On a medium heat, stir to dissolve the sugar. Increase heat, and bring to the boil.
Place the ginger slices into the sterilised jars, pour the pickling liquid on top. Seal the jar, and allow to cool before placing in the refrigerator.
Hint: I strongly recommend that you wait at least 24 hours before trying the Pickled Ginger. It allows the flavours to develop and mellow.
Tips for Success, Storage and FAQs:
When prepared and stored correctly in a sterilised jar, the ginger will last in the fridge for six months.
Yes, this recipe can be adapted to make a smaller or larger batch, depending on the quantity you require.
Yes, you can. Young ginger is seasonal and can be difficult to find, but you can use mature ginger that is readily available in supermarkets or grocery stores. However, it is more fibrous and more difficult to slice, so care does have to be taken in the preparation of it.
One of the most asked questions I receive is from readers wondering why their ginger is not as pink as the commercial variety. To achieve the pink shade in commercially prepared Pickled Ginger, it is likely that colour, either natural or artificial, has been added in the pickling process. As mentioned earlier, very young ginger will naturally develop a pale pink hue when covered in the pickling liquid. This is ideal.
Top Tip:
I strongly recommend that you use rice wine vinegar. The milder flavour is perfect for this pickle.
Serving Suggestions:
Apart from serving Pickled Ginger with sushi and sashimi, I am certain that you will find other ways to enjoy it and may choose to always keep a jar in the fridge. One of the non-traditional ways I like to enjoy it is with our Crispy Crumbed Pork Medallions.
Enjoy the delicious, refreshing flavour of this Japanese Pickled Ginger. I hope you'll love the fresh taste, perfect as a palate cleanser. Be sure to let me know in the comments below when you try it.
Alex xx
More Delicious Recipes For You To Try:
Stay in touch!
Follow me on Facebook, Pinterest, Flipboard and Instagram and subscribe to my newsletter.
Easy Pickled Ginger (Gari)
Please note:
For accuracy, when weights are provided, we recommend weighing your ingredients. This will produce the best results. All oven temperatures listed are for fan forced.
Ingredients
For the Ginger:
- 200 g (7 oz) fresh young ginger See Note 1
- 2 teaspoon cooking sea salt See Note 2
- boiling water - to cover the ginger
Pickling Liquid:
- ¼ cup (60 g) caster/superfine sugar
- ½ cup (120 ml) rice vinegar/rice wine vinegar See Note 3
- ¼ cup (60 ml) water See Note 4
Instructions
To Sterilise the Jar:
- Sterilise the jar you'll be using to store the ginger.Choose glass jars with an airtight, metal lid and ensure they have been washed by hand in hot soapy water then rinsed well. Check that the metal lids do not have rubber inserts - if they do allow them to air dry. Preheat the oven to 130 Degrees C (270 F) and place the jar in the oven for 15-20 minutes. Keep the jar warm.
For the Pickled Ginger:
- Using a teaspoon, scrape the skin off the ginger.Remove any brown spots or blemishes that may be left.
- Using a vegetable peeler, sharp knife or mandoline on a super-thin setting, slice pieces of ginger.In a small heat-proof bowl, add the slice ginger and sprinkle the salt over the top. Stir and allow to sit for 5 minutes.
- Pour boiling water on the ginger (just enough to cover) and sit for a further 2 minutes.Drain the water, and once cool enough to handle, use your hands to squeeze any excess liquid from the ginger.Set the ginger aside to drain further on paper towel while you prepare the pickling liquid.
- Prepare your pickling liquid by placing the water, rice wine vinegar and sugar in a non-reactive saucepan. (See Note 5)On a medium heat, stir to dissolve the sugar. Increase heat, and boil for 30 seconds.
- Place the ginger pieces into the sterilised jars before carefully pouring the hot pickling liquid over the ginger.Seal the jar, and allow to cool on your kitchen bench for 30 minutes, before placing in the refrigerator.
- The Pickled Ginger can be eaten once cooled, but I recommend waiting at least 24 hours to allow the flavours to develop and mellow.
Notes
- Ginger: use the freshest, youngest ginger you can find. The older the ginger, the more fibrous. Fresh ginger has a more delicate skin and milder flavour. Older ginger can be used, but extra care needs to be taken when being prepared.
- Salt: I use a cooking sea salt (not flakes.) Regular table salt may contain anti-caking agents, is much stronger and not suitable for this recipe.
- Vinegar: rice vinegar/rice wine vinegar is preferable for this recipe. Some readers have substituted apple cider vinegar.
- Water: it is essential to use filtered/un-chlorinated water when pickling or preserving.
- Non-reactive saucepans: are those which are made from stainless steel, glass, ceramic or enamelled cookware. Aluminium, copper and iron pans are reactive. Acidic foods, such as vinegar, should be heated in a non-reactive saucepan to avoid taking on a metallic taste.
- The colour: when covered with the pickling liquid, slices of young ginger will turn a delicate, pale pink shade. It will look much less vibrant than commercially prepared Pickled Ginger, that is often altered either naturally or artificially. The pale pink hue achieved with young ginger in this recipe is ideal.
- Storage: when prepared and stored correctly in a sterilised jar, the ginger will last in the fridge for 6 months.
- Nutritional information: is based on the entire jar, and includes the pickling brine.
Nutrition Estimate:
Nutritional Disclaimer:
The nutritional information is an estimate only, and is derived from online calculators. For accurate results, we recommend calculating the nutritional information based on the ingredients and brands you use.
Marie says
I like to make a lot of things from scratch but I never thought pickled ginger would taste much different. Boy am I happy to be wrong! This is AMAZING!!! So much better than any of the store-bought jars I've ever tried.
Alexandra Cook says
Aww, thank you, Marie! Your comment has made my day 🙂
I am so happy you enjoyed the recipe so much.
Alex xo
Shelly Byrne says
Can this be processed in water bath to sterilize and increase shelf life?
Alexandra Cook says
Hi Shelly,
I haven’t personally tried that – the lady who thought me this recipe believed the flavour was best for 6 months only, as it does mellow over time.
Kind regards, Alex
Jorn Haagen says
It's a bit like it is with Sake. The taste is arguably much better 'fresh' than it is 'aged'. Great recipe.
Alexandra Cook says
Thank you, Jorn 🙂
Debbe says
I am spending quite a sum of money buying this at the store.
I can hardly wait to make it. How can we tell if it’s young ginger vs older ginger?
This will save me a lot of money♥️
Alexandra Cook says
Hi Debbe,
I hope you'll enjoy the recipe very much 🙂
Young ginger has a much thinner skin. (It's very smooth and delicate) You'll also notice that it has pink tips or rhizomes.
If you cannot source it - it is very seasonal - then older ginger is fine to use, but just read our tips in the recipe 🙂
Please reach out with any questions!
Alex xo
Lisa C Field says
Love the flavor! I reduced the sugar amount in half because the sugar crystallized in the brine solution the first time I made it. It's yummy!!
Alexandra Cook says
Hello Lisa,
I am so happy you enjoyed this recipe 🙂
Regarding the sugar, I have not had this happen with a pickle before, but perhaps it wasn't properly dissolved the first time?
Alex xo
Alice says
I love this recipe! Thank you! I've used it in stir fry with garlic, onion, vegetables, shredded chicken, soy sauce, sherry, water, and cornstarch. I like trying it alone, too.
Alexandra Cook says
Thank you so much for sharing, Alice!
The stir fry sounds like a wonderful idea! I'll have to give that a try 🙂
Alex xo
Kat Williams says
Hi there... thanks so much for a very simple recipe for PickledGinger
My second time making it...
Did a double batch .. it's really delicious with everything
Alexandra Cook says
Hi Kat,
Thrilled to hear this, thank you 🙂
Appreciate you taking the time to leave a comment. Alex xo
Shelli says
I was wondering about using monk fruit in place of the sugar. It is sweeter so I would use less. But do you think it would not work for any reason? Thanks
Alexandra Cook says
Hi Shelli!
I have not used monk fruit before - does it have a strong taste that could alter the finished product?
Otherwise, I don't think there would be an issue 🙂 You may wish to make a small batch to begin with, just to ensure you're happy with the taste.
Alex xo
Jerry Wayne Keller says
I enjoyed this recipe, it was super easy,the timing of all the components,,
salting,soaking and adding pickling brine worked out well, proportions were just right ! my wife will be soooo happy!!
thanks!!
Alexandra Cook says
Thanks so much, Jerry! Great to hear your feedback 🙂
Appreciate you taking the time to comment! Alex xo
Nanette Pengelley says
How long would you recommend storing these for?
Alexandra Cook says
Hi Nanette,
When prepared and stored correctly, the ginger will last in the fridge for 6 months.
Let me know if you give the recipe a try 🙂 Thanks, Alex
Cheryl says
I love this recipe! Can I substitute maple syrup for the fine sugar?
Alexandra Cook says
Hello Cheryl,
Thank you! I haven't tried an alternative sweetener - maple syrup would alter the taste, but you could certainly give it a try and let us know how you get on?
Alex xo
Christine says
Can you use pink Himalayan salt?
Alexandra Cook says
Hi Christine,
It is generally not recommended in pickling. I personally haven’t tried it, but have read that the Himalayan salt can alter the flavour of the pickles and discolour them due to the minerals it contains. As such, I’d recommend sticking to the recipe as written, for the best result.
Alex xo
Gloria says
What a great way to preserve ginger. Awesome to add to recipes. Much better than the ginger you get with takeout sushi.
Alexandra Cook says
Thank you, Gloria!
I am so happy you enjoyed this recipe 🙂 Alex xo
Leslie says
Great recipe for extra flavor!
Alexandra Cook says
Thank you, Leslie! 🙂
Satine says
Hi Leslie! Why wouldn’t you want to use a lid with a rubber insert? I only have weck canning jars. Thank you!
Alexandra Cook says
Hi Satine,
You can absolutely use them, but we don't recommend placing a lid with a rubber insert in the oven as it can damage it - just allow it to air dry instead 🙂
Let me know if you have any queries and I hope you'll enjoy the recipe! Alex xo
Scott Dobry says
Whats the pickling liquid mixture? It never said. At least I did not see it.
Alexandra Cook says
Hello Scott,
You'll find all the details for the pickling liquid in the recipe card.
It's just a little bit above the comment section, so if you're reading my reply, scroll up slightly.
All our posts have a "jump to recipe" button at the top of the page too that you can click to be taken directly.
Thanks! Alex 🙂
Geoff says
I followed the recipe but the ginger didn't turn pink
Alexandra Cook says
Hi Geoff,
The level of pink will depend on your ginger - was it a lovely young, new ginger? Or older? The younger ginger is what helps achieve a soft pink colour.
Also, just as a note, this recipe won't produce the shade of pink you see in commercial varieties - many are artificially coloured or enhanced using beetroot juice etc.
Hope you'll enjoy the taste of it anyway 🙂 Thanks, Alex
Stan Kwiecian says
frequent user, I add a few slices of fresh turmeric
Alexandra Cook says
Hi Stan!
Thanks so much for taking time to leave a comment.
I've never tried with fresh turmeric before, but will add it to my next batch 🙂
Thanks, Alex
Tammy says
Super delicious and sooo much better than store bought. Will make again and intend to always have this on hand! Thanks!
Alexandra Cook says
So happy you enjoyed this, Tammy!
Thanks for taking the time to comment.
Alex xo
Sheila says
How long will the ginger last in the refrigerator?
Alexandra Cook says
Hi Sheila,
When prepared and stored correctly, the ginger will last in the fridge for 6 months.
Let me know if you give the recipe a try 🙂