

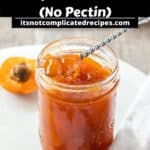


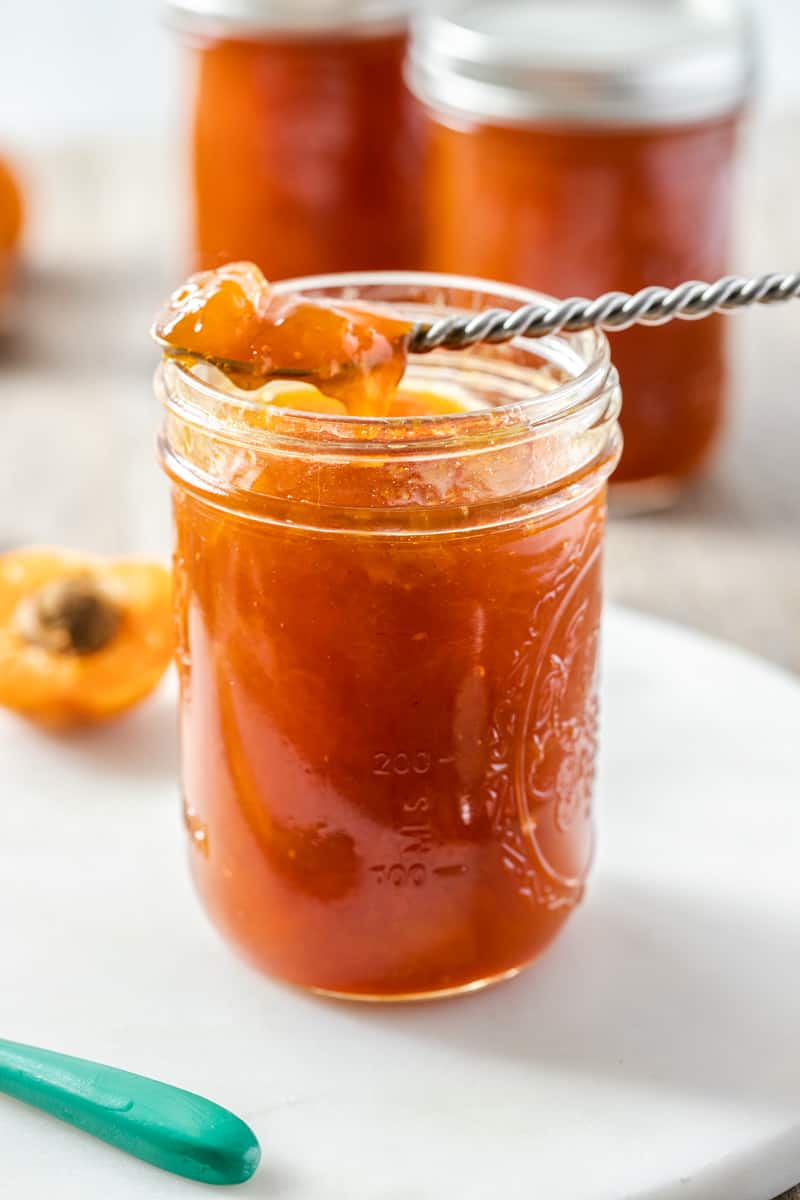
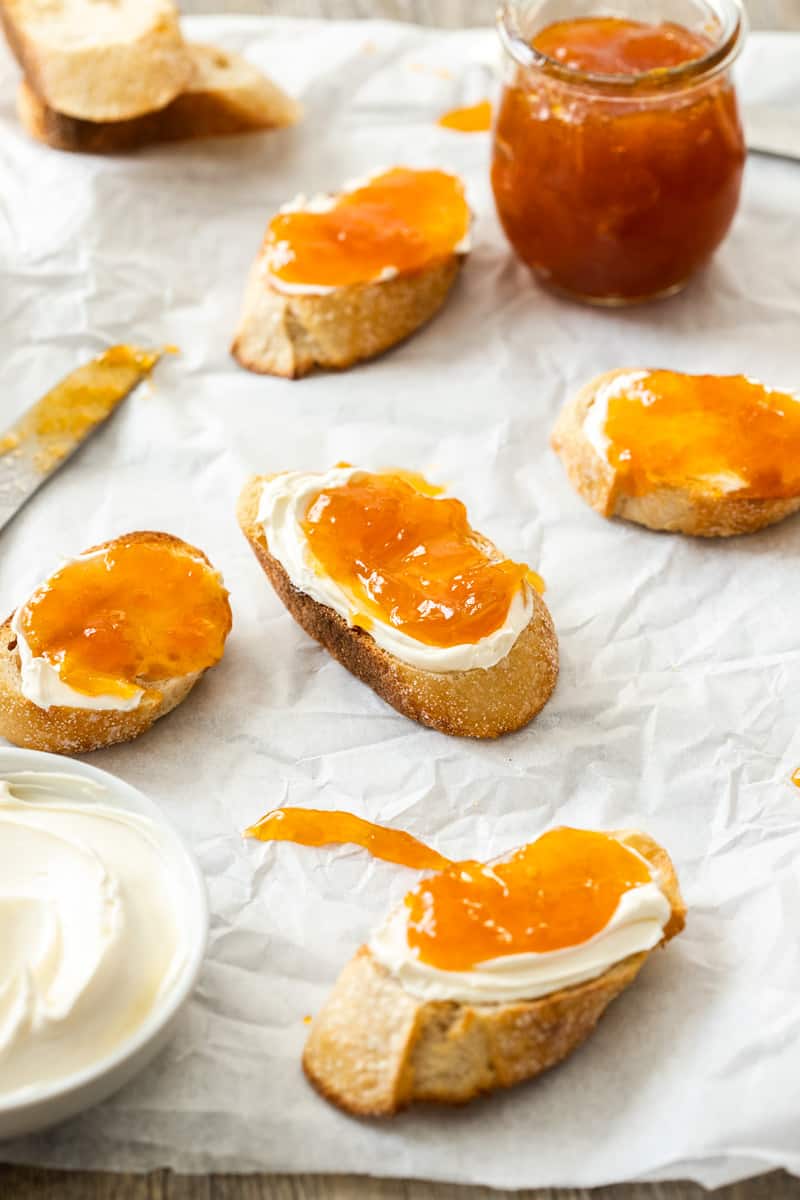
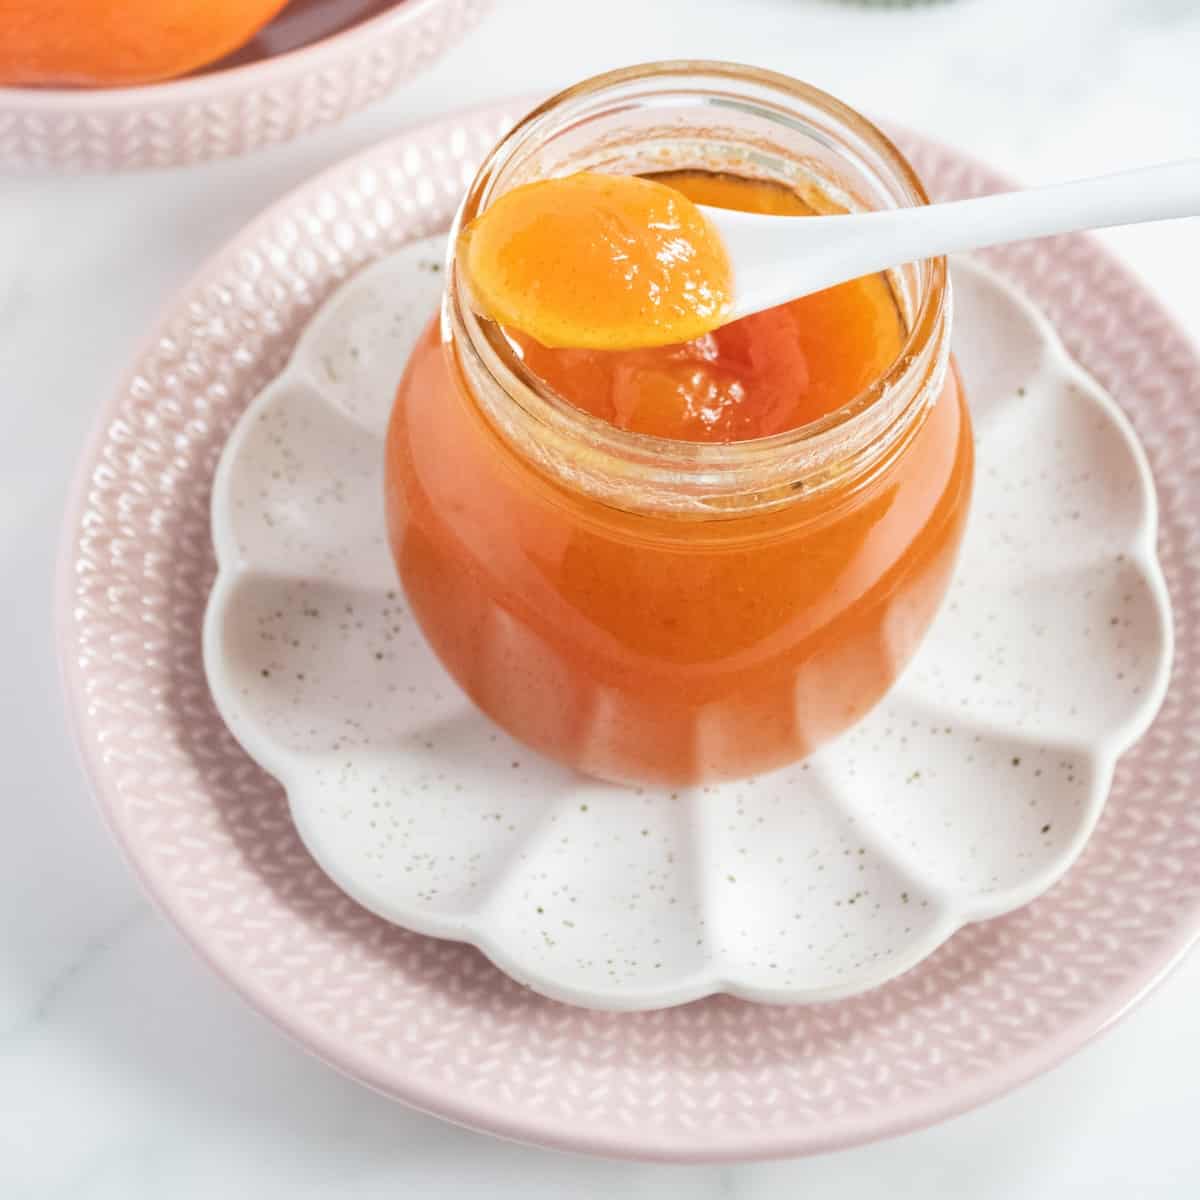
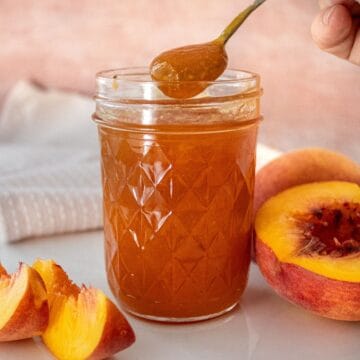
You will love this classic recipe for Apricot Jam, made with sweet, ripe, juicy apricots at the height of their season. It is the ultimate way to preserve this delicious stone fruit to enjoy throughout the coming months. All you need are three ingredients to make this delicious jam: just fresh apricots, sugar and lemon juice - no pectin is required.
Why you'll love this recipe:
- Apricot jam is incredibly easy to make and having a few jars of this condiment in your store cupboard means that you will be able to enjoy the taste of summer far beyond the season. In this recipe, I will show you, with step-by-step instructions, how easy it is to make Apricot Jam.
- Homemade jam tastes infinitely superior to shop-bought.
- There are no unwelcome additives, artificial preservatives, or thickeners that you may find in a commercially prepared jam. For me, one of the most important parts of home cooking is the knowledge that I control the quality of the ingredients.
- It makes a wonderful edible gift. For attractive presentation, cut a circle of coloured paper or cloth, place over the lid and tie with a pretty ribbon.
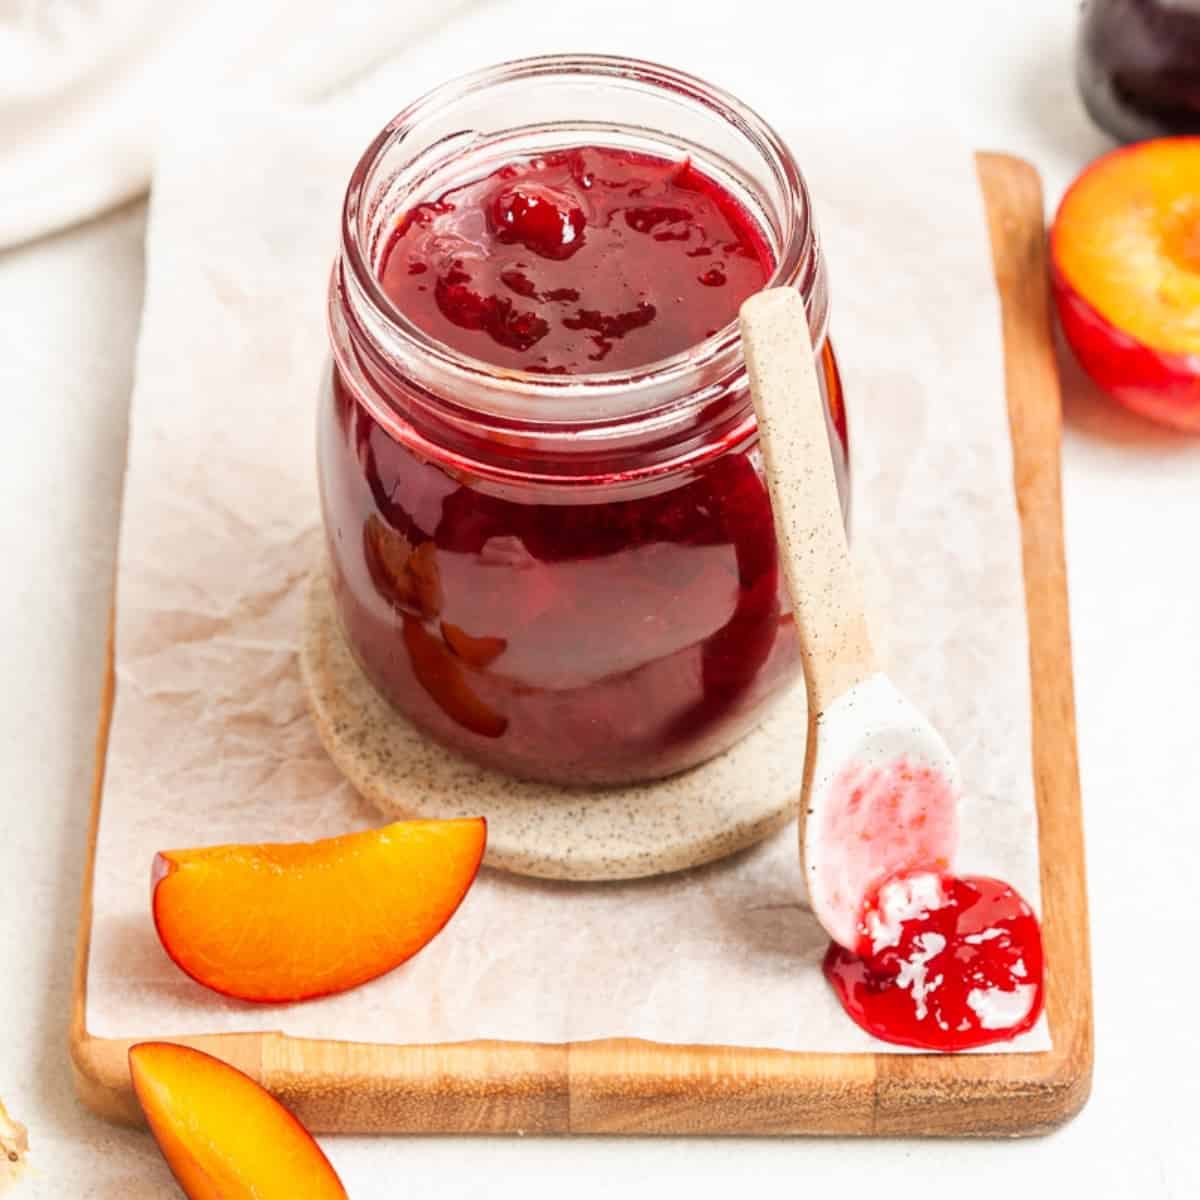
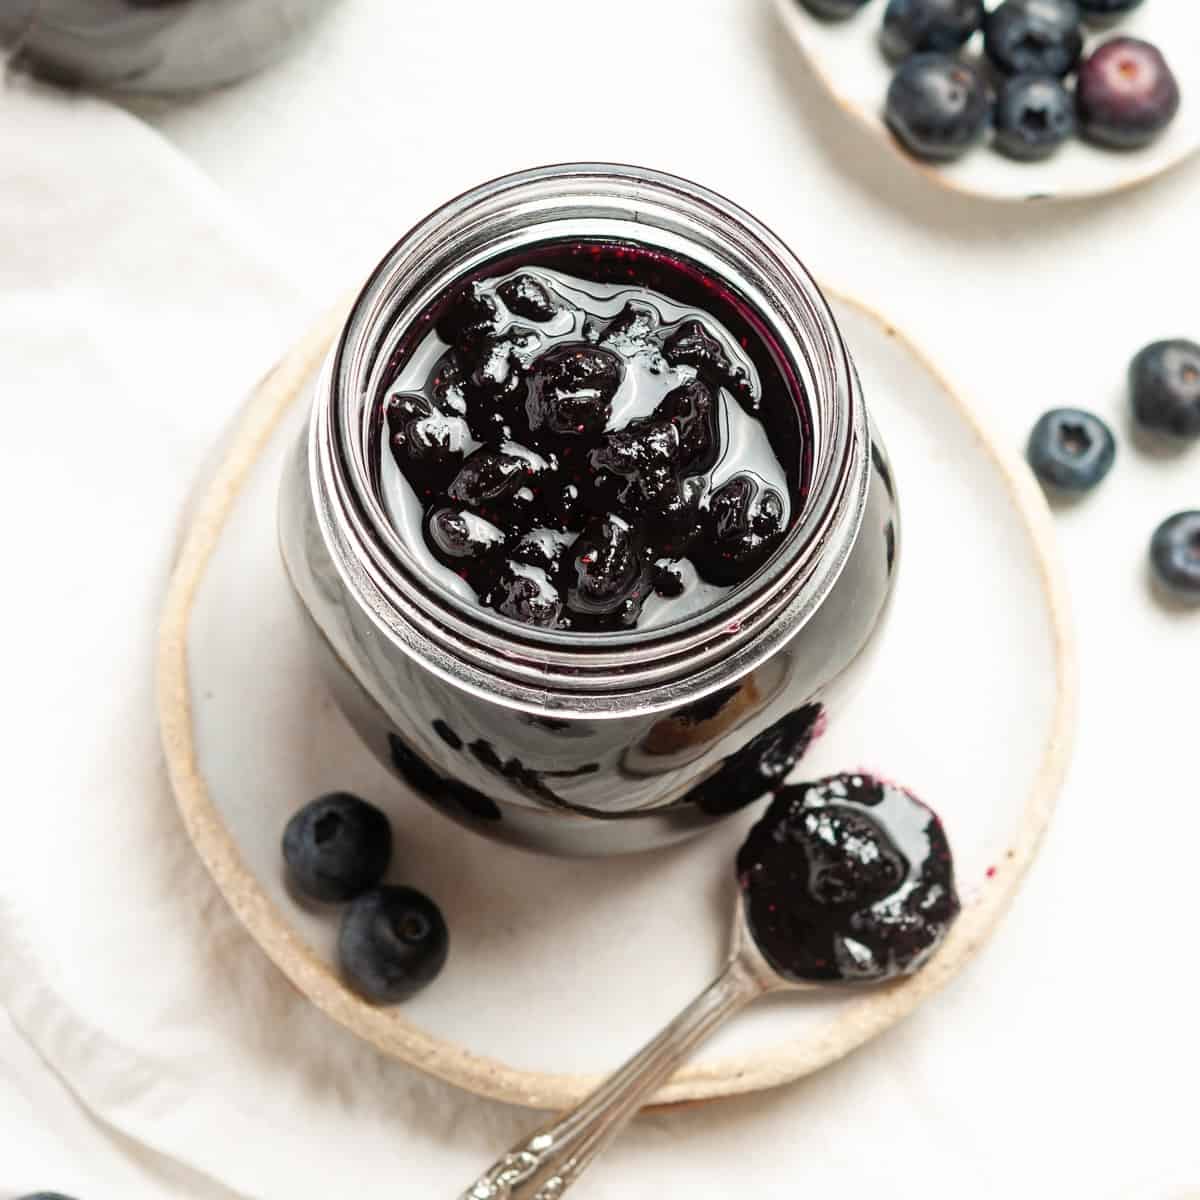
Recipe Inspiration: this recipe is one my Nana and Great Aunt Edie made every Summer. They taught my Mum and my Mum and I now make it together every year. Be sure to also try our Raspberry Jam and Blackberry Jam!
Ingredients and Substitutions:
Please see the recipe card further along in the post for exact quantities of ingredients and the full method.
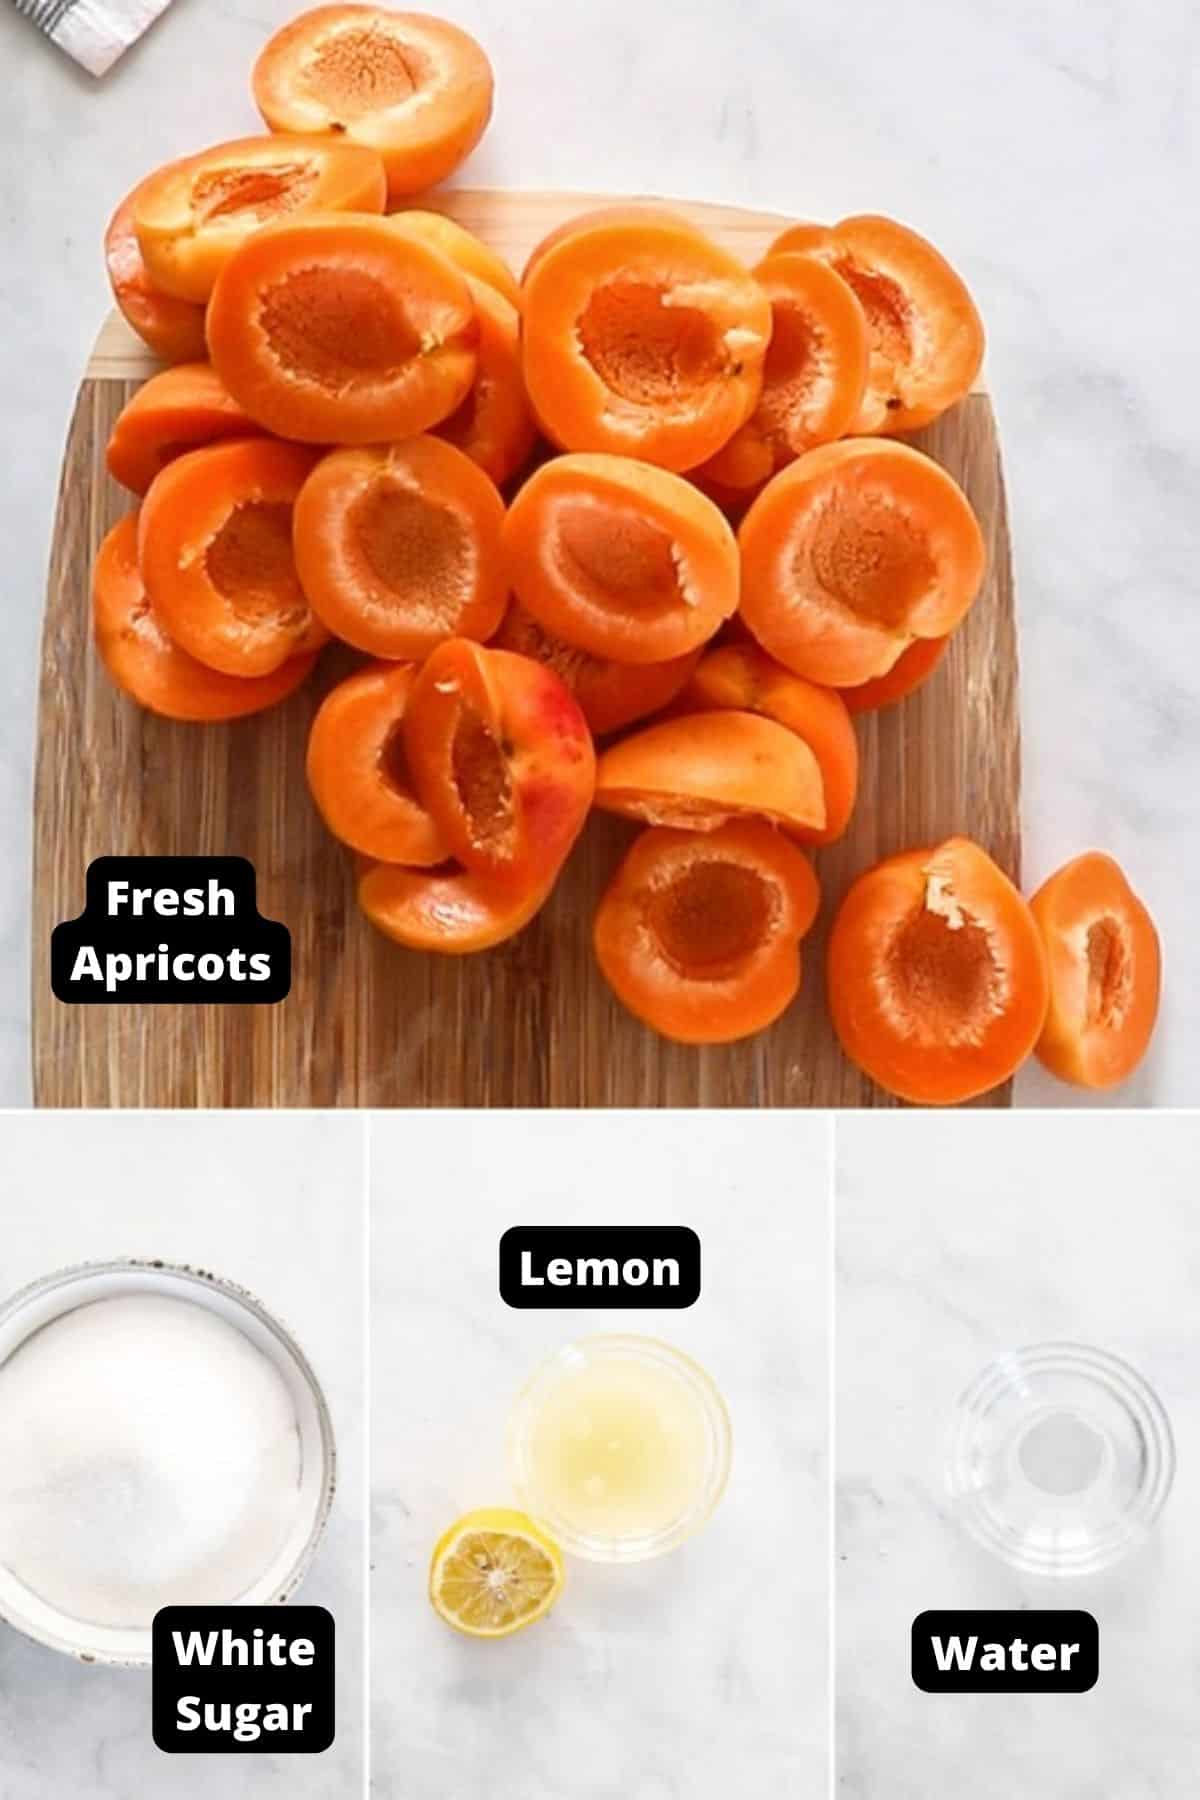
- Fresh apricots - freshly picked, good quality fruit is essential for jam making. Select fruit which is ripe, but not too ripe, and has great flavour. Fruit that is just ripe, including some that are slightly unripe, will form a jam more easily as it is more acidic and contains more pectin which will help it to set. Do not use apricots that are over-ripe, soft or bruised as they may cause the jam to spoil.
- Lemon juice - apricots have a medium pectin content and low acidity, so to boost the acidity and pectin I add lemon juice. Lemon juice is acidic and has high pectin content and together with sugar aids with the setting of the Apricot Jam. Also, the acidity of the lemon juice helps to prevent the growth of bacteria and balances the sweetness of the sugar.
- Sugar - sugar is vital to flavour the jam by sweetening it. Also, it interacts with the acids and pectin, helping the jam to set. Additionally, it has a preservative effect enabling the jam to be shelf-stable to enjoy through the months ahead. We use regular white granulated sugar in this recipe.
Variations:
Spices - ground cinnamon, nutmeg or ginger are all delicious additions. Adjust the spice levels to your taste preference. Please note that they will slightly alter the colour of the jam.
How To Make Apricot Jam:
Please see the recipe card further along in the post for exact quantities of ingredients and the full method.
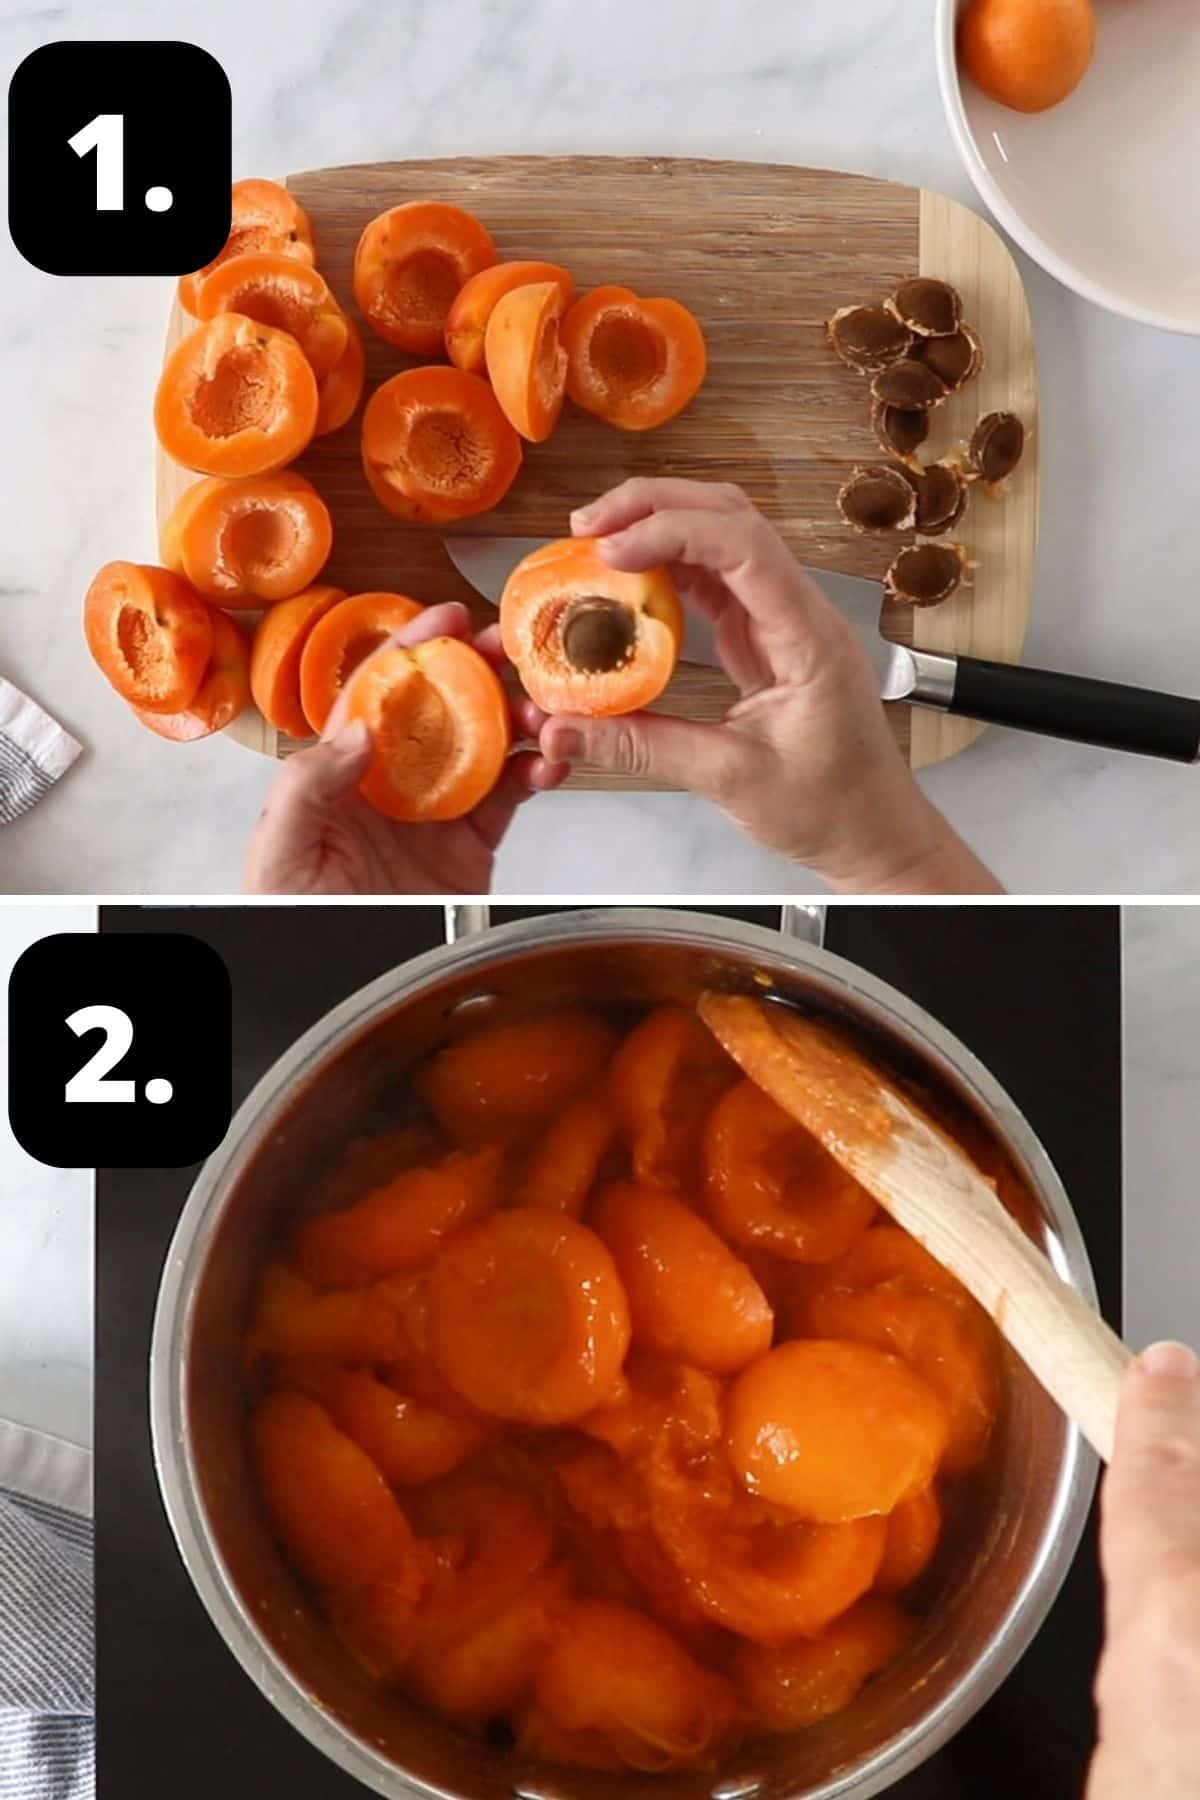
1 - Prepare your fruit:
Thoroughly wash and dry the apricots. Then, cut the apricots in half and remove the stone. Remove any blemishes from the apricots. You'll want the prepared weight for this recipe - this is after any stones or blemishes have been removed.
2 - Soften the fruit:
Add the fruit to a large, wide saucepan, along with the lemon juice and a small amount of water. Over medium heat, bring it to a gentle simmer. The fruit will release liquid as the temperature rises. Cover the saucepan to avoid evaporation of the liquid.
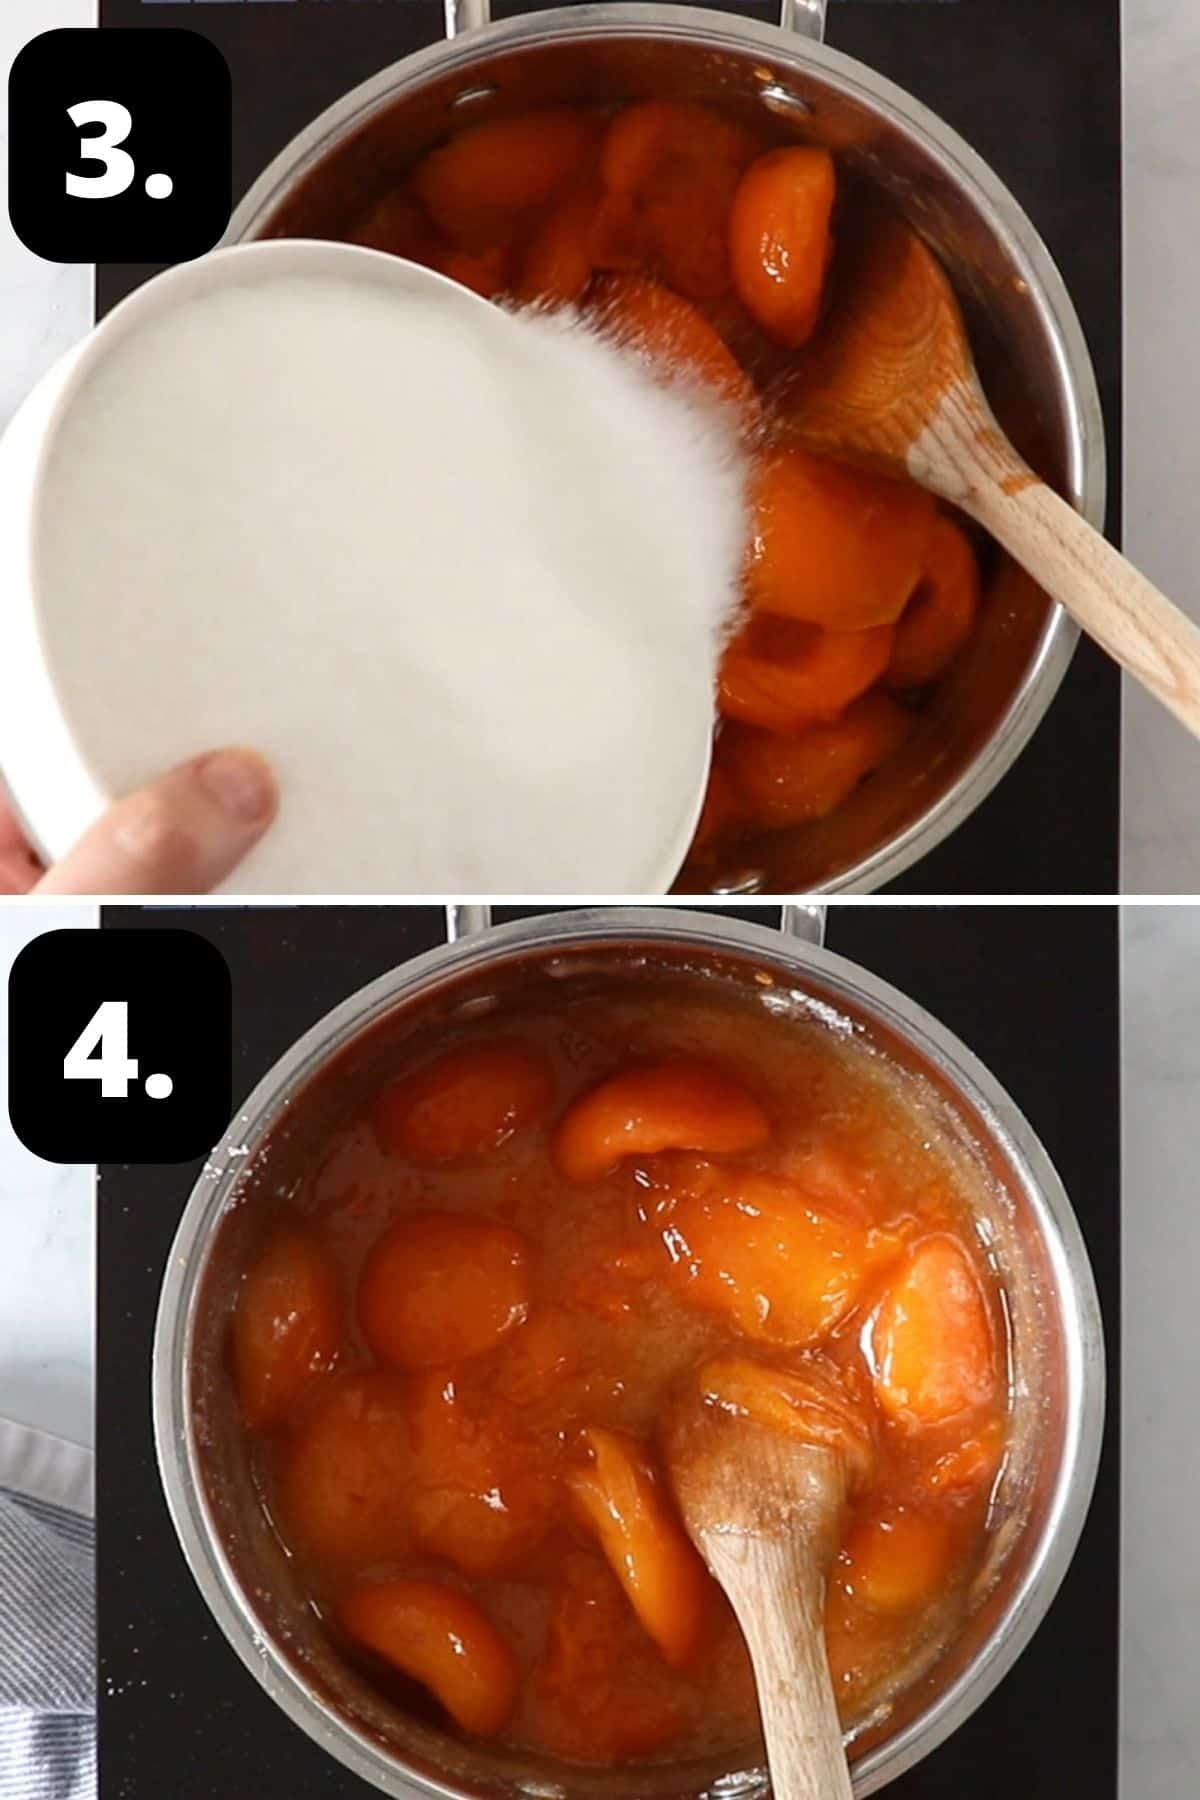
3 - Add the sugar:
After about 10 minutes, when the fruit softens, remove the lid and add the sugar. Stir frequently to dissolve the sugar.
4 - Bring to a boil:
When the sugar dissolves, increase the heat and bring the mixture to a rapid boil. Stir frequently to prevent the jam from catching on the bottom of the pan.
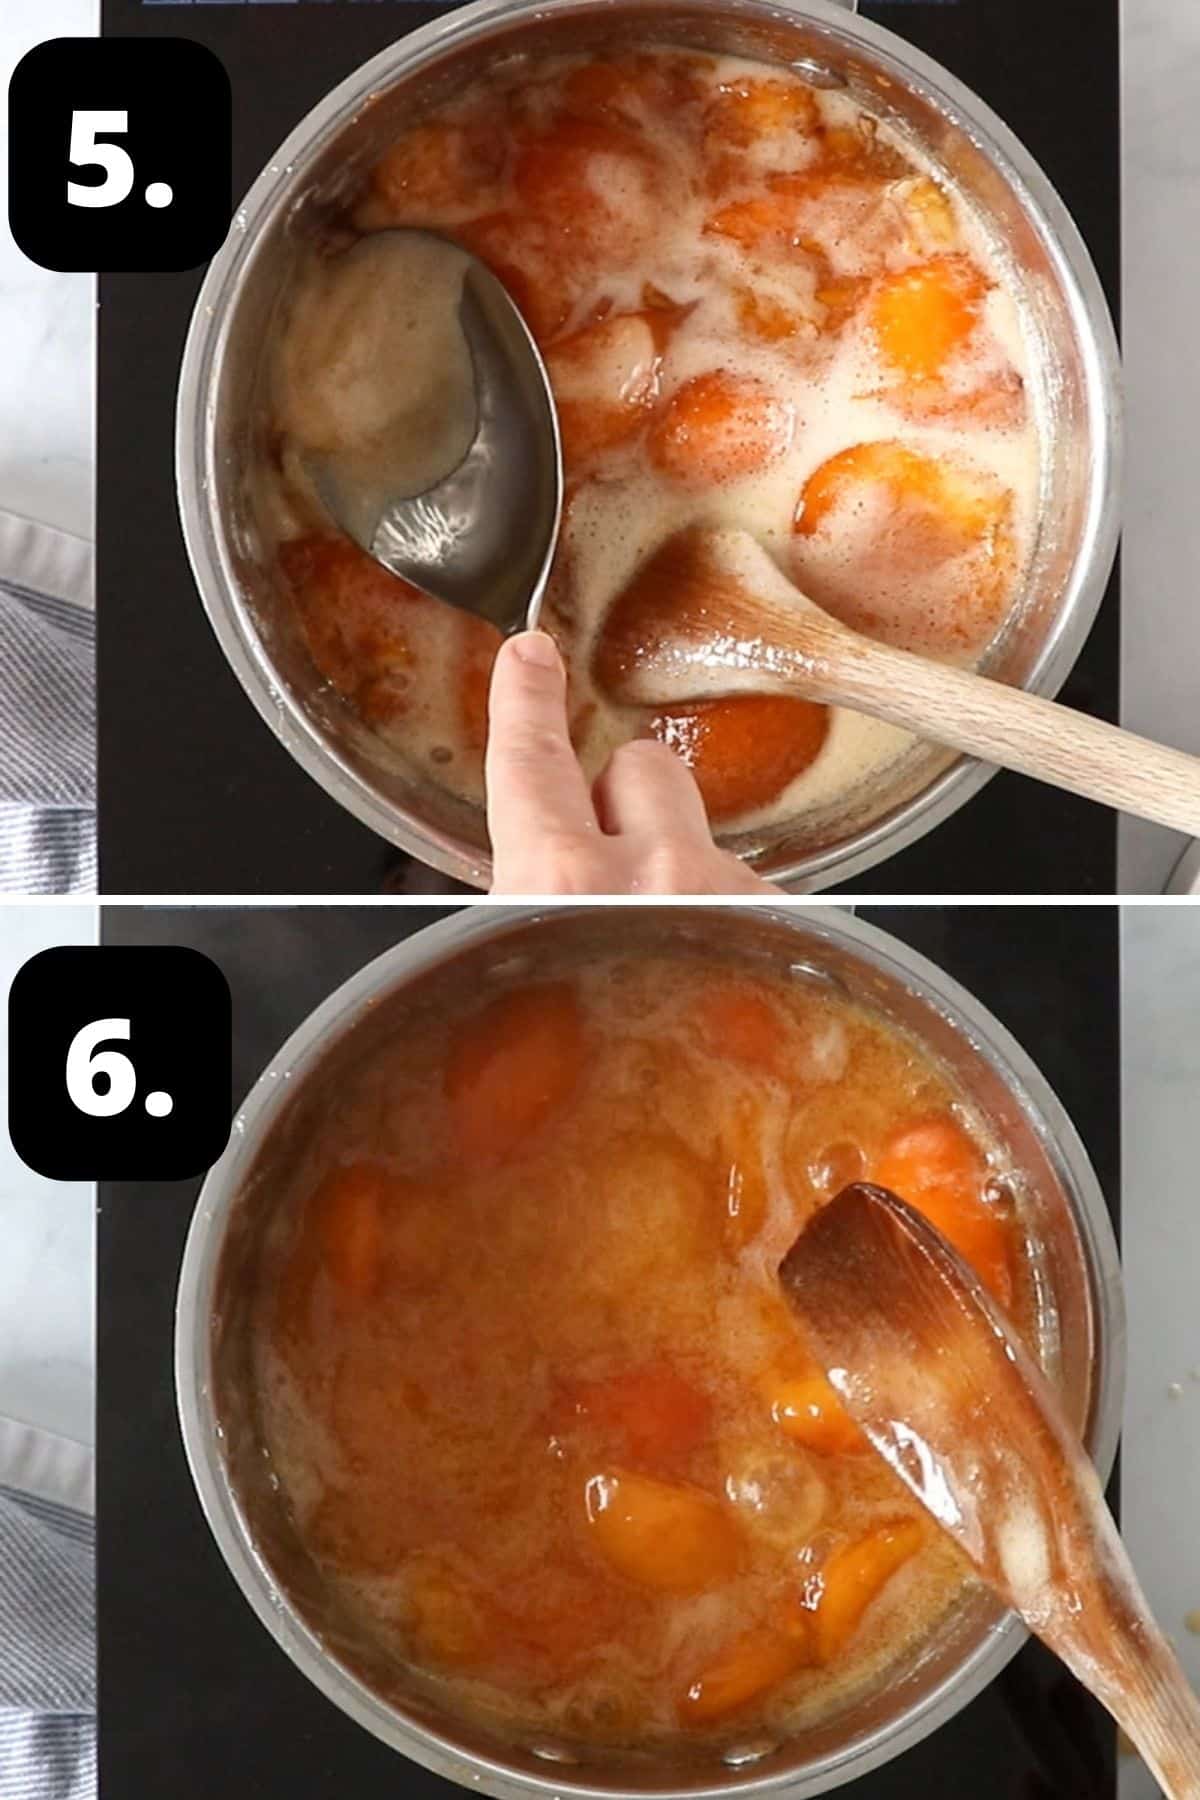
5 - Remove any scum:
You may find that a scum forms on the surface of the jam; this is normal, and if you wish, you can remove it by lightly skimming with a spoon. You can also add a small amount of butter at the end of cooking to remove the scum if you prefer.
6 - Cook the fruit:
Stir the jam regularly and cook for approximately 20 minutes.
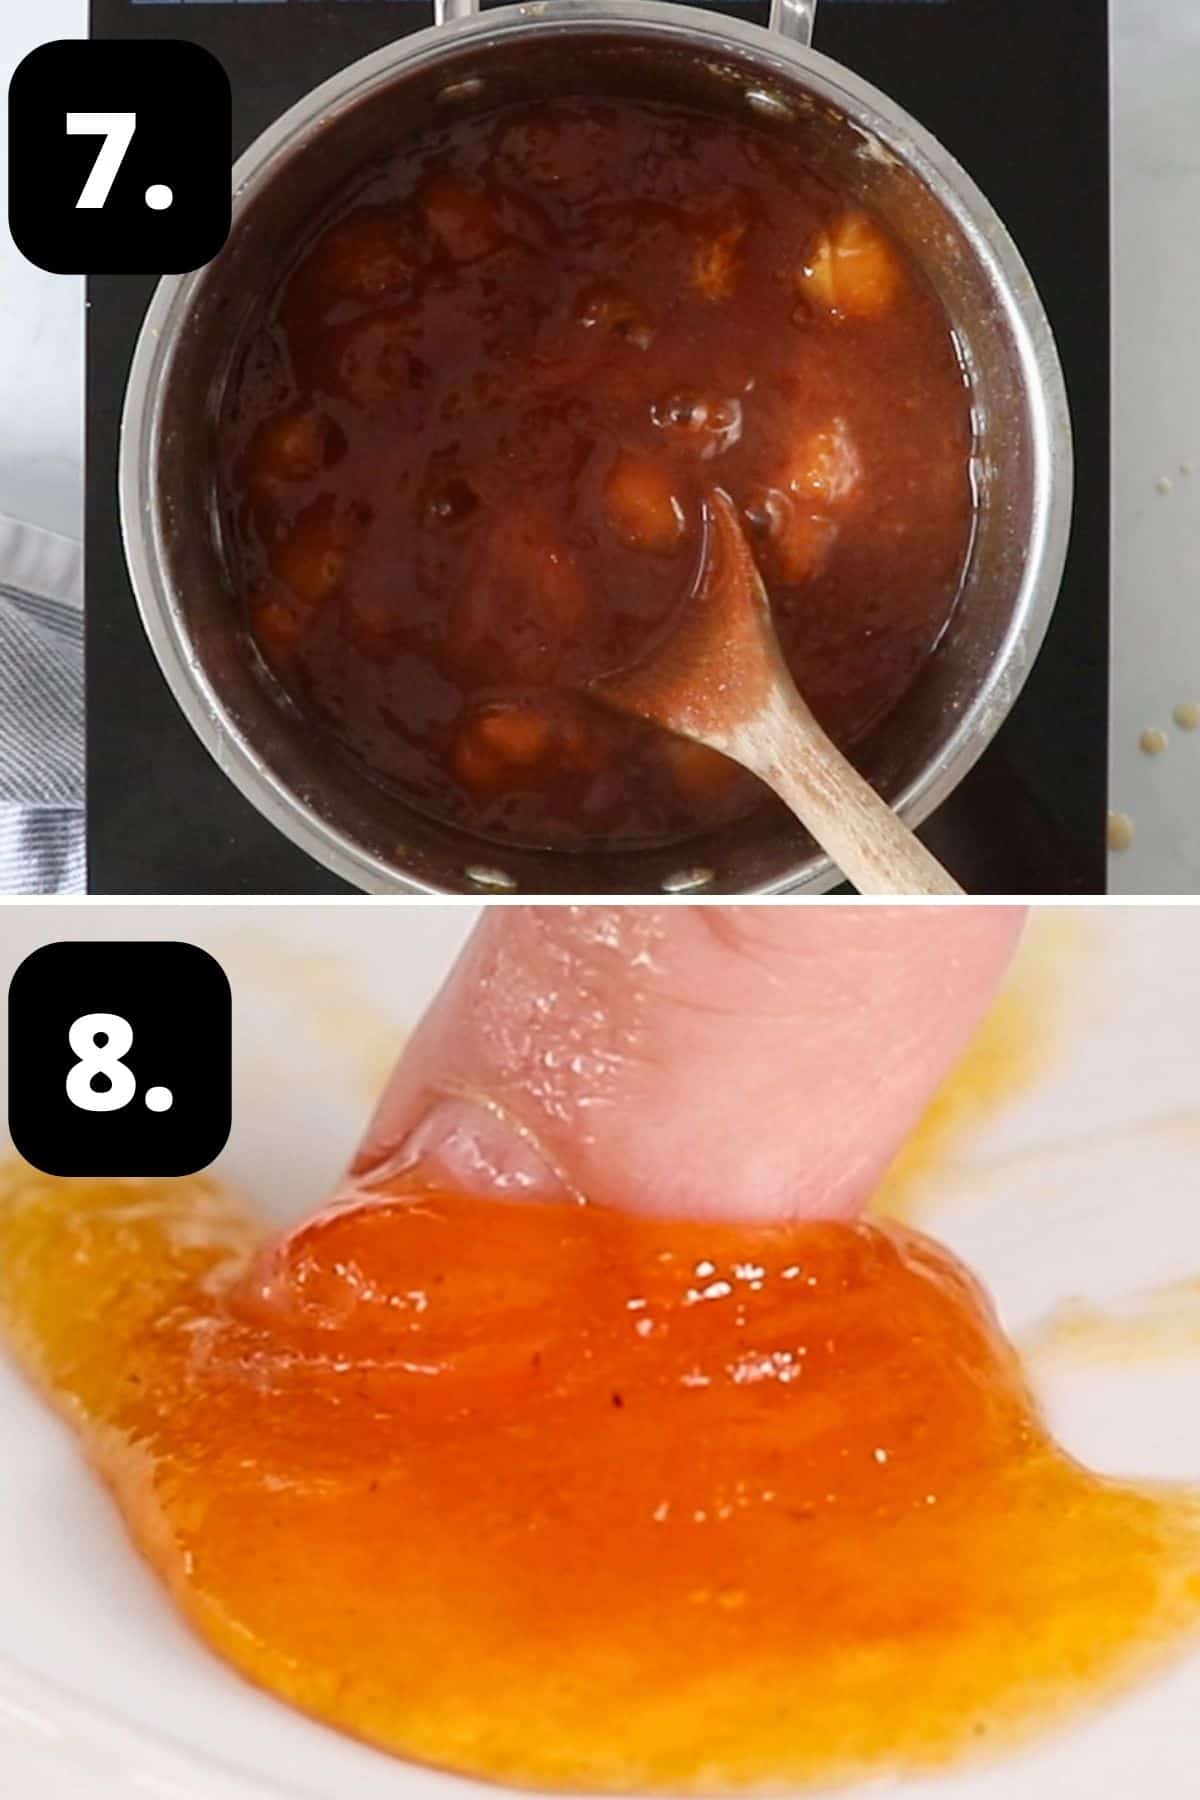
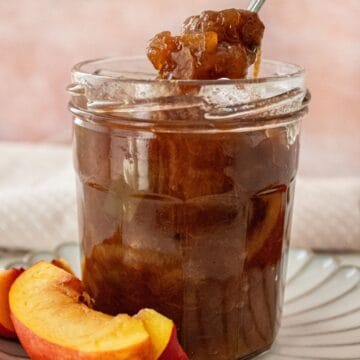
7 - The cooked Apricot Jam ready for testing:
After about 20 minutes, I start to test for setting point.
8 - Test for setting point:
This is the wrinkle test - to test, take a small amount of jam and put it onto a cold saucer. Leave for a moment to cool and then push the outer edge of the jam into the centre with your index finger. If the jam wrinkles, even a little, it will set. If the jam has not reached setting point, boil it for another 3 to 5 minutes and then test again.
When the Apricot Jam is ready, set it aside for about 10 minutes. This will allow the fruit pieces to be evenly distributed throughout the jam. If bottled immediately, the fruit will rise to the top of the jar.
Do not leave the jam for longer than 10 minutes. To preserve the jam, bottle it whilst it is still hot. Ladle it into the hot, sterilised jars and seal immediately.
Hint: testing the accurate setting point is an essential part of jam making. For accuracy, we test two ways - using the chilled plate and wrinkle test method and using a thermometer. Full details are in the recipe card.
Equipment Needed:
When making your own preserves, always ensure you are sterilising the jars you will store them in. This is very simple to do:
- Choose glass jars with an airtight, metal lid and ensure they have been washed in the dishwasher or by hand in hot soapy water then rinsed well.
- Check that the metal lids do not have rubber inserts, as these could melt in the oven. If they do have rubber inserts, wash the lids and allow them to completely air dry.
- Preheat the oven to 130 Degrees C (270 F) and leave the jars for 15-20 minutes.
You can use recycled glass jars with metal lids that are in good condition or purchase new ones. Jars which have contained pickles are generally not suitable as they often hold the aroma. Save these for your own chutneys or pickles.
You will not need any special equipment to make this recipe. You need a large, wide saucepan. The large surface area allows faster water evaporation, giving the jam a concentrated flavour. Without a large saucepan, there is the risk of it boiling over.
Avoid aluminium, copper or iron pans; the acid in the fruit may react with the pan, giving the jam a metallic taste.
As well, I use a long-handled wooden spoon to keep my hand away from the bubbling jam.
Tips for Success, Storage and FAQs:
For successful jam making, it is essential that the fruit is freshly picked and of good quality. The fruit should not be overripe.
If you follow the recipe instructions precisely and your jars are thoroughly sterilised, the Apricot Jam should be shelf-stable for a year, possibly longer. No canning is required, however if you prefer to can this recipe, please feel free. (See notes in the recipe card.) When you open a jar, store it in the fridge. Always use a clean spoon to remove the jam. Once opened, your jam will be at its best for about six weeks.
Apricots have fine, smooth skin and it does not need to be removed. As well, the skins contain pectin which aids with getting the jam to set.
Conventional jam requires a lot of sugar. When you see it weighed out it is slightly alarming but please don't reduce the amount of sugar. The sugar not only sweetens the fruit, but it helps the jam to set and acts as a preservative. If you reduce the sugar, your jam may not be shelf stable.
Lemon plays an important role in jam-making. It is high in acid and pectin, both essential for the setting of the jam. As well, the acidity of the lemon helps balance the sweetness.
Pectin is a naturally occurring starch that is found in varying degrees in fruits and vegetables. It is what makes jams and jellies firm when they are cool. When combined with acid and sugar, and cooked to a high temperature, it forms a gel. Pectin levels vary depending on the fruit.
Top Tip
Before you get started, place two heatproof saucers or small plates in the freezer. Use these to test when the jam has reached setting point.
Serving suggestions:
There are so many ways to enjoy this beautiful Apricot Jam:
- It is especially enjoyable in the morning with toast or a croissant. The Apricot jam is not too sweet; it is slightly tangy which I find a great way to get the day started.
- It is delicious served with scones and cream, swirled through plain yoghurt or to fill pastry cases.
- Try is spooned over some oatmeal.
- Serve with pancakes or waffles.
- Glaze a fruit tart or Apricot Puff Pastry.
- To glaze a ham.
- Drizzled over fresh, tangy goat cheese.
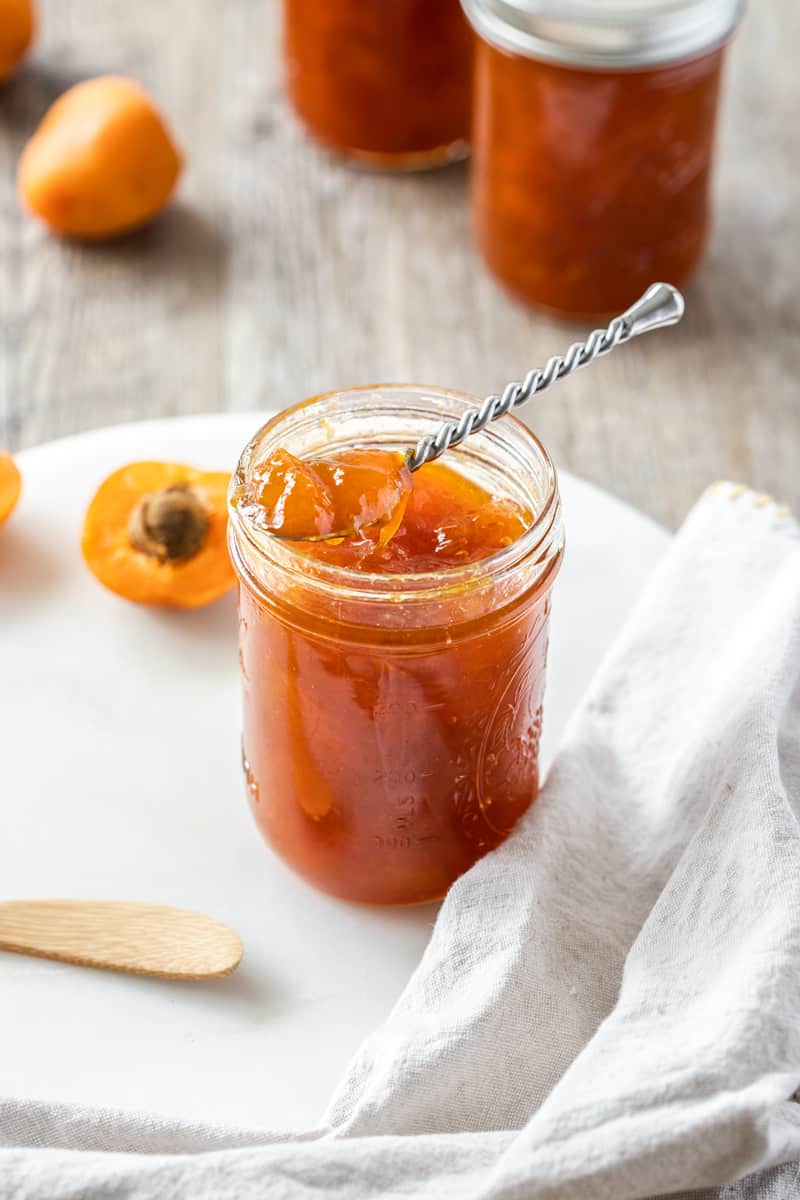
I believe that homemade jam is a special treat. What's more, homemade jam is the perfect way to use fruit at the peak of its season, but perhaps the best reason is that it tastes so much better than store-bought jam.
Your Apricot Jam will be able to be used in the months to come, and you will find many new ways in which to use it. Home-made jam also makes a lovely gift.
Please let me know in the comments below if you try this.
Alex xx
More delicious recipes for you to try:
Stay in touch!
Follow me on Facebook, Pinterest, Flipboard and Instagram and subscribe to my newsletter.
Apricot Jam
Equipment
- 12 x 250ml (8.5 oz) Jars
Please note:
For accuracy, when weights are provided, we recommend weighing your ingredients. This will produce the best results. All oven temperatures listed are for fan forced.
Ingredients
- 2.5 kg (5.5 lb) fresh apricots - prepared weight See Notes 1 and 2
- ¼ cup (60 ml) water
- ¼ cup (60 ml) freshly squeezed lemon juice See Note 3
- 1.8 kg (4 lb) granulated sugar See Note 4
Instructions
To Sterilise the Jars:
- Preheat the oven to 130 Degrees C (270F). Use glass jars, either new or recycled, with an airtight, metal lid. If recycling jars, ensure that the jars do not have cracks or chips and the lids are in good condition. Discard any lids that are pitted or rusted. Wash the jars and lids. If washing by hand, use hot, soapy water and then rinse them well. Alternatively, wash them in the dishwasher. (See Note 5.)Place jars and lids on a baking tray. Heat in the oven for at least 20 minutes. If your lids contain rubber seals, allow these to air dry instead of placing in the oven.Do not place the hot jars on a cold surface as they may shatter. I place mine on a wooden chopping board which I cover with a tea towel. Always sterilise a few more jars than you think you will need. It is better to have too many jars than not enough.
To Make the Apricot Jam:
- Put 2 small heatproof plates or saucers in the freezer to chill. (See Note 6.)
- Wash the apricots and pat dry. Remove any minor blemishes then cut them in half and remove the stones.
- Place the apricots in a large, wide saucepan and add the lemon juice and water. (See Note 7.)
- Bring to a simmer over medium heat, stirring occasionally with a long-handled wooden spoon. (See Note 8.)
- Cover the pot and cook, stirring frequently, until the apricots are tender and cooked through - this will take about 10-15 minutes. At this stage, if you prefer less chunky jam, you could blend it using a hand-held stick blender. Take the saucepan off the heat to do this.
- Add the sugar to the apricots and stir constantly, without boiling, until the sugar has dissolved.
- After dissolving the sugar, increase the heat and bring the fruit to a boil to cook the liquid off. Continue to cook, uncovered, stirring occasionally to make sure the mixture does not catch and burn on the bottom of the pan.As the mixture reduces, stir frequently. At this stage, the jam requires your attention so do not venture too far away from the stove. Remove any scum that forms with a spoon.
- When the jam looks thicker, after boiling for about 20 minutes, (See Note 9), turn off the heat and put a small amount of jam on a chilled plate. Let it stand for a minute to cool then push your finger through the jam. If it wrinkles, even slightly, it is ready. If it is still quite liquid put it back on the heat for a further 5 minutes and check again.
- You can also use a thermometer to check for setting point. To use this method, you will need a sugar thermometer. Clip the thermometer to the side of your pan. When the thermometer reads 104 C (220 F) the jam is ready.
- When the jam reaches setting point, remove the pan from the heat. If there is any scum on the surface of the jam, remove with a spoon or add a teaspoon of butter and stir well. It will dissolve the scum.
- Let the jam stand for about 10 minutes to allow the fruit to settle. This will ensure that any pieces of fruit will be evenly distributed throughout the jam. Without standing, the fruit will rise to the top of the jar.
- Stir the jam and carefully ladle it into the heated, sterilised jars. You need to be very careful. A splash or spill from hot jam would result in a serious burn. I recommend that you wear clothing with long sleeves. Additionally, this is not the occasion to have children nearby. Ensure the jars are filled to the brim. Immediately seal the jars tightly with sterilised lids, being careful not to burn your hands.
- The jam will still be liquid when you ladle it into your jars. It can take up to 48 hours to completely set. You don't want to cook it until it is thick.
- When cool, remove any spills from the jars and label with the date and name. Store the jam in a cool, dark place. It will be shelf-stable for a year.When using the jam, always use a clean, dry spoon to avoid contamination. After opening a jar, as a further precaution, store it in the refrigerator.
Video
Notes
- Apricots: the weight listed is the prepared weight - ie: after the stones and any blemishes have been removed. Ensure your fruit is freshly picked and of good quality. Avoid fruit that is bruised or over-ripe. The apricots contain pectin, which aids in the jam setting. If your fruit is older, it will contain less pectin. You can make jam with just a small quantity of fruit. If you use a smaller quantity of fruit the jam will set in a shorter cooking time.
- Quality of fruit: it is essential to use just ripe, or some slightly unripe, fruit. Choose fruit with great flavour. Bruised or over-ripe fruit is not suitable.
- Lemon juice: not only balances the sweetness of the sugar, but it also helps the pectin to set the jam. We prefer to use freshly squeezed lemon juice.
- Sugar: do not reduce the amount of sugar. The sugar not only sweetens the fruit, but it helps the jam to set and acts as a preservative. If you reduce the sugar, your jam may not be shelf-stable and may go mouldy.
- Sterilising the jars: this is an essential process to remove bacteria that could cause your preserves to spoil.
- Chilled plates: the chilled plates are used to quickly cool the jam when testing the setting point.
- Saucepan: always choose your widest saucepan that has enough height to enable the jam to boil vigorously. The fruit should not come more than halfway up the sides of the saucepan. More surface area means the liquid can evaporate faster and having sufficient height means you can boil the jam at a higher heat. Avoid aluminium, copper or iron pans; the acid in the fruit may react with the pan, giving the jam a metallic taste.
- Wooden spoon: to stir, use a long-handled wooden spoon. Metal will become dangerously hot. A long-handled spoon helps to keep your hand away from the boiling jam.
- Setting point: the amount of time to reach setting point will vary depending on the amount of fruit, the size of your saucepan and the heat that you apply. Be vigilant in checking your jam - if boiled too long the pectin may be destroyed and the jam may not set.
- Storage: when the recipe is made according to instructions and the jars have been sterilised properly, the jam will be shelf-stable for up to a year when stored in a cool, dark place. A jar should be refrigerated after opening. If you prefer to can the jam, please refer to the USDA Canning Guidelines for techniques.
- Nutritional information: is based on one whole jar. The nutritional information is an estimate only.
Nutrition Estimate:
Nutritional Disclaimer:
The nutritional information is an estimate only, and is derived from online calculators. For accurate results, we recommend calculating the nutritional information based on the ingredients and brands you use.
Kit says
Lovely, easy apricot jam recipe! We have an apricot tree and they always come in all at once which makes it hard to use them before they go bad. This is perfect!! I am going to make a second batch over the weekend.
Alexandra Cook says
I am so happy you enjoyed this recipe and will make it again, Kit!
An apricot tree too - how fantastic! Enjoy your jam. Alex xo
Mina says
Thank you for this recipe - it was so easy to prepare and it tastes fantastic. Love it!
Alexandra Cook says
Hi Mina!
I am so happy you enjoyed this recipe - thanks so much for letting me know.
Alex xo
Laura Kennedy says
It was delicious. On half of the recipe, I added 3 tablespoons of chopped rosemary which really elevated it.
Alexandra Cook says
Hi Laura,
This is wonderful to hear - thank you!
I am so curious to try it with rosemary myself - thank you for the suggestion!
Alex xo
Shirley Titus says
Really good! I made apricot jam using a different recipe last year that did not set up. I will definitely be using this recipe again as it came out great. Thank you Alex for the detailed instructions!
Alexandra Cook says
Hi Shirley!
Great to hear you had success with this recipe and will make it again.
I am glad you found the instructions helpful 🙂 Thanks for letting me know! Alex
Stephen says
Very lucky to have been gifted a jar of delicious apricot jam last year. I asked my friend about it this year and he shared the recipe with me (this one!)
I enjoyed it so much last year that I decided I would have a crack at making my own! What a success. Looking forward to enjoying my spoils all year round and being able to gift my friend a jar this years.
Thanks for such a simple and easy to follow recipe - especially for a first time jam maker, it is very much appreciated!
Alexandra Cook says
Hi Stephen,
Thanks so much for your great comment - I am so happy that you gave the recipe a try yourself and enjoyed it 🙂
Appreciate you taking the time to let me know!
Ingrid Augustin says
Hi Alexanra, my jam didn't set 🙁 Is it posible to cook it again and maybe add more sugar? I measured everything, but the fruit on my scale. Just in the market, to me it seems I had more fruit. I cooked it extra 10 minutes. So not sure if to cook it more, or add the sugar. Did you have this kind of problem before and can I fix it? Please and thank you, Ingrid
Alexandra Cook says
Hi Ingrid,
If the quantity of fruit was more than the recipe, then that would throw the ratios of the sugar/lemon out.
I wouldn't add more sugar, as you would run the risk of it not dissolving and it could cause the jam to crystallise.
Instead, I would return it to the heat and add the juice of a fresh lemon and bring it to the boil again. Boil for 5 minutes, and then test again. If it hasn't reached setting point, try another 5 minutes before testing and so on.
That should hopefully fix it for you 🙂 Kind regards, Alex
Jessika says
The flavor of this Jam is just perfect! My whole family loves it. I’m new to canning and jams. Can you help me understand why we don’t have to water bath or pressurize this jam in order to keep it shelf stable for a year? My husband is confused as to why I’m not water bathing these, and having them still be good for a year on the shelf outside of the fridge. When I Google it, it seems like most places recommend water bathing to seal properly and store outside of the fridge. Thanks for your help! This recipe sure does taste perfect.
Alexandra Cook says
Hey Jessika,
Thanks so much for your lovely comment, and I am so happy that you have enjoyed making the jam 🙂
We follow the method used by our ancestors - the hot sterilised jars and the hot jam with the lids put on immediately cause a vacuum to form a seal as they cool. As the jam has just been boiled, we don't boil it again in a water bath.
This is a method most commonly used in Australia/UK, although I am aware that in the USA water bath canning is the more popular method.
If you prefer to water bath, you certainly can, and you kind find more information here.
Hope that helps, and thanks so much again for trying this recipe. Alex xo
Cody says
If I cut the weight of the fruit by half, do I half the other ingredients as well?
Alexandra Cook says
Hi Cody,
You will need to halve the other ingredients also. Keep in mind, halving this recipe will alter the cook time also, so start checking the setting point a little earlier than listed. Thanks, Alex
Steph says
Using this recipe for the second year in a row! We did one batch with a minced habanero last year and will do that again (“habricot” jam was a hit). We live at elevation (7200’) and definitely needed longer cook times, so that chilled plate tip was very helpful.
Alexandra Cook says
Hi Steph! 🙂
That is so lovely to hear - thank you!! Love the addition of habanero - I am definitely going to give that a try when it's Summer here later in the year 🙂
Thanks also for sharing your experiences with making the jam at elevation! Alex xo
Nadine says
Want to try making this today. Is it possible to use a sugar alternative like monk fruit?
Alexandra Cook says
Hi Nadine,
I am sorry I haven't tried a sugar alternative when making jam before.
As I can't guarantee its success, I would highly recommend finding a recipe that uses monk fruit specifically, to ensure your jam works.
Best wishes, Alex
Rob says
Really simple recipe that tastes great. I added some grated lemon zest and ground cinnamon to half. Both nice but I think I prefer the pure flavor of the original. Cheers
Alexandra Cook says
Hi Rob,
Thanks so much for letting me know 🙂 Your flavour additions sound lovely, but I agree - it's hard to go past the taste of just apricot.
Enjoy your jam! Alex xo
Mackenzie Lee Shelton says
My jelly did not set up and it has been 48 hours. any suggestions on how to save it? Thank you!
Alexandra Cook says
Hi Mackenzie!
Thanks for your comment - I would love to assist you.
Just a few questions:
Did you change any quantities in the recipe? Did you test the jam on a chilled plate or with a thermometer at all? And how long did you boil it for initially?
In most cases, if your jam hasn't set, it is because it hadn't reached setting point or it was taken too far. Assuming it hadn't reached setting point initially, here's what to do:
Tip the jam back into a clean saucepan and add the juice of a fresh lemon. Bring back to the boil and boil for a few minutes and then test for setting point again. Once it's reached, put the jam in freshly sterilised warm jars and seal immediately as per the recipe.
This should fix it - if it cooked for too long, this can cause the pectin to be destroyed, which is the other reason it hasn't set.
Hope that helps - let me know how you get on 🙂 Alex xo
Deb says
I made this apricot jam last year, my first time. I was so happy with the results, delicious flavor, perfect consistency. I plan to use the same recipe again next week! We have just finished the last jar from 2022, perfect timing!
Thank you.
Alexandra Cook says
Hi Deb,
Thanks so much for your comment. I am so happy you will be making the jam again - sounds like perfect timing seeing as you just finished your last jar 🙂
Thanks so much, Alex xo
Pamela Winningham says
We had a ton of apricots on our neighborhood tree. I made a galette, fruit and oat cobbler, and this jam recipe! It was my first time making any kind of jam, and I liked that your recipe didn’t use pectin. The instructions were very easy to follow, and the pictures were very helpful, as I’m a visual person. It turned out amazing on my first try!!Thank you so much, this will be enjoyed tomorrow on a croissant.
Alexandra Cook says
Hi Pamela,
Thank you so much for your lovely feedback on the Apricot Jam. I am delighted that you found the recipe easy to follow and have enjoyed the jam. I appreciate that you took the time to contact me. 🙂
Michael says
Too much sugar.
Alexandra Cook says
Hi Michael,
I am not sure from your comment if you have tried this recipe and found it too sweet, or if you are commenting on the quantity of sugar in the recipe.
If you found it too sweet, I am sorry that was your experience with the recipe - we follow our family recipe for making jam, and it does produce a sweet condiment, but one that is shelf stable for 12 months, which is ideal for preserving the seasonal fruit.
If you haven’t tried the recipe and are looking for one that is lower in sugar, there are many food bloggers that specialise in lower sugar jams, so you’ll be able to find a suitable recipe, I am sure.
Kind regards, Alex
Claire Fragaki says
I have a glut of apricots in my Cretan garden & was attracted to this simple recipe, easily explained & simple execution. The resulting jam is fabulous: full apricot flavours. I made 4kg of fruit & calculated all other ingredients accordingly. Well worth the effort, even though I was stirring the pot & it was 32C outside. Thanks for sharing 😊
Alexandra Cook says
Hi Claire,
Thank you so much for your lovely feedback. I am delighted that you enjoy the Apricot Jam, which would be especially delicious made with fruit from your own Cretan garden. I appreciate that you took the time to let me know. 🙂
Darla says
Just made this recipe and it turned out great! Does this jam freeze well?
Alexandra Cook says
Hi Darla,
I am so pleased to hear this!
If you followed the recipe instructions precisely and your jars are thoroughly sterilised, the Apricot Jam will be shelf-stable for a year. When you open a jar, store it in the fridge.
Jam can be frozen for about six months, and it is important to leave a gap at the top of the jar as it will expand when freezing.
Hope that helps! Thanks so much, Alex xo
Gina says
The jam came out perfect! I loved the detailed directions and notes. Sometimes one little thing can make a difference. I have a ton of apricots from my tree so it looks like I will be making another batch soon! Thanks!
Alexandra Cook says
Hi Gina,
I am delighted that you enjoy the Apricot Jam and found the instructions helpful. Thank you for taking the time to let me know. 🙂