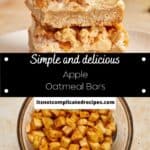
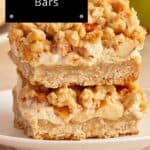
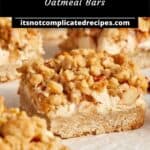
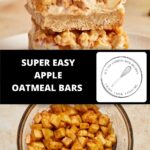

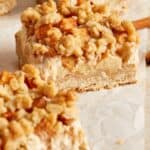


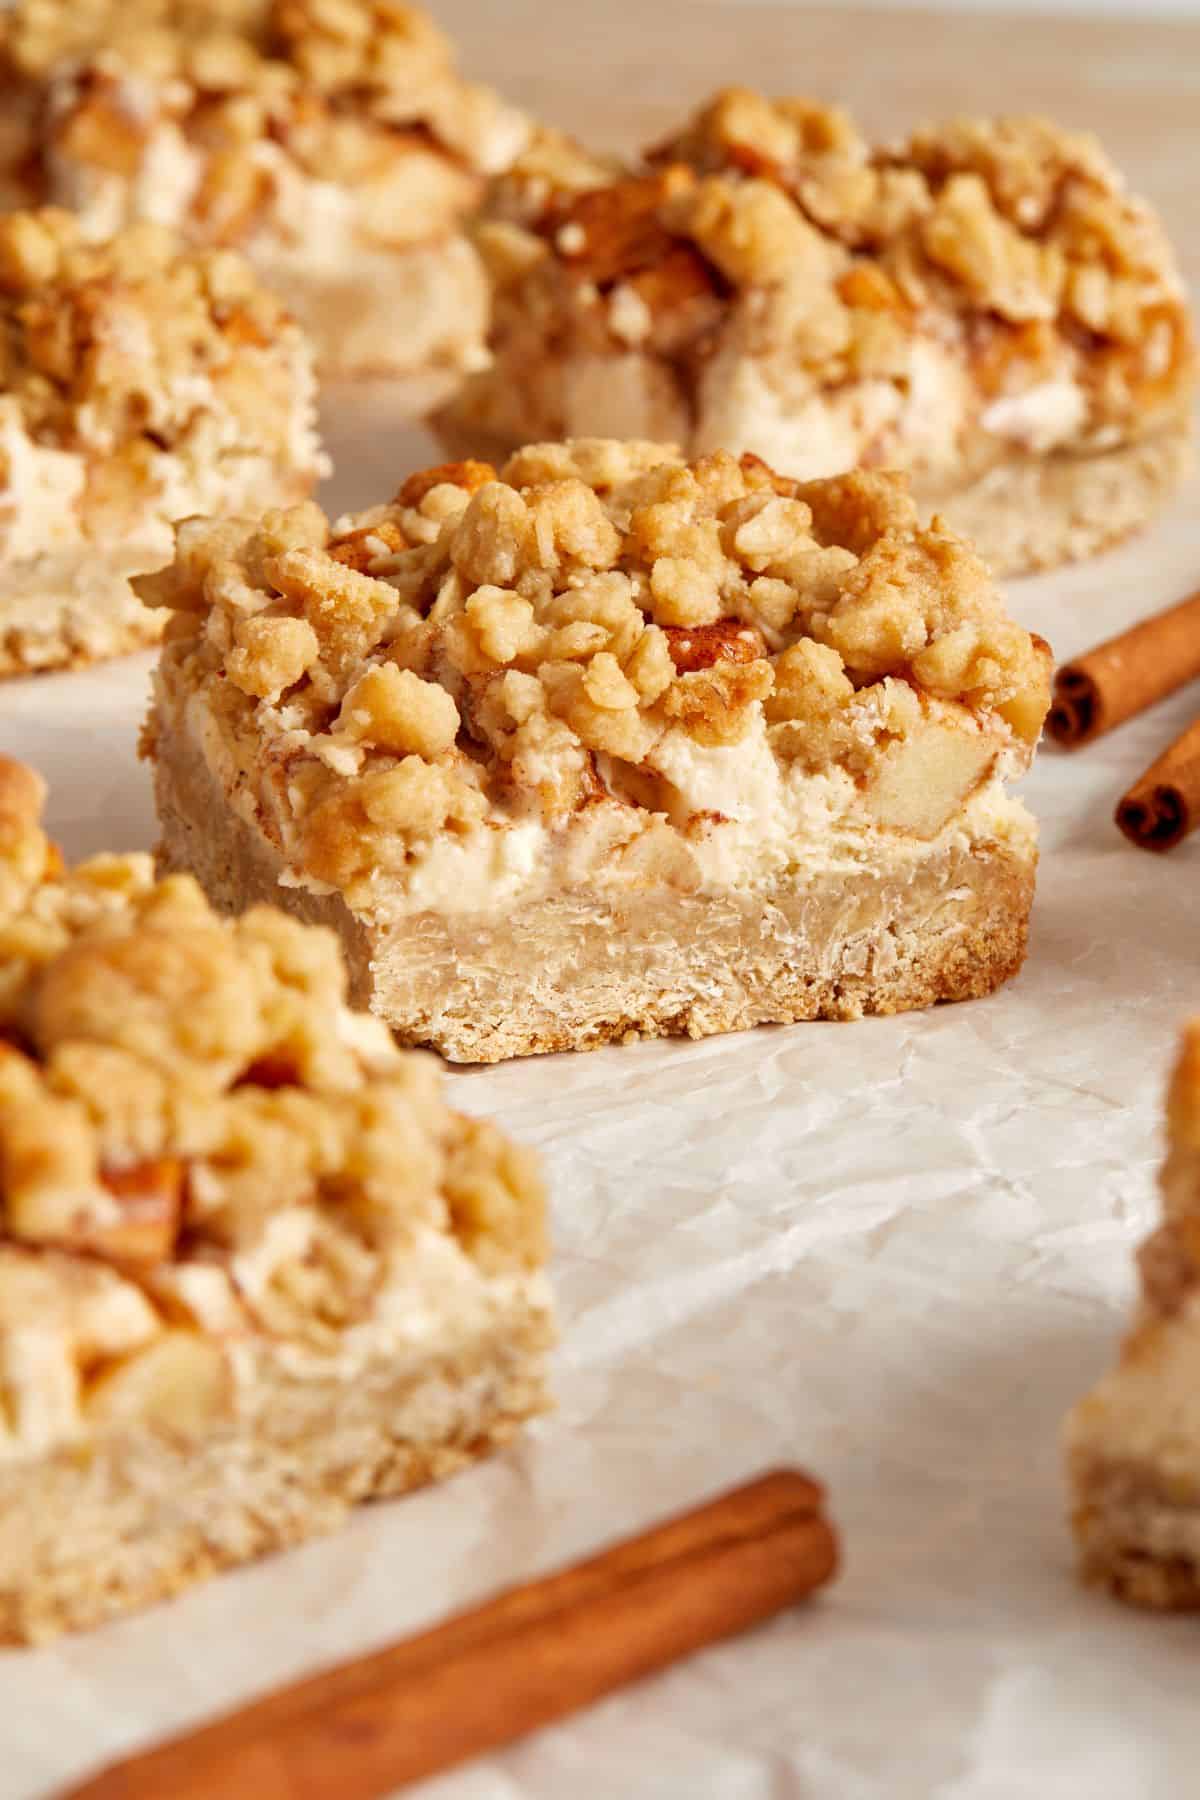
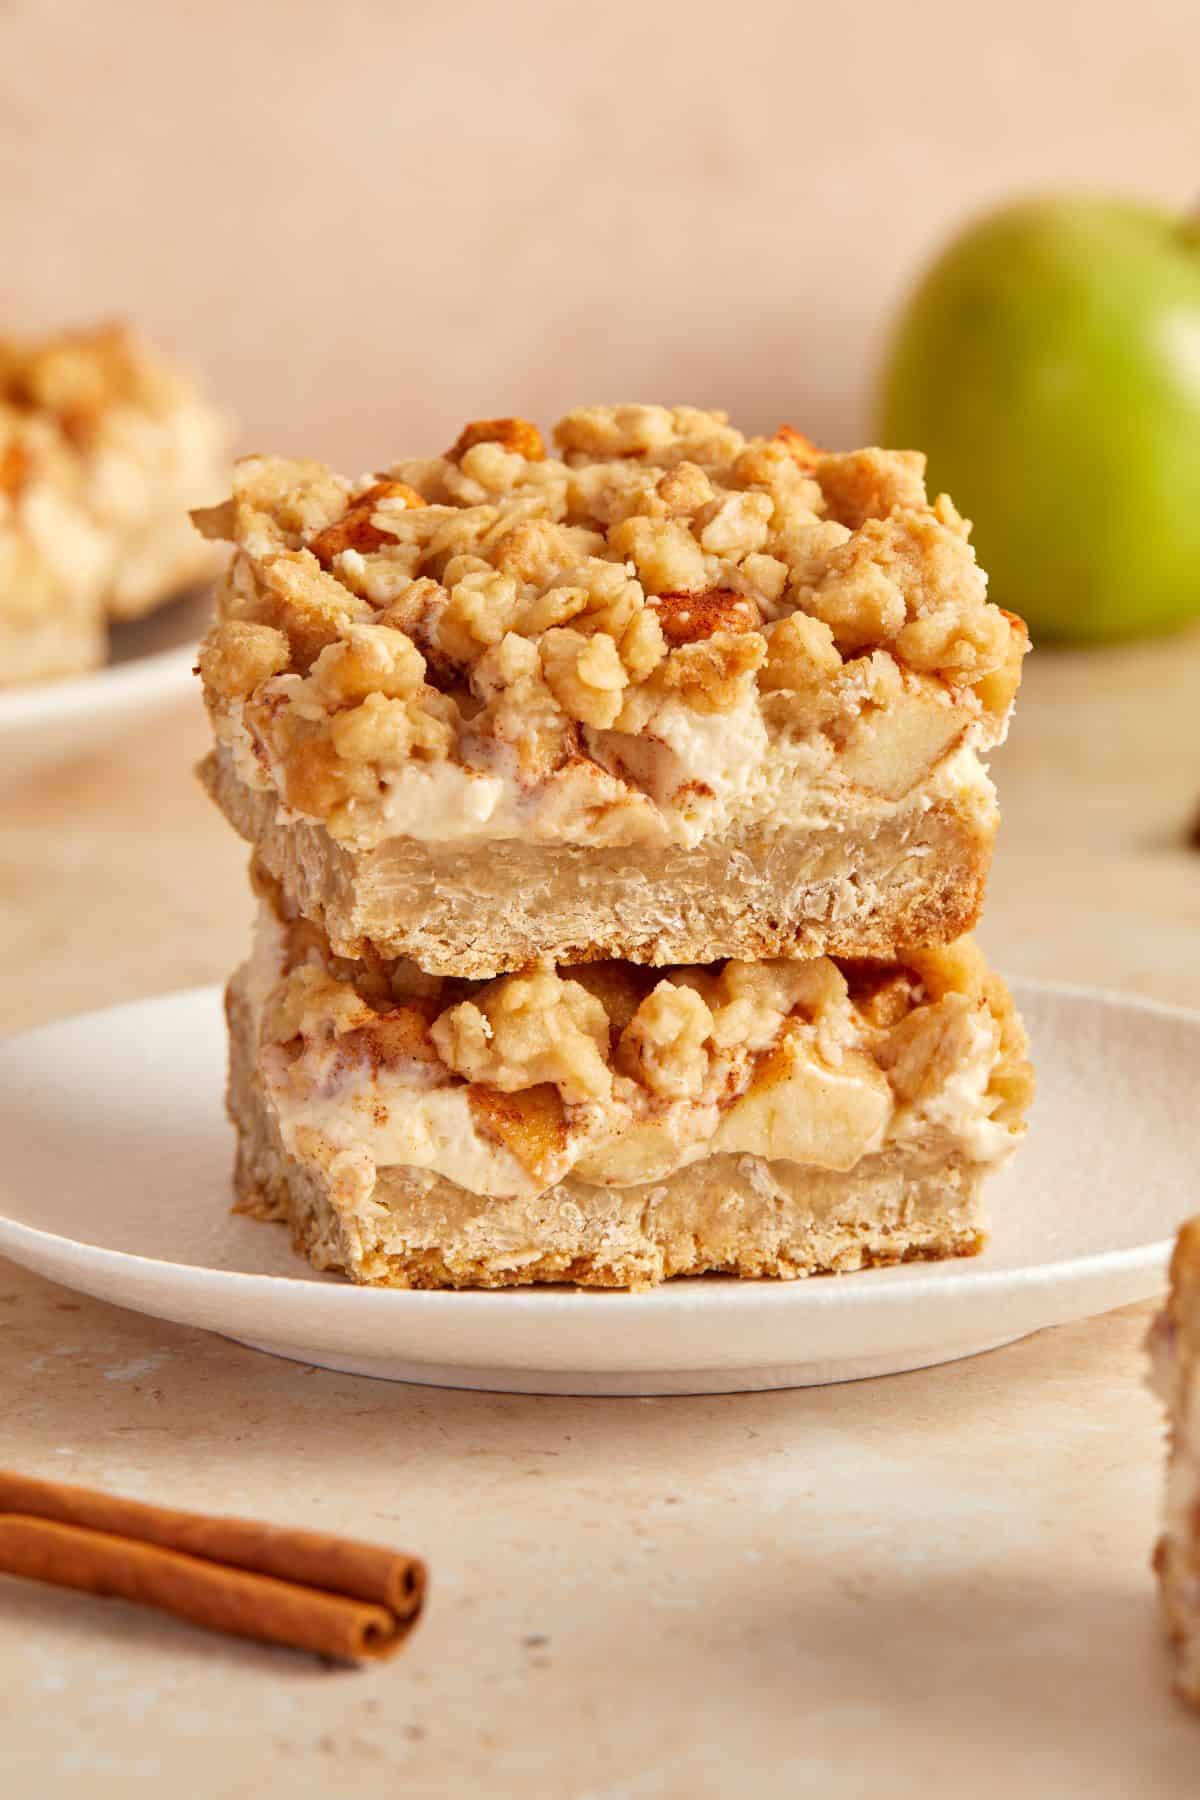
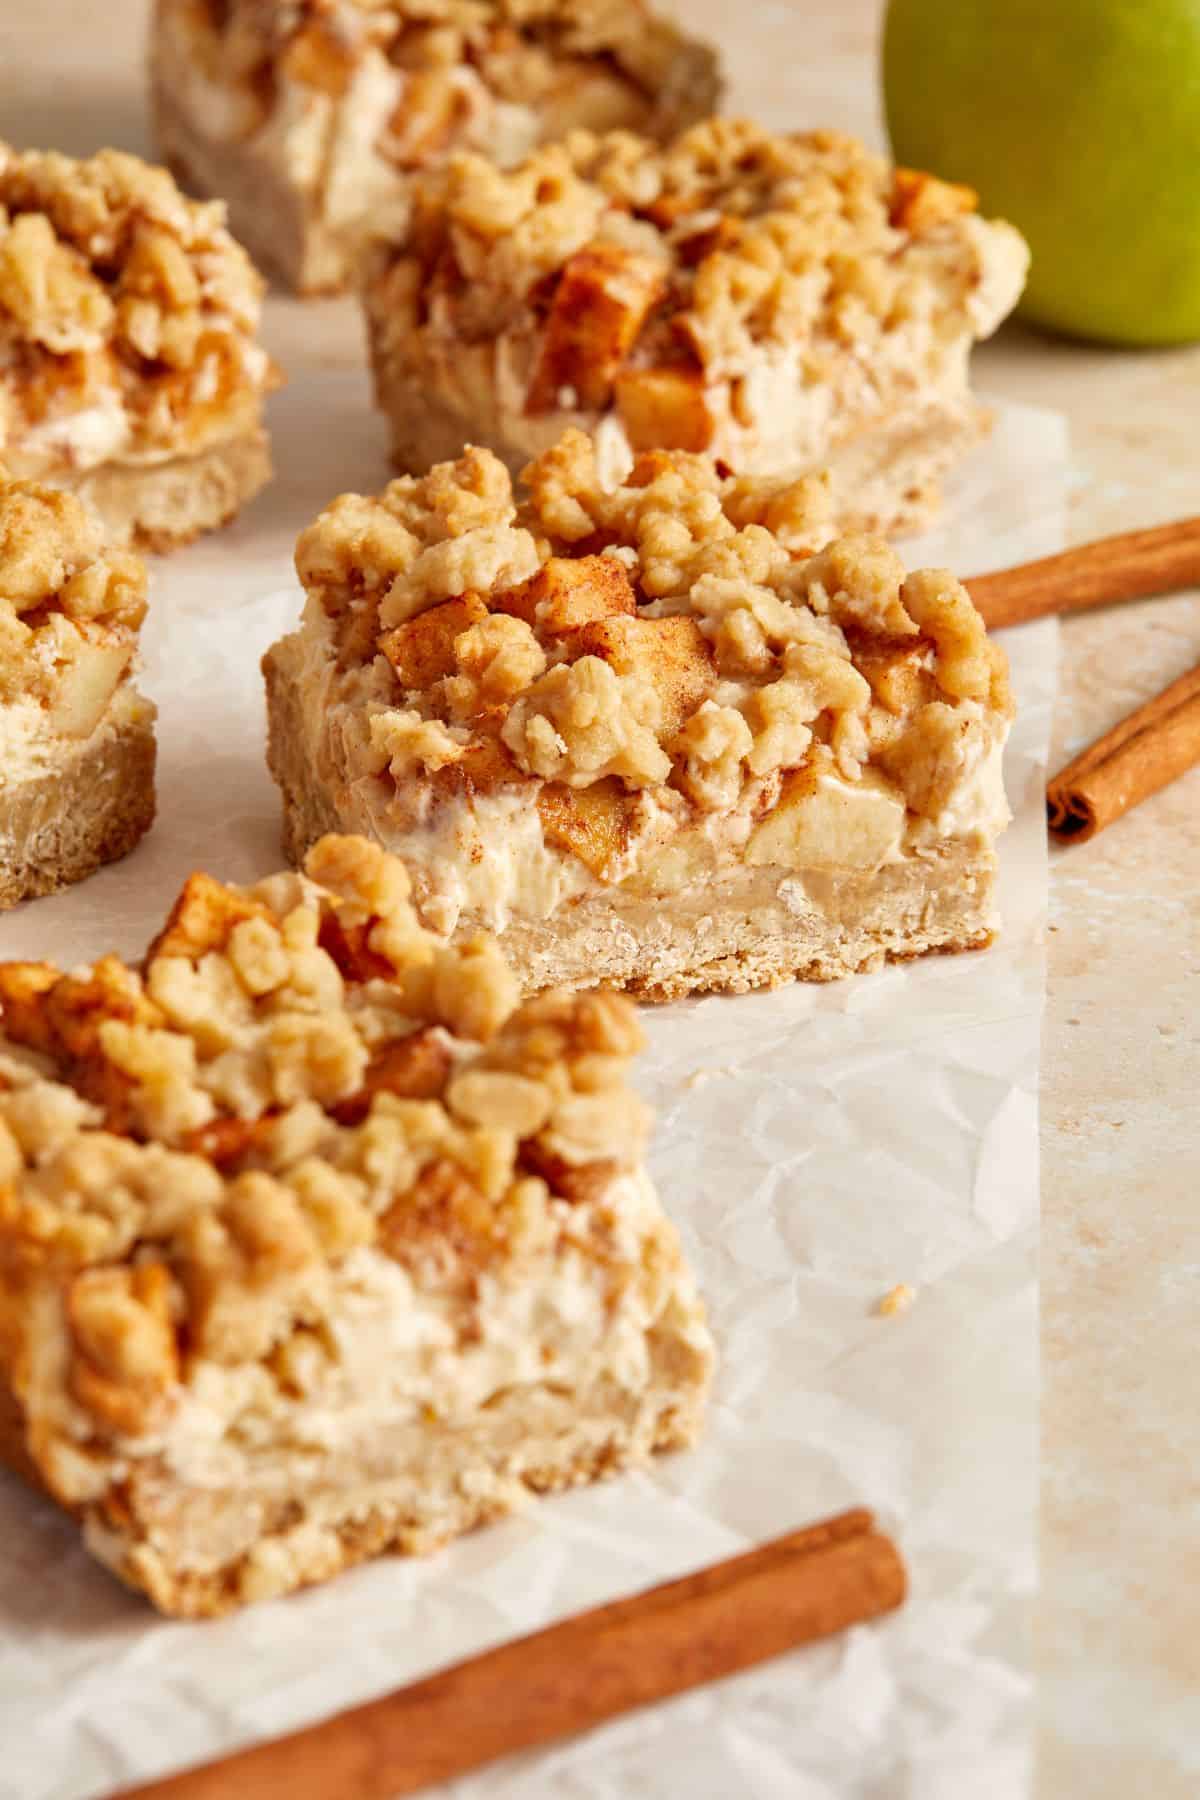
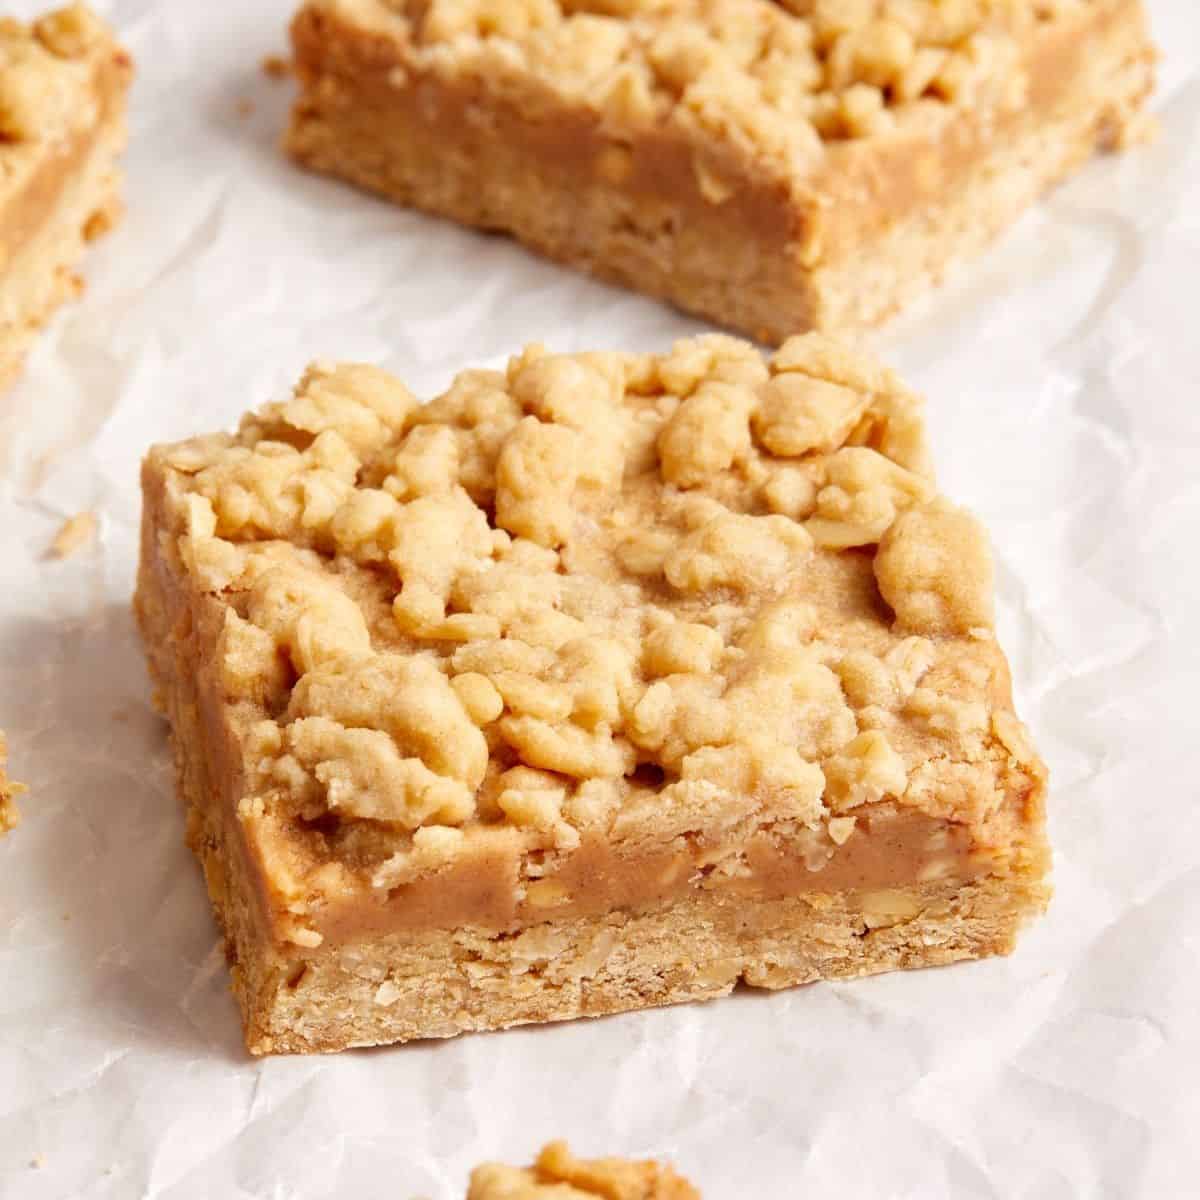
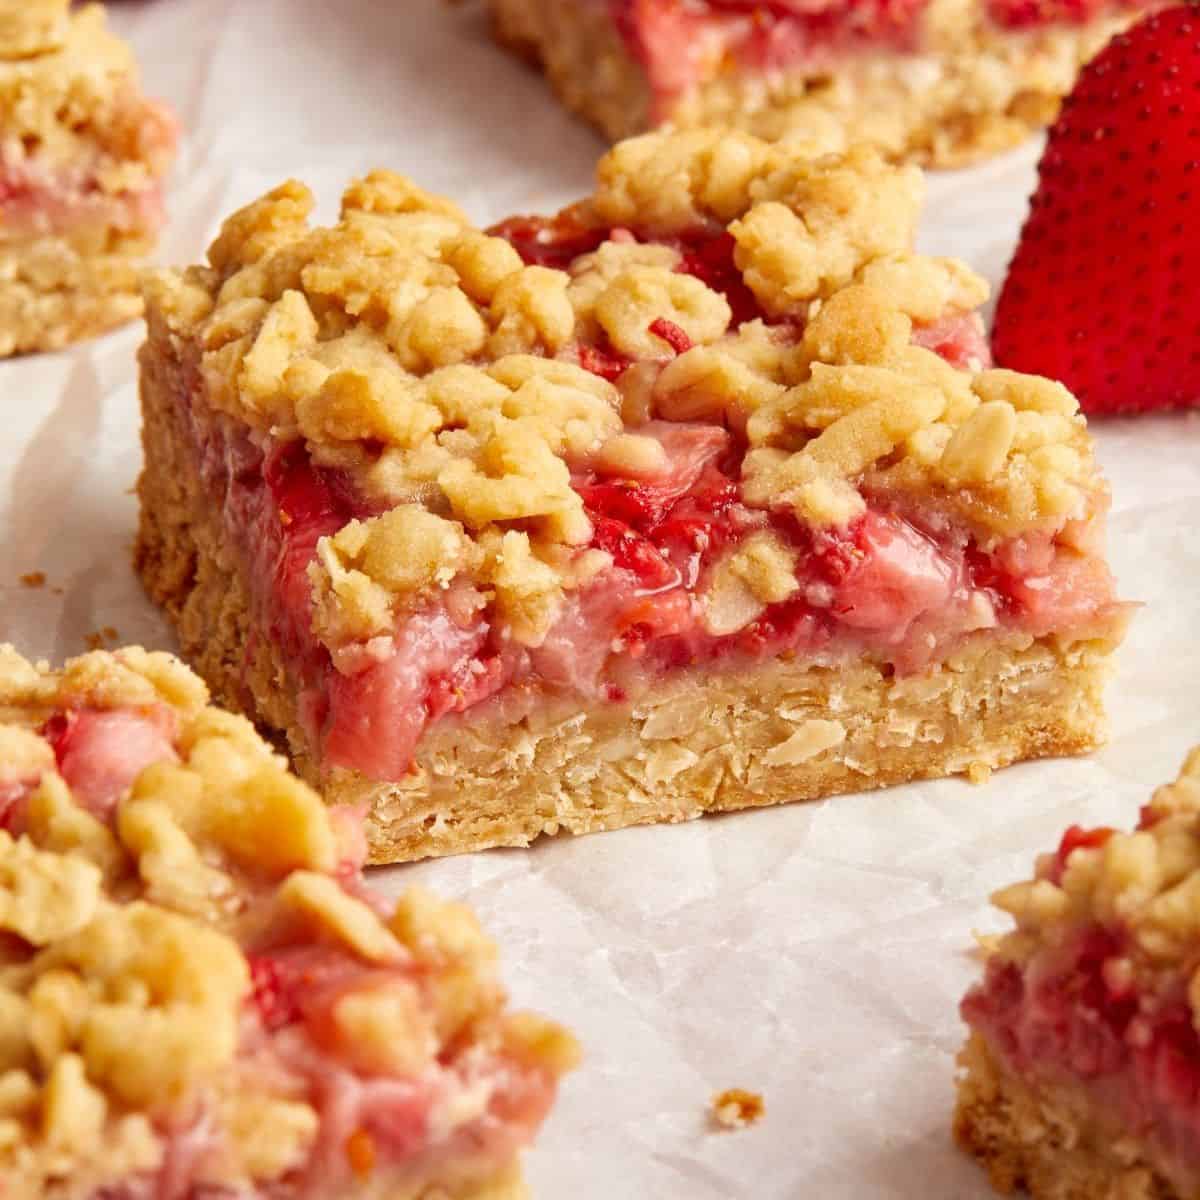
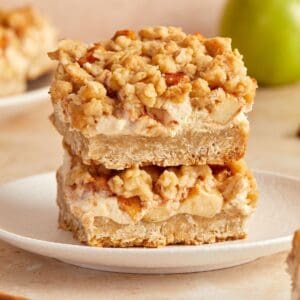
You will be delighted by these Apple Cheesecake Oatmeal Bars with fabulous, complementary flavours and contrasting textures. They are layered, starting with a crunchy oatmeal base, topped with creamy cheesecake, then apple pie filling and finally a delicious oatmeal crumble. They are a guaranteed crowd-pleaser!
Why You'll Love This Recipe:
- These Apple Cheesecake Oatmeal Bars contain the flavours and texture of creamy cheesecake and cinnamon spiced apple crumble. This is a winning combination that is long overdue!
- The Oatmeal Bars are made with simple ingredients that you may already have on hand, and whilst there are a few steps, none of these is difficult. To make the bars even simpler, the oatmeal base and crumble topping are made from the same mixture.
- The textures vary between slightly crispy, a little chewy and sweet creaminess.
- The wholegrain oats give the bars a very pleasing texture of slightly chewy crispness which perfectly complements the filling.
- They can be made gluten-free by using the appropriate flour and rolled oats.
- As they are nut-free, they are ideal for school lunch boxes.
Recipe Inspiration: I love recipes like my Lemon Curd Cake and Nutella Oatmeal Bars, where the base and the crumble topping are made from the same mixture. (SO easy!)
Ingredients and Substitutions:
Please see the recipe card further along in the post for exact quantities of ingredients and the full method.
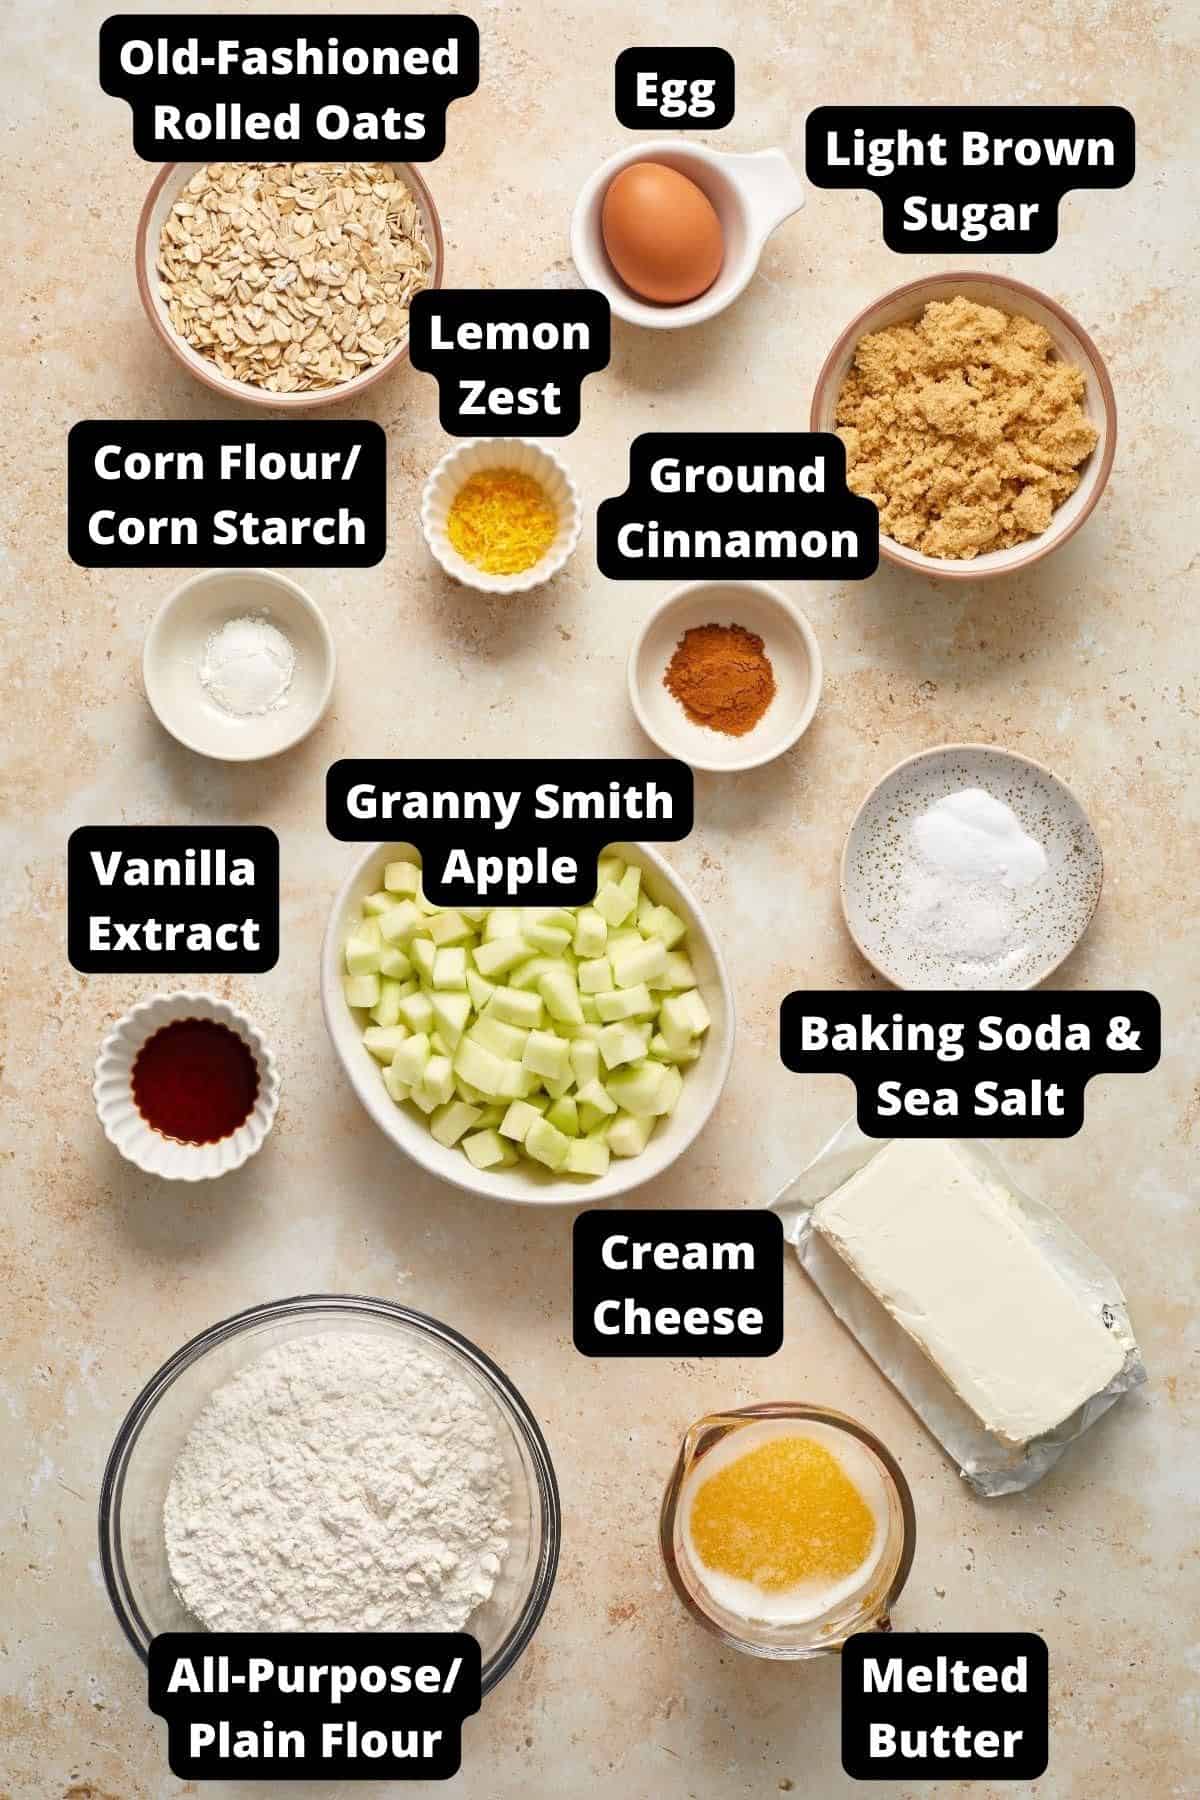
- Plain/all-purpose flour - this recipe has been tested with regular wheat flour and gluten-free all-purpose flour. Both work well.
- Old-fashioned rolled oats - use old-fashioned rolled oats, not instant oats. You can use certified gluten-free if you require.
- Sea salt - a small amount of sea salt helps to boost the flavours.
- Baking/bicarbonate of soda - acts as a raising agent. It is not the same as baking powder.
- Butter - adds richness and flavour. We use unsalted butter so we can control the amount of salt in the recipe.
- Brown sugar - we use light brown sugar. It adds a slight caramel flavour to the mixture.
- Vanilla extract - for the best result, use vanilla, which is naturally extracted, not artificially flavoured.
- Cream cheese - we use the original Philadelphia Cream Cheese block, not the spreadable kind.
- Lemon zest - adds a bright citrus note to the cheese mixture.
- Egg - we use a large, free-range egg.
- Apple - we have used Granny Smith apples for their tart flavour and the way they hold their shape when cooked.
- Corn starch/corn flour - a small amount absorbs excess moisture from the apples. Check that it is gluten-free if necessary.
- Ground cinnamon - this is a warm spice and traditional accompaniment to apples.
Variations:
Nuts - to add crunch to the topping, you could add slivered almonds or chopped walnuts.
Apples - I have used Granny Smith apples. If you prefer, you could use another variety or a combination. Some to consider include Braeburn, Pink Lady or Golden Delicious.
How To Make Apple Cheesecake Oatmeal Bars:
Please see the recipe card further along in the post for exact quantities of ingredients and the full method.
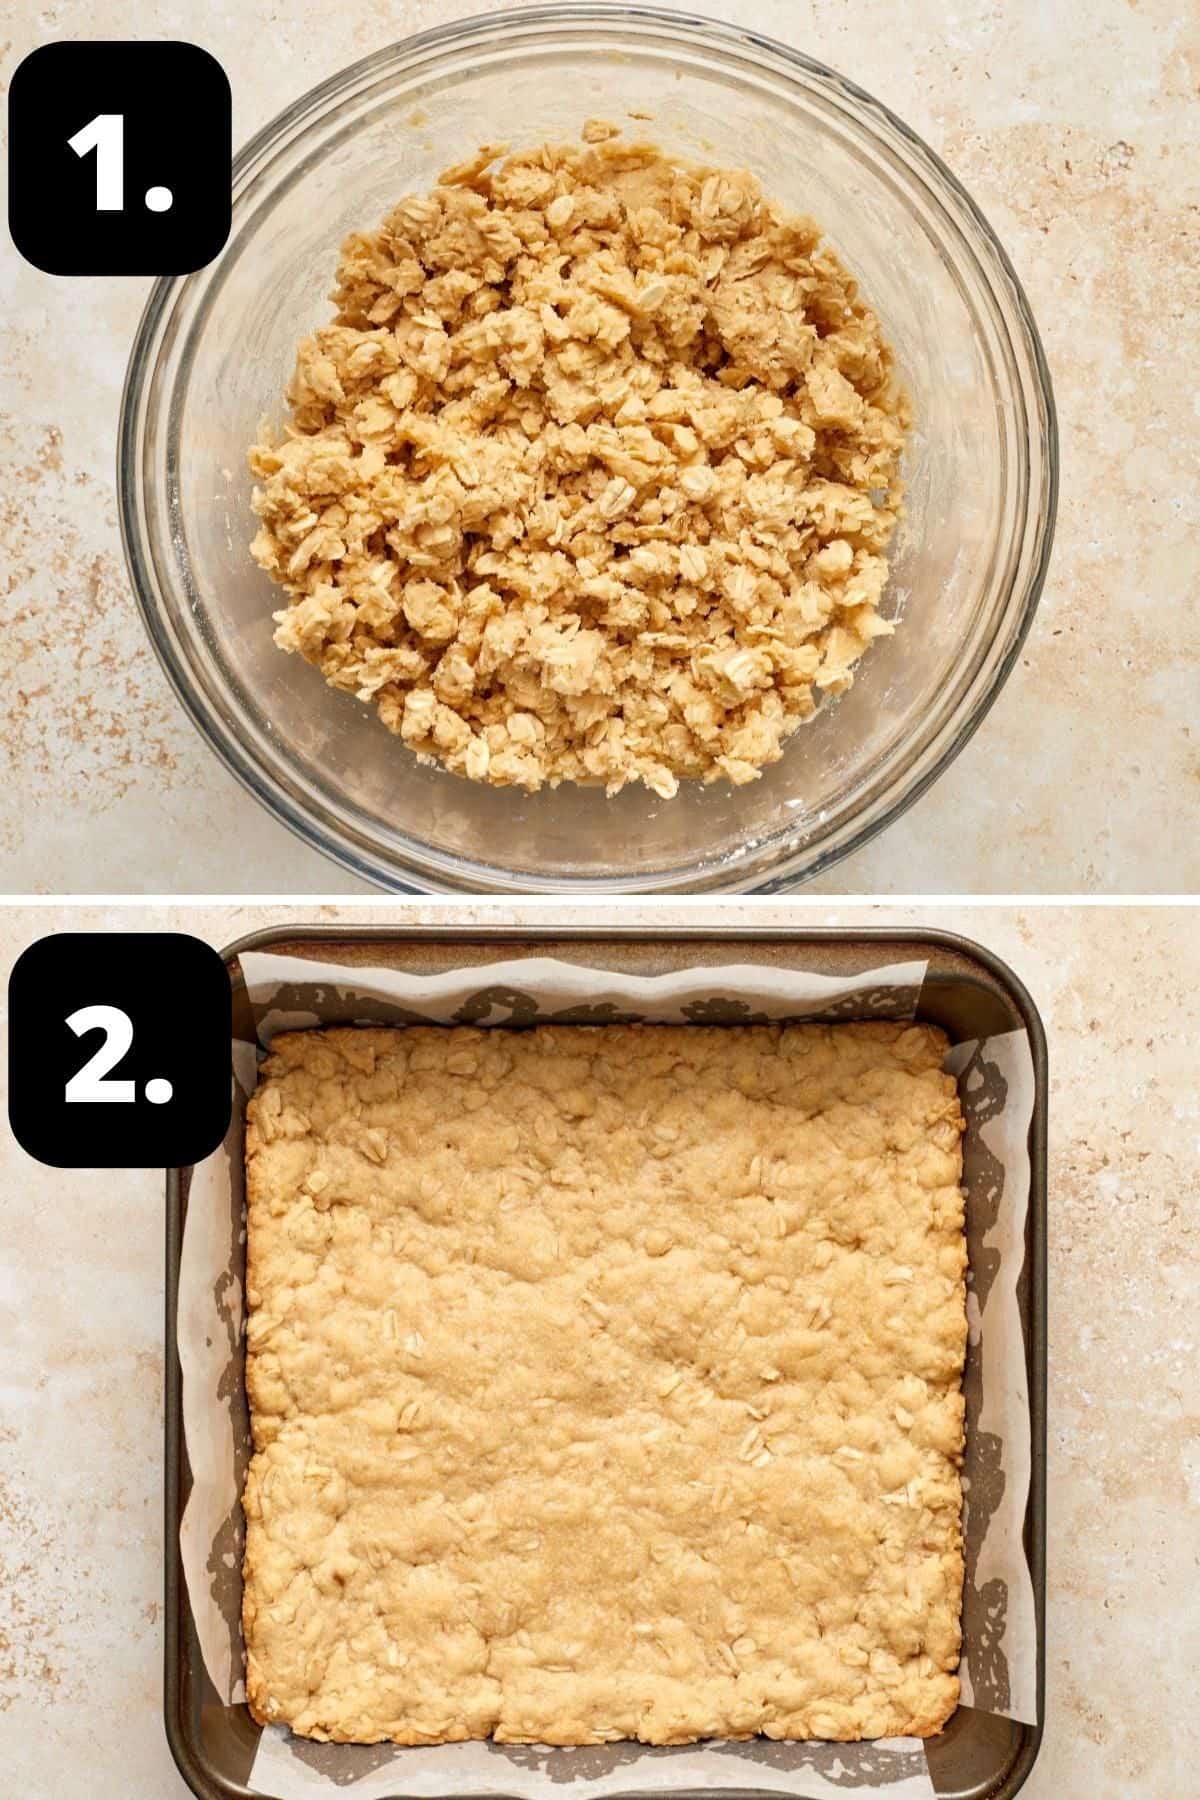
1 - Make the base/topping mixture:
In a large bowl, combine the flour, oats, salt and baking soda. In a smaller bowl, combine the melted butter, brown sugar and vanilla.
Add the wet ingredients to the dry ingredients and mix well. Reserve approximately 150 g (5.2 oz) of the mixture for the topping.
2 - Add the base to your tin:
Press the remaining mixture into your prepared tin and bake in your preheated oven for 12 minutes or until a pale golden colour.
While the base is baking, put the ingredients for the cheesecake filling in a bowl and beat until smooth and creamy.
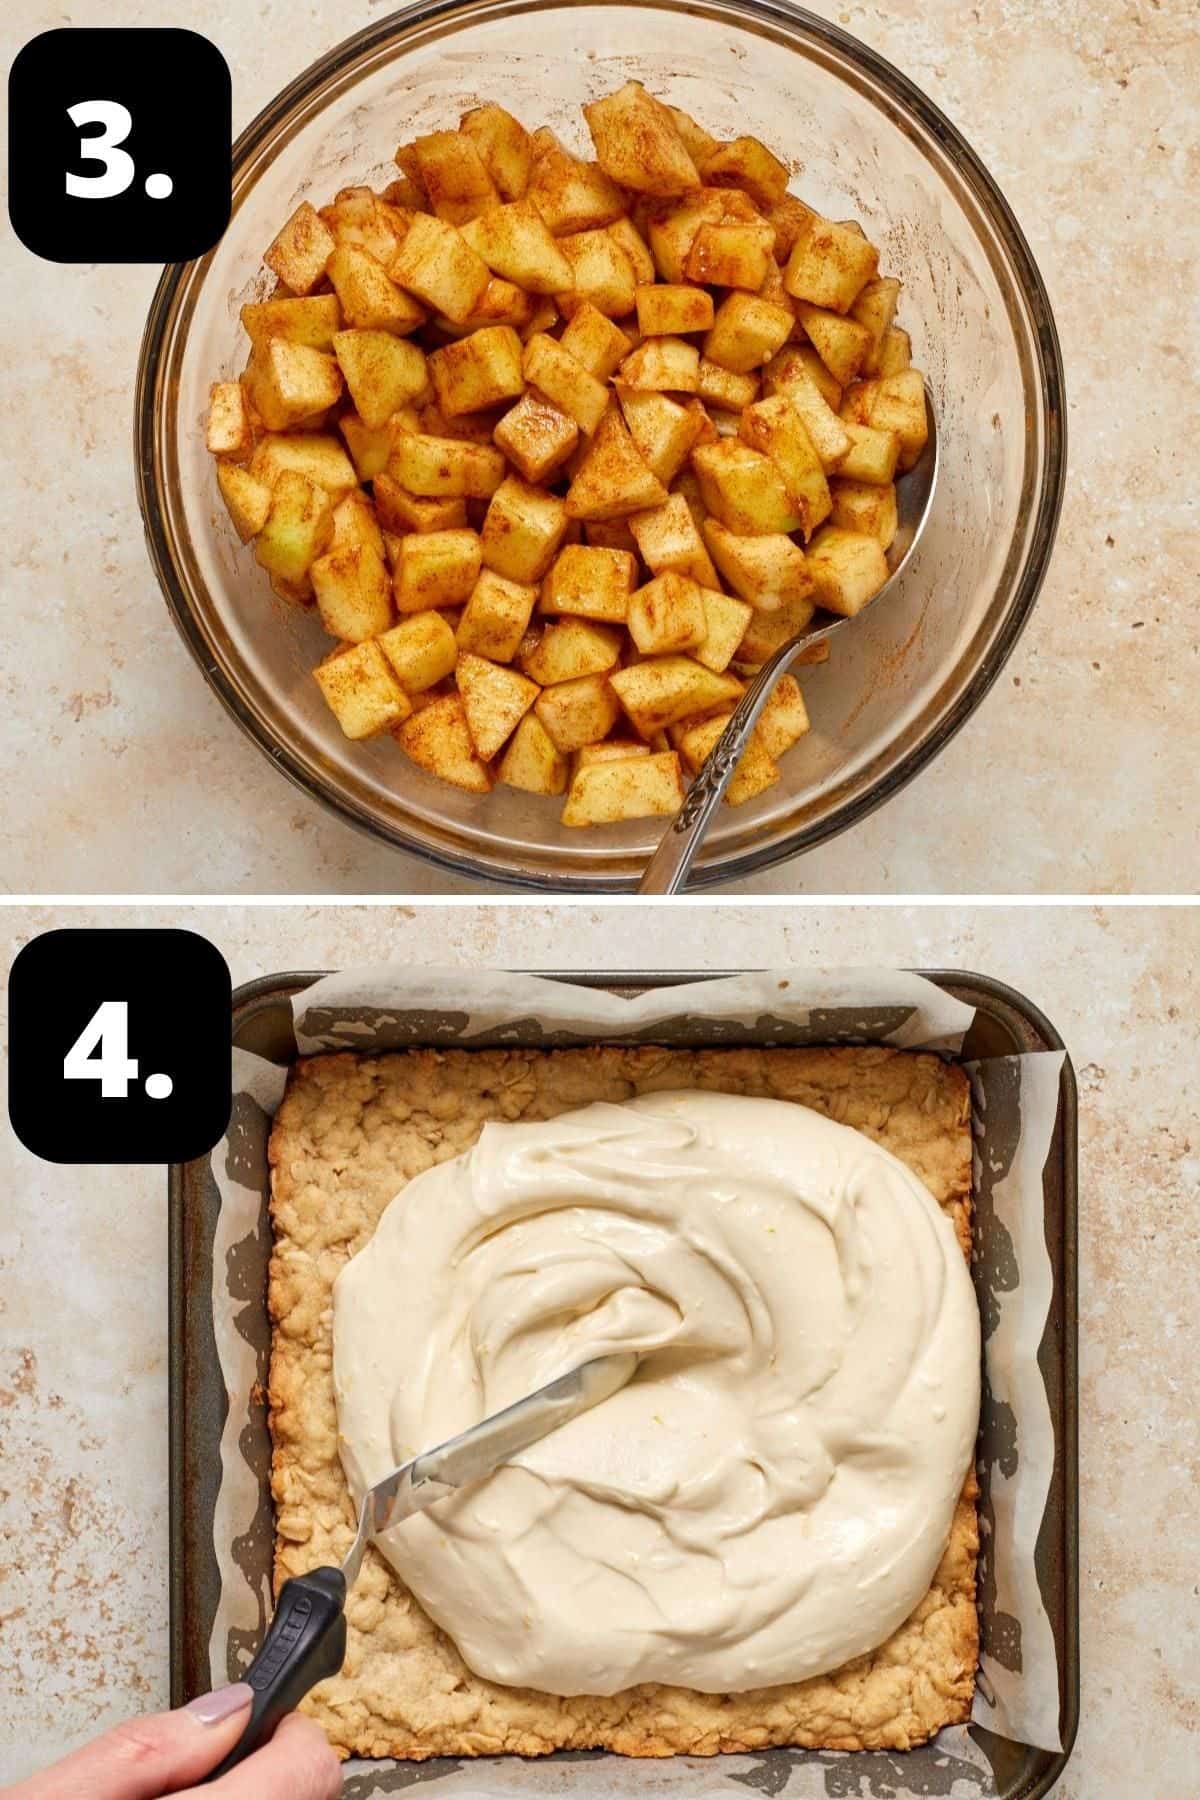
3 - Prepare the apple filling:
In a separate bowl, combine the apples, sugar, corn starch/corn flour and cinnamon and stir until combined.
4 - Top the base:
Top the cooled base with the cheesecake mixture and spread evenly. Then top with the apple mixture.

5 - Top with the remaining mixture:
Sprinkle the remaining oatmeal mixture over the top.
Bake for a further 22-25 minutes, or until the top is cooked through and a light golden brown.
6 - Allow to cool:
Remove from the oven, and cool for 30 minutes in the tin, before placing in the fridge for a further 30 minutes. Once the slice is cool, it can be cut into bars using a sharp knife.
Tips for Success, Storage and FAQs:
I have made these bars using gluten-free flour and oats. However, there are differing views regarding gluten-free oats, depending on where you live in the world. For Australian residents, Coeliac Australia provides a great resource on this topic. Always be sure to read the labels and consult with a health professional if you are unsure.
Like many baked items, the bars are at their best on the day they are baked, but they can be stored in an airtight container in the fridge for up to 3 days. Remove from the fridge 10 minutes before serving.
Yes, they freeze very well. Allow the bars to cool completely, and then put them in an airtight container and freeze. If storing them in layers, it is best to place a sheet of baking paper between the bars to prevent them sticking together. Defrost in the fridge overnight and bring back to room temperature before consuming. They will keep for two months
Top Tip:
The Apple Bars must chill before being cut, otherwise, they will fall apart. I recommend cooling them on the bench for 30 minutes and then in the fridge for a further 30 minutes. Then, cut the bars into squares and enjoy!
Serving Suggestions:
These Apple Cheesecake Oatmeal Bars are extremely versatile. Some ways to enjoy them are:
- For morning or afternoon tea - delicious with a cup of coffee!
- They are great as an after-school snack.
- As an easy breakfast when time is short.
- They make a delicious dessert. Serve them with our easy Vanilla Ice Cream.
- For picnics or potlucks as they travel well.
- As a welcome edible gift.
You will be won over by these Apple Cheesecake Oatmeal Bars and I am certain they will be as popular in your home as they are in mine! Be sure to let me know in the comments below when you have given them a try.
Alex xx
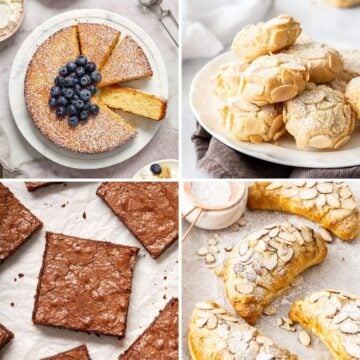
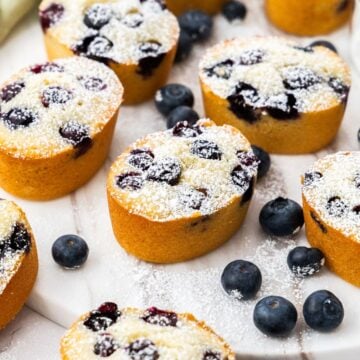
More Delicious Recipes For You To Try:
Stay in touch!
Follow me on Facebook, Pinterest, Flipboard and Instagram and subscribe to my newsletter.
Apple Cheesecake Oatmeal Bars
Please note:
For accuracy, when weights are provided, we recommend weighing your ingredients. This will produce the best results. All oven temperatures listed are for fan forced.
Ingredients
For the Base and Crumble Topping:
- 1 ½ cups (225 g) all-purpose/plain flour See Note 1
- 1 ½ cups (120 g) old-fashioned rolled oats See Note 2
- ½ teaspoon coarse sea salt
- ½ teaspoon baking/bicarb soda
- ¾ cup (185 g) butter - melted
- ½ cup (100 g) light brown sugar
- 2 teaspoon vanilla extract
For the Cheesecake Filling:
- 250 g (8.8 oz) cream cheese - at room temperature - the block variety
- ¼ cup (55 g) light brown sugar
- 1 teaspoon lemon zest - finely grated
- 1 large egg - at room temperature
For the Apple Filling:
- 2 medium Granny Smith apples - peeled, cored and chopped into 1cm (0.5 inch) pieces - prepared weight was 200 g (7 oz) See Note 3
- 1 tablespoon light brown sugar See Note 4
- 1 teaspoon corn flour/starch
- 1 teaspoon ground cinnamon
Instructions
- Preheat your oven to 175 Degrees C (350F).
- Line a 20 x 20cm (8 x 8 inch) baking dish with non-stick baking paper. (Allow an overhang with the baking paper - it makes it easier when removing the slice!)
- In a medium-sized bowl, add the flour, rolled oats, salt and baking soda. Mix well.
- Melt your butter. Add this to another bowl, and combine with the vanilla and brown sugar.
- Combine the contents of both bowls, and mix well.
- Firmly press about ¾ of the mixture into the tin. (You'll need to reserve about 150 g (5.2 oz) of the mixture).Bake for 12 minutes or until a pale golden colour.
- Set the base aside to cool for 15 minutes.
- While the base is baking, put the ingredients for the cheesecake filling in a bowl and beat until smooth and creamy - I used hand beaters to do this.
- In a separate bowl, combine the apples, sugar, corn starch and cinnamon and stir until combined.
- Once the base is ready, top immediately with the cheesecake mixture, spreading to ensure it is even. Then, top with the apple mixture, spreading over evenly. Crumble the remaining mixture, using your fingers, over the top of the apple cheesecake mixture.
- Return to the oven, and bake for a further 22-25 minutes or until the topping is cooked through and a light golden brown.
- Remove the bars from the oven, and allow them to cool for 30 minutes on your bench.
- Put the slice in the fridge, and chill for a further 30 minutes or until completely cool. Cutting the bars while too warm will cause them to fall apart. Remove the slice from the tin, and cut the slice into squares.
Notes
- Flour: use a gluten-free all-purpose/plain flour if you require it- this has been tested and works perfectly.
- Rolled oats: use gluten-free oats if required.
- Apples: 200 g (7 oz) is the prepared weight once the peel/core has been removed.
- Tablespoon: we use a standard Australian tablespoon which is 20 ml (4 teaspoons).
- Measurements: for the most accurate measurements when baking, we suggest you weigh your ingredients.
- Chill the bars: the Apple Cheesecake Oatmeal Bars really need to chill before cutting, otherwise, they will fall apart.
- Storage: store in an airtight container in the fridge for up to three days. Remove them about 10 minutes prior to serving.
- Freezing: allow the bars to cool completely, and then put them in an airtight container before placing them in the freezer. If storing them in layers, place a sheet of baking paper between the layers so they don't stick. Thaw them at room temperature. Freeze for up to two months.
Nutrition Estimate:
Nutritional Disclaimer:
The nutritional information is an estimate only, and is derived from online calculators. For accurate results, we recommend calculating the nutritional information based on the ingredients and brands you use.

Lorraine says
I made these for the first time recently and they turned out lovely! Got lots of compliments and a request for the recipe from a seasoned baker!
Alexandra Cook says
Hello Lorraine 🙂
That is lovely to hear - thank you so much!!
I appreciate your comment, Alex xo
Dennis says
Your apple bars were a big hit with my family and are going on my baking rotation! Thanks for another delicious recipe.
Alexandra Cook says
Thanks for trying another recipe, Dennis!
I am so pleased you and your family enjoyed the bars 🙂 Alex xo