
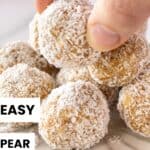


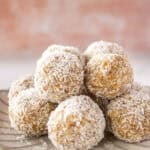


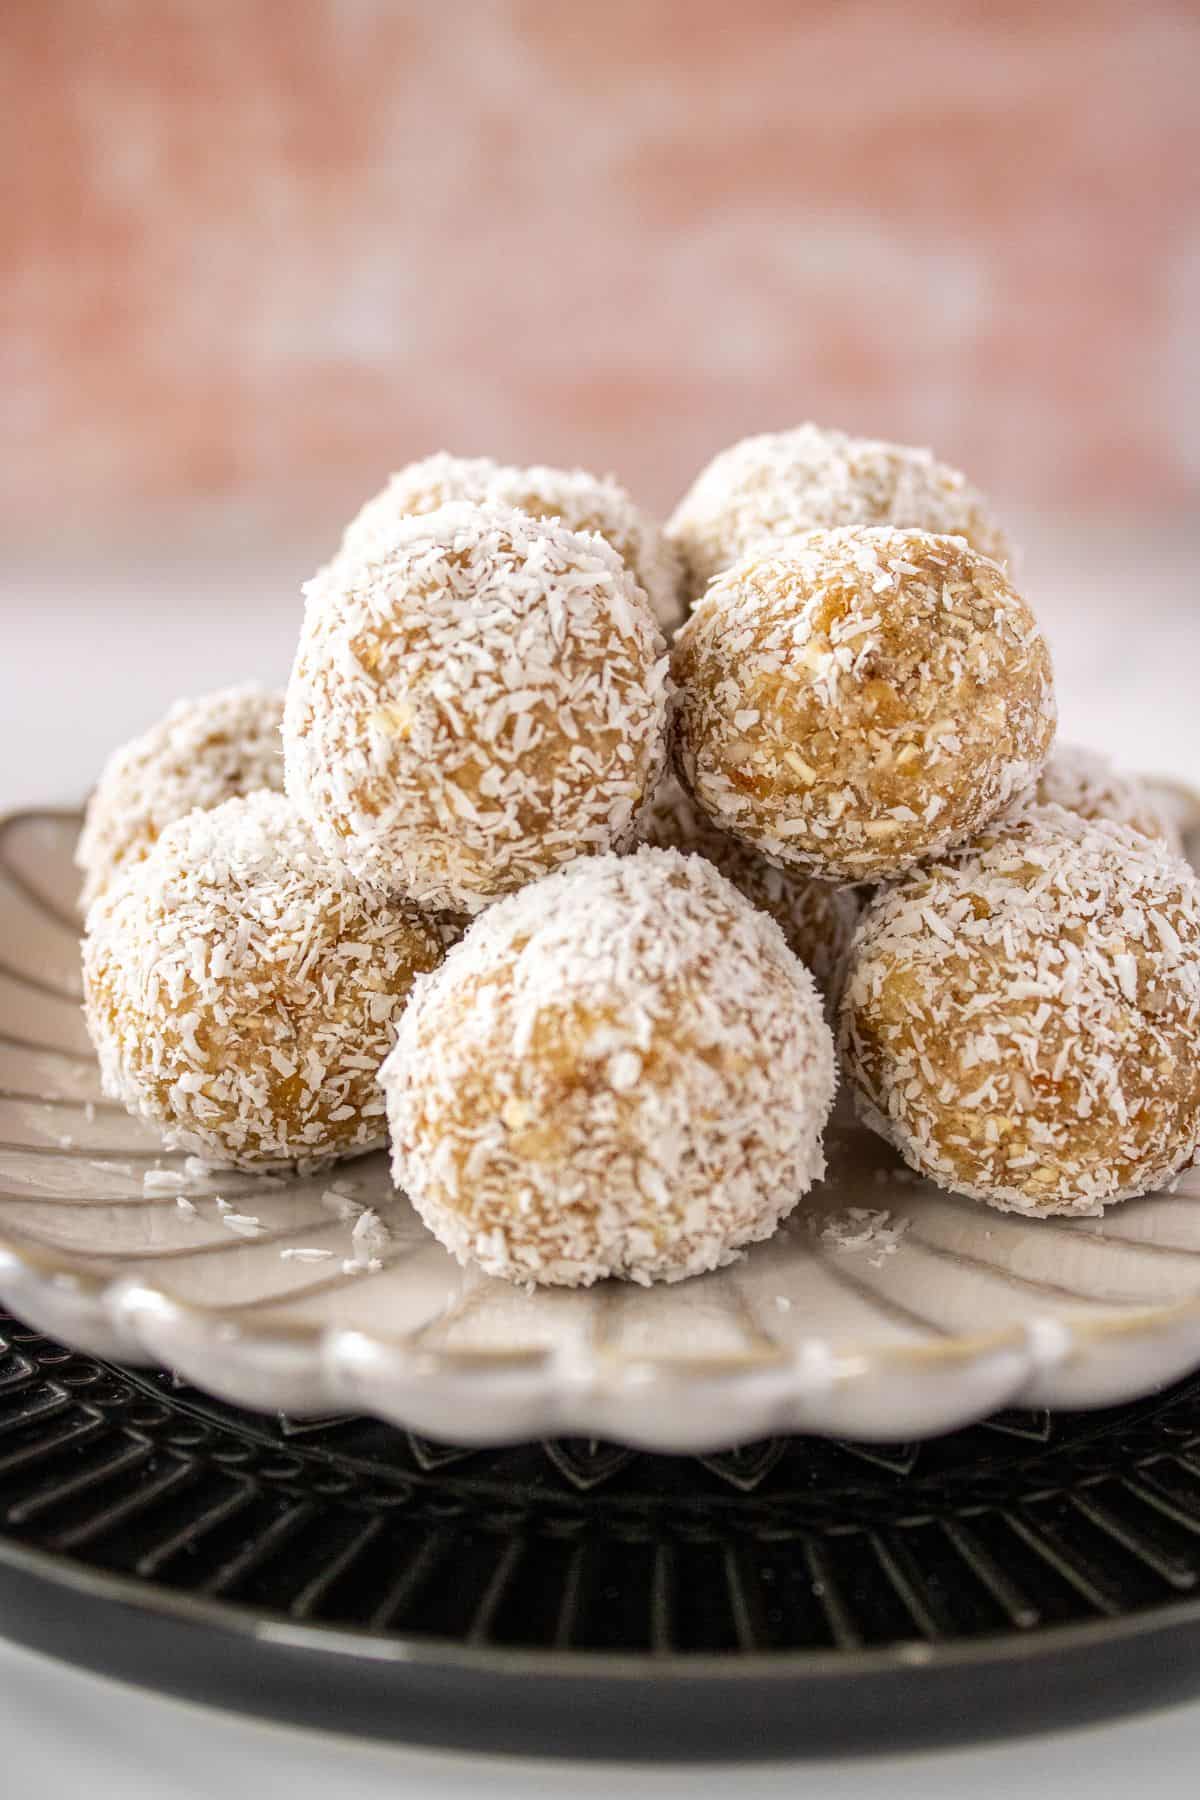
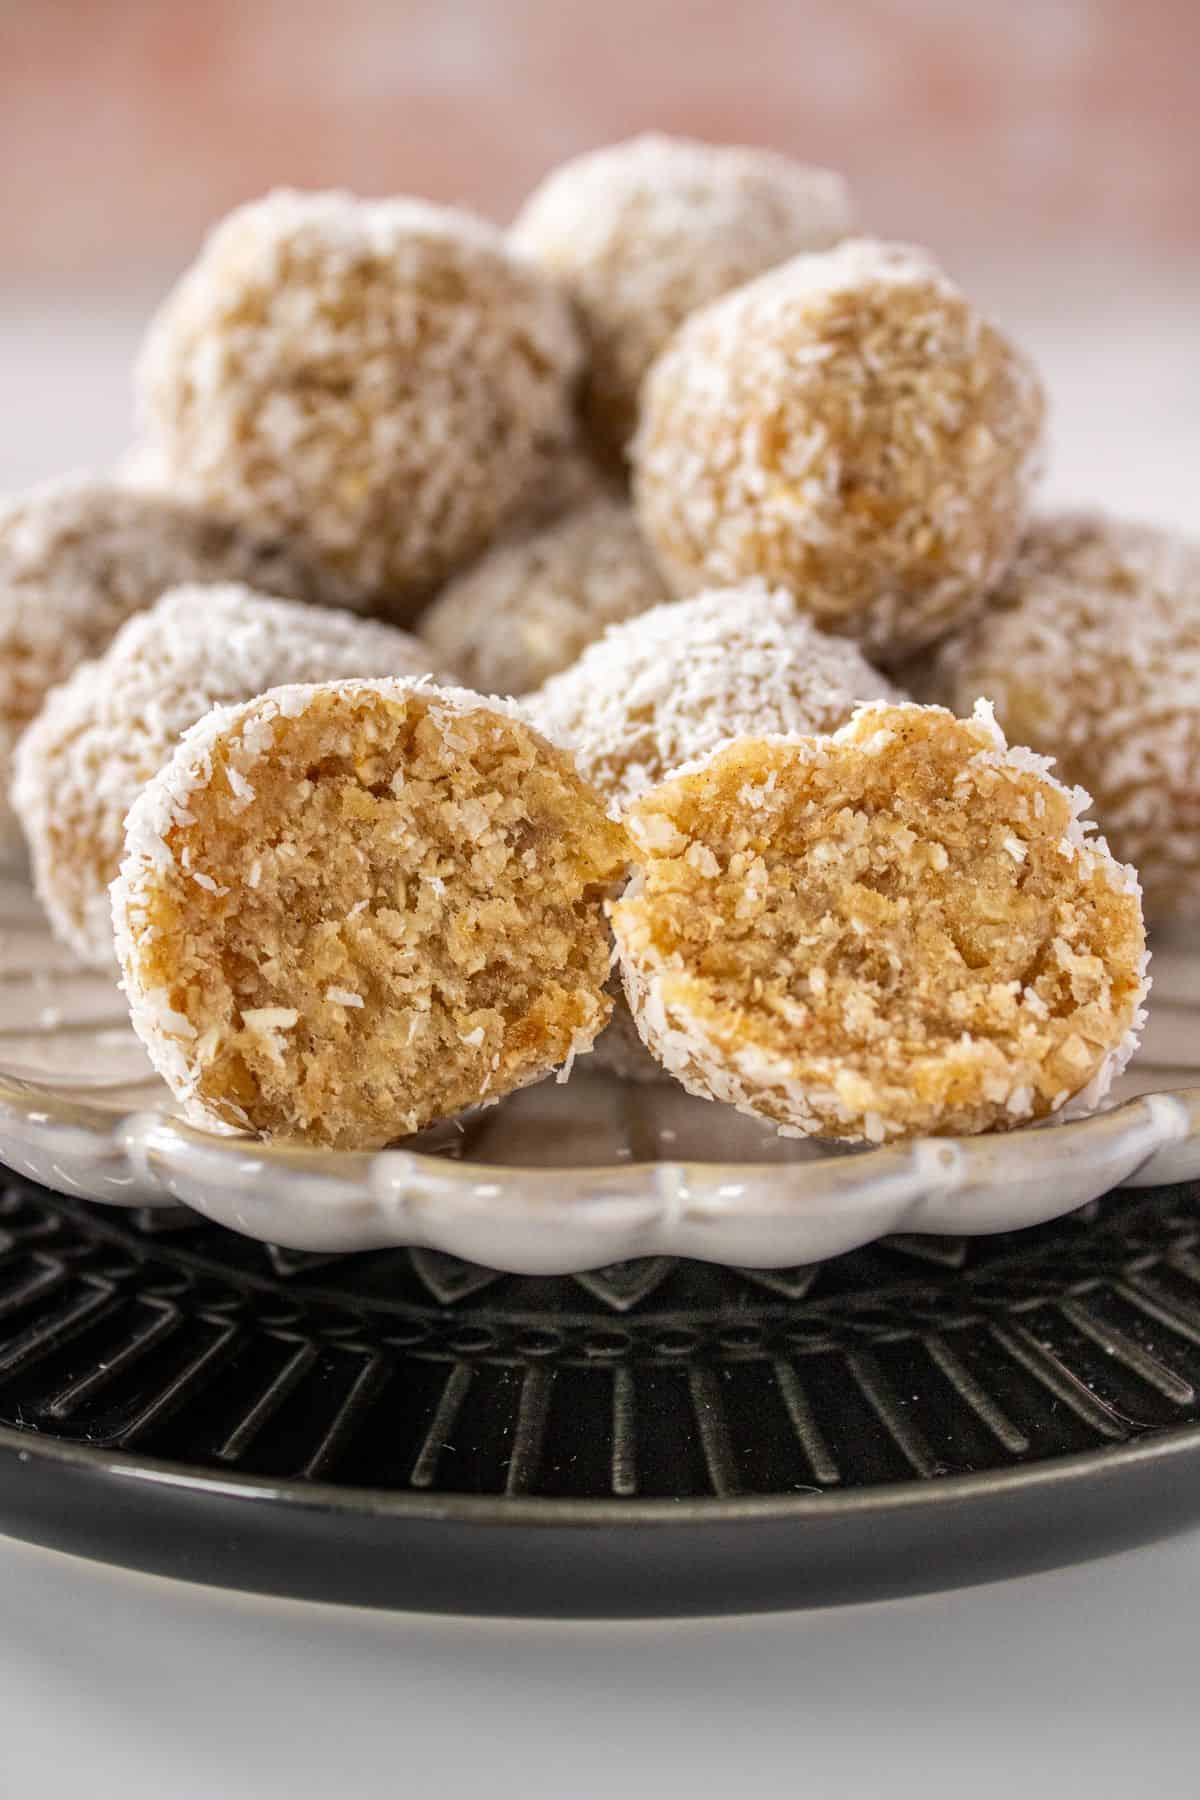
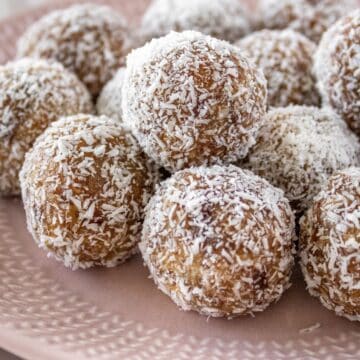
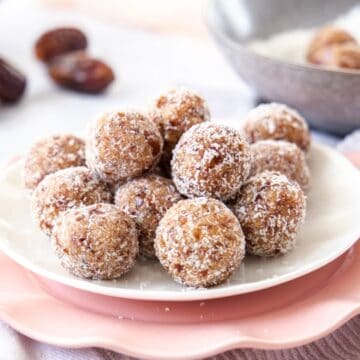
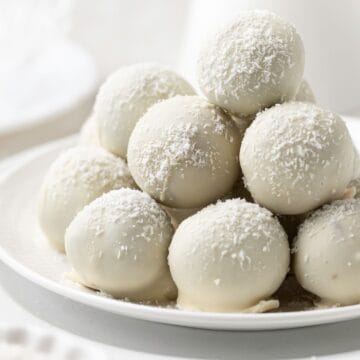
These Pear Bliss Balls are the perfect snack or pick-me-up, ideal for those moments when you need to satisfy your sweet cravings. They are a delicious combination of dried pears, rolled oats and desiccated coconut, gently sweetened with pure maple syrup and flavoured with cinnamon powder and vanilla extract. We blend all the ingredients together, roll into small balls and coat with desiccated coconut. Simple, easy and delicious!
Why You'll Love This Recipe:
- The bliss balls are quickly and easily made from readily available ingredients.
- You do not need to be skilled in the kitchen to make this sweet treat which will be enjoyed by the whole family.
- They do not require any cooking, making them perfect for days when it's too hot to turn the oven on.
- This homemade snack is perfect for people with specific dietary requirements as the bliss balls are refined sugar-free, nut-free and vegan. Using the appropriate rolled oats also mean the bliss balls can be made gluten-free.
Recipe Inspiration: I am a huge fan of bliss balls and the infinite opportunity to vary the flavours. My Mum Faye used to run a gluten-free catering company, and would make a selection of bliss balls for her clients. Blend them with nut flour, like my Apricot Bliss Balls, or old-fashioned rolled oats, like my Chocolate Bliss Balls. Add natural sweetness from dates or maple syrup. Add spices to change the flavour. Roll in coconut, finely chopped nuts or cocoa powder. And so, this simple recipe which combines dried pears and coconut was developed.
Ingredients and Substitutions:
Please see the recipe card further along in the post for exact quantities of ingredients and the full method.
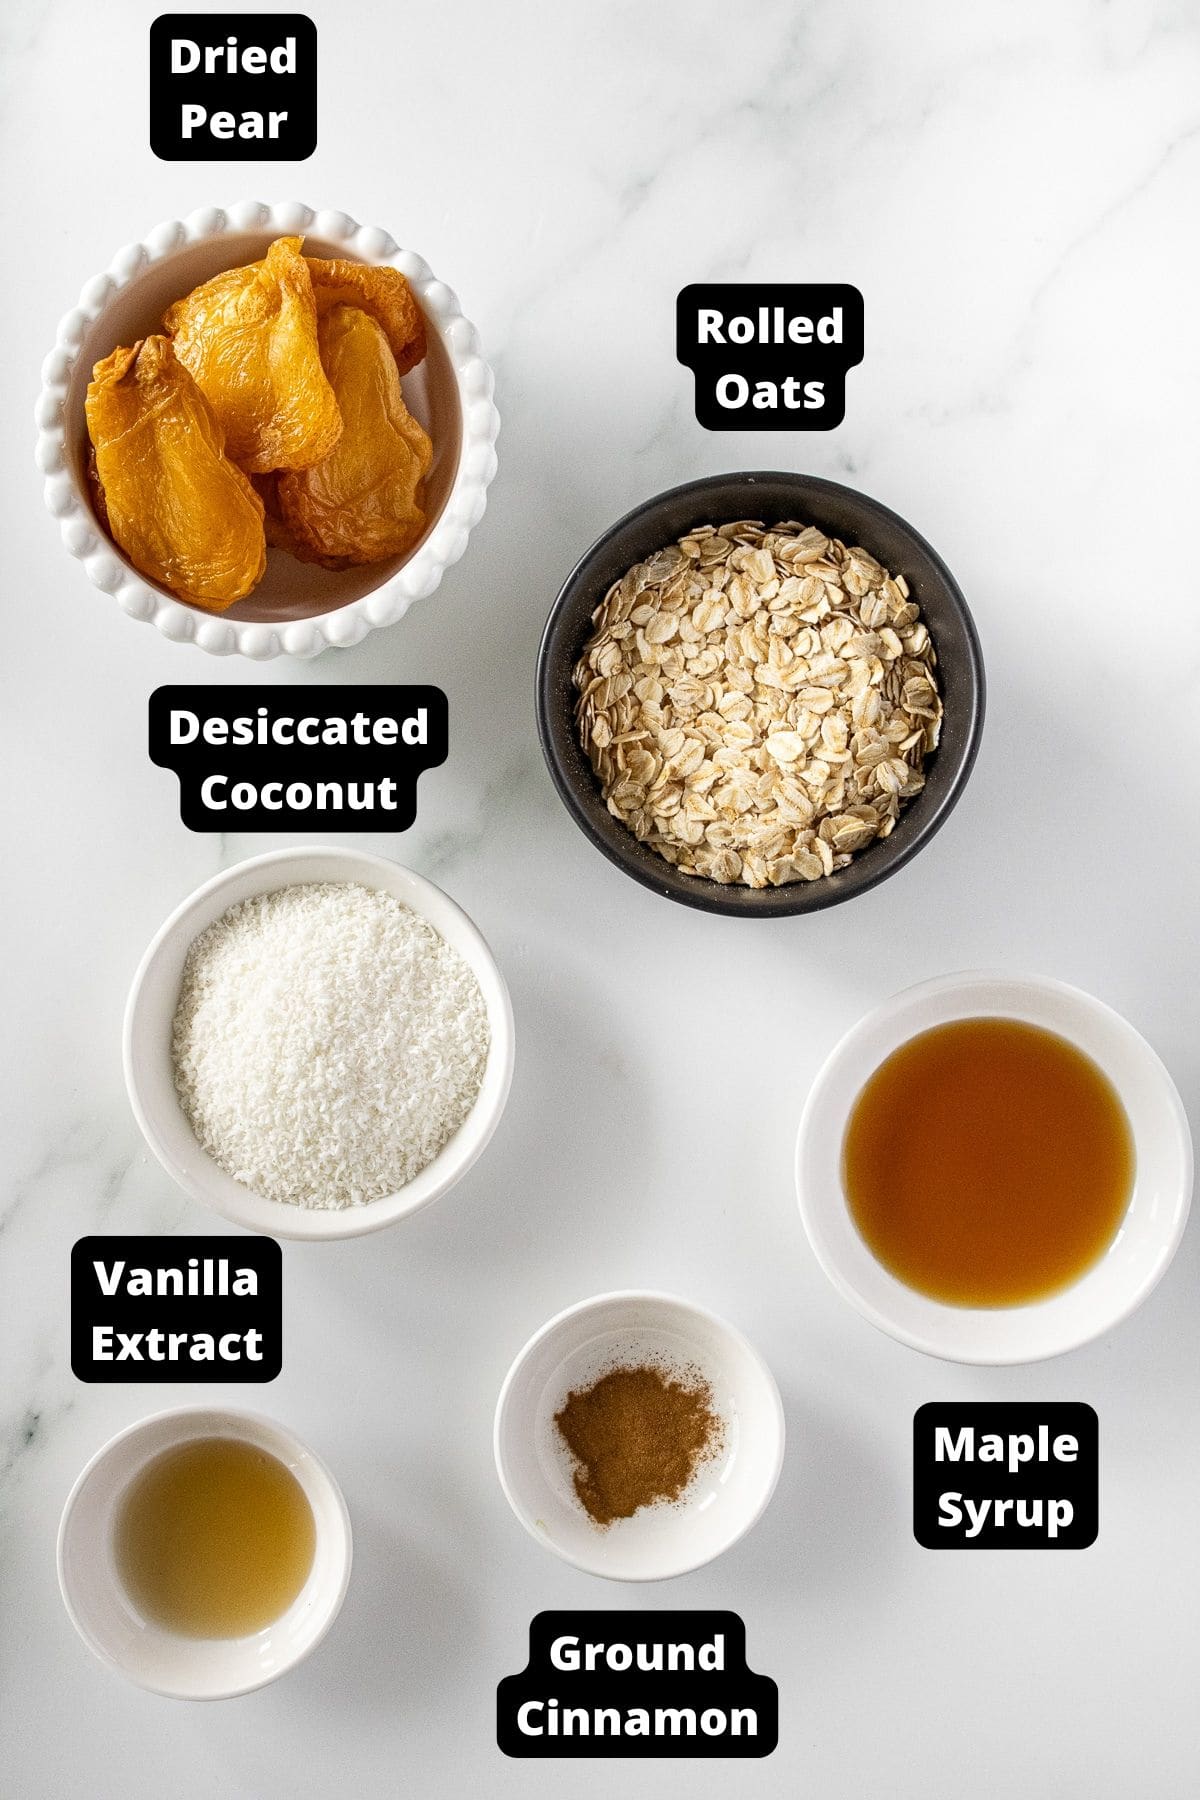
- Dried pears: use soft dried pears if possible as they will be easier to blend.
- Desiccated coconut: we use unsweetened coconut to help bind the mixture and to coat the rolled bliss balls. Store it in the fridge to extend its life, or in the freezer to extend it even further.
- Rolled oats: we use old-fashioned rolled oats, not instant oats. Use a gluten-free variety if necessary.
- Vanilla extract: we prefer to use vanilla which is naturally extracted from the bean and not one which has been synthetically flavoured.
- Pure maple syrup: for the best result use the pure syrup.
- Cinnamon: ground cinnamon is a warm spice which perfectly complements the dried pears.
- Water: we use a small amount of water to bind the ingredients together.
Variations:
Spices: a little nutmeg would also be a delicious addition.
Maple syrup: if you don't need the bliss balls to be vegan, honey is a good substitute, but as it is sweeter than maple syrup you will need to use a little less.
How To Make Pear Bliss Balls:
Please see the recipe card further along in the post for exact quantities of ingredients and the full method.
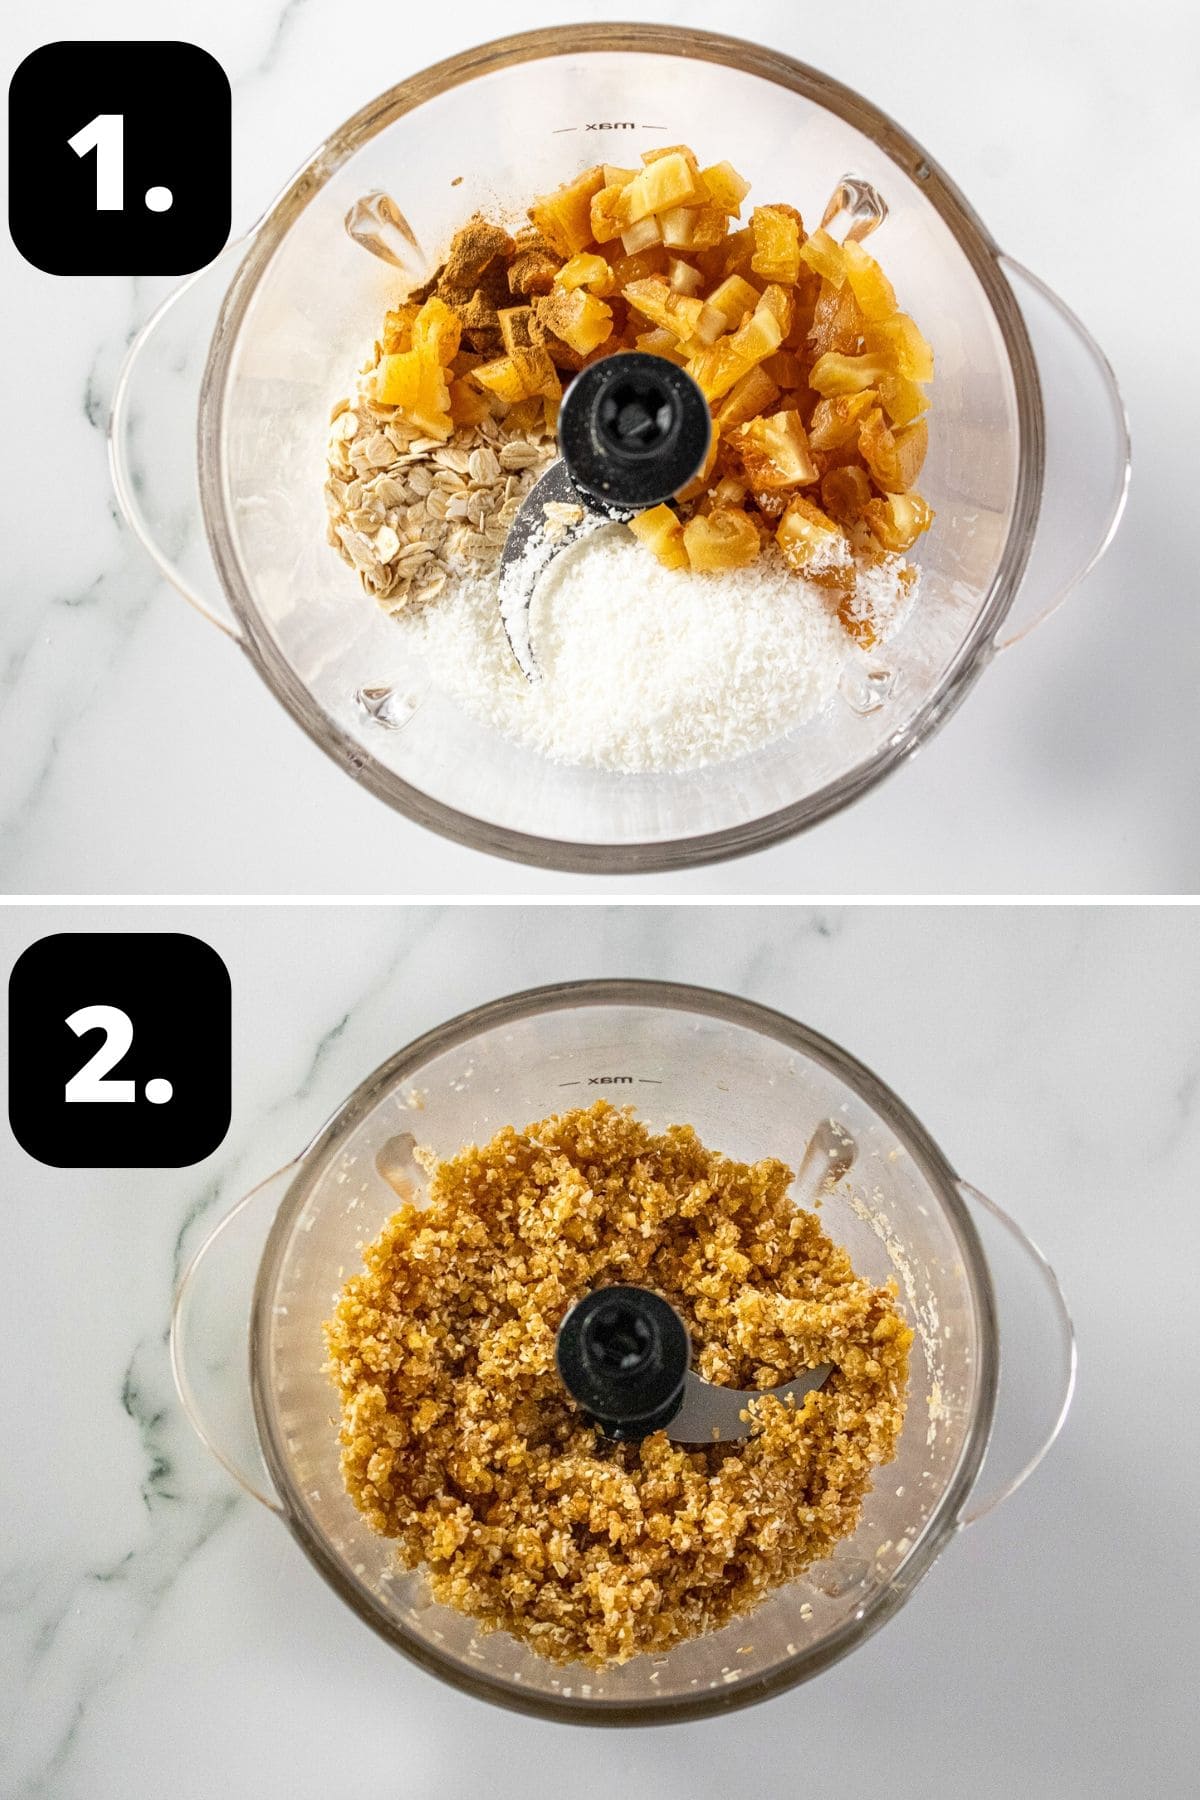
1 - Add your ingredients to a food processor:
To the bowl of a food processor, add all of your ingredients.
2 - Blend and roll:
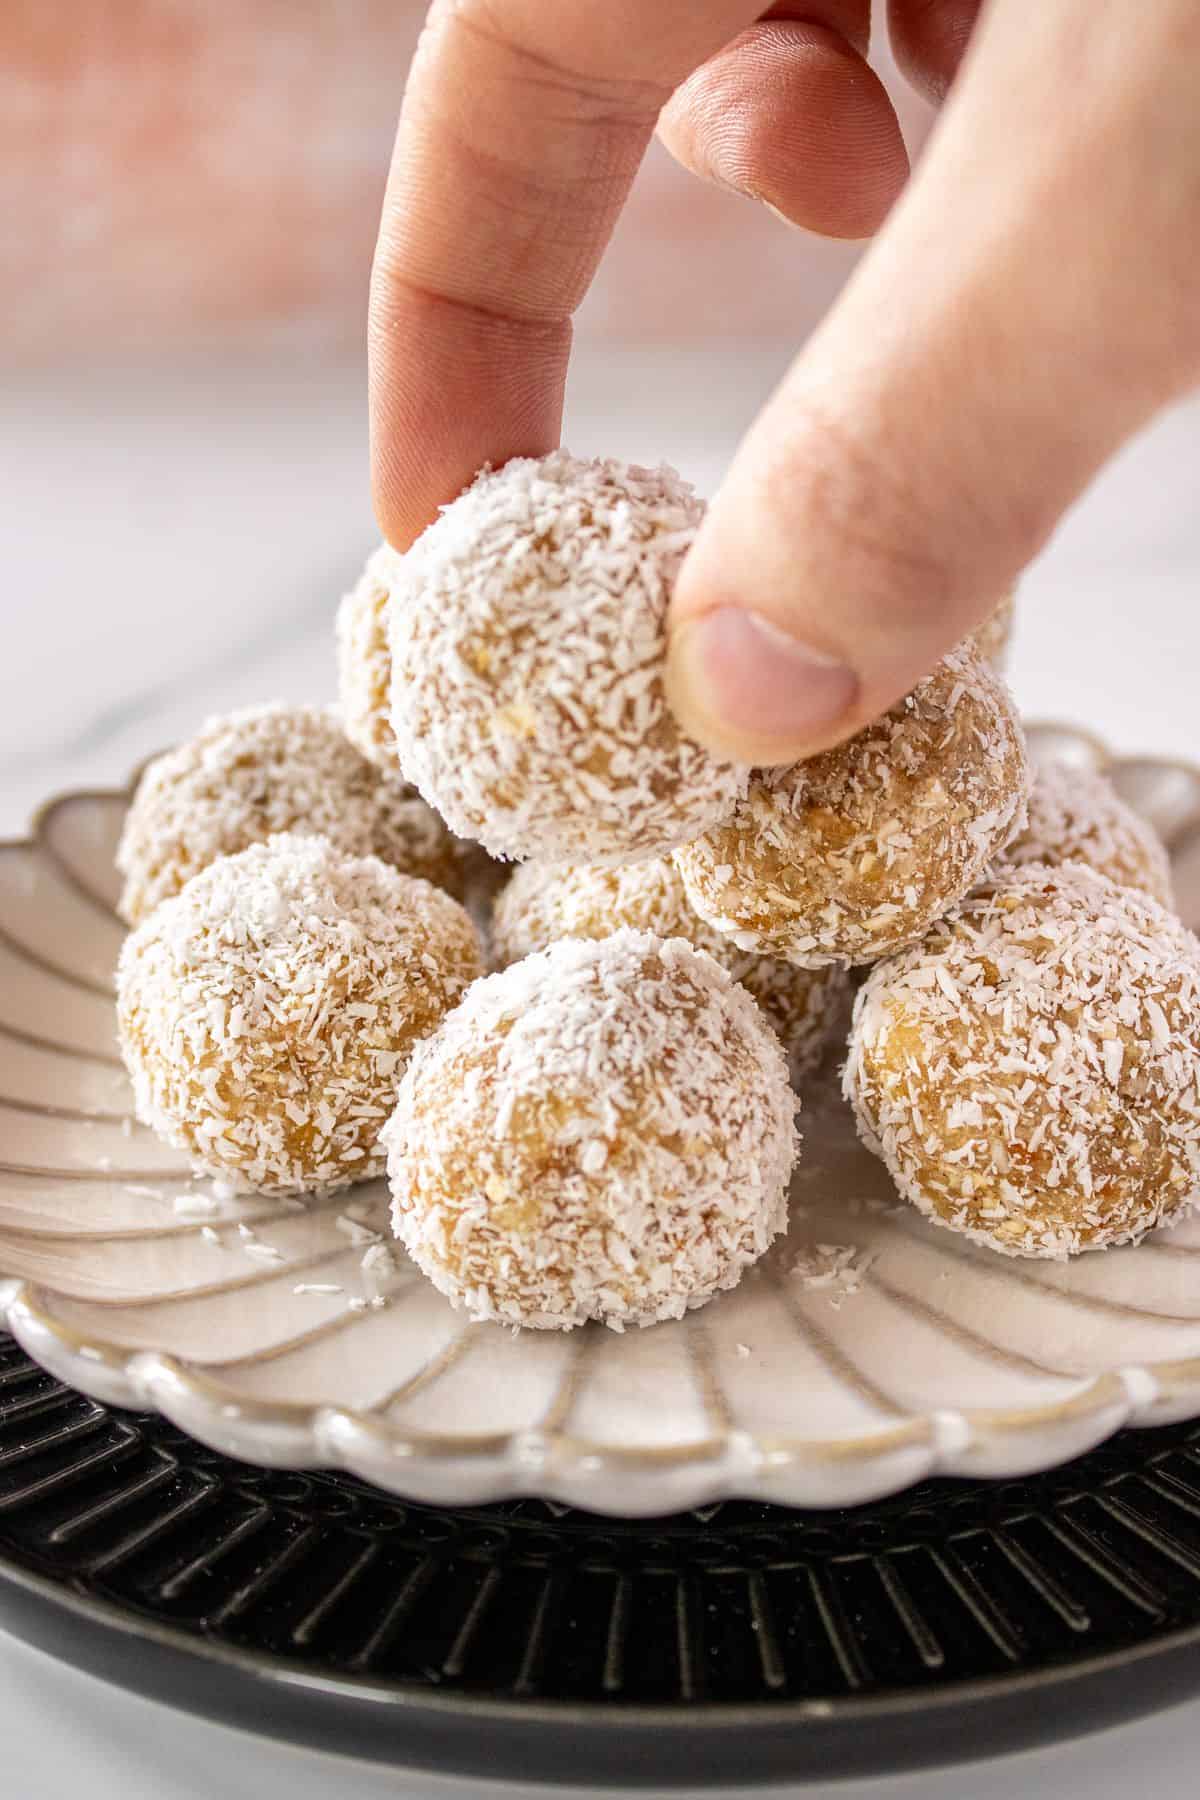
Process the mixture until well combined. Check that it is the desired consistency. Roll the mixture into balls, coat them in a little coconut and they are ready to enjoy.
Hint: to achieve a consistent size, we use a 2-teaspoon ice cream scoop to remove the mixture and then roll the balls in the coconut.
Tips for Success, Storage and FAQs:
Store them in an airtight container in the fridge for one week.
Yes, they freeze well. They can be frozen in an airtight container for up to three months.
Top Tip:
If the mixture is too dry to roll into balls, add a teaspoon of water at a time until it is sufficiently moist to be able to roll. The amount needed will depend on how dry your fruit is.
Serving Suggestions:
You will find many occasions to enjoy these Pear Bliss Balls. Some suggestions are:
- Enjoy them with morning or afternoon tea.
- Pack some into lunch boxes.
- Take them to potlucks or picnics. They travel well.
- Package some in a cellophane bag and tie with a pretty ribbon. They are a lovely homemade gift.
This is one of the quickest and easiest recipes to make; it will only take about fifteen minutes from start to finish and they're ready to enjoy. Be sure to let me know if you give them a try.
Alex xx
More Delicious Recipes For You To Try:

Stay in touch!
Follow me on Facebook, Pinterest, Flipboard and Instagram and subscribe to my newsletter.
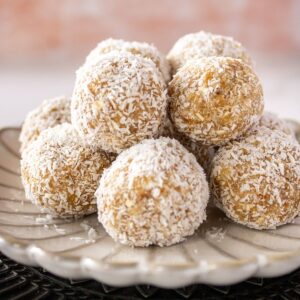
Pear Bliss Balls
Please note:
For accuracy, when weights are provided, we recommend weighing your ingredients. This will produce the best results. All oven temperatures listed are for fan forced.
Ingredients
For the Pear Bliss Balls:
- 140 g (5 oz) dried pear - finely chopped See Note 1
- 40 g (½ cup) old-fashioned rolled oats
- 30 g (¼ cup + 2 tsp) unsweetened desiccated coconut
- 1 teaspoon vanilla extract
- 2 teaspoon pure maple syrup
- ½ teaspoon ground cinnamon
- water - to achieve desired consistency, if necessary
For Coating the Bliss Balls:
- 2 tablespoon desiccated coconut See Note 2
Instructions
- Add all the ingredients to the bowl of a food processor. Process until they are well combined.
- Take a small amount, press it together between your fingers to check if it can be rolled into balls.If the mixture is too crumbly, add a small amount of water to bind it together. I find that I tend to add 2-4 teaspoons of water to this recipe to get the ideal consistency.
- Add the extra 2 tablespoons of coconut to a shallow, wide bowl. Roll the mixture into balls. To achieve a consistent size, we use a 2-teaspoon cookie scoop to remove the mixture and then roll the balls in the coconut. Store the Pear Bliss Balls in the refrigerator in an airtight container.
Notes
- Dried pear: for the best result, use fresh, soft dried fruit. Depending on the moisture in the dried pears, you are likely to need to add some water. I find I need to add 2-4 teaspoons when preparing this recipe.
- Tablespoon: we use a standard Australian tablespoon which is 20 ml (4 teaspoons). For readers located elsewhere in the world, please use 1 tablespoon + 1 teaspoon for each listed tablespoon.
- Storage: store the bliss balls in the refrigerator in an airtight container, for about one week.
- Freezing: store them in a freezer safe air tight container for three months.
Nutrition Estimate:
Nutritional Disclaimer:
The nutritional information is an estimate only, and is derived from online calculators. For accurate results, we recommend calculating the nutritional information based on the ingredients and brands you use.


Serena says
Delicious. I made them with quinoa flakes instead of rolled oats.
Alexandra Cook says
What a great idea, Serena! Sounds lovely 🙂
Alex xo