If you enjoy making your own condiments from seasonal produce, this Orange Marmalade is for you. Marmalade is a popular preserve on many breakfast tables, and it is easy to see why. Serve this zesty, tangy condiment with your toast or croissant: it is a great way to start the day!
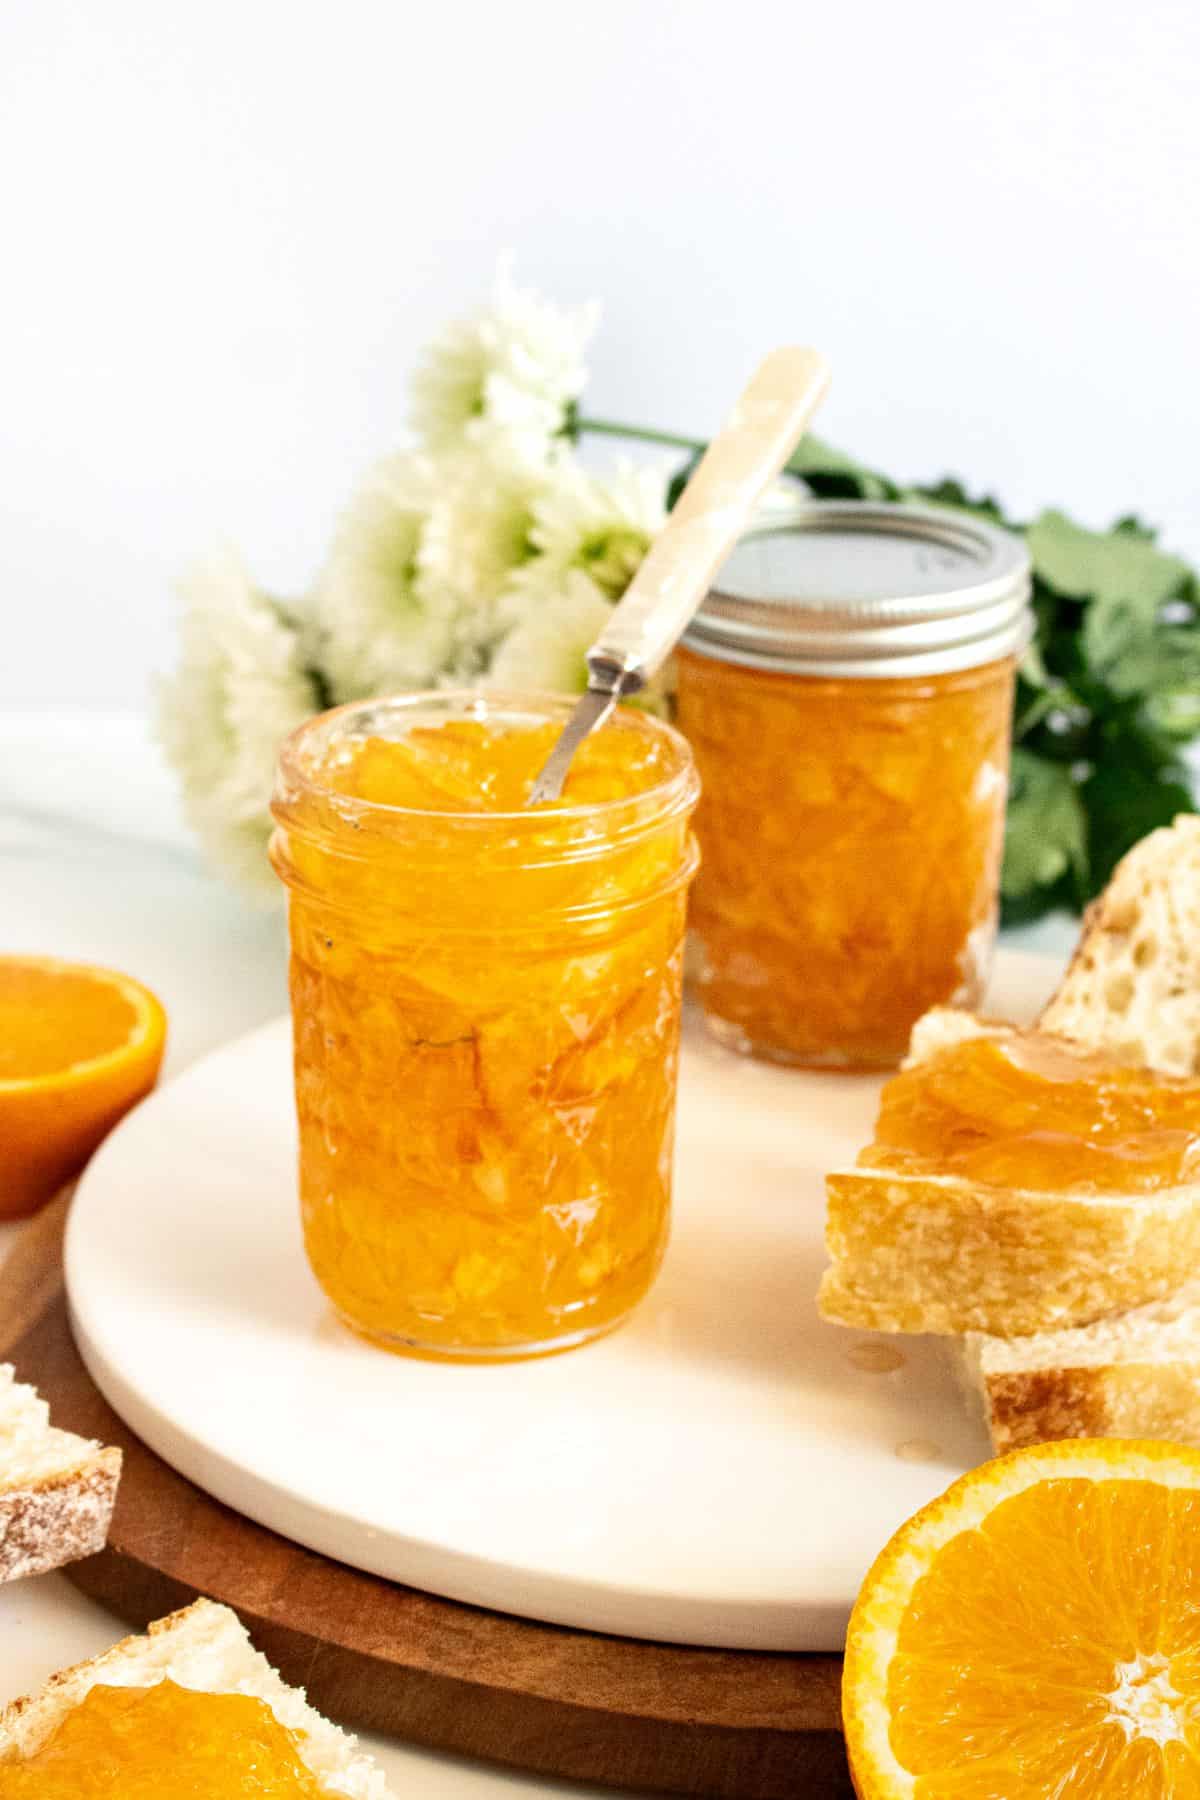
Why You’ll Love This Recipe:
- Homemade Navel Orange Marmalade is a delicious combination of sweet with a slightly bitter edge. It is frequently served on toast for breakfast and provides a bright, zingy note on which to start the day.
- It is a great way to preserve some of winter’s bounty for the months ahead.
- There are few things more satisfying than taking fresh, locally grown produce and transforming it into something delicious.
- When you make your own preserves, you are in control of the quality of the ingredients. In this case, the Orange Marmalade contains just four natural ingredients, including water. Commercial varieties often have a large range of additives.
- It is easier than you may think. Although there is a great deal of science involved, you just need to follow a few simple steps and we will happily guide you through the process.
Recipe Inspiration: I am the fifth generation in my family to make marmalade. This is a recipe that has been much loved for many, many years.
Ingredients and Substitutions:
Please see the recipe card further along in the post for exact quantities of ingredients and the full method.
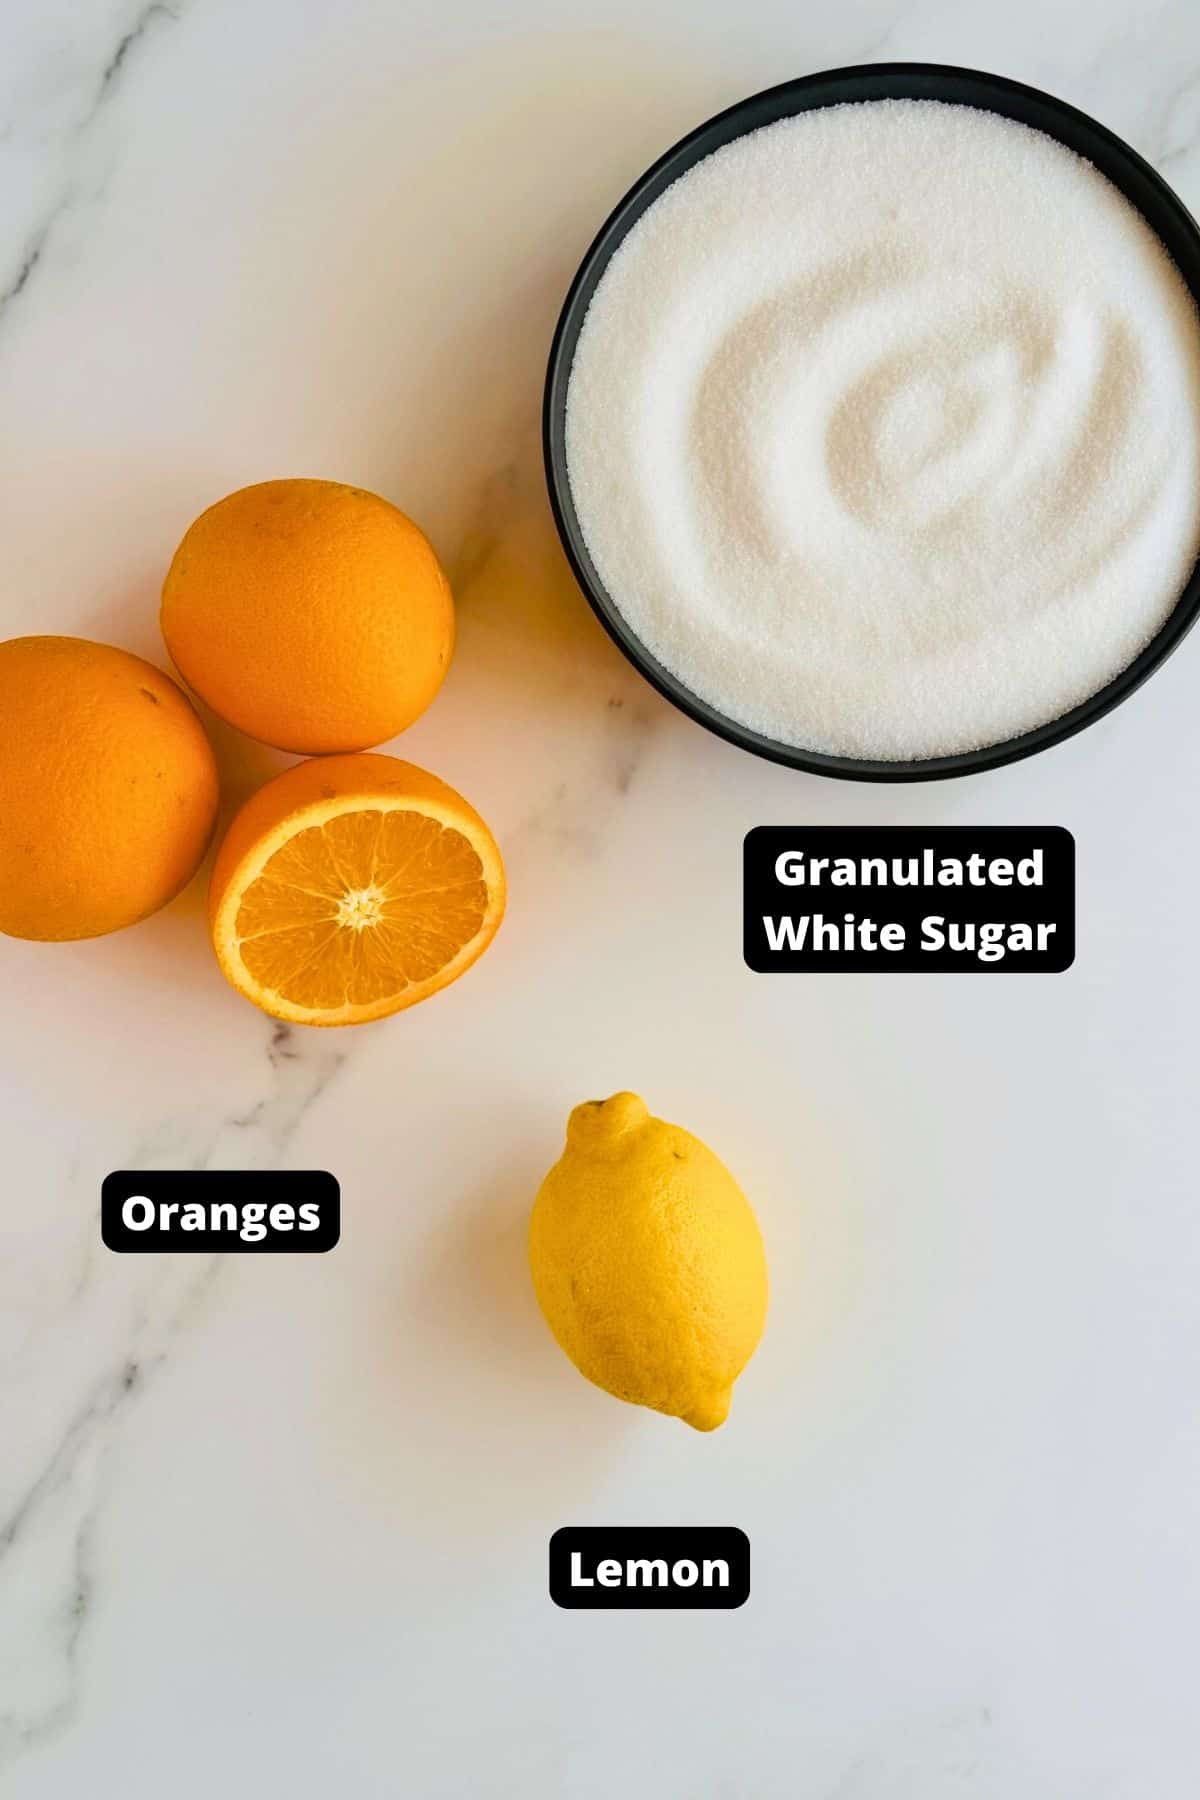
- Oranges – I have used navel oranges, part of the winter citrus family. They are a seedless variety with beautiful flavour. If possible, my preference is to use homegrown or organic fruit which does not have a wax coating. If you are only able to access commercial fruit, we have some advice for preparation in the recipe. Always use fresh fruit which is in good condition.
- Lemon – again, my preference is homegrown or organic fruit.
- Sugar – use regular granulated white sugar. Citrus fruits are high in pectin, so it is not necessary to use jam sugar.
- Water – I use filtered tap water.
Variations:
Citrus fruit – different citrus fruit can be used, although the quantities may vary. Try our recipes for Grapefruit Marmalade or our favourite Three Ingredient Lemon Marmalade.
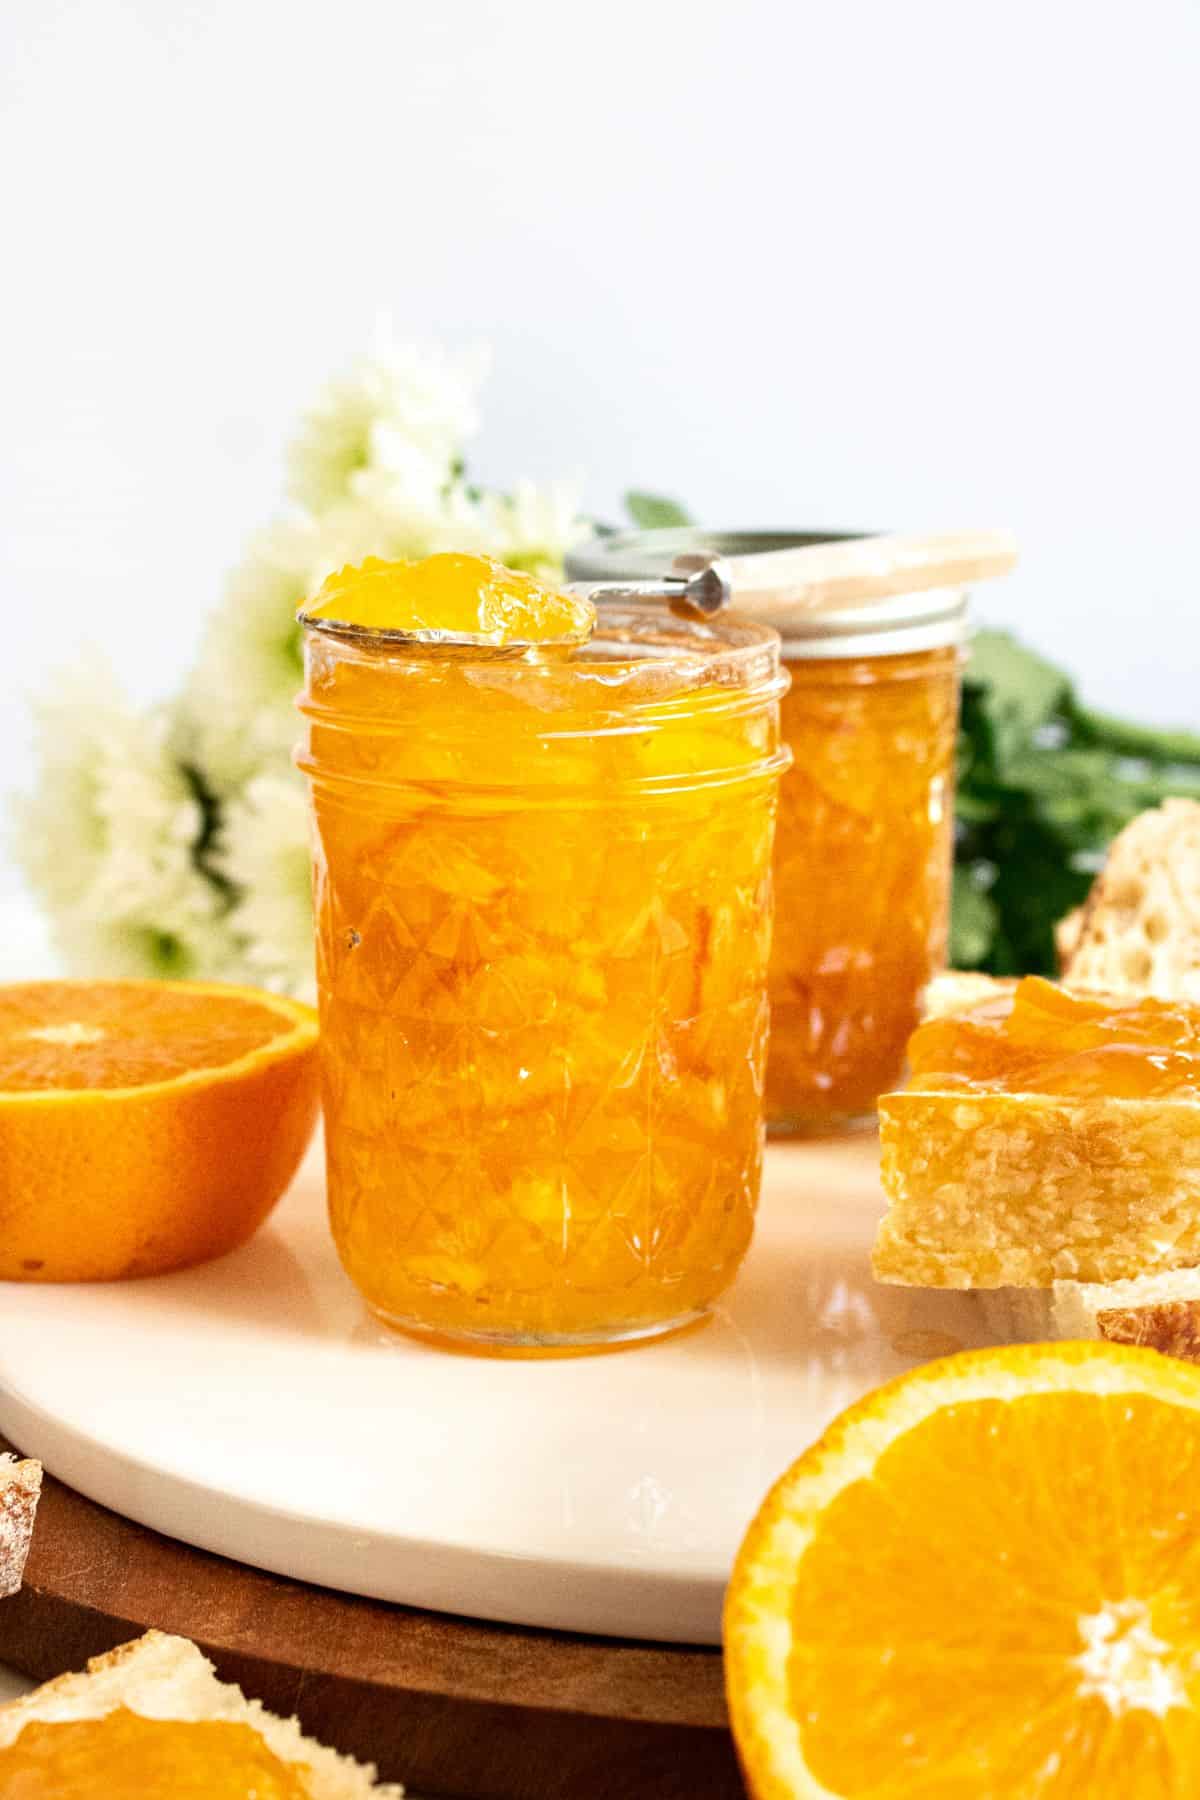
How To Make Orange Marmalade:
Please see the recipe card further along in the post for exact quantities of ingredients and the full method.
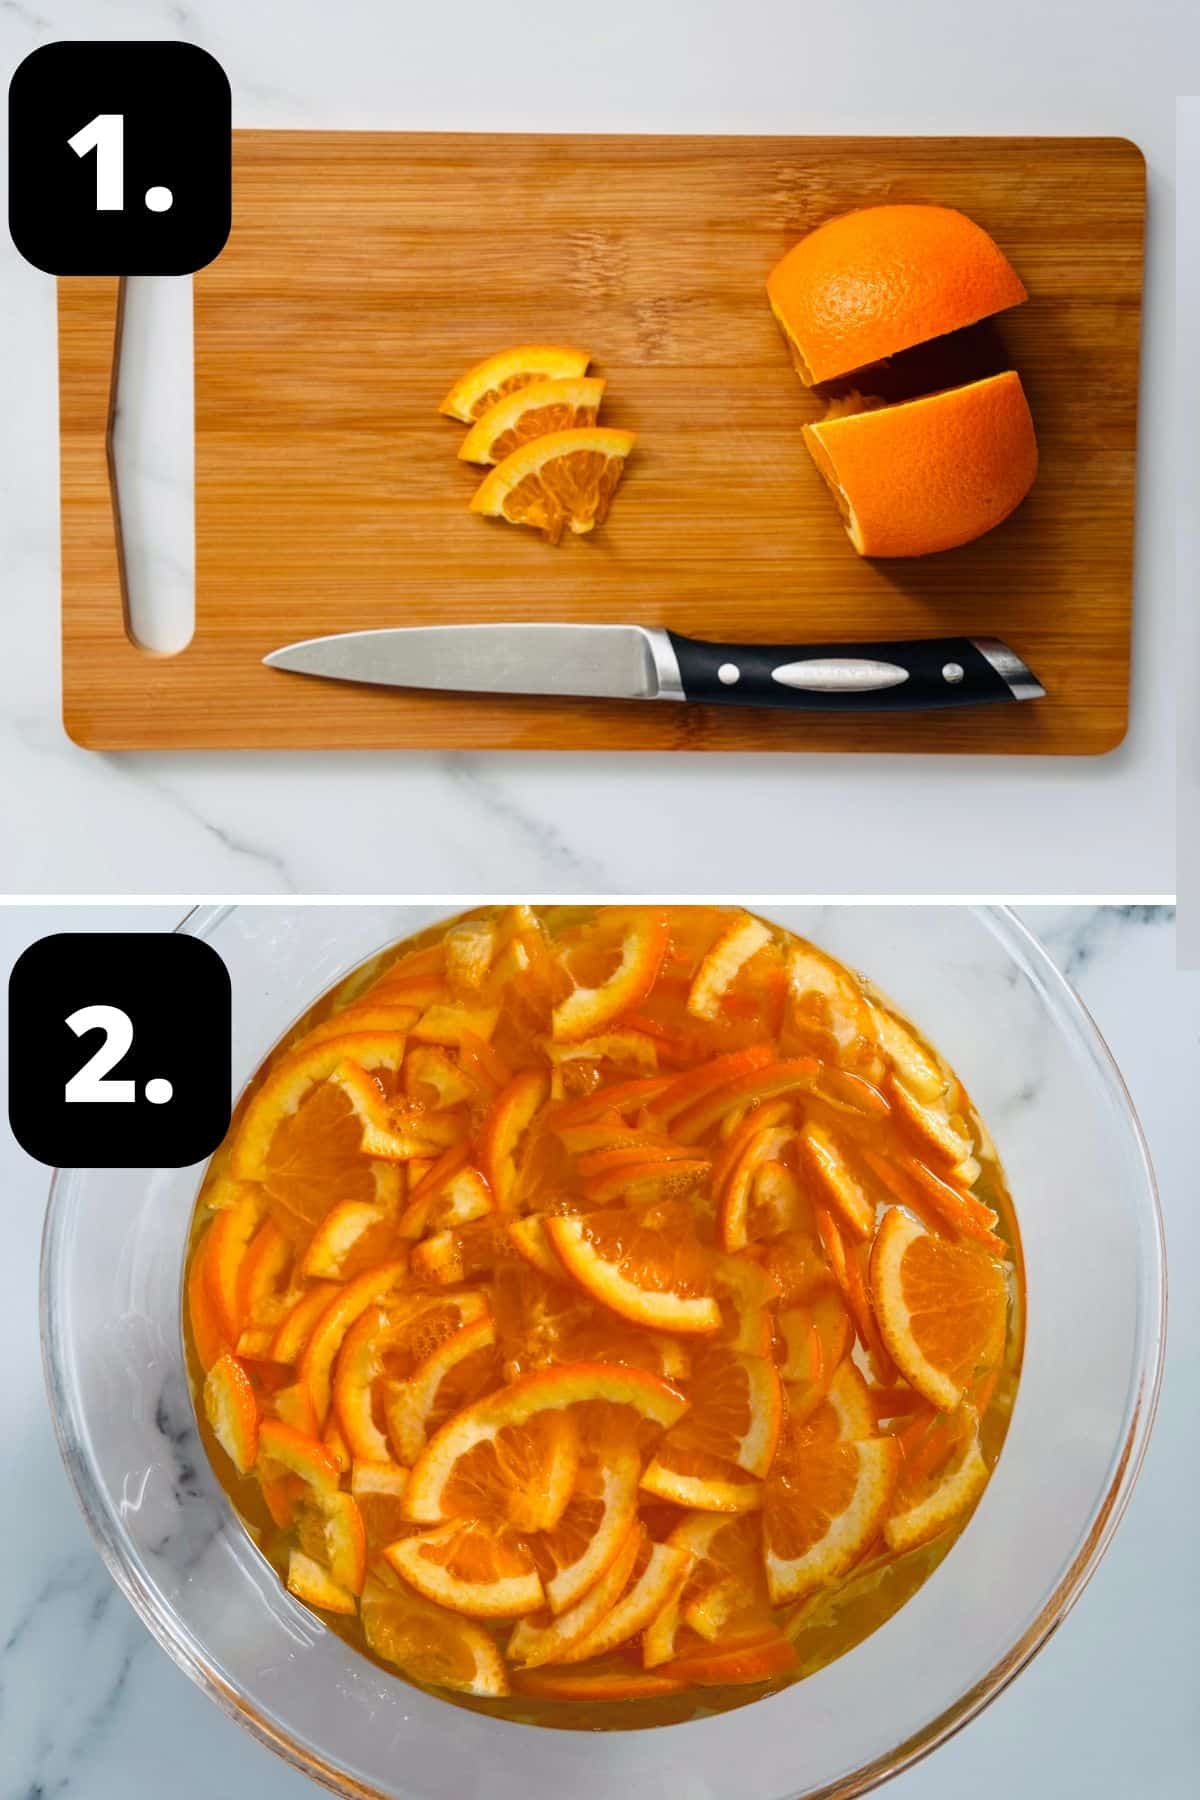
1 – Prepare the fruit:
To begin, wash the fruit. Trim the ends from the navel oranges and discard. Cut the fruit into quarters lengthways and slice as finely as possible.
2 – Soak the fruit:
Place the fruit into a glass or ceramic bowl, add the water, then cover the bowl and set aside overnight. There is no need to refrigerate – just keep away from direct sunlight.
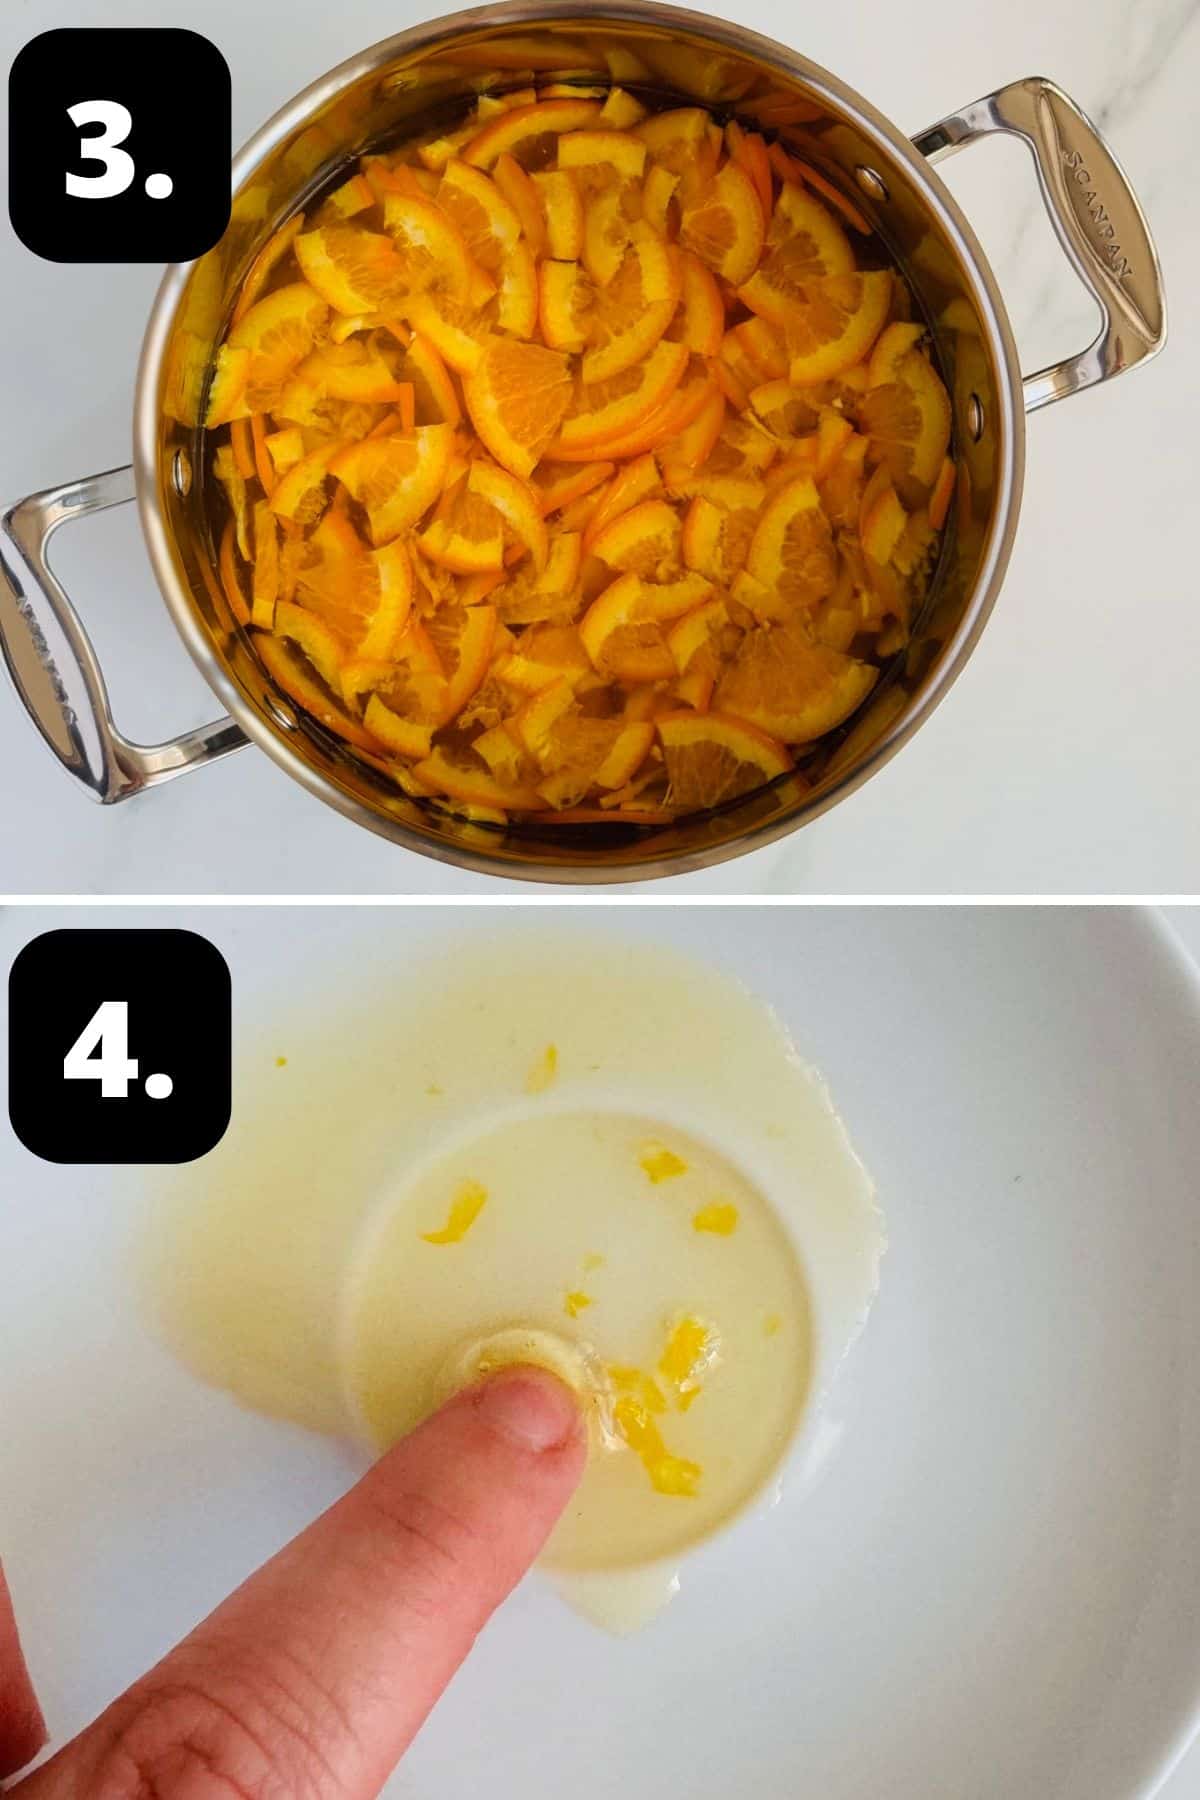
3 – Start cooking the fruit:
On day two, add the fruit, lemon juice and water to a large saucepan and cook to soften the peel.
4 – Check for setting point:
When ready, add the sugar. Over low heat, stir occasionally to thoroughly dissolve the sugar.
Increase the heat, bring the marmalade to a boil, and stir occasionally until you reach setting point. Check for setting point using the cold plate test.
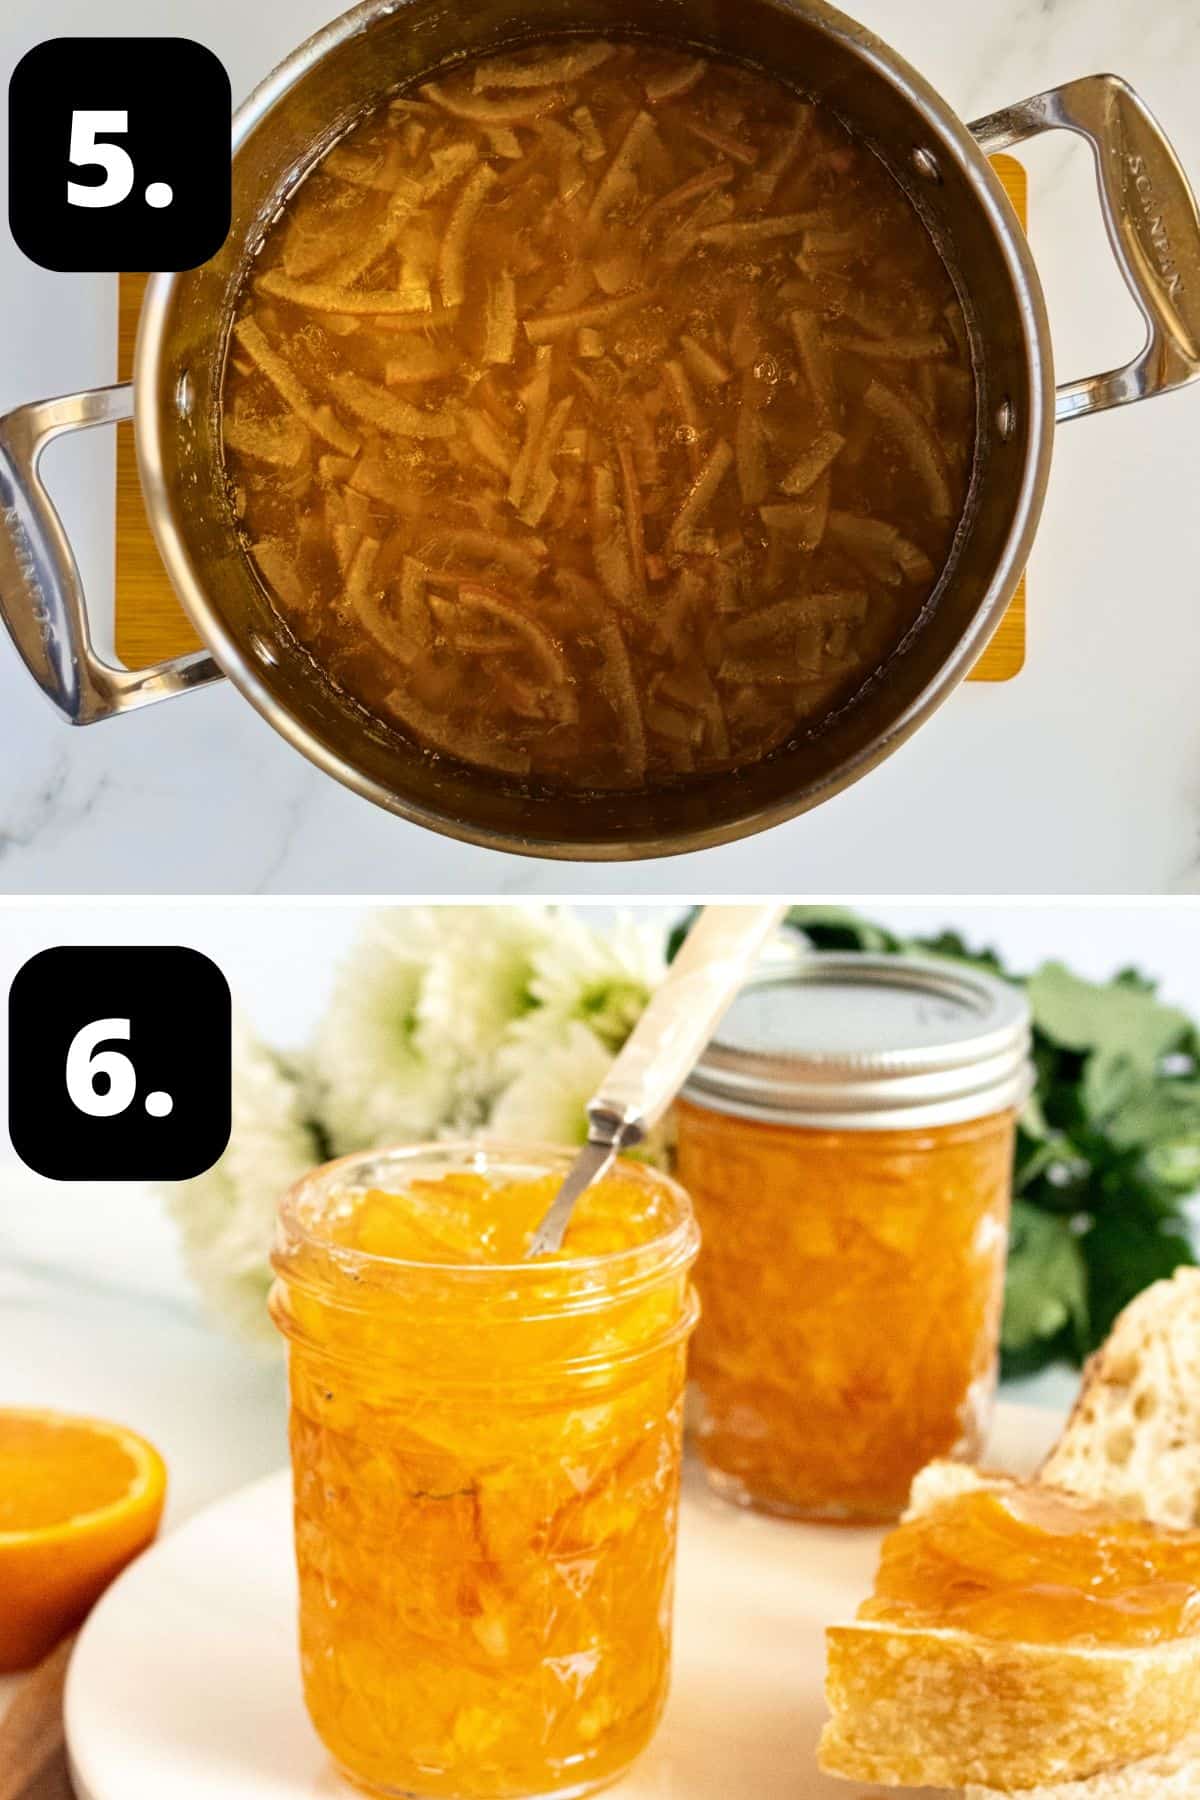
5 – The cooked marmalade:
When the marmalade reaches setting point, take the saucepan off the heat and allow to sit for 10 minutes. This will help the fruit to settle and evenly distribute when poured into the jars.
6 – The jars of marmalade:
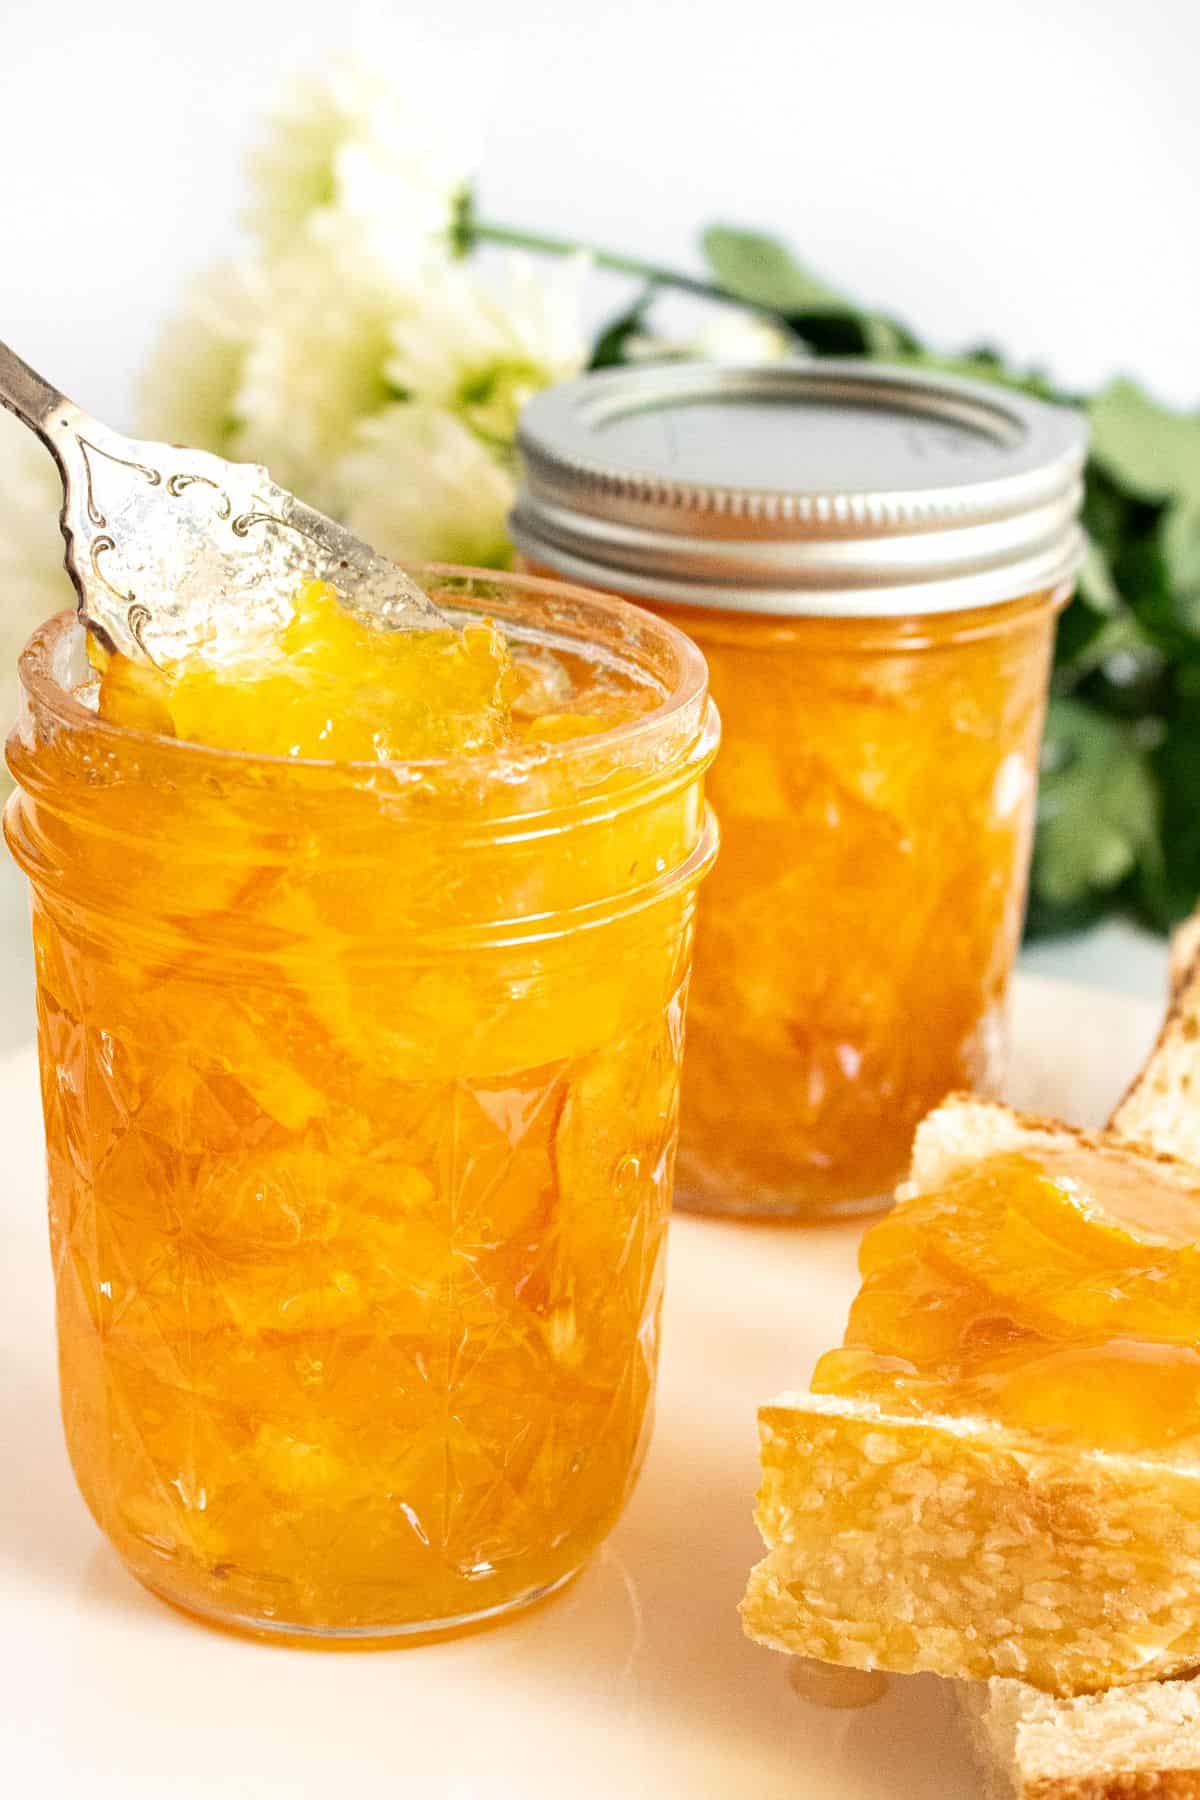
Finally, ladle into sterilised jars and seal. Your homemade marmalade will be very liquid when you add it to the jars, but it will continue to thicken as it cools. Allow 24-48 hours for the Orange Marmalade to be completely set. Store in a cool, dark location. Once you have opened a jar, store in the fridge.
Hint: it is essential that the peel be tender before adding the sugar. The peel will not soften further after the sugar is added.
Tips for Success, Storage and FAQs:
When cooked to setting point, and poured into sterilised jars, the marmalade will keep for at least 12 months.
No, it is not necessary to refrigerate it. Just store it in a cool, dark, dry place. I do, however, store a jar in the refrigerator once opened.
This may seem like an excessive amount of sugar, however, this is not the usual fruit to sugar ratio which is used in jam making. For this recipe, we use a large amount of water to soak the fruit. The water is included in the Navel Orange Marmalade, so this means a larger amount of sugar.
When making marmalade and jam, the sugar is not just a sweetener, it also assists with gelling and preservation. Therefore, I don’t recommend reducing the amount of sugar as it may interfere with setting and preservation. Sugar is an important component in making the jam shelf stable.
To achieve the best result, you will need to prepare the ingredients for the marmalade a day ahead. We soak the peel overnight; this helps develop the pectin which assists with setting the marmalade. Also, the fruit will soften, and this means it will take less time to cook; a shorter cooking time will produce a brighter, fresher-flavoured marmalade.
Your homemade marmalade will be very liquid when you add it to the jars, but it will continue to thicken as it cools. Leave it for 24 hours and then check again. If it is still runny, you can re-boil the marmalade. Empty the contents of the jars back into the saucepan and bring to a boil. To increase the pectin and help the marmalade to set, you can add the juice of a lemon. Boil for a few minutes and test again.
However, if the marmalade was initially boiled too long, it can result in the marmalade not setting as the pectin may have been damaged and the sugars can over caramelise and become excessively sweet.
We do not recommend this. Firstly, this batch requires a large pot as it is to cook, due to it bubbling up so much. Second, doubling the recipe can throw the quantities out, and require a longer cooking time. This in turn can dull the flavour, and setting point may not be able to be achieved.
Top Tip:
For the best result, always use fresh fruit which is in good condition as it will contain more pectin. The pectin content diminishes in older fruit.
Serving Suggestions:
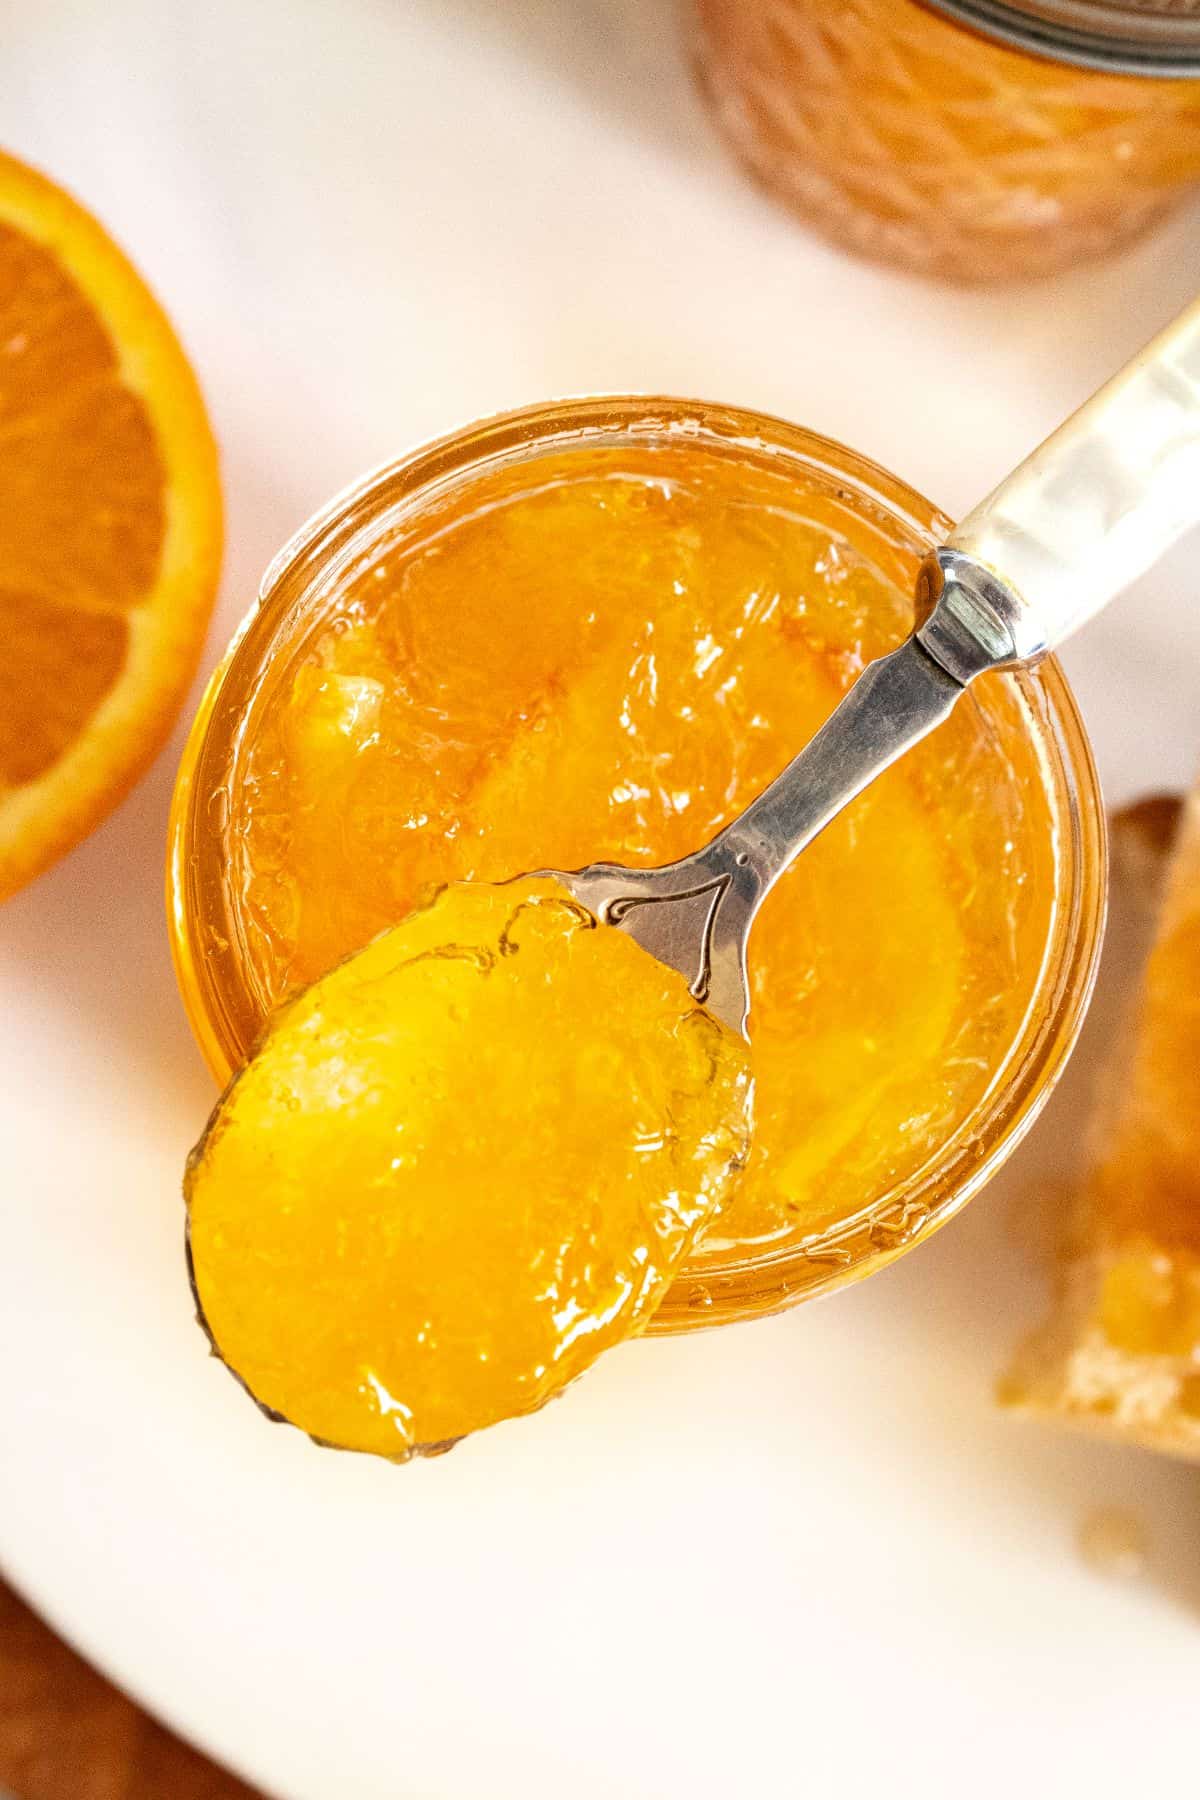
There are many ways to enjoy this delicious condiment, in either sweet or savoury applications.
Some suggestions are:
- On hot buttered toast or with croissants for breakfast.
- Stir some into plain yoghurt.
- Make a sticky glaze for chicken wings or pork ribs.
- As an addition to a cheese plate. It is delicious with a ripe brie.
- Include in a glaze for a festive Marmalade Glazed Ham.
I regard homemade jams and spreads as luxury items. It’s not that they are expensive to make, but there is an investment of time. A little effort will produce jars filled with this homemade Navel Orange Marmalade. They make wonderful gifts – just be sure to keep some for yourself! I do hope that you try it.
Alex xx
More Delicious Recipes For You To Try:
Stay in touch!
Follow me on Facebook, Pinterest, Flipboard and Instagram and subscribe to my newsletter.
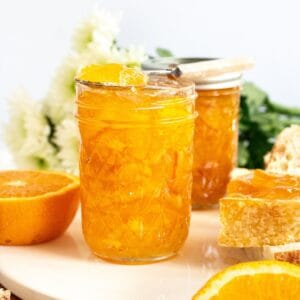
Navel Orange Marmalade
Please note:
For accuracy, when weights are provided, we recommend weighing your ingredients. This will produce the best results. All oven temperatures listed are for fan forced.
Ingredients
- 500 g (1.1 lb) navel oranges – prepared weight See Note 1
- 1.5 litres (6 cups) filtered water
- 60 ml (¼ cup) lemon juice
- 1 kg (4 ½ cups) white granulated sugar See Note 2
Instructions
Please Read First:
- Preserve making is quite simple, but we do recommend reading the recipe through first and following these tips:– weigh your ingredients for accuracy.– do not double the recipe or alter the quantities.– yes, it’s a lot of sugar. It’s also a lot of water. When making marmalade, the sugar is not just a sweetener, it also assists with gelling and preservation. When prepared properly, your end result will be the perfect mix of sweet, citrus tang and bitter, as marmalade should be. This is an old-fashioned recipe (my great great grandmothers.) – use a very large saucepan as the marmalade needs to rapidly boil and will foam up and you don’t want it to overflow.– ensure the marmalade reaches setting point. Keep in mind the marmalade will be very liquid while hot. Do not over boil as you will risk burning the marmalade.– allow 24-48 hours once jarred for the pectin to activate and the marmalade to set properly.– if after this time your marmalade hasn’t set, it likely wasn’t cooked for long enough initially. In this case, add the marmalade back to a clean saucepan with the juice of a fresh lemon. Bring back to the boil and start testing after 5 minutes of rapid boiling.
To Sterilise the Jars:
- On the day you will be cooking the marmalade, sterilise the jars you'll be using to store the marmalade.Choose glass jars with an airtight, metal lid and ensure they have been washed in the dishwasher or by hand in hot soapy water then rinsed well.Preheat the oven to 130 Degrees C (270 F) and place the jars in the oven for 15-20 minutes. Allow the lids to air dry.Ensure the jars are hot when you add the marmalade.
For the Orange Marmalade:
- Place 2 saucers or small plates in the freezer, ready to check for the setting point of your marmalade.Thoroughly wash the oranges. Remove each end of the oranges to get rid of excess pith and discard. Cut the oranges into quarters lengthways. Holding two of the quarters together, use a sharp knife and slice the fruit as thinly as possible, removing and discarding any seeds if necessary. Repeat with the remainder.
- Place the citrus slices in a large glass bowl. Add the water, cover the bowl with some cling film and leave the fruit to stand overnight in a cool location away from direct sunlight. Soaking the fruit serves two purposes. Firstly, it softens the peel and speeds up the cooking process and secondly, it helps release the pectin required for setting the jam.
- The following day, place the fruit, water and lemon juice into a very large, non-reactive saucepan. (See Note 3.)Over medium-high heat, bring the fruit and water to the boil. Boil for 12-15 minutes or until the peel is tender, stirring occasionally with a long-handled wooden spoon. (Do not use metal as it will get too hot.)The peel must be soft before adding the sugar as it will not soften further after adding it.
- Lower the heat, add the sugar and stir well to dissolve it. After dissolving the sugar, increase the heat and return the fruit to the boil, stirring occasionally. Continue to stir until the marmalade reaches setting point – about 20-25 minutes. When the very aggressive bubbles subside to a slower, gentler boil, that's an indication that your marmalade may have reached setting point. (See Note 4.)
- To test for setting point, you can use the “wrinkle” test. Remove your saucepan from the heat, take one of your saucers from the freezer and pour a small amount of marmalade onto it. Let it cool for a minute then push against the marmalade with the tip of your finger. If the surface wrinkles, even very slightly, it means setting point has been reached. If not, return the saucepan to the heat, boil a further 5 minutes, then check again. (See Note 5.)
- Alternatively, you can use a jam/candy thermometer which you clip to the side of your saucepan. When attaching your thermometer, make sure that the base is not touching the bottom of the saucepan. Your marmalade has reached setting point when the temperature reaches 104.5 degrees C or 220 F.I use both methods to check setting point.Your marmalade will be very liquid when you add it to the jars – it will only start to thicken as it cools.
- Let the marmalade stand for about 10 minutes to allow the fruit to settle. If you bottle it immediately, the fruit will not be evenly distributed and will rise to the top of the jar.
- Remove your jars from the oven and carefully ladle the marmalade into the heated, sterilised jars. Fill the jars as full as possible to minimise the amount of air between the marmalade and the lid. The marmalade should not touch the lid.You need to be very careful. Splashing yourself with hot marmalade will result in a very serious burn. I suggest you have clothing with long sleeves and ensure that you do not have children nearby.
- Store the jars of marmalade in a dark, dry, cool location. If cooked as per the recipe and ladled into properly sterilised jars, the marmalade will be shelf stable for 12 months.If you prefer to can this recipe, please refer to this guide.
Notes
- Oranges: my preference is for Navel Oranges. As the peel is such an important part of the marmalade, I like to use organic or home-grown citrus. Commercially produced citrus fruit often have a wax coating and may have been sprayed with something toxic. If this is all that you can obtain, you can clean the oranges by placing them in a colander and pouring over freshly boiled water. Then, scrub them gently with a nail brush while holding them under cold running water.
- Sugar: this may seem an excessive amount of sugar, however, this is not the usual fruit to sugar ratio. We use a large amount of water to soak the fruit. The water is included in the marmalade, so this means a larger amount of sugar. The sugar is essential for the preservation of marmalade and also to achieve the perfect setting point.
- Non-reactive items: we recommend using a glass bowl to soak the fruit and a non-reactive saucepan such as stainless steel, glass, ceramic or enamelled cookware. Aluminium, copper and iron bowls or pans are reactive. Acidic foods, such as citrus, may discolour and take on a metallic taste if these are used. A large saucepan is essential. When you add the sugar, it foams up enormously. Without a very large saucepan, there is the risk of it boiling over.
- Boiling time: the boiling time may vary slightly depending on several factors, the thickness of your fruit slices, the width of your saucepan and the heat at which the fruit is boiled.
- When adding to jars: your marmalade will be very liquid when you add it to the jars. It will continue to thicken as it cools. Leave it for 24 hours and then check again. If it is still runny, you can re-boil the marmalade. Empty the contents of the jars back into the saucepan and bring to a boil. To increase the pectin and help the marmalade to set, you can add the juice of a lemon. Boil for a few minutes and test again. However, if the marmalade was initially boiled too long, it can still result in it not setting as the pectin may have been damaged, and the sugars may over caramelise, causing it to be excessively sweet.
- Altitude: for jam and marmalade making, altitude can cause the timings of this recipe to be different. We recommend adjusting accordingly based on your location.
- Storage: store the jars in a cool, dark location. When the marmalade has been cooked to setting point and jars properly sterilised, the Orange Marmalade will be shelf stable for 12 months. Store open jars in the refrigerator.
- Nutritional information: is based on one 300 ml jar.
Nutrition Estimate:
Nutritional Disclaimer:
The nutritional information is an estimate only, and is derived from online calculators. For accurate results, we recommend calculating the nutritional information based on the ingredients and brands you use.







Kimberly King
Lovely recipe, thank you! My husband wishes it was less sweet. Is there anything I can do in that regard? More fruit? More lemon? Thanks again.
Alexandra Cook
Hi Kimberly,
Thank you so much for giving the recipe a try! 🙂
Although I haven’t tried it, you could try adding in a sliced lemon, perhaps? This would add some extra citrus tang, and might be more to your husband’s taste.
This is something I will add to my list to try when I can source some beautiful new season oranges.
Please let me know how you get on if you try it in the mean time.
I am so happy you enjoyed this recipe! Alex xo
Anita
Alex sent me this recipe a while ago before she had even finalised it. I had requested it after she published the recipe for lemon marmalade.
It is so easy and I make it on repeat for my family and friends!
It has become a staple in our home!
Alexandra Cook
Hello Anita,
You are so kind to leave a comment on this recipe now that I have published it 🙂
I am so happy that it is one that you have made many times.
Thank you for sharing! Alex xo