


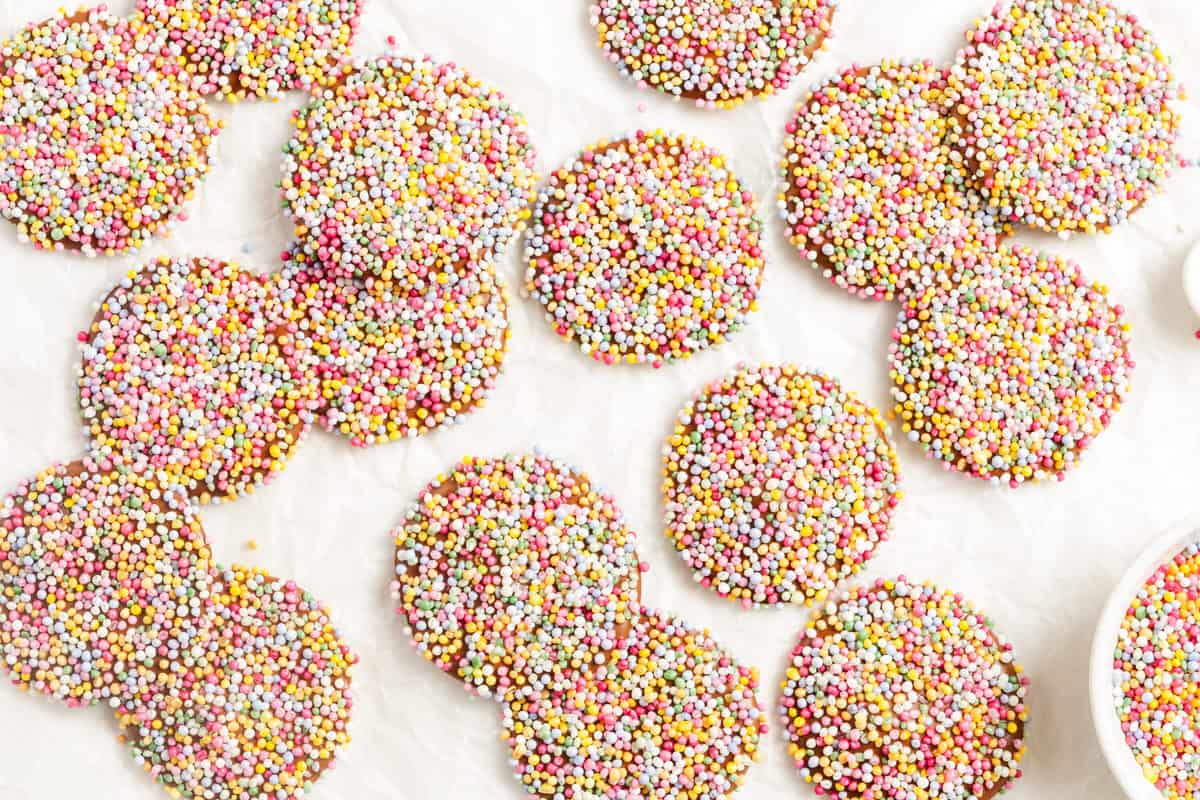
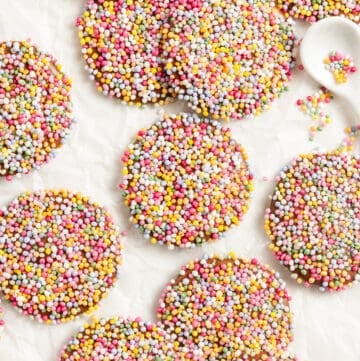
Inspired by a childhood favourite chocolate, these Homemade Chocolate Freckles are so easy to make and absolutely delicious to eat! They make a great gift or a fun activity in the kitchen with the kids!

Jump to:
Why we love this recipe:
They are so easy to make. This recipe has just two ingredients, chocolate and sprinkles. If you can melt chocolate, you can make Chocolate Freckles.
You can use the chocolate of your choice; dark, milk or white. Or, make a selection using the different types.
They are perfect to serve at a child’s party and will quickly disappear but don’t be surprised if the adults are equally enthusiastic.
If you are planning a colour themed party, such as a baby shower, these are ideal as you can use single-coloured sprinkles to suit your theme.
As well, you can make my homemade Chocolate Freckles gluten-free and vegan. However, you will need to check the labels. You are most likely to find that dark chocolate, with a high cacao content, is vegan.
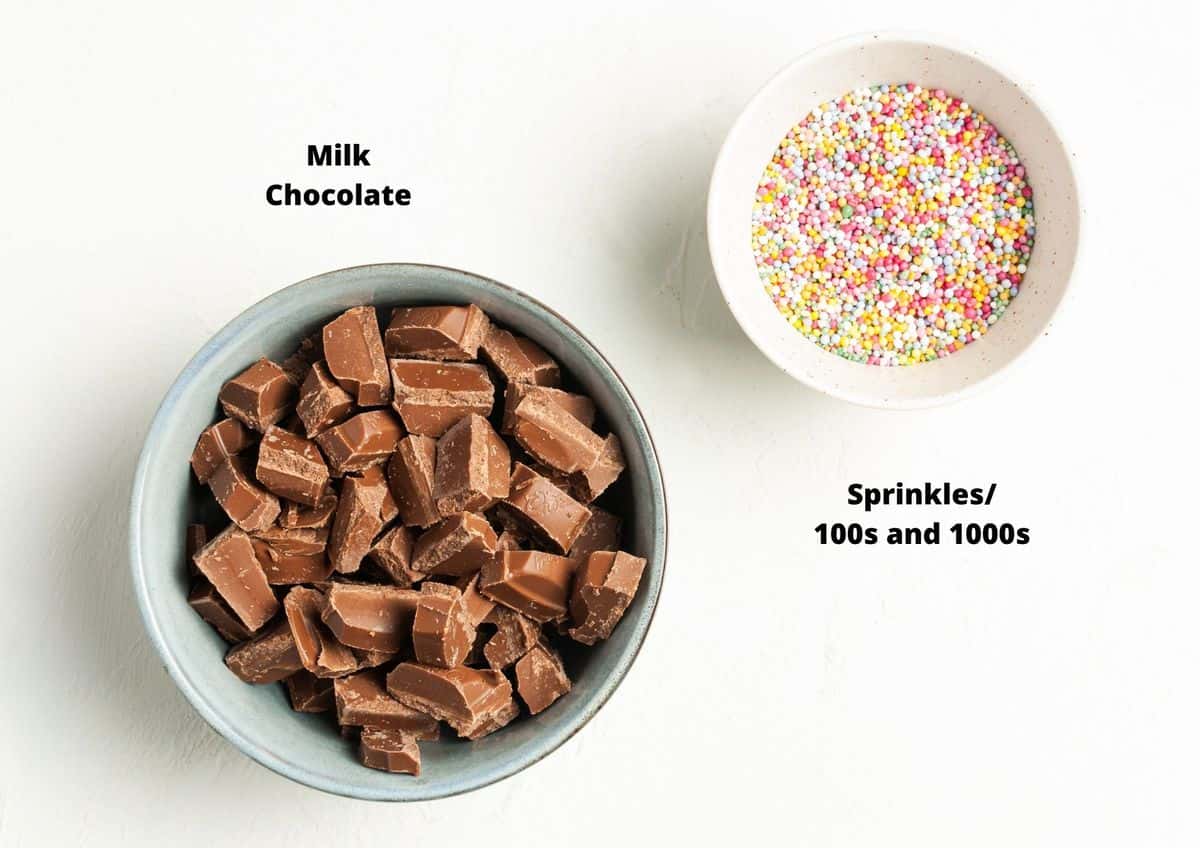
Ingredients in this recipe:
Please see the recipe card further along in the post for exact quantities of ingredients and the full method.
Chocolate – use the one of your choice, dark, milk or white. Check the ingredients if you want them to be gluten-free or vegan. For the best result, use good quality chocolate, one that you enjoy eating.
Multi-coloured sprinkles – also known as hundreds and thousands. Many supermarkets stock gluten-free and vegan sprinkles - but check the label or check the page of the manufacturer for more information.
Step by Step Instructions:
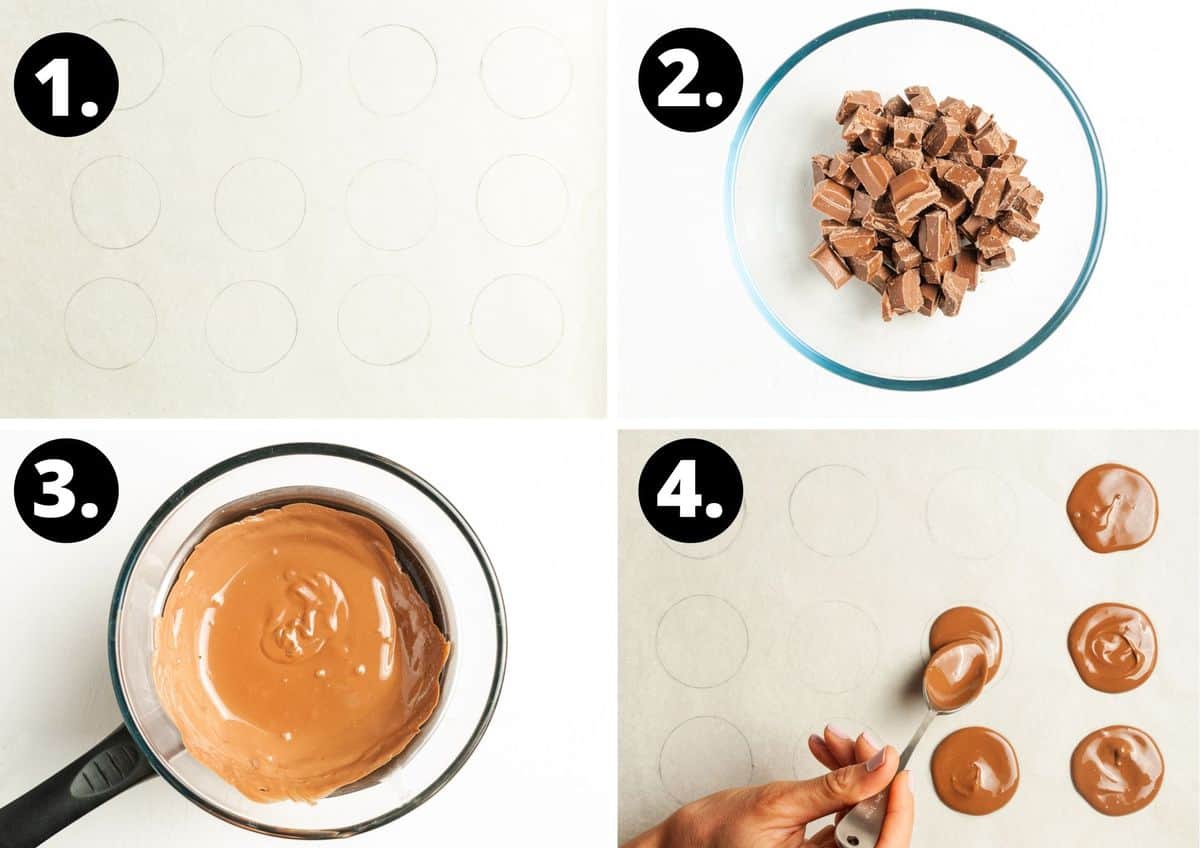
- Use a pencil to mark a circle on non-stick baking paper the size that you want the Freckles to be. Then, turn the baking paper over to the other side so the chocolate does not touch the pencil mark and lay it on a baking tray.
- Chop the chocolate into even-size pieces.
- Melt your chocolate.
- Spoon your chocolate onto the circles.
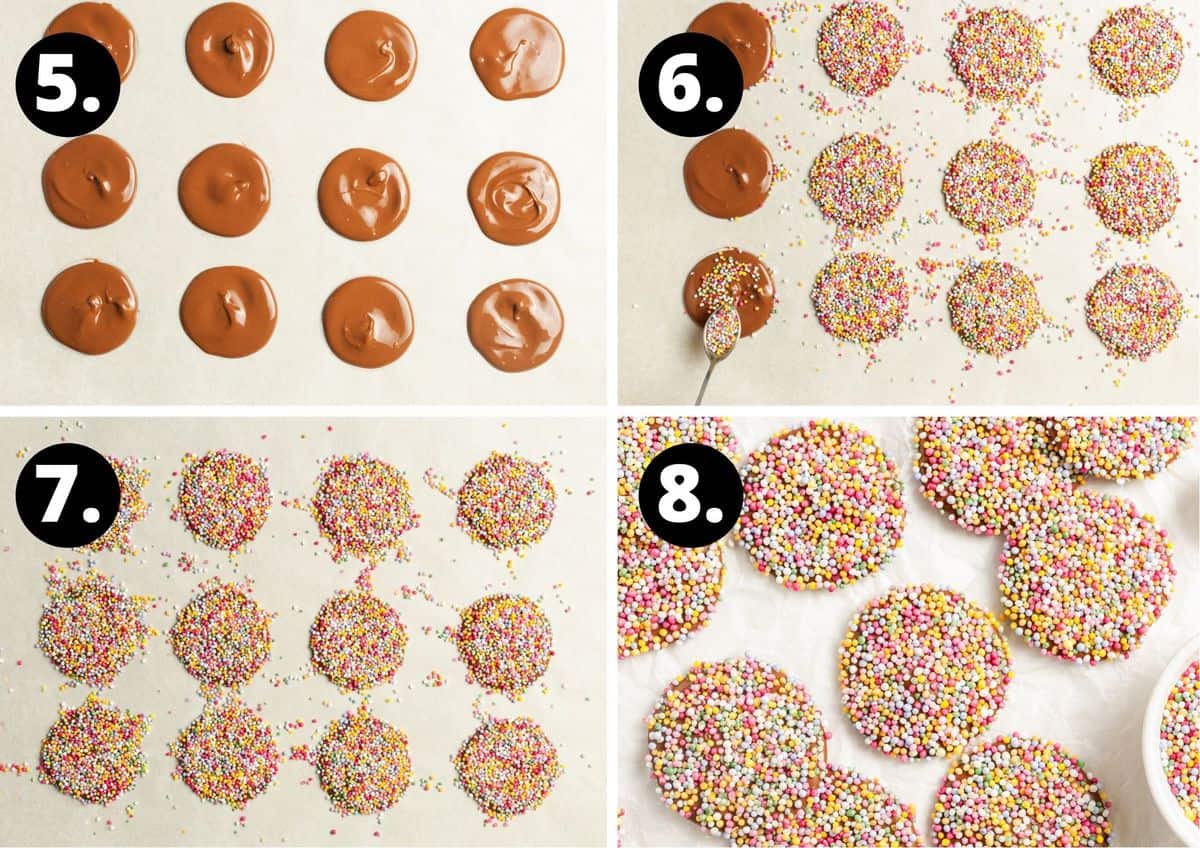
- Smooth the chocolate rounds using the back of the spoon.
- Generously top the chocolate with sprinkles.
- Allow the chocolate to set.
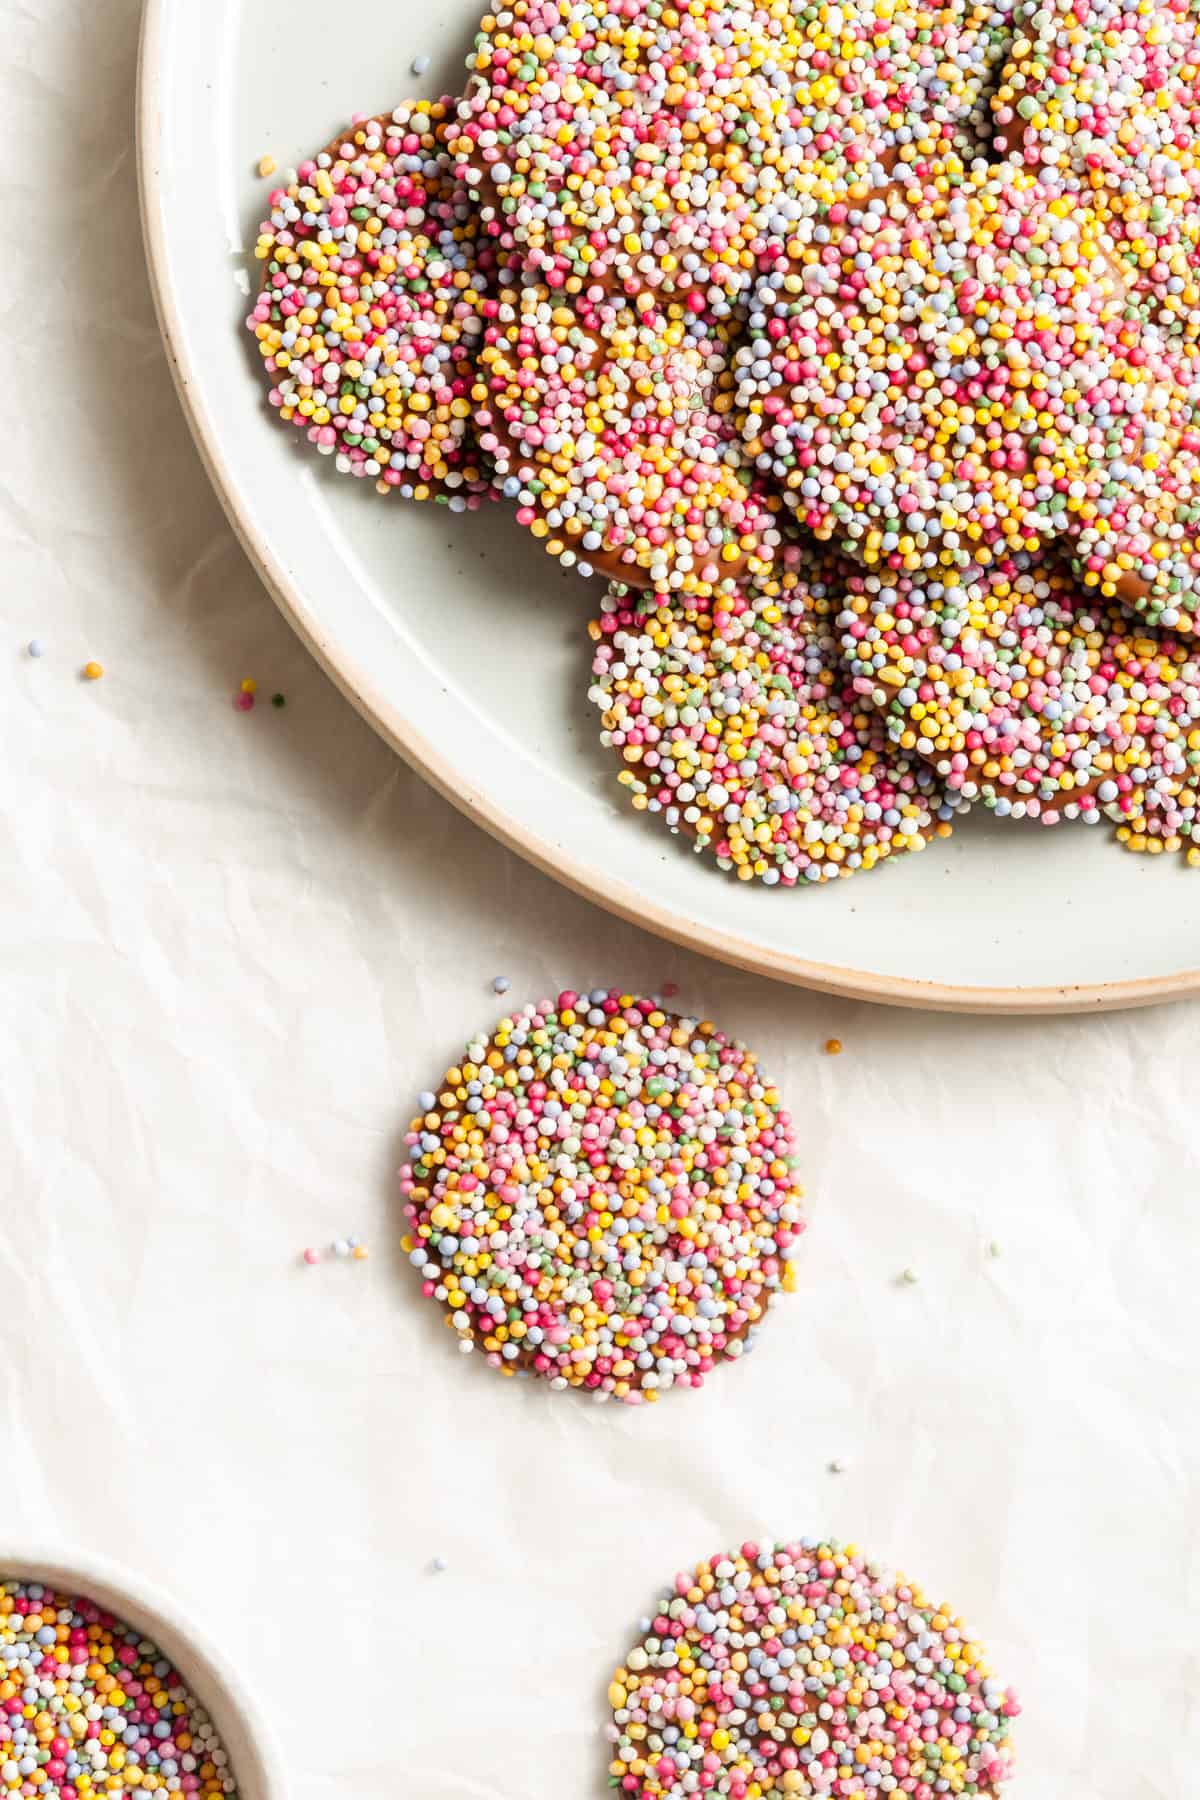
- Enjoy your homemade chocolate. Store the leftover Chocolate Freckles in an airtight container.
Tips for Success and FAQs:
One of the most important tips in preparing these Homemade Chocolate Freckles is to use a good quality chocolate. Choose one that you enjoy eating – it will make all the difference.
My preference is on the stovetop using a double boiler. This gives the best control over the heat. If you are using a bar of chocolate, break or chop it into pieces of a similar size so that it melts evenly. When using a double boiler, that is, a heatproof bowl placed over a saucepan of barely simmering water, take care that not a drop of water gets into the bowl or the chocolate will seize. That means, that the chocolate will become thick and grainy and not suitable for this recipe. The bowl and the spoon/spatula that you use must be thoroughly dry. Do not use a wooden spoon; it may retain moisture. As well, the bowl must not touch the water in the saucepan or the chocolate may burn.
Yes, you can use a microwave. Melt the chocolate in 20 second increments, stirring occasionally. Keep an eye on it to ensure that it does not overcook. White chocolate, especially, can easily burn.
Store them in an airtight container, in a cool, dark location, for up to 5 days. If the weather is hot, you will need to store them in the refrigerator.
More delicious recipes for you to try:
Chocolate is always a hit in our household, and here are some more of our favourite recipes:
- Chocolate Coated Strawberries
- Decadent Chocolate Brownies
- Chocolate and Raspberry Brownies
- Chocolate Sour Cream Cake
- Vegan Chocolate Cupcakes with Chocolate Frosting
- Chocolate Raspberry Tarts
- Chilli Chocolate Clusters
- Chocolate Popcorn Bars
- Or view our complete collection of Chocolate Recipes.
You’re going to love making these Homemade Chocolate Freckles. This is a great recipe to make with children. They will love spreading the chocolate and adding the sprinkles. It may become messy; who am I kidding? It will become messy. But a good time is guaranteed.
I hope you enjoy making this fun recipe, and please let me know in the comments below when you have tried them!
Alex xx
Homemade Chocolate Freckles
Please note:
For accuracy, when weights are provided, we recommend weighing your ingredients. This will produce the best results. All oven temperatures listed are for fan forced.
Ingredients
- 1 cup milk chocolate See Note 1
- ⅔ cup sprinkles/100s and 1000s See Note 2
Instructions
- Measure and cut two pieces of non-stick baking paper to fit on two baking trays.On a chopping board or your kitchen bench, use a pencil to mark a circle of roughly 4 cm (1.5 ″) diameter on the baking paper. You can use a cookie cutter or a drinking glass to do this.This recipe makes approximately 22 freckles, so you'll need 22 circles.
- Then, turn the baking paper over to the other side so the chocolate does not touch the pencil mark and lay each piece onto a baking tray.
- Put some sprinkles in a small bowl and set them aside.
- Chop the chocolate into even-sized pieces and place it into the top of a double boiler or heatproof bowl set over a pan of barely simmering water, making sure that the bowl doesn’t touch the water and steam does not get into the chocolate.
- Stir occasionally with a metal spoon or spatula until the chocolate has almost melted. Remove it from the heat; the residual heat will melt the remaining chocolate.
- Give the chocolate a stir and then spoon approximately one teaspoon of chocolate onto the circles which are marked on the baking paper. Spread carefully with a knife or a small offset spatula.Continue until you have covered the baking sheet.
- Top the chocolate generously with sprinkles - I used approximately ½ teaspoon per chocolate.
- Set the baking tray aside for the chocolate to set. It may take up to 2 hours. If it is a hot day, place the tray in the refrigerator. Continue with another prepared baking tray and repeat spooning out the chocolate and topping with sprinkles.
- When the chocolate has set, carefully remove the Chocolate Freckles. Store in an airtight container in a cool place. If necessary, store the container in the refrigerator.
Notes
- Use a good-quality chocolate. Choose one that you enjoy eating – it will make all the difference. If you prefer dark or white chocolate, you could also use this.
- I use multi-coloured sprinkles (100s and 1000s). You can use any sprinkles of your choice.
- If you want gluten-free or vegan Freckles, you will need to check the ingredients list of the sprinkles and the chocolate. I have found that it is also helpful to check the website of the manufacturer. You will often find more information there. Dark chocolate with a high cacao percentage is most likely to be vegan.
- Please note, the nutritional information is based on one Chocolate Freckle. The nutritional information is an estimate only.
Nutrition Estimate:
Nutritional Disclaimer:
The nutritional information is an estimate only, and is derived from online calculators. For accurate results, we recommend calculating the nutritional information based on the ingredients and brands you use.

Fiona says
Sooo fun and delicious - we used them to decorate a cake!
Alexandra says
What a lovely idea, Fiona!
Angela says
Amazing recipe thank you
Alexandra says
Thank you, Angela!