
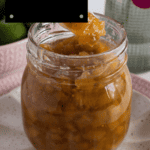
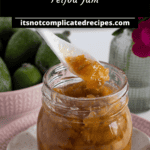
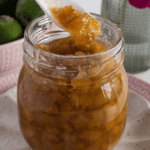


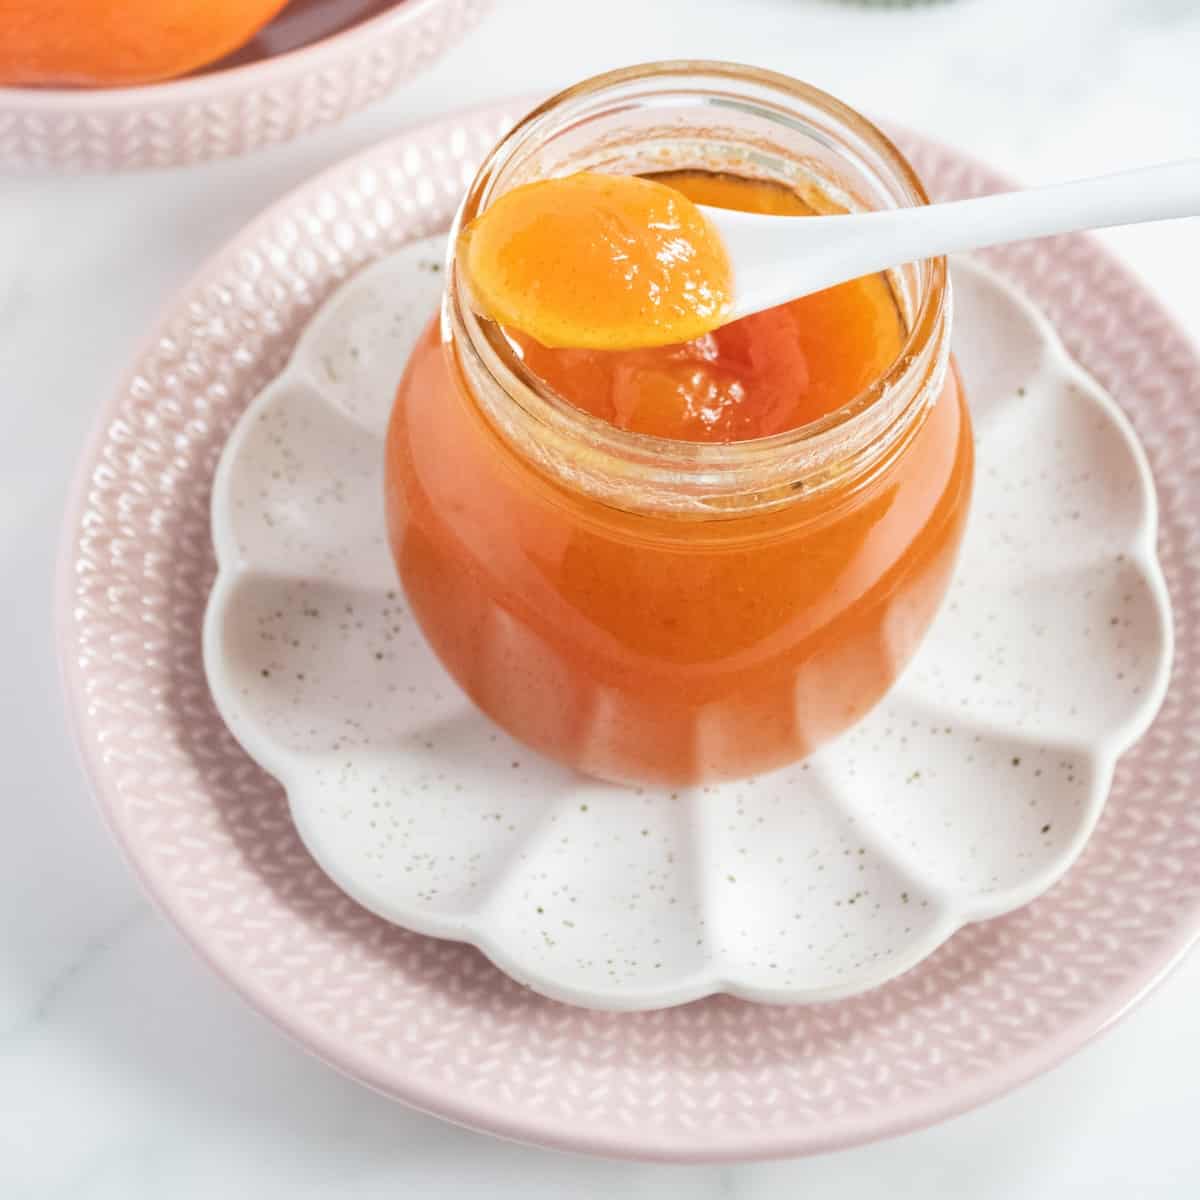
This easy recipe for Feijoa Jam is made with sweet, aromatic fruit at the peak of their growing season. This is a must-try jam that captures the tropical flavours of this special fruit. To make this jam, you will use only four ingredients: fresh feijoas, sugar, lemon juice, and a small amount of filtered water. This easy jam is made without the addition of pectin.
Why you’ll love this recipe:
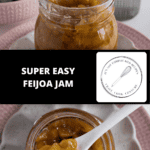
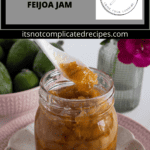
Feijoa Jam is incredibly easy to make, and having a few jars of this special preserve in your pantry means that you will be able to enjoy one of the delights of autumn/fall far beyond the season.
With just a little time invested, you will have the pleasure of enjoying your own homemade produce and know that it was time well spent.
You will love this recipe for Feijoa Jam because:
- It is an ideal way to preserve the perfumed flesh of this autumnal fruit to enjoy throughout the months ahead.
- The fruit is ideal for jam-making as it is naturally high in pectin.
- There are many ways to use this delicious jam, some of which we suggest below.
- Homemade jam is infinitely superior to shop bought. There are no unwelcome additives, artificial preservatives, or thickeners that you may find in a commercially prepared jam. To me, one of the most important aspects of making your own jam is knowing that you control the quality of the ingredients.
- You will not need any special equipment to make this recipe. Just a large, wide saucepan and a long-handled wooden spoon to keep your hand away from the boiling jam.
Ingredients in this recipe:
Please see the recipe card further along in the post for exact quantities of ingredients and the full method.
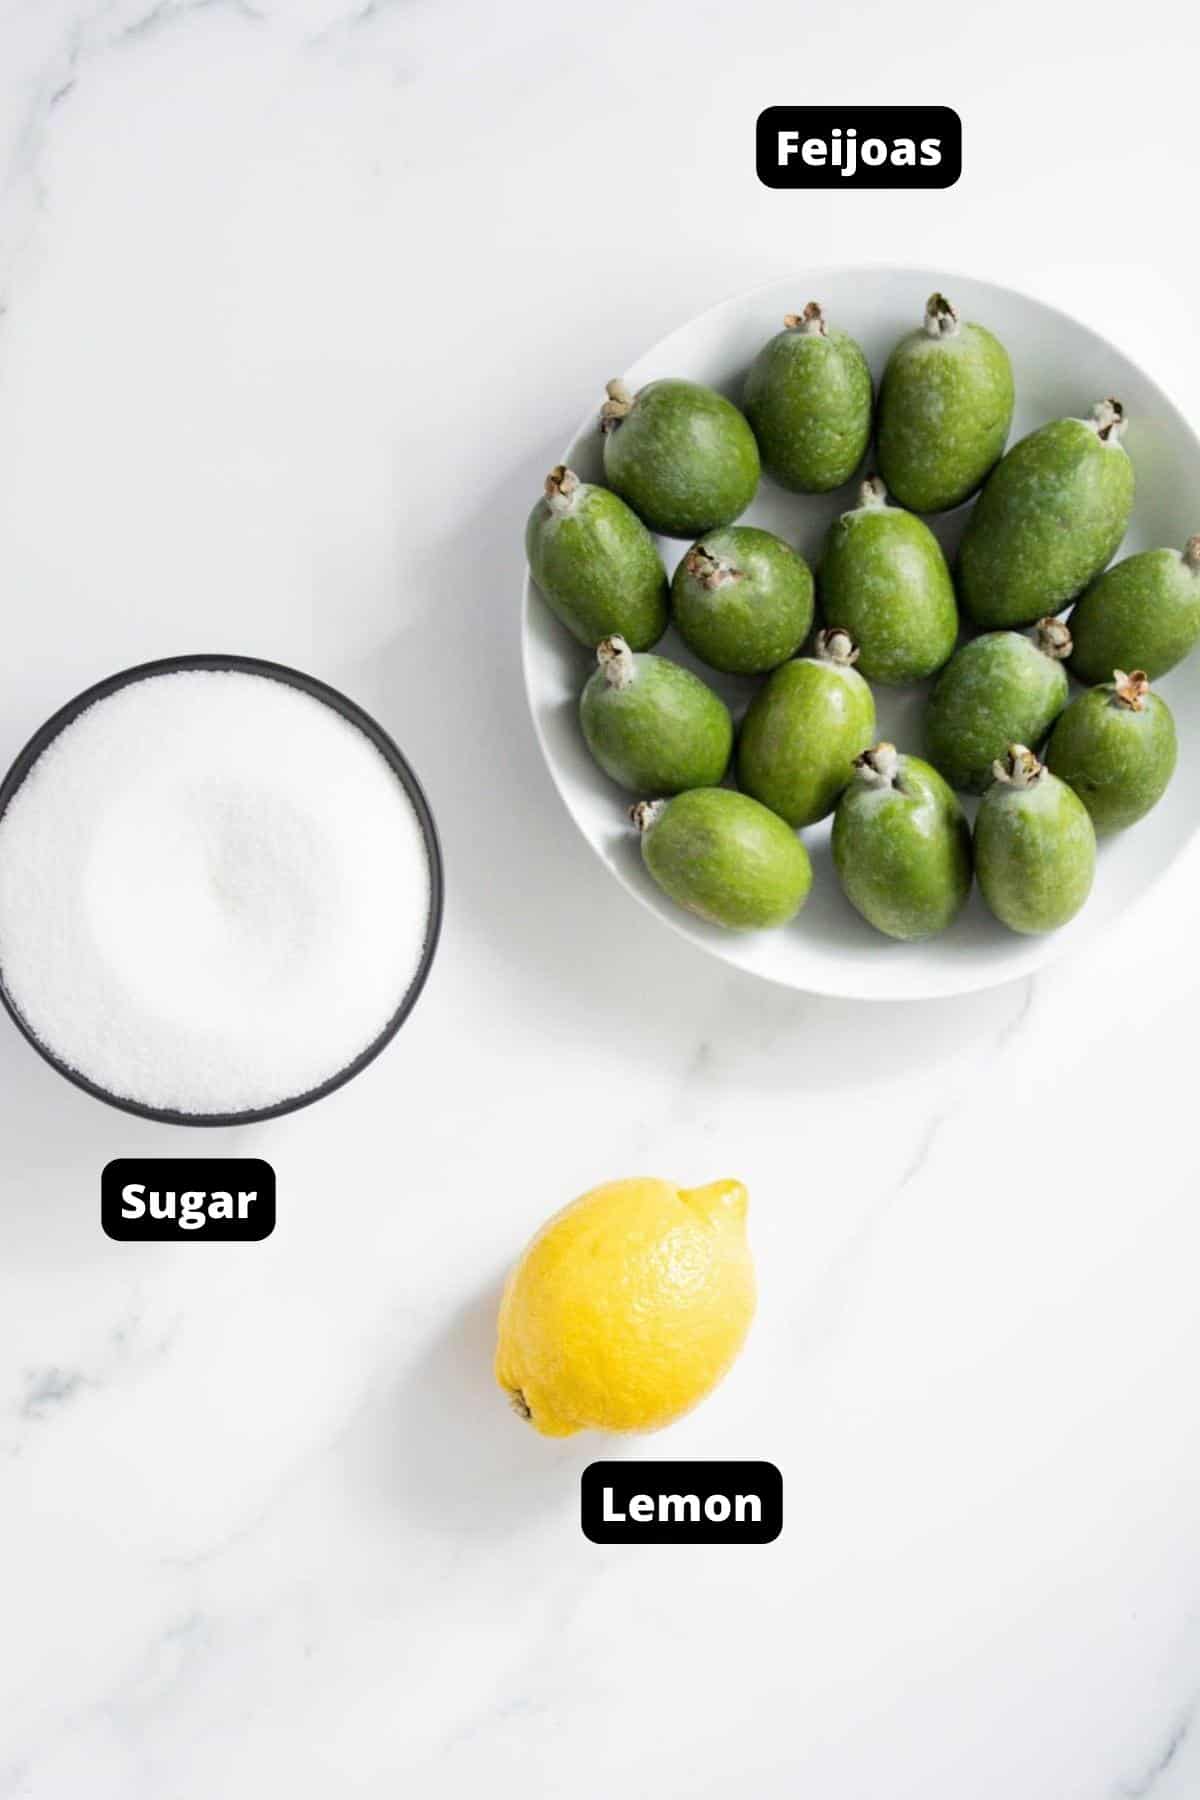
Feijoa – also known as pineapple guava or guavasteen. They are native to South America. They are grown in many countries and are especially popular in New Zealand. Their sweet, yet slightly tart flavour is elusive, with notes of pineapple, strawberry, and apple. It is a versatile fruit with green skin and creamy coloured flesh. They can be eaten with or without their skin, enjoyed in sweet or savoury dishes, served hot or cold.
Lemon juice – lemon juice has two important functions in jam making. Firstly, lemon juice is acidic and contains pectin, both of which are important in helping the jam to set. Also, the acidity of the lemon juice helps with preservation and balances the sweetness of the sugar.
Sugar – white sugar not only adds sweetness, but it also interacts with the acids and pectin, helping the jam to set. Additionally, it has a preservative effect enabling the jam to be shelf-stable to enjoy through the months ahead.
Water – we use a small amount of filtered water to begin the cooking process. Filtered water gives the best flavour, eliminating the taste of chlorine or other products that water may contain.
How To Make Feijoa Jam:
Please see the recipe card further along in the post for exact quantities of ingredients and the full method.
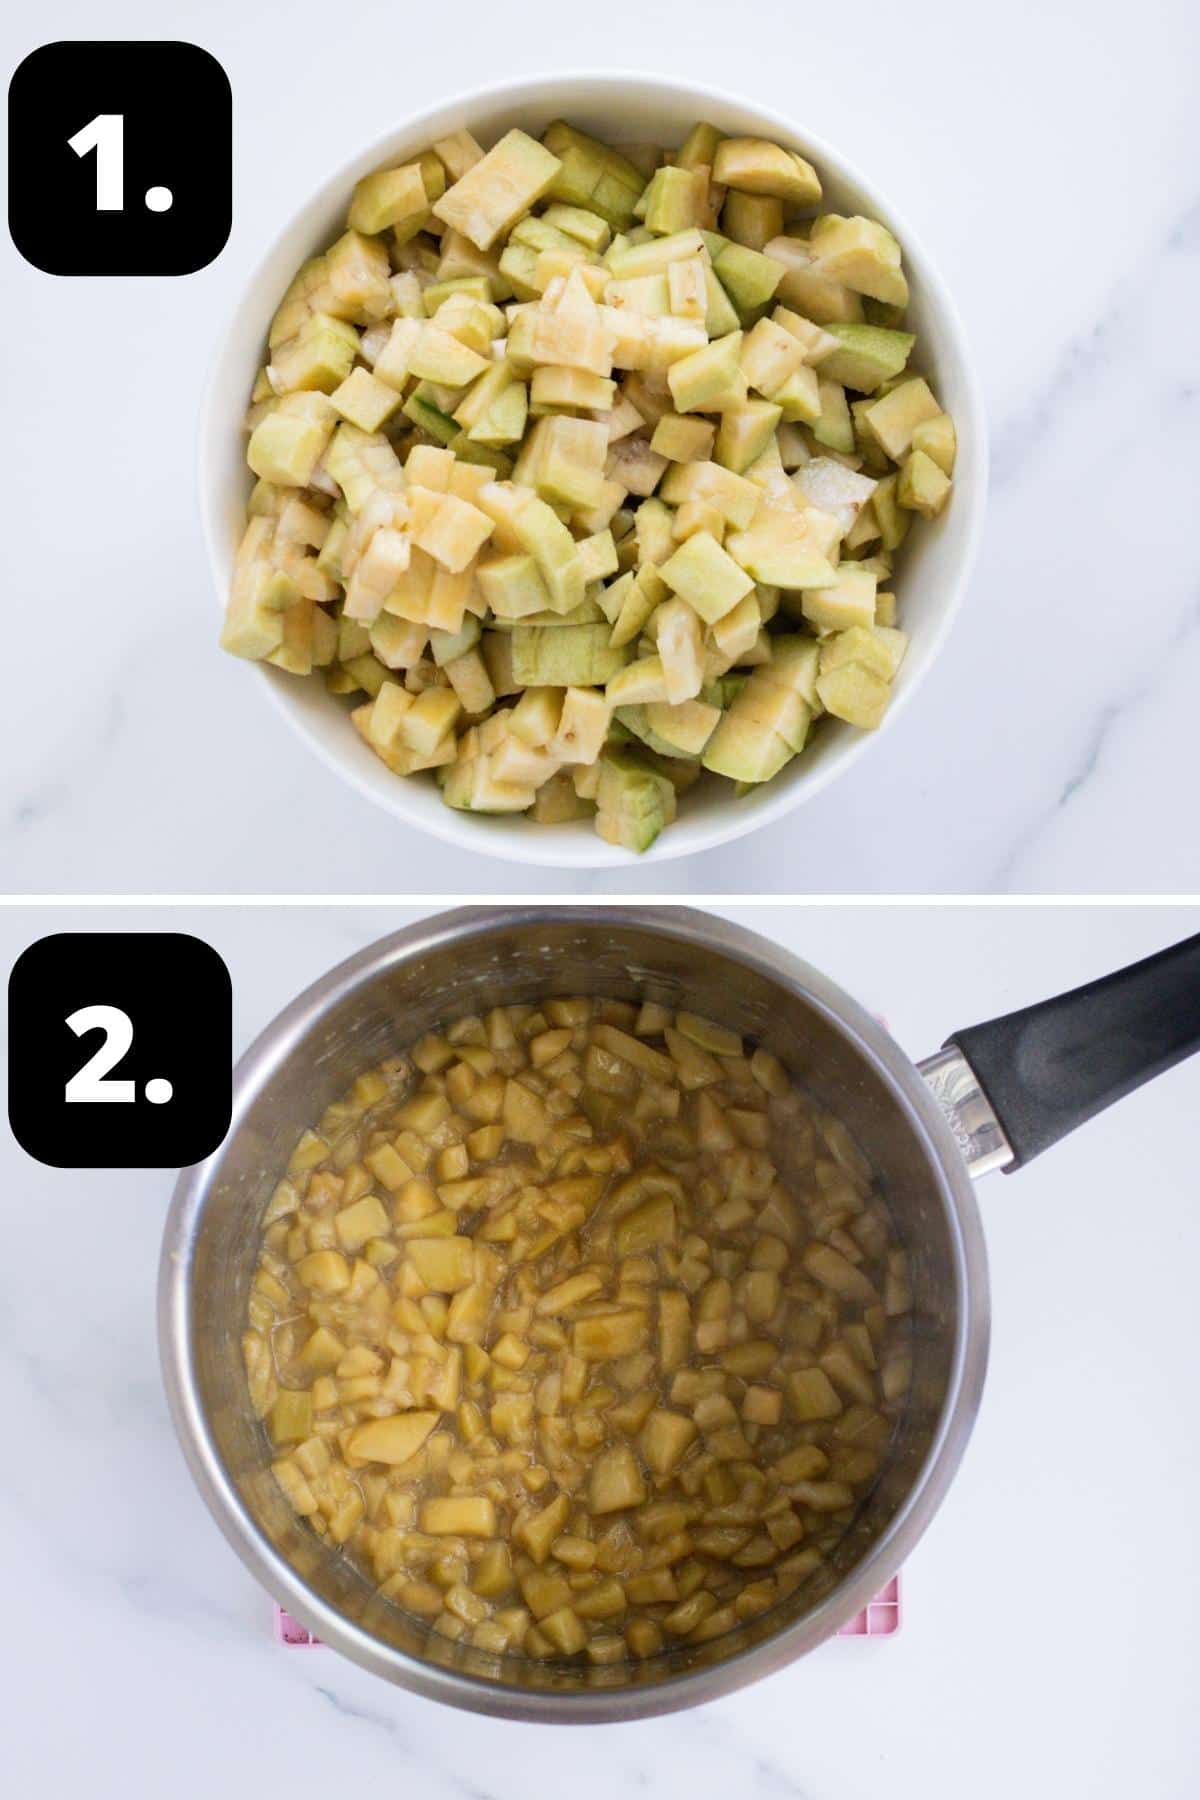
1 – Prepare the Feijoas:
Wash and dry the feijoas and remove the skin.
Cut the flesh into dice about ½ cm (⅕ inch) and add to a large, wide non-reactive saucepan, along with the lemon juice and a small amount of water.
2 – Simmer the fruit:
Over a medium-low heat, bring it to a gentle simmer. The fruit will release liquid as the temperature rises.
Gently simmer, stirring regularly to ensure the fruit doesn’t stick, for about 10 minutes.
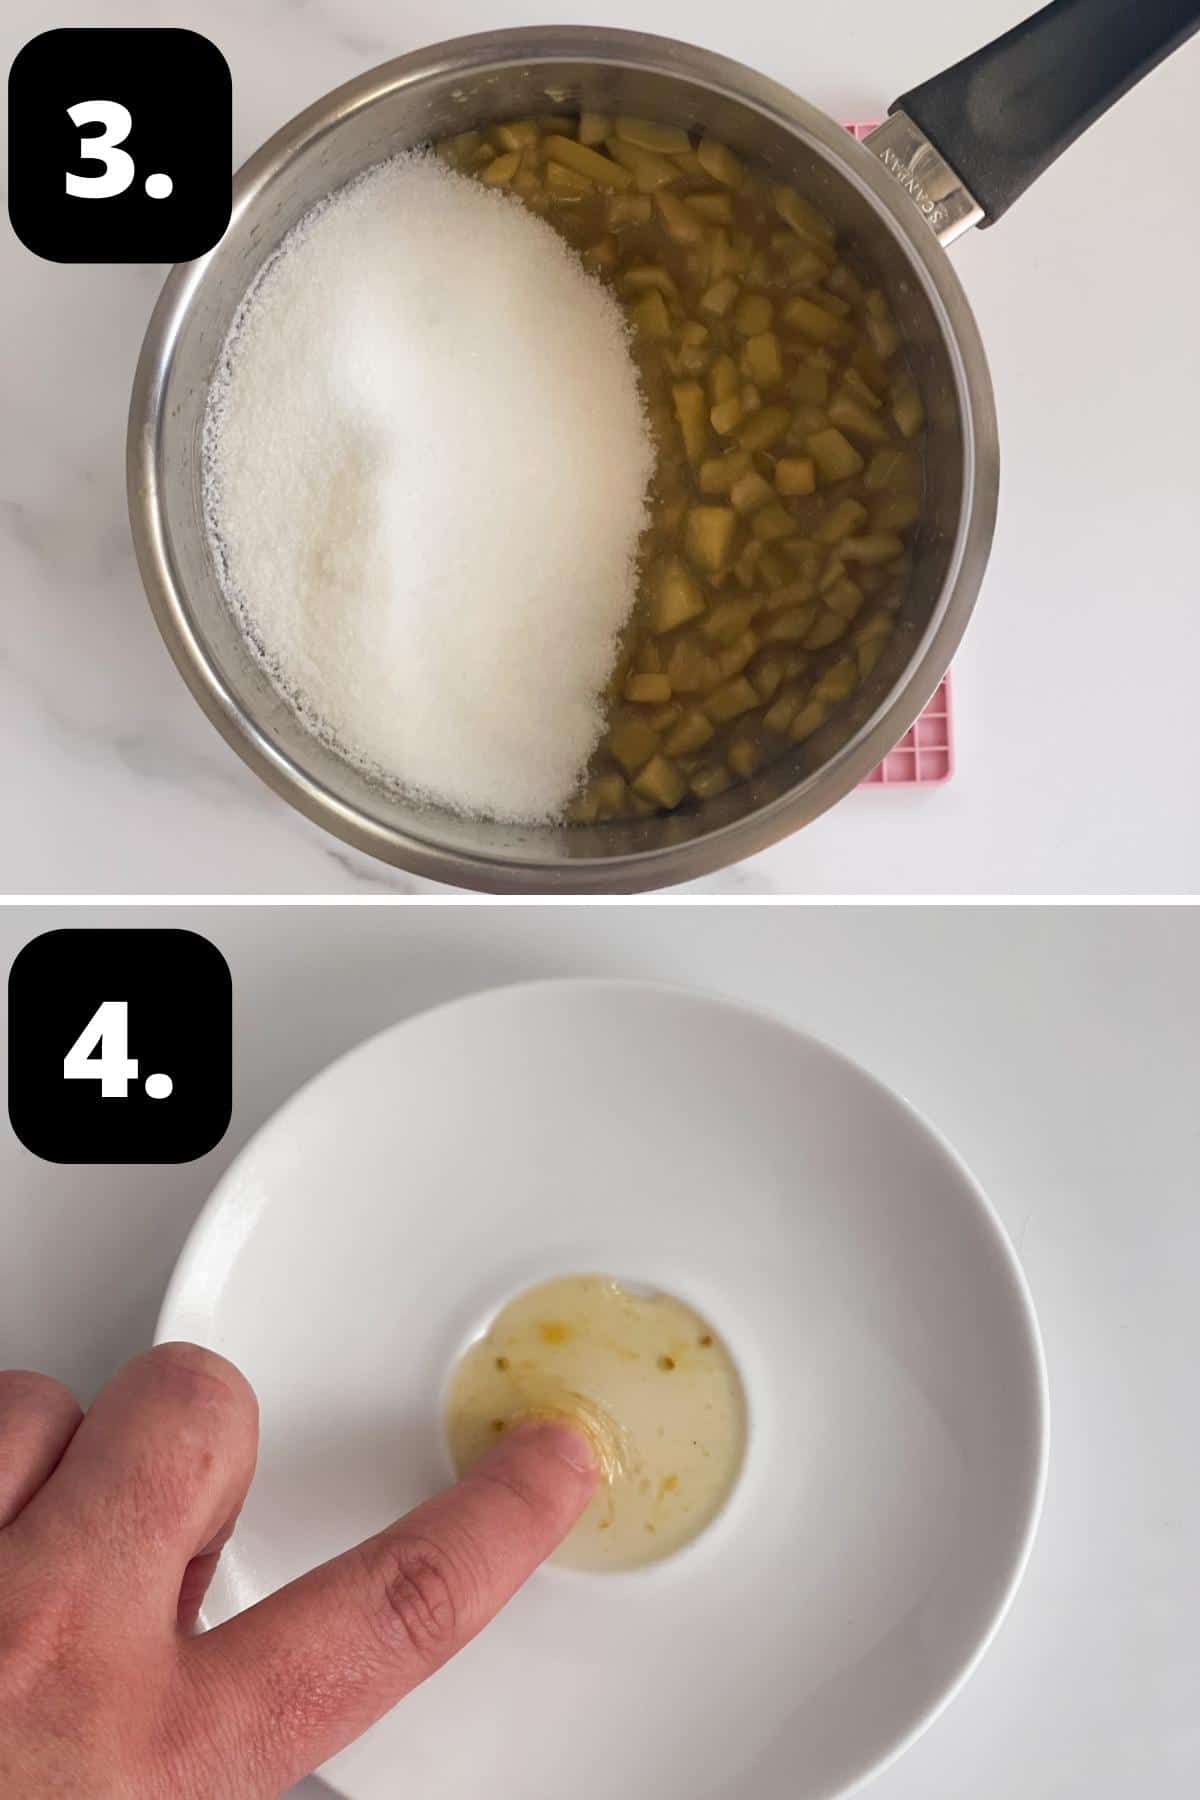
3 – Add the sugar:
After simmering the fruit, add the sugar and stir until it is dissolved. This can take 3-5 minutes.
When the sugar dissolves, increase the heat and bring the mixture to a rapid boil. Stir frequently to prevent the jam from catching on the bottom of the pan.
4 – Test the Feijoa Jam and bottle:
After about 10 minutes, test for setting point. I use the “wrinkle” test. More details are in the recipe below. You can also use a jam thermometer to check for the setting point, which is 105 degrees C (220 F).
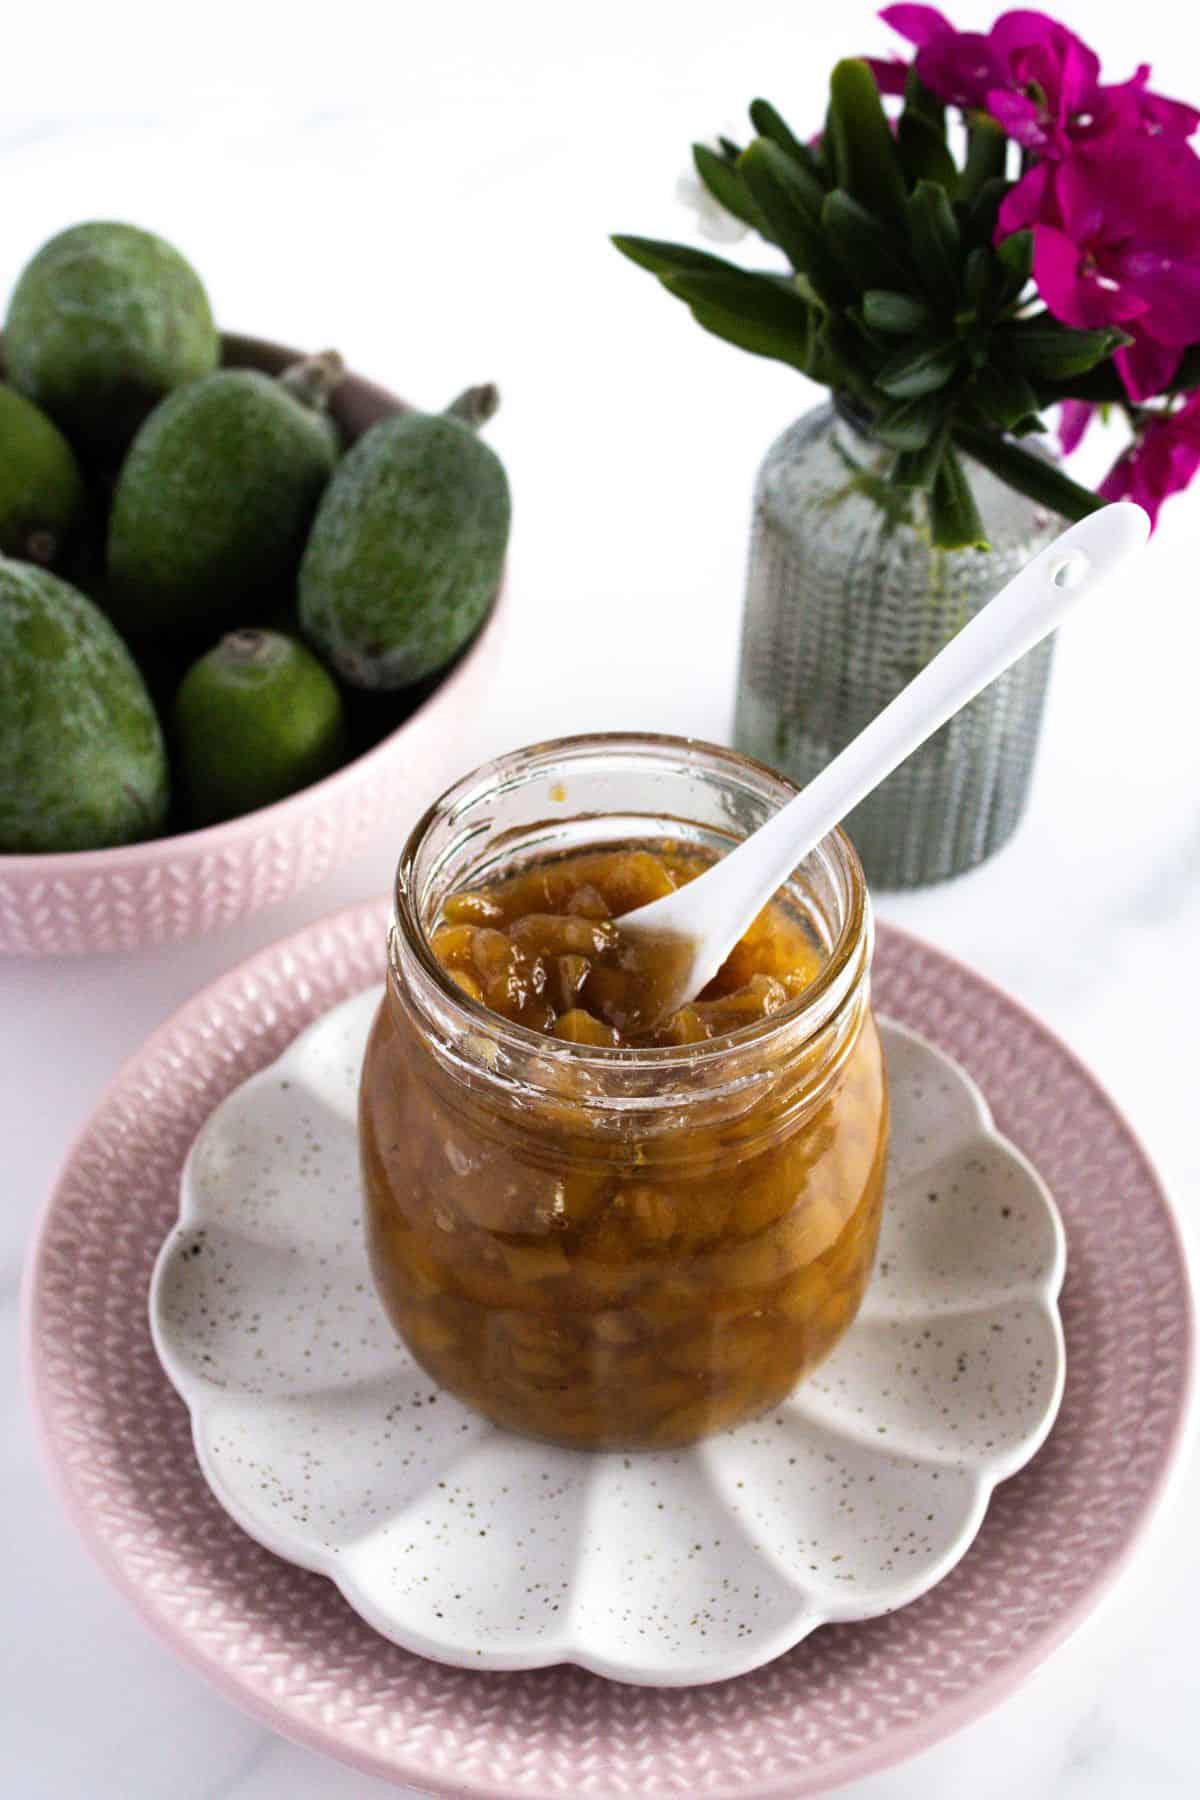
If you like a jam with pieces of fruit, set the saucepan aside for about 10 minutes to allow the fruit to be evenly distributed throughout the jam. If you prefer a smooth jam, use an immersion blender to blend the mixture.
Ladle the jam into the hot, sterilised jars and seal immediately.
Tips for success and FAQs:
For the best result, choose good quality, fresh feijoas. As fruit ages, it loses pectin, and it becomes more difficult to achieve setting point.
The feijoas should feel slightly soft to the touch but not mushy. If they are very firm, they are unripe. Avoid any with blemishes or bruising. However, if you have some that are not quite ripe, don’t hesitate to use them. They also assist with setting as they contain more pectin.
If you follow the recipe instructions precisely and your jars are thoroughly sterilised, the jam will be shelf-stable for up to a year. No canning is required. When you open a jar, store it in the fridge. Always use a clean spoon to remove the jam.
Pectin is a naturally occurring starch that is found in varying degrees in fruits and vegetables. It is what makes jams and jellies firm when they are cool. When combined with acid and sugar, and cooked to a high temperature, it forms a gel. In this recipe, I add a small amount of lemon juice to boost the pectin and acid content.
Yes, you can eat the whole fruit. However, many people find the skin tough and unpalatable. We remove the skin for the jam.
Conventional jam requires a lot of sugar. When you see it weighed out it is slightly alarming but please don’t reduce the amount of sugar. The sugar not only sweetens the fruit, but it helps the jam to set and acts as a preservative. If you reduce the sugar, your jam may not be shelf stable.
Lemon plays an important role in jam-making. It is high in acid and pectin, both essential for the setting of the jam. As well, the acidity of the lemon helps balance the sweetness.
Variations and substitutions:
Lemon juice – if you prefer, you can use lime juice instead.
Spices – you could add some ground ginger, cinnamon or vanilla extract to vary the flavour.
Serving suggestions:
There are many ways to enjoy this delicious jam, in either sweet or savoury applications. Some suggestions are:
- Served with scones and cream – always a winner!
- Swirled through plain Greek yoghurt.
- On toast for breakfast.
- Serve it with a creamy ripe Brie and crackers. The salty/sweet pairing works very well.
- Topping our Oat Flour Pancakes or Waffles.
- Spread soft, fresh goat cheese on a Crostini and top with a teaspoon of Feijoa Jam.
- To glaze a ham.
- As a filling in our Jam Oatmeal Bars.
- Give a jar as an edible gift.
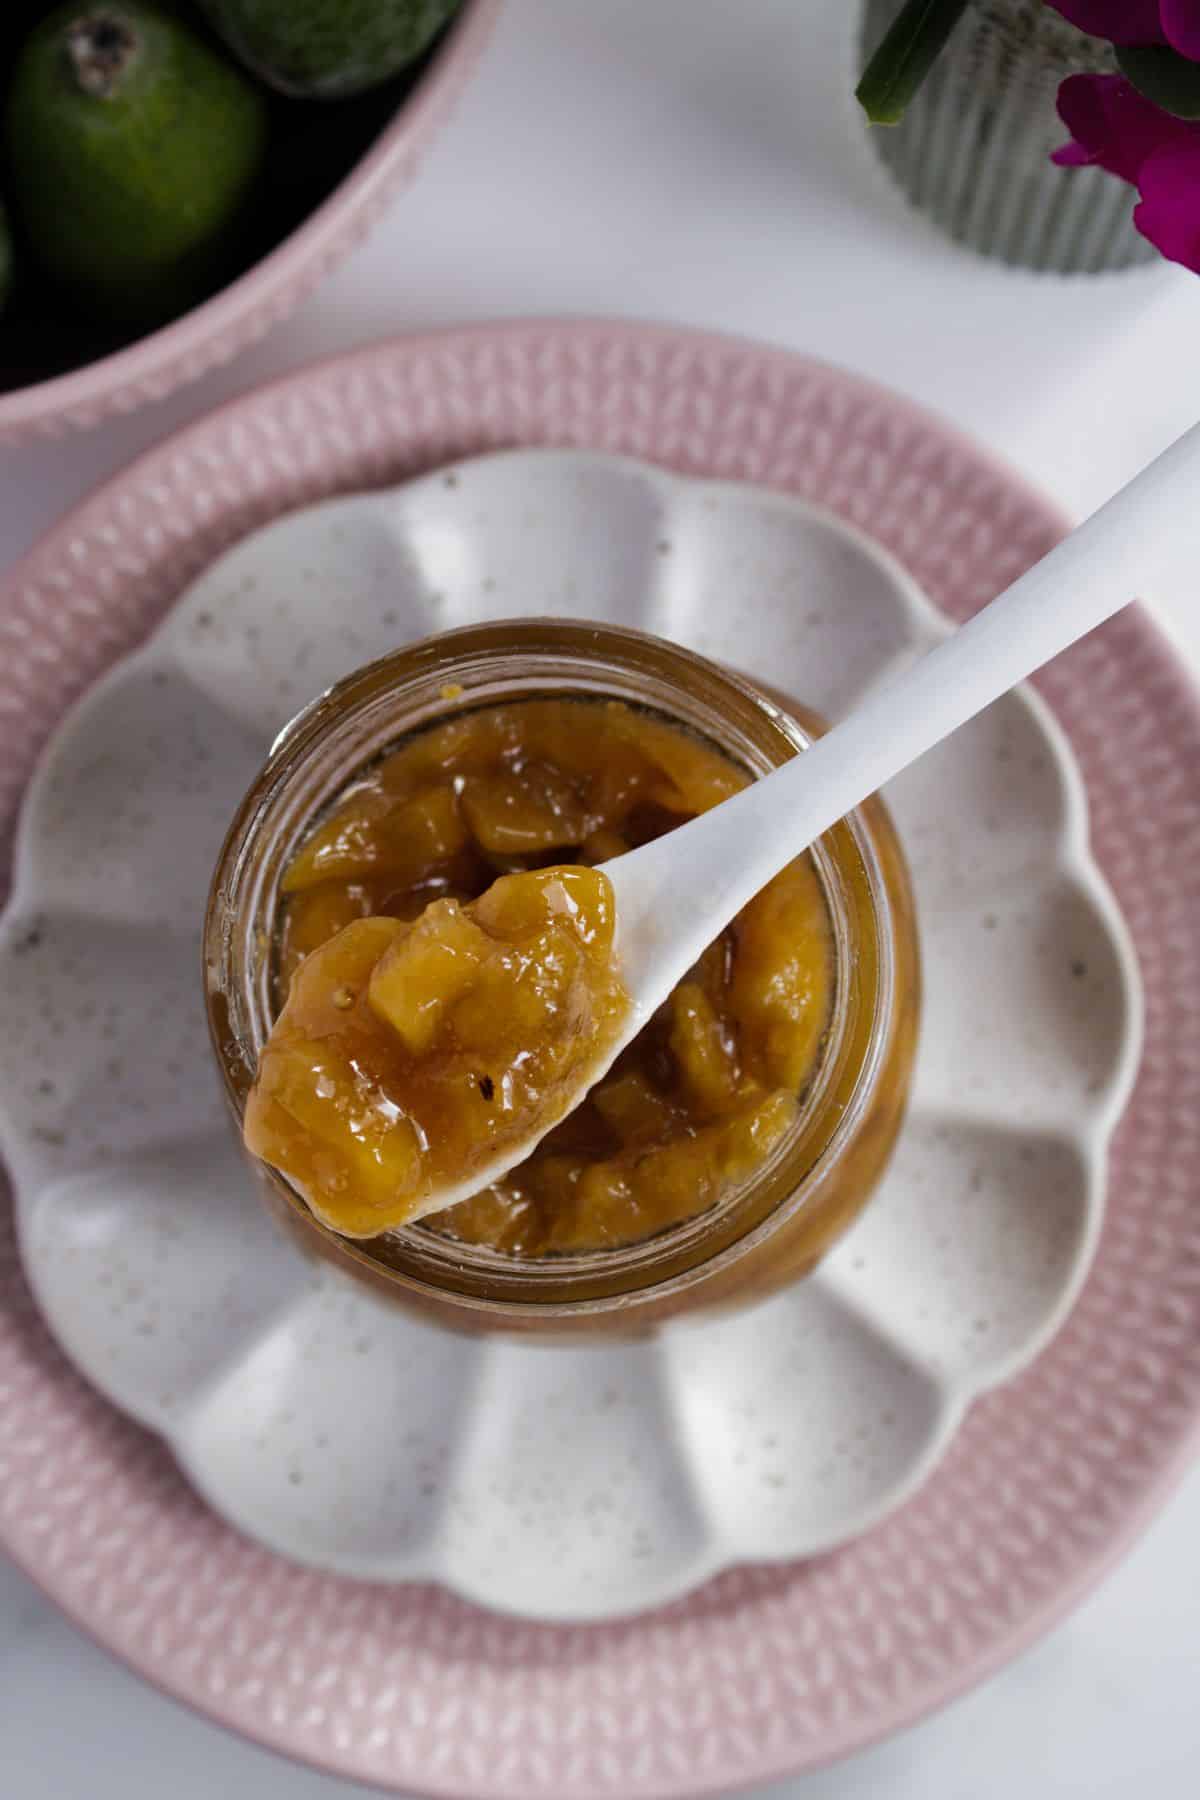
I believe that homemade jam is a special treat, and this homemade Feijoa Jam is the perfect way to use this beautiful fruit at the peak of its season. It truly tastes so much better than store-bought jam.
I do hope you will try this delicious jam. It is certain to become a family favourite.
Alex xx
More delicious recipes for you to try:
Stay in touch!
Follow me on Facebook, Pinterest and Instagram and subscribe to my newsletter.
Feijoa Jam
Equipment
- 2 x 300 ml (10 fluid oz) Jars
Please note:
For accuracy, when weights are provided, we recommend weighing your ingredients. This will produce the best results. All oven temperatures listed are for fan forced.
Ingredients
- 560 g (20 oz) feijoas – prepared weight See Note 1
- ¼ cup (60 ml) water
- 1 ¾ cups (400 gm) granulated sugar See Note 2
- 2 tablespoon (40 ml) lemon juice See Notes 3 and 4
Instructions
Sterilising the Jars:
- Sterilise the jar or jars you'll be using to store the jam. Choose glass jars with an airtight, metal lid and ensure they have been washed by hand in hot soapy water then rinsed well. Check that the metal lids do not have rubber inserts – if they do, allow them to air dry, instead of placing in the oven. Preheat the oven to 130 Degrees C (270 F) and place the jars in the oven for 15-20 minutes. Keep the jars warm.
For the Feijoa Jam:
- Place two small saucers or plates in the freezer. (See Note 6.)
- Wash and dry your fruit. Remove the stem and trim the base from the fruit and peel the Feijoas.
- Cut the fruit in half and then half again. Remove any blemishes. Roughly chop the fruit into ½ cm (¼ inch) cubes.
- Add the Feijoa cubes and water to a large saucepan over a medium-low heat. Stir frequently for 10 minutes, using a long-handled wooden spoon, to ensure the fruit doesn't stick. (See Notes 6 and 7.)
- Add the sugar and lemon juice to the saucepan. Stir until the sugar dissolves – this will take 3-5 minutes.If sugar crystals get caught on the side of the saucepan, scrape down with a spatula.
- Once the sugar has dissolved, increase the heat to a rolling boil.Boil for 10 minutes, stirring frequently. After 10 minutes, begin to check for the setting point. Your jam will likely take between 10-12 minutes, but it will depend on the width of your saucepan and how rapidly the jam is boiling.
- Turn off the heat and spoon a little of the jam onto one of your chilled saucers.Let it stand for 30 seconds to cool, and then run your finger through it. If it wrinkles, even slightly, it is ready. If it is still quite liquid, put it back on the heat and boil for a further 1-2 minutes, and retest until ready. Alternatively, you could use a candy thermometer. Setting point is reached when the thermometer reaches 105 Degrees C (220 F).
- Skim any scum off the top of the jam with a spoon.
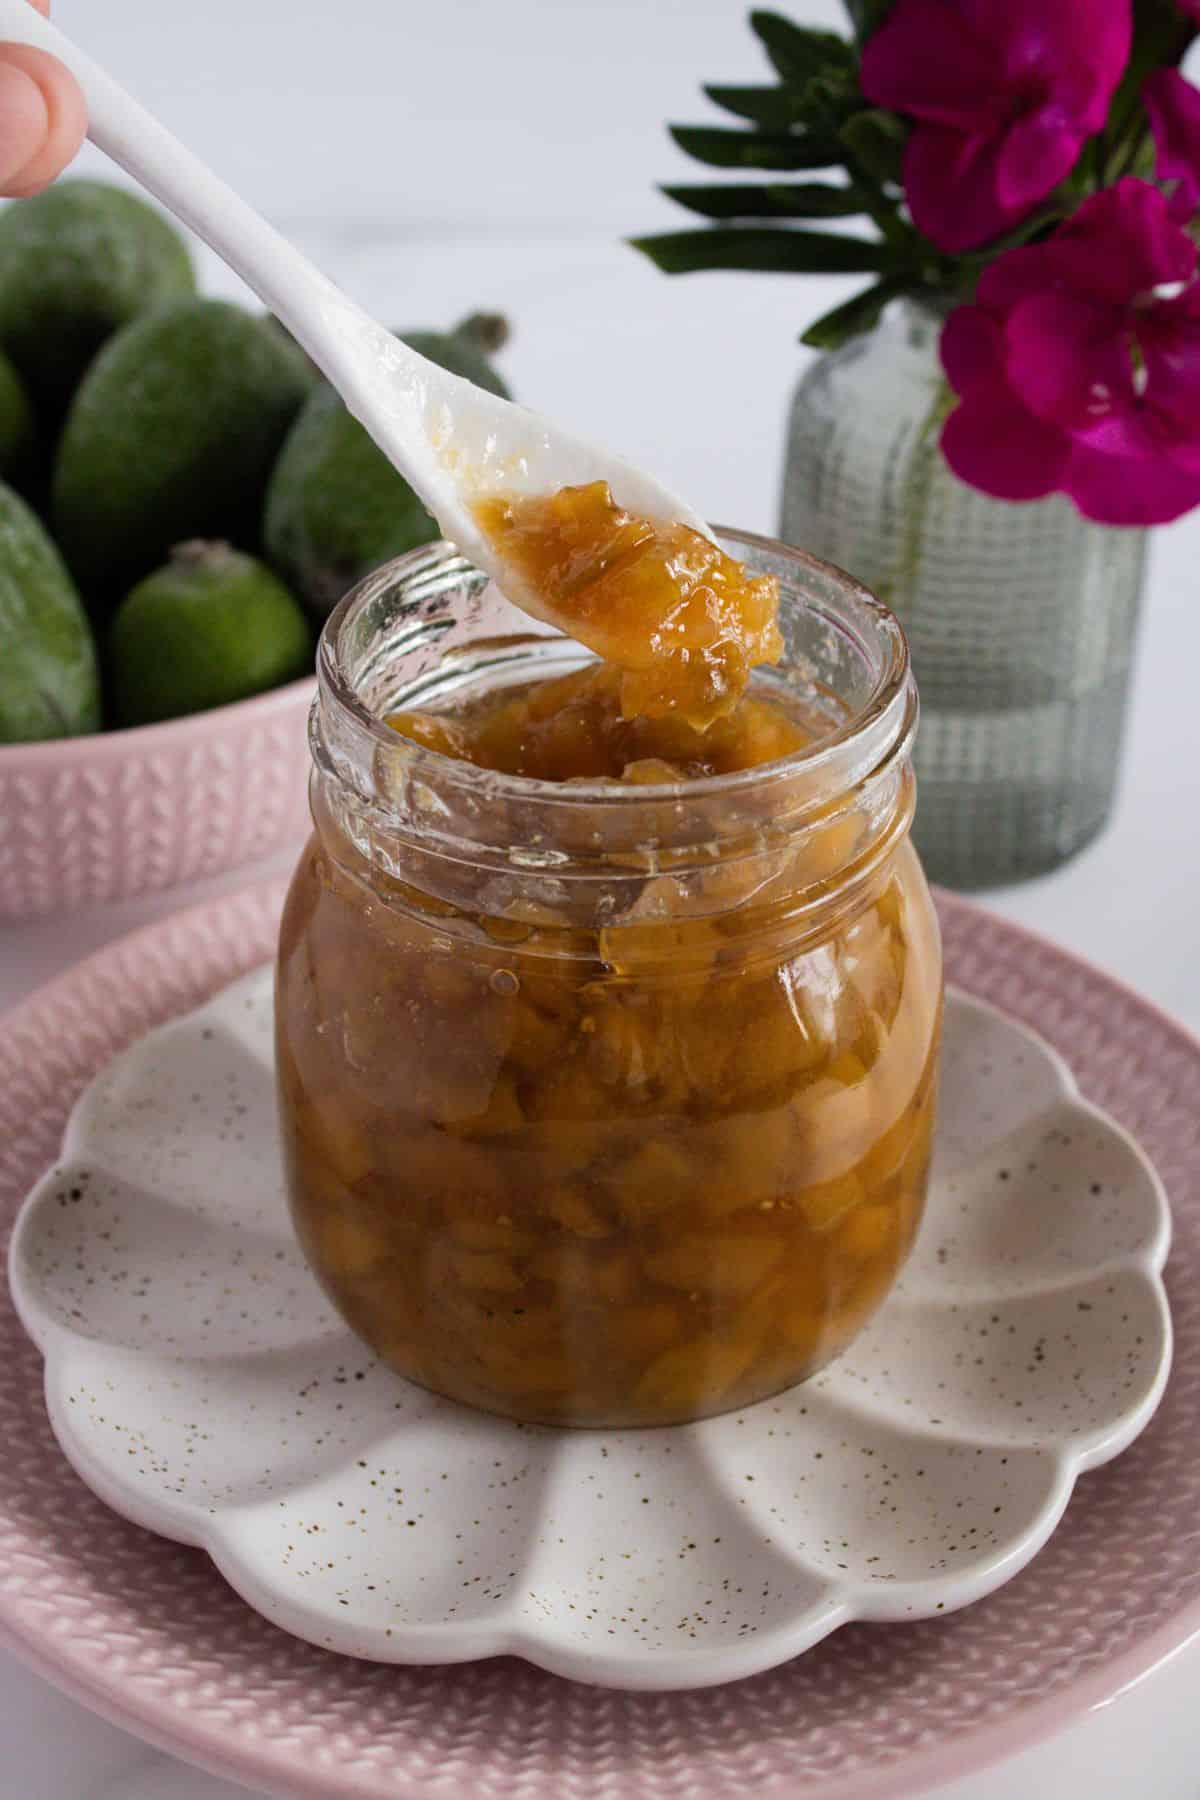
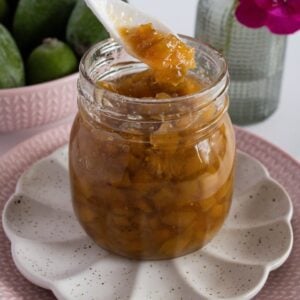
- Either leave the jam to stand for five minutes to allow the fruit to disperse evenly, or use an immersion blender to carefully blend the fruit to your desired consistency. (The photos show the jam not pureed.)
- Carefully ladle your jam into your hot jars and put the lids on immediately. Allow the jam to cool completely. Wipe the jars to remove any spills, and store the jam in a cool, dark place.
Notes
- Feijoas: ensure your fruit is freshly picked and of good quality. Avoid fruit that is bruised or over-ripe. The feijoas contain pectin, which aids in the jam setting. If your fruit is older, it will contain less pectin.
- Sugar: do not reduce the amount of sugar. Whilst the sugar sweetens the fruit, it also acts as a preservative and helps the jam to set. If you reduce the sugar, your jam may not be shelf-stable and may become mouldy.
- Lemon juice: not only balances the sweetness of the sugar, but it also contains acid and pectin, which help to set the jam.
- Tablespoon: we use a standard Australian tablespoon which is 20 ml (4 teaspoons).
- Sterilising the jars: properly sterilising your jars is an essential process to remove bacteria that could cause your preserves to spoil.
- Chilled plates: we use the chilled plates to quickly cool the jam when testing the setting point.
- Saucepan: I choose a large, wide saucepan that has enough height to enable the jam to boil vigorously. More surface area means the liquid will evaporate faster; having sufficient height means you can boil the jam at a higher heat and maintain the fresh flavour of the feijoas. Avoid aluminium, copper or iron pans; the acid in the fruit may react with the pan, giving the jam a metallic taste.
- Wooden spoon: do not use a metal spoon – it will become very hot. A long-handled wooden spoon is important to avoid being burnt by a splash from boiling jam.
- Setting point: my jam reached its setting point about 10 minutes after it began to boil rapidly. Boiling time will vary depending on the size of your saucepan and the heat that you apply.
- Immersion blender: if you prefer smooth jam, carefully use an immersion blender, once you have taken Feijoa Jam off the heat. The photos show jam that has not been blended.
- Storage: when the recipe is made according to instructions and the jars have been sterilised properly, the jam will be shelf-stable for up to a year when stored in a cool, dark place. A jar should be refrigerated after opening. This recipe has not been tested using a canning method. Please refer to the USDA Canning Guidelines for techniques, or follow a recipe designed for long-term canning.
- Nutritional information: is based on one whole jar. The nutritional information is an estimate only.
Nutrition Estimate:
Nutritional Disclaimer:
The nutritional information is an estimate only, and is derived from online calculators. For accurate results, we recommend calculating the nutritional information based on the ingredients and brands you use.
Lett
can I re-open my jars and cook jam again if it didn’t set, if it’s still runny please
Alexandra Cook
Hi Lett,
Yes, absolutely. Just to confirm though – the jam has been allowed to cool properly? If it has cooled and it is still runny, it likely didn’t reach setting point to begin with.
I would add the jam back to a clean saucepan, with the juice of half a lemon to boost the pectin levels.
Then bring back to a boil and start to re-test after a couple of minutes until it reaches setting point. Then return to clean jars.
Let me know how you get on! 🙂 Alex xo
Matthew Gordon-Clark
Just tried this for the first time, I added chopped fresh ginger and had to reduce the quantity of sugar as I only had 400gms of fruit so I used the same amount of sugar plus about half a pack of commerical jam setta
Alexandra Cook
Fresh ginger is a lovely addition, Matthew!
Delicious 🙂 I’ll have to give that a try next time. Alex xo
Dianne
I was given some feijoas, and decided to try making a jam. This has to be one of the easiest (and tastiest) jams I have made. Thanks for the recipe.
Alexandra Cook
Hello Dianne,
Thank you so much for giving this recipe a try!
I am happy that you enjoyed it so much, and really appreciate you taking the time to let me know 🙂
Alex xo
Stacey
Ratio of fruit to sugar was off. Too much sugar, became sickly sweet.
Alexandra Cook
Hi Stacey,
I am sorry that this recipe wasn’t to your taste, however the ratio isn’t off for jam making.
Many traditional jam recipes actually use equal parts of sugar to fruit, but we reduce this to approximately 3/4 sugar to fruit for all of our jam recipes.
Reducing the sugar content further will reduce the length of time that jam can be stored.
Jam can become too sickly sweet if cooked for too long – is it possible this happened?
Thanks, Alex