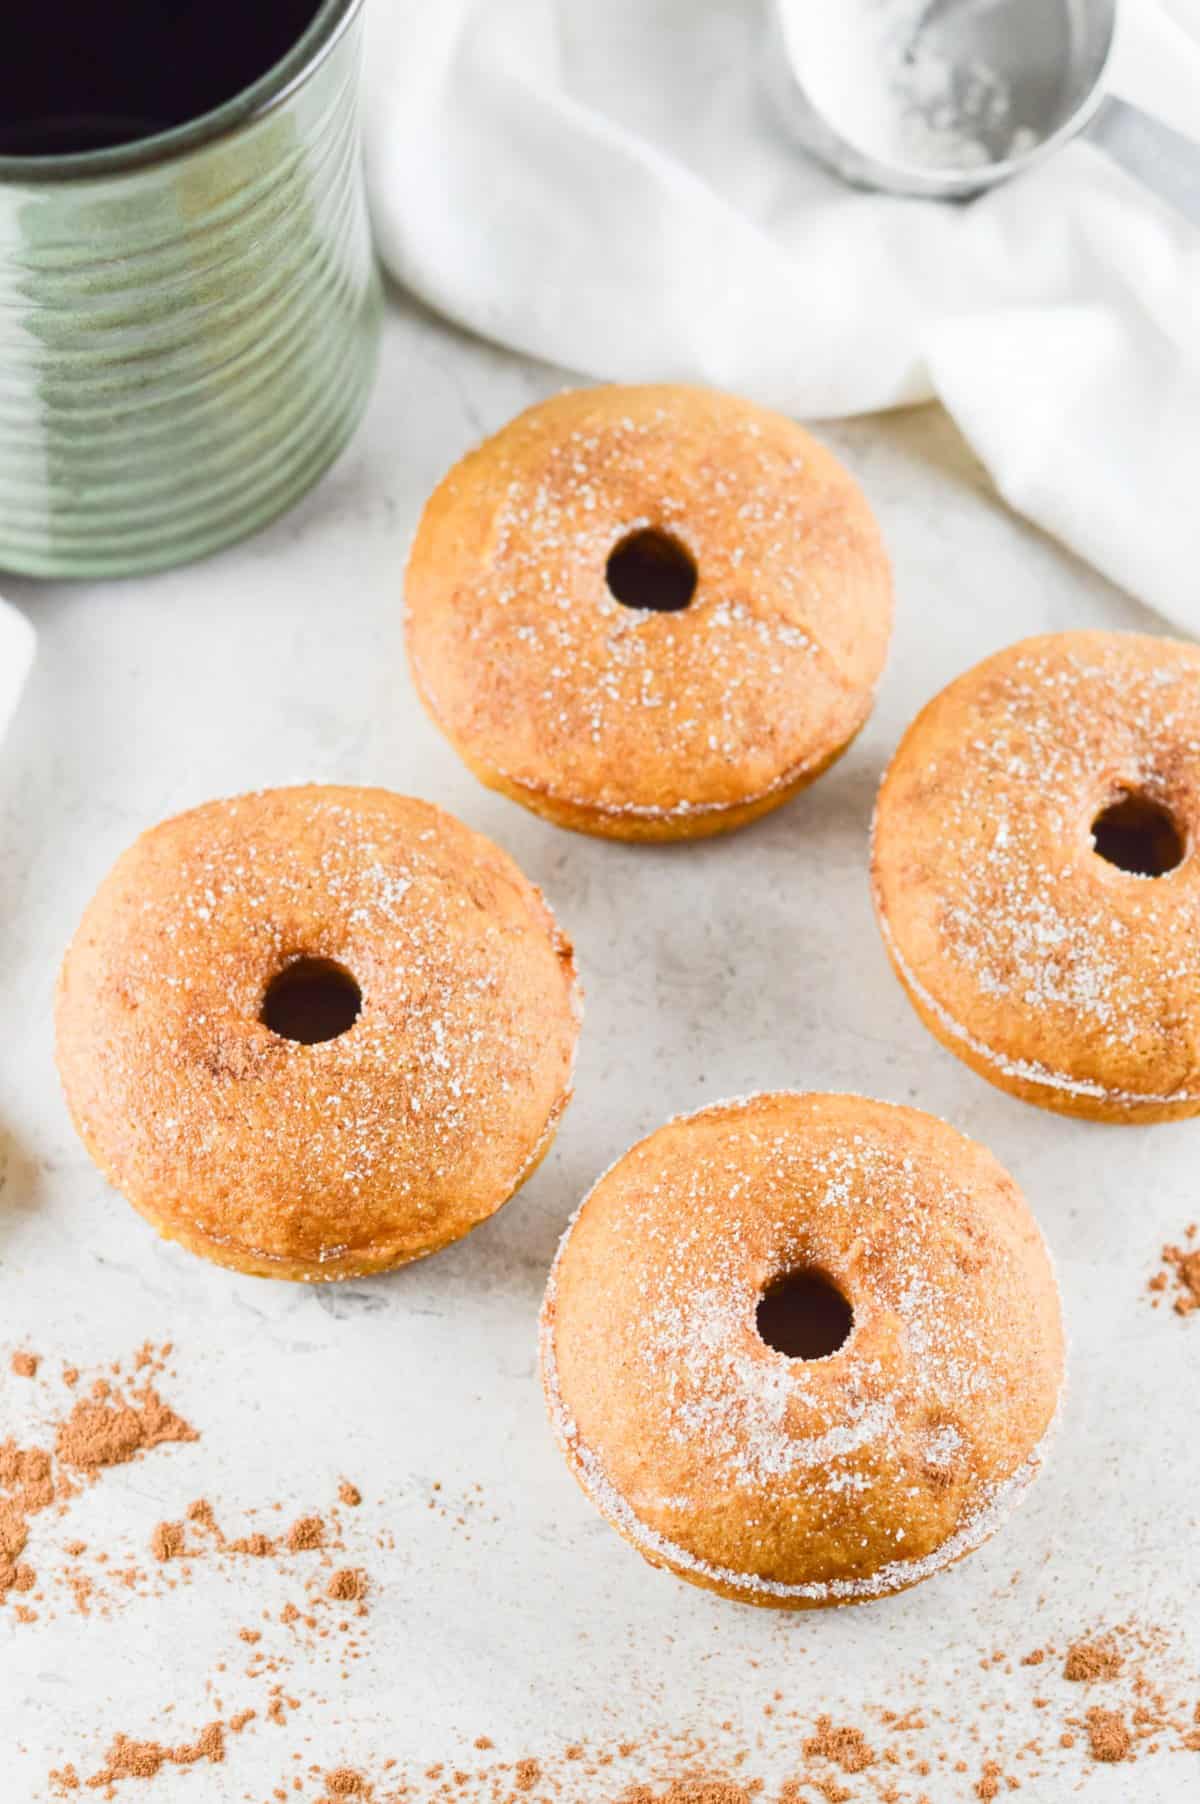
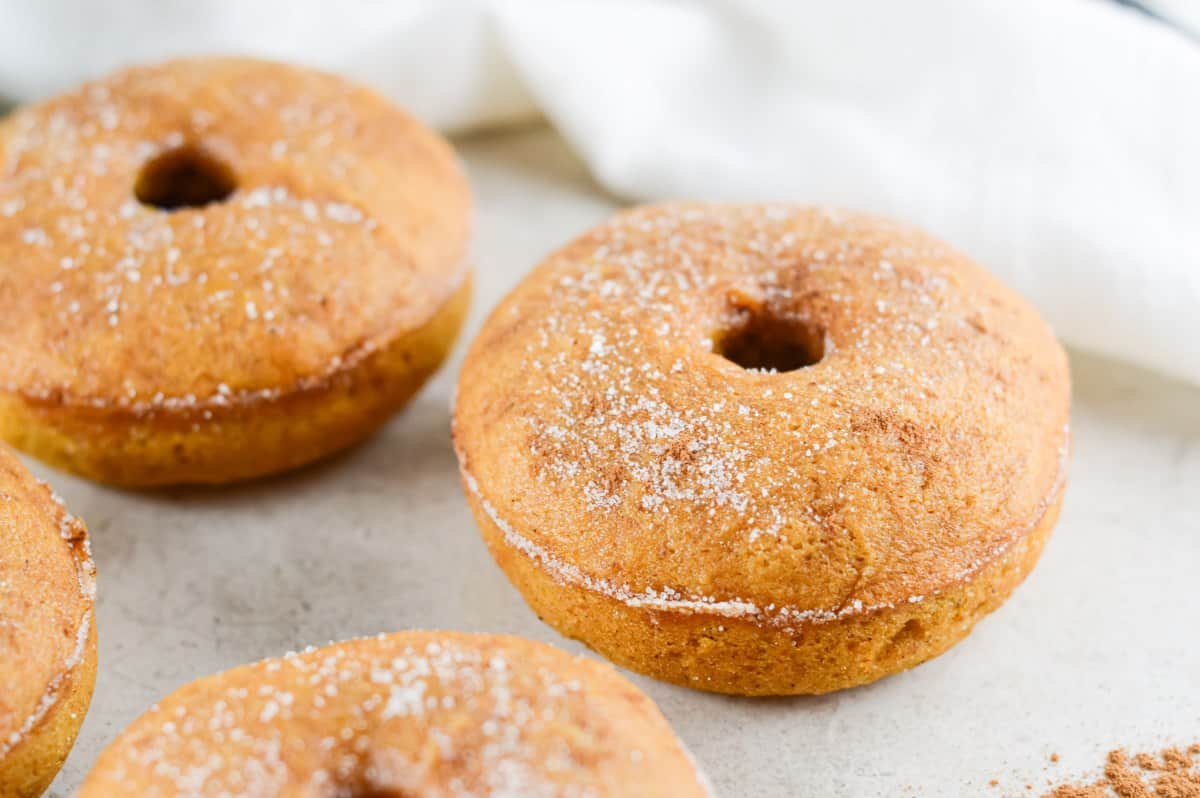
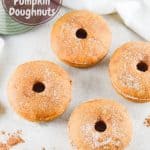
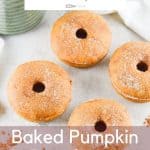
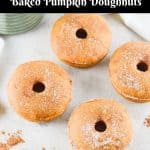
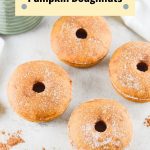
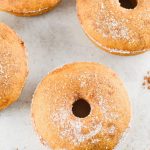
These Gluten-Free Baked Pumpkin Doughnuts are a revelation and certain to become as popular in your household as they are in mine. They have a lovely light texture, the perfect amount of spice and just the right amount of sweetness. However, they are baked and consequently are far healthier than their deep-fried relatives.
Why we love this recipe:
These delicious doughnuts are so easy to make and baking them means they are healthier than the ones which are deep fried.
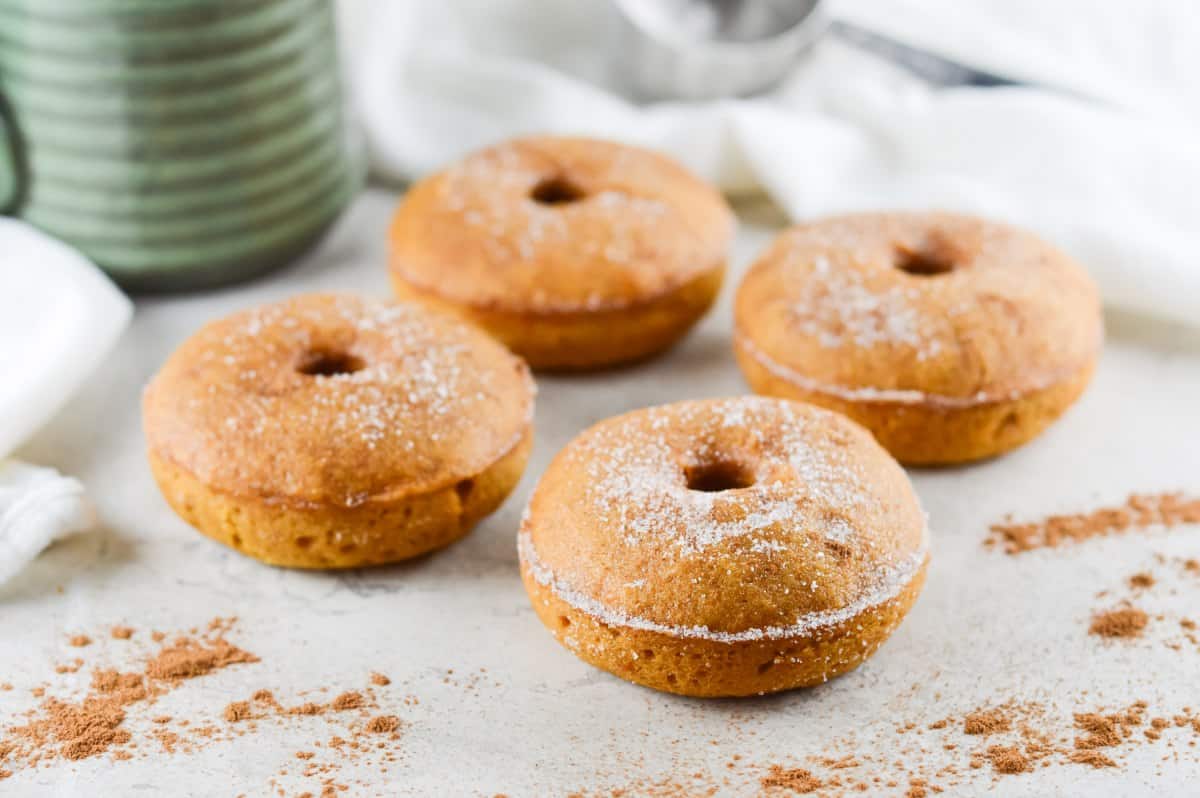
You still get the same delicious doughnut taste as they are rolled in sweet, crunchy, cinnamon flavoured sugar, giving them the doughnut appearance that we know and love.
The recipe makes enough to share, so they’re ideal if you’re having friends or family for brunch.
Although best eaten on the day they are made, they keep well and are still delicious on the third day which makes them ideal if you’re travelling and want to take a batch with you.
They’re great to start the day, with a coffee or glass of milk, but can be eaten as a snack or packed into lunch boxes.
Is it doughnut or donut?
According to Wikipedia, “Doughnut is the traditional spelling and still dominates even in the United States”. However, “donut is often used”. Dunkin’ Donuts opted for the shortened version while Krispy Kreme uses the traditional spelling. But when they taste as good as these, does it really matter how we spell it?
Doughnuts are popular worldwide but are an integral part of American cuisine. As well as being two ways to spell them, there are two ways to make them. Both methods have been around for generations. There are those which are baked and those which are fried.
The baked version is cake-like and relies on baking soda or baking powder to be its leavening agent. It is quickly made. On the other hand, the fried doughnut is made using yeast which means allowing the dough to rise and then deep frying. They take quite a lot longer to make.
Ingredients in this recipe:
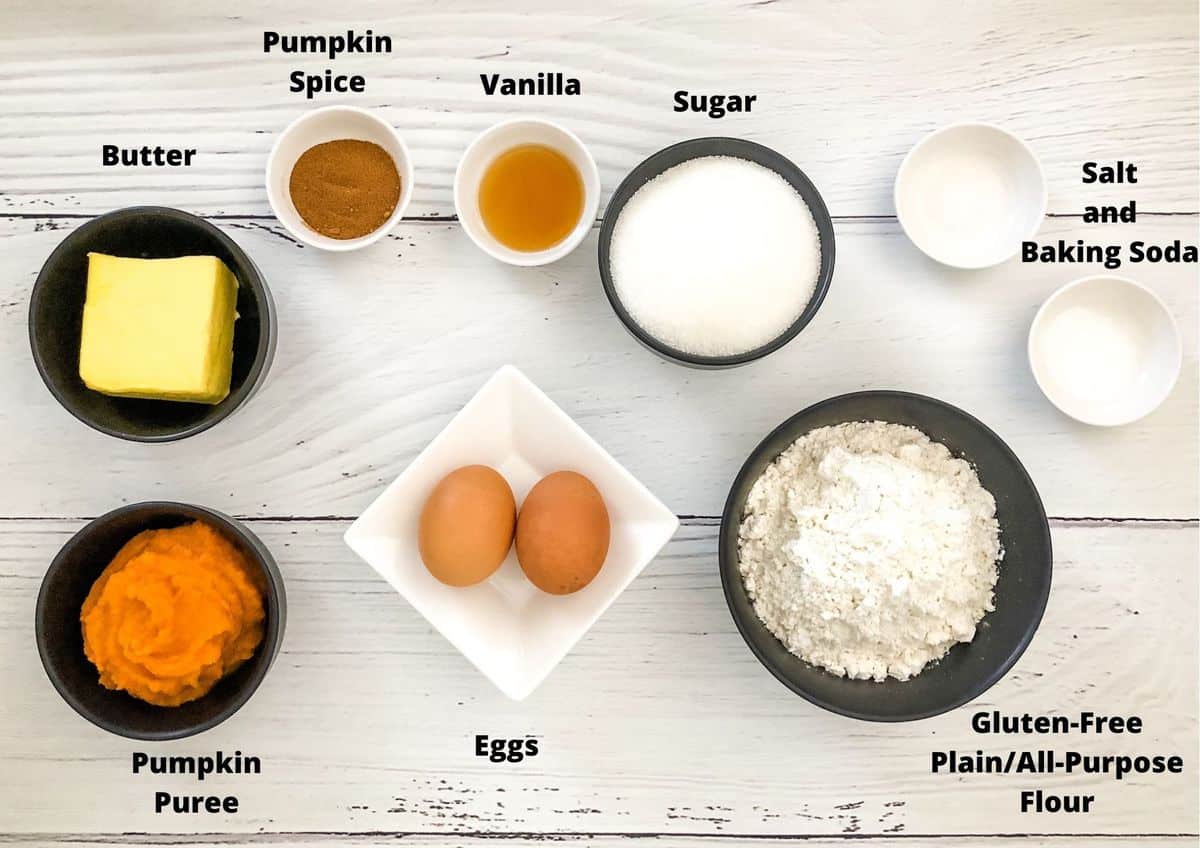
Please see the recipe card further along in the post for exact quantities of ingredients and the full method.
Doughnuts:
Gluten-free plain/all-purpose flour – our gluten-free flour blends contain either xanthan or guar gum to stabilise and provide structure to our recipes. If your flour blend already contains either of these gums, there is no need to add more. If you do not require the recipe to be gluten-free, you can use regular flour.
Caster Sugar – I use caster/superfine sugar for the doughnuts, but regular granulated sugar is fine to use also.
Butter – I use unsalted butter so that I can control the amount of salt in the recipe. Butter provides the best flavour.
Eggs – I use large eggs and prefer free-range.
Pureed pumpkin – I use my homemade Pumpkin Puree.
Vanilla extract – for the best flavour, ensure that the vanilla you use is naturally extracted from the vanilla bean and not synthetically produced.
Pumpkin spice – I use my homemade Pumpkin Spice mix.
Baking soda/bicarbonate of soda – is the raising agent in the doughnuts, reacting with the acidity in the pumpkin puree.
Sea salt – the addition of a small amount of salt is a flavour enhancer in baked goods. Use a coarse kitchen/cooking salt, not table salt.
Topping:
Sugar – I use regular granulated sugar.
Cinnamon – adding the cinnamon to the sugar gives a traditional doughnut flavour.
Step by step instructions:
To begin, preheat your oven to 180 degrees C/350 F. Grease a silicone or non-stick doughnut pan with non-stick spray. If you’re using a silicone pan, place it on a baking sheet for support.
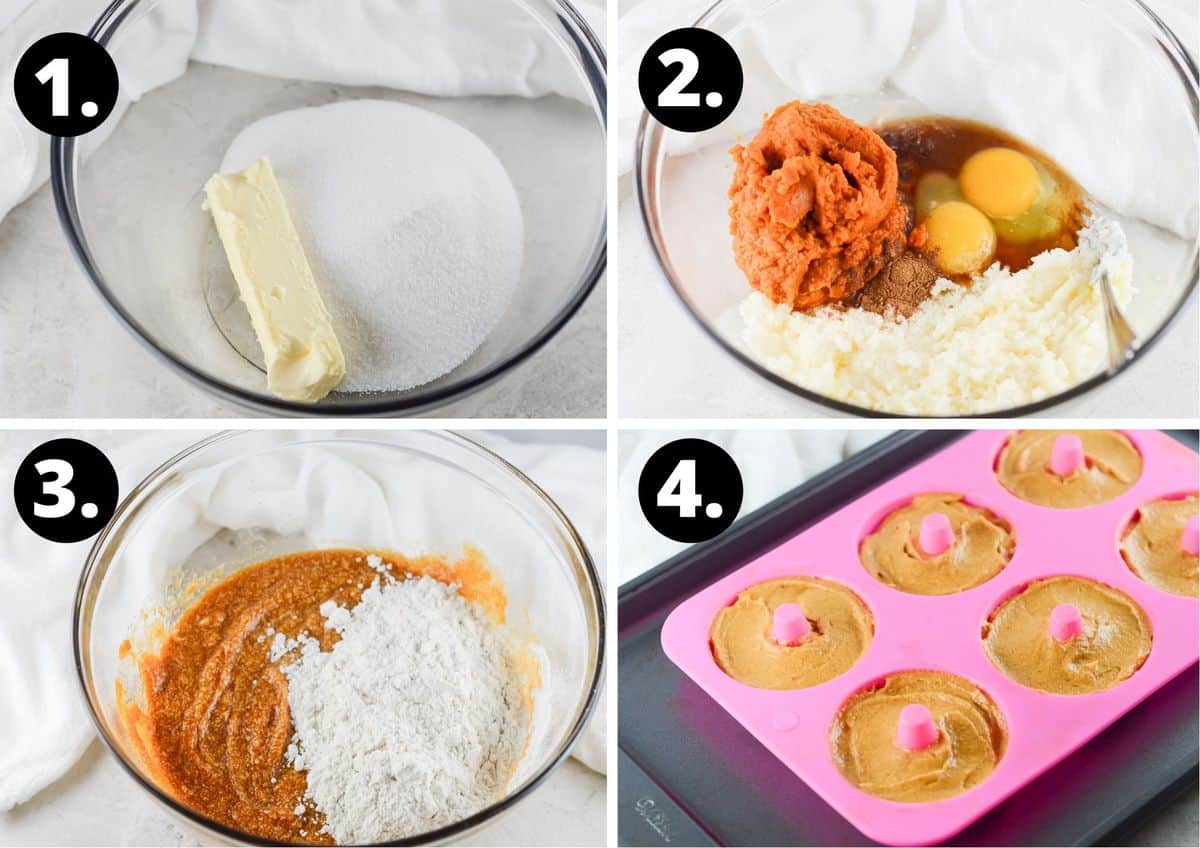
- In the bowl of a stand mixer, cream together the butter and sugar. Alternatively, place the butter and sugar into a bowl and use hand-held electric beaters to cream the mixture.
- Add the eggs one at a time, beating well after each addition. Add the remaining doughnut ingredients – except the flour – and mix together.
- On the lowest speed, slowly add the flour and mix until just combined.
- Using a teaspoon add the batter to the doughnut pan, filling about ¾ of the way full. If you prefer, you could add the mixture to a piping bag and fill the tins that way. Place the baking tray into the preheated oven and bake for 15-17 minutes. When they are cooked, remove from the oven and leave to cool in the pan. Depending on the size of your baking tin, you may have to do this in batches.
Combine the cinnamon and sugar for the topping in a shallow bowl and dip each side of the doughnuts into it. Enjoy!
Tips for success and FAQs:
I use a teaspoon to add the mixture to the moulds but you could use a piping bag if you prefer.
Ideally, you would use an appropriate pan if you want to easily create that classic doughnut shape. However, you could also bake the mixture in mini muffin tins, roll in the cinnamon sugar, and pretend they are doughnut holes!
Although best on the first day, they are still delicious on day 3. Store them at room temperature in a single layer in an airtight container. Do not layer them as they may stick together.
You can test with a skewer or toothpick. Insert it into the doughnut and if it comes out clean they are cooked.
Or, as I do, when they look about done, I lightly tap the top of the doughnut with my finger. It should feel firm and springy. If your finger leaves an indent, the doughnuts need a little longer in the oven.
More delicious recipes for you to try:
Our Gluten-Free Baked Pumpkin Doughnuts are a delicious, easy to make sweet treat. Here are some more ideas you may wish to try:
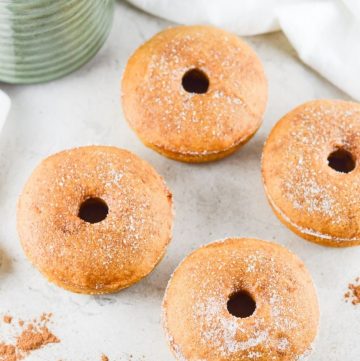
Soft and fluffy, these Baked Pumpkin Doughnuts, are the perfect way to start the day. They have a light, tender crumb with just the right amount of spice. The authentic doughnut flavour is achieved by dipping the finished product in cinnamon-sugar.
Please let me know in the comments below if you try them.
Alex xx
Gluten-Free Baked Pumpkin Doughnuts
Equipment
- Silicone doughnut pan or non-stick pan. (About a 3 inch diameter) – See Note 1
Please note:
For accuracy, when weights are provided, we recommend weighing your ingredients. This will produce the best results. All oven temperatures listed are for fan forced.
Ingredients
For the Doughnuts:
- ½ cup (125 g) unsalted butter – at room temperature
- 1 cup (220 g) caster/superfine sugar See Note 2
- 2 large eggs – at room temperature
- 1 cup (230 g) pumpkin puree See Note 3
- 2 teaspoon vanilla extract See Note 4
- 3 teaspoon pumpkin spice See Note 5
- 1 teaspoon baking soda/bicarbonate soda See Note 6
- ½ teaspoon sea salt See Note 7
- 1 ¼ cups (190 g) gluten-free all-purpose/plain flour See Note 8
For a Topping:
- ½ cup (110 g) sugar See Note 9
- 1 tablespoon ground cinnamon See Note 10
Instructions
- Preheat your oven to 180 degrees C (350 F). Grease a silicone or non-stick doughnut pan with non-stick spray. If you’re using a silicone pan, place it on a baking sheet for support.
- In the bowl of a stand mixer, cream together the butter and sugar until they are pale and cream coloured. Alternatively, place the butter and sugar into a bowl and use hand-held electric beaters to cream the mixture.
- Add the eggs one at a time, beating well after each addition.
- Add the remaining doughnut ingredients– except the flour – and mix well.
- On the lowest speed, slowly add the flour and mix until just combined.
- Using a teaspoon add the batter to the doughnut pan, filling about ¾ of the way full. If you prefer, you could add the mixture to a piping bag and fill the tins that way. Depending on the size of your tin, you may need to bake the mixture in batches.
- Place the baking tray into the preheated oven and bake for 15-17 minutes. To check if they are cooked, insert a skewer or toothpick into the doughnut and if it comes out clean they are cooked.
- Or, when they look about done, lightly tap the top of the doughnut with a finger. It should feel firm and springy. If your finger leaves an indent, the doughnuts need a little longer in the oven.
- When they are cooked, remove them from the oven and leave them to cool for about 5 minutes before transferring them to a cooling rack. These baked doughnuts have a tender, light texture so you will need to handle them carefully.
- For the topping, combine the cinnamon and sugar in a wide, shallow bowl and dip the doughnuts into it.
Notes
- The number of doughnuts you make will depend on the size of your tin. We have made this recipe using two different sized tins – one makes 12, and one makes 15.
- I use caster/superfine sugar in baking as it dissolves more readily. However, you can use regular granulated sugar if you prefer.
- We use our Homemade Pumpkin Puree in this recipe, but canned is fine. Be sure to not use pumpkin pie filling.
- Check the label to ensure that the vanilla you use has been naturally extracted and not synthetically produced.
- We use our Homemade Pumpkin Spice Mix in this recipe, but the jarred variety is fine to use.
- Baking soda/bicarb soda is not to be confused with baking powder. In this recipe it is the raising agent in the doughnuts, reacting with the acidity in the pumpkin puree.
- Use coarse kitchen salt, not table salt which is stronger.
- Our gluten-free flour blends contain either xanthan or guar gum to stabilise and provide structure to our recipes. If your flour blend already contains either of these gums, there is no need to add more. If you don’t need to make these gluten-free, you can use regular plain/all-purpose flour.
- I use regular granulated sugar in the doughnut topping as the bigger grain makes it more crunchy.
- In Australia, the tablespoon is 20 ml or 4 teaspoons. In many other countries, the tablespoon is 15 ml or 3 teaspoons. You may have to adjust your measurements accordingly.
- Measuring your ingredients by weight will provide much more accurate results in baking.
- Please note, the nutritional information is based on one doughnut as one serving. The nutritional information is an estimate only.
Nutrition Estimate:
Nutritional Disclaimer:
The nutritional information is an estimate only, and is derived from online calculators. For accurate results, we recommend calculating the nutritional information based on the ingredients and brands you use.









Chessie
Would these work if baked in a regular sized muffin pan? I don’t have anything at all close to a donut pan. “Sad!”
Alexandra
Hi Chessie!
I had been meaning to test this for a while, so your comment gave me a good reason to do so.
And yes – you can! I used an ice cream scoop for a consistent size muffin and ended up with 14. I baked half in paper liners, and half in the tin (well greased). I also added chocolate chips to half the mix. Cooking time was about 15 minutes – a little longer for those in the paper liners. Good all round!
Let me know if you give them a try 🙂 Kind regards, Alex
Maggie
Incredibly delicious, and great texture!!!
Alexandra
Thank you so much, Maggie!
ruchi k
These are delicious
Alexandra
Thank you, Ruchi!