


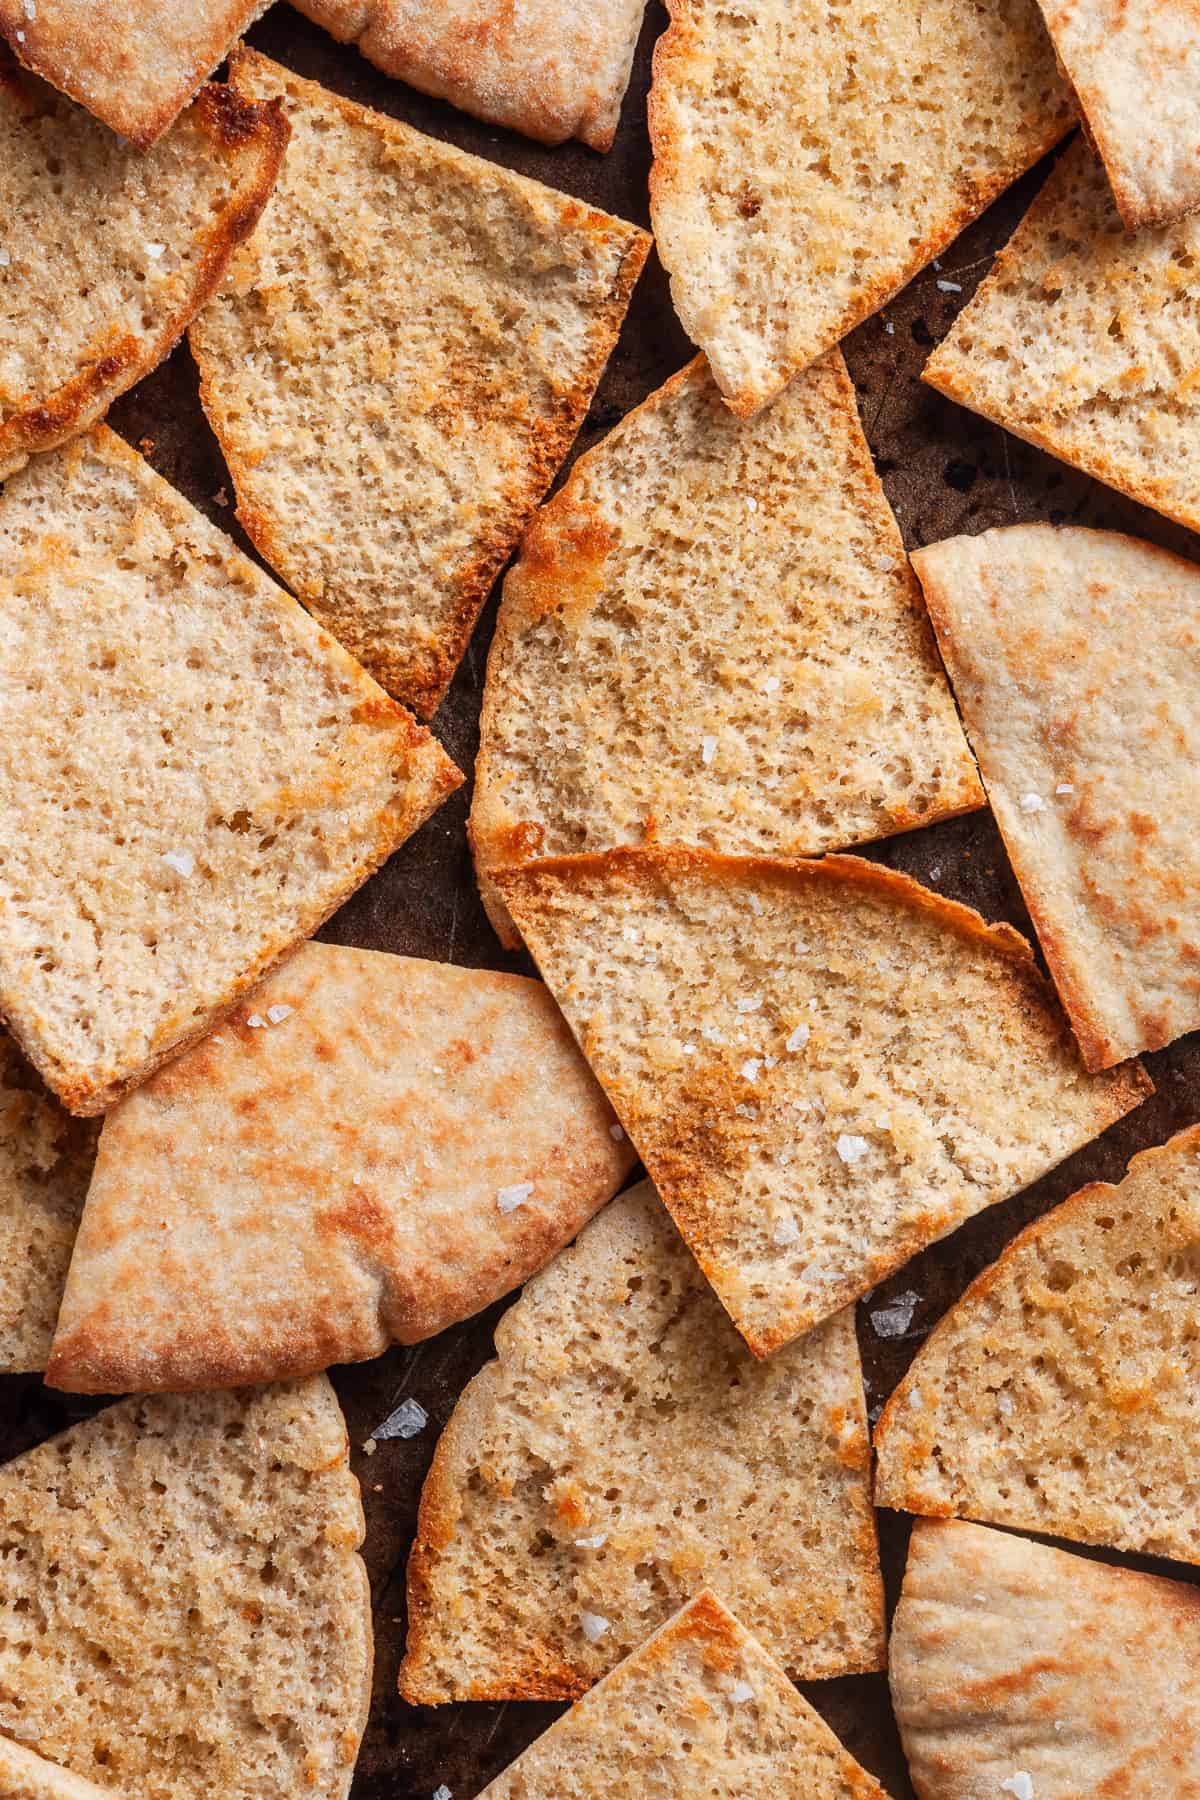
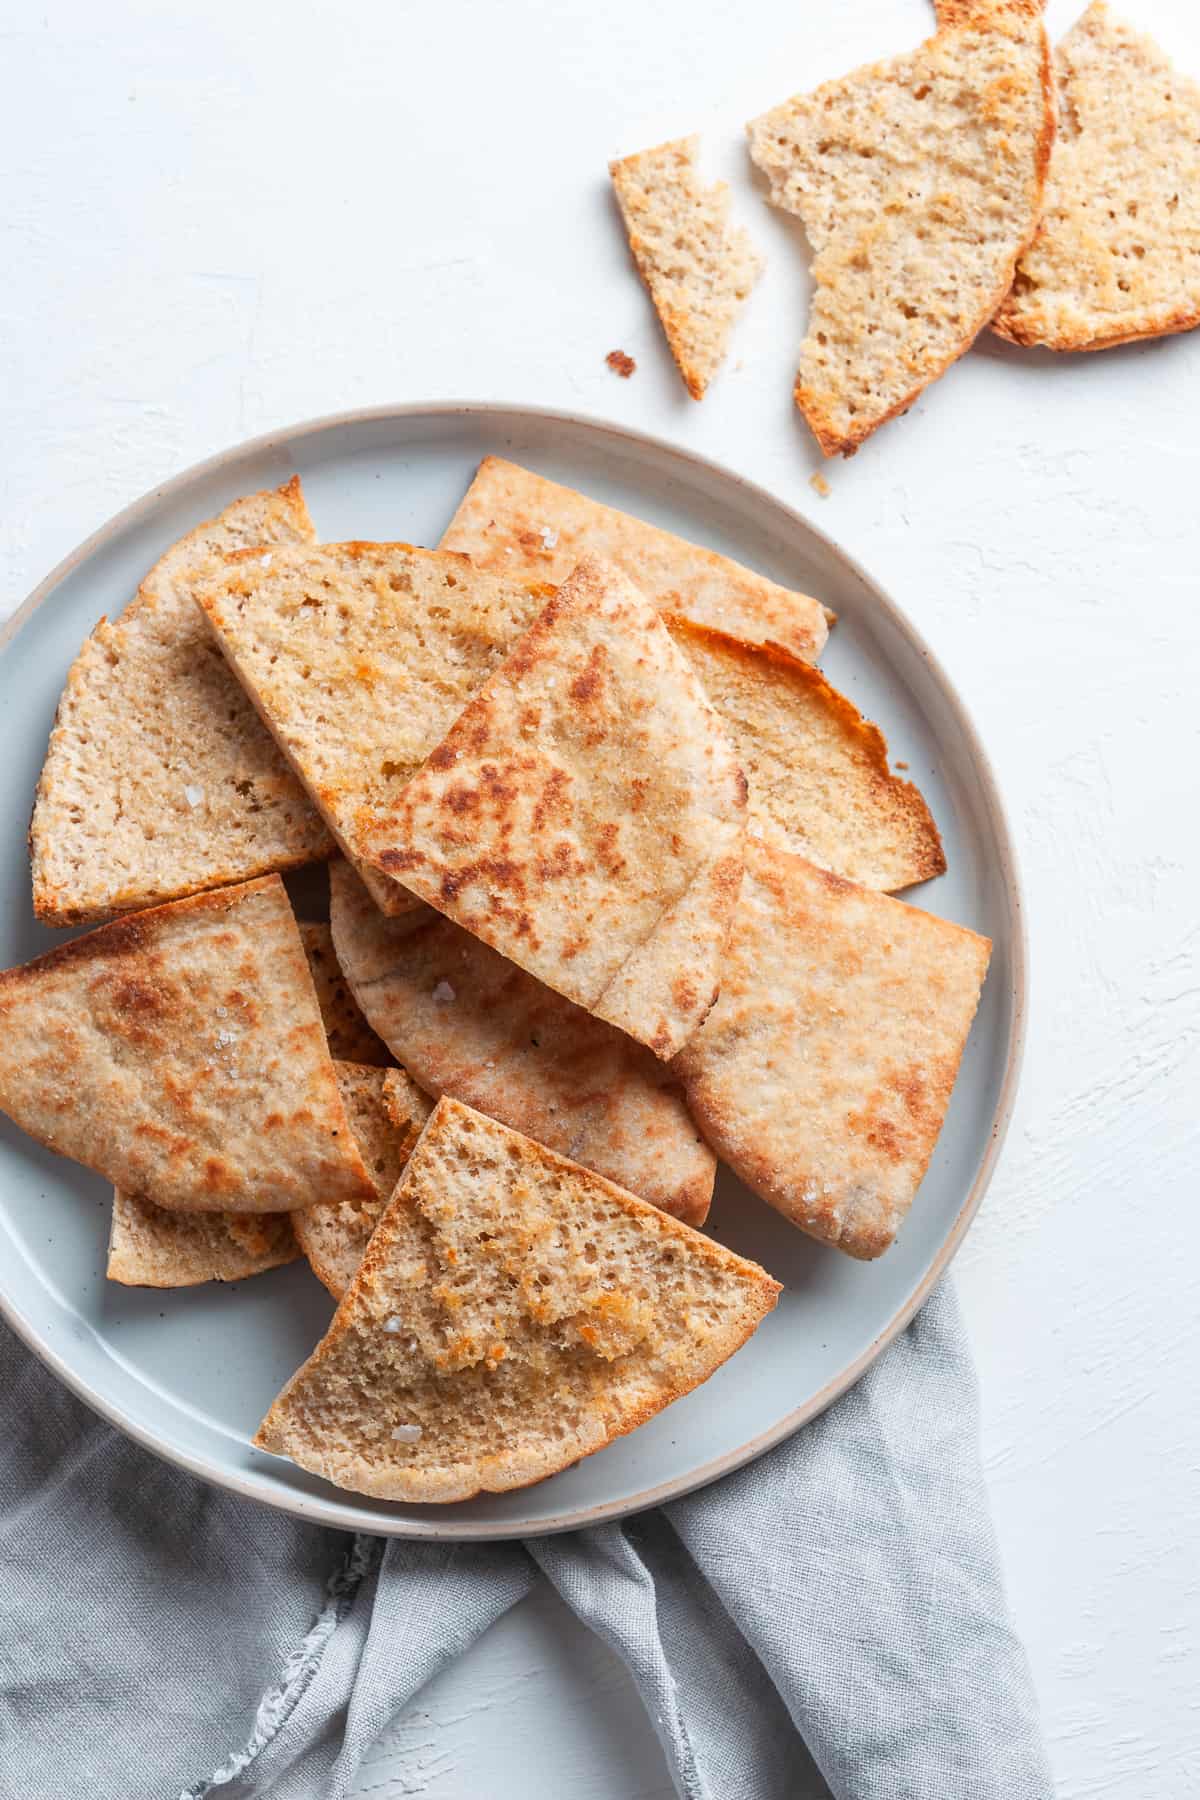
With this simple recipe, you will be able to make perfect, crispy, Homemade Pita Chips. Keep some on hand to have with your favourite dips, to enjoy as a snack, accompany soup or add to a cheeseboard.
Jump to:
Why we love this recipe:
These Homemade Pita Chips are so quick and easy to make. From start to finish, you can be enjoying them with your favourite dips in about 15 minutes.
In addition, you can customise them with toppings to complement what you will serve with them. For simple, yet extremely tasty Pita Chips to serve with almost everything, you just need pita bread, olive oil and sea salt.
Similar to our Homemade Crostini, as well as being more economical, these oven-baked Homemade Pita Chips are a healthier option than store-bought varieties which are mostly deep-fried and heavily salted.
Ingredients in this recipe:
Please see the recipe card further along in the post for exact quantities of ingredients and the full method.
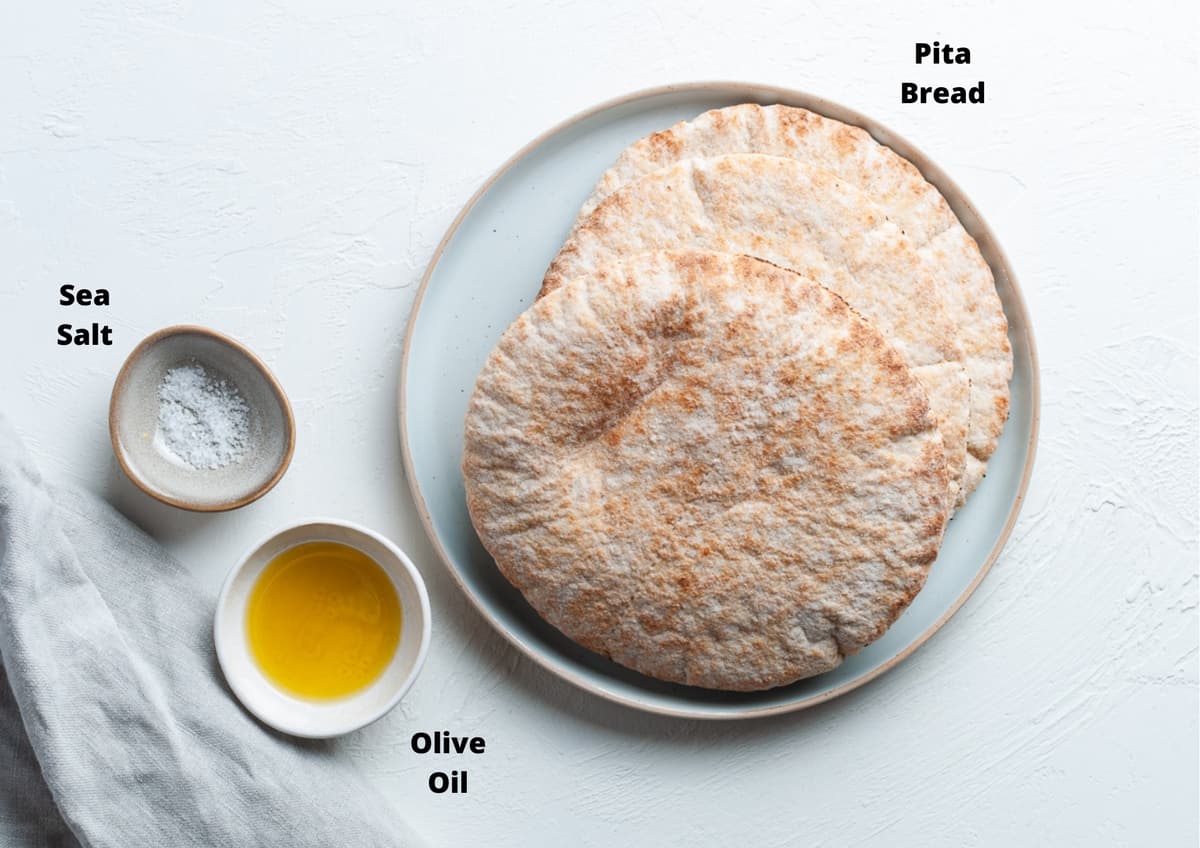
Pita bread – I buy small, whole wheat, pita bread pockets so that I can split each piece in two.
Olive oil – for the best flavour, brush the pita with olive oil.
Sea salt – I like to use salt flakes as they add some texture but you can use coarse cooking salt.
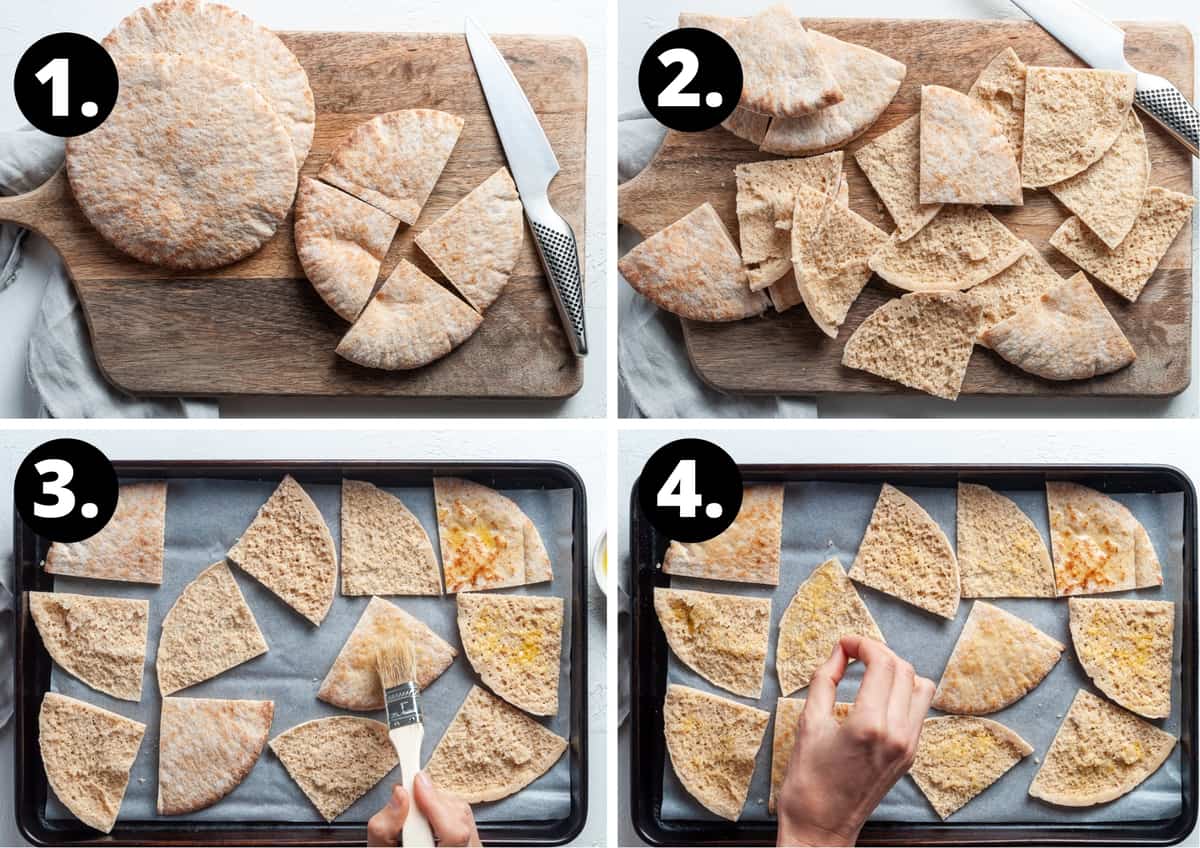
Step by step instructions:
To begin, preheat your oven to 200 degrees C (400 F). Line a tray with baking paper.
- Place your pita bread on a chopping board, cut each pita into 4 triangles.
- Split each triangle into two, so the bread is in a single layer.
- Brush each triangle with a little olive oil.
- Sprinkle with sea salt and bake in a preheated oven for about 5 minutes or until lightly golden and crispy.
Serve immediately or remove to a cooling rack to thoroughly cool before storing in an airtight container.
Tips for success and FAQs:
I recommend that you use pita bread pockets so they are easily split into two layers. You can use whole wheat or white. This will give you thin, crispy Homemade Pita Chips. I have used small pita bread but you can use larger ones and cut them into more triangles.
Be creative, use flavours that you enjoy. To achieve crispy Homemade Pita Chips, it is best to use dried herbs and spices, such as:
- Zaátar
- Onion powder
- Lemon pepper seasoning
- Italian herbs
- Freshly ground black pepper
- Chilli flakes
- Sesame seeds
- Dried basil or oregano
- Garlic powder and finely grated Parmesan cheese
You need a hot oven and a brush of olive oil on each piece of pita. The thin slices of bread from split pita pockets will easily crisp. They crisp even further as they cool on a wire rack. Do not cover them until they are cold, or they will steam and soften.
They last up to 3 days if stored in an airtight container. If necessary, you can re-crisp them in a pre-heated 175 degrees C (350 F) oven for about 5 minutes.
Ways to serve:
- Plain, as an easy snack;
- On a cheese board,
- As croutons with soup,
- With a dip,
- Add to a salad, such as a Caesar salad.
You will love the versatility of these crispy Homemade Pita Chips that are quickly and easily made. Keep some on hand to enjoy as a snack, with your favourite dips, to accompany soup or add to a cheeseboard. They are a much healthier option than their store-bought counterparts.
Alex xx
Homemade Pita Chips
Recipe Measurements:
For accuracy, when weights are provided, we recommend weighing your ingredients. This will produce the best results.
Ingredients
- 3 small whole wheat pita bread pockets
- 1 tablespoon extra virgin olive oil See Note 1
- sea salt – to taste See Notes 2 and 3
Instructions
- Preheat your oven to 200 degrees C (400 F).
- Line a large baking tray with non-stick baking paper.
- Cut each pita bread in quarters and split each quarter so you have two thin pieces.
- Brush with olive oil and season with sea salt.
- Bake for 5 minutes until the pita chips are lightly golden and crispy.
- Serve immediately or allow to cool before storing in an airtight container for up to 3 days.
Notes
- In Australia, the tablespoon is 20 ml or 4 teaspoons. In many other countries, the tablespoon is 15 ml or 3 teaspoons. Please adjust your measurement if necessary.
- See above, in the main post, for more herb and spice suggestions.
- For additional texture, I like to use salt flakes but this is optional. Use coarse salt if you prefer but avoid table salt as it is too fine and is stronger tasting.
- Please note, the nutritional information is based on four servings. It does not include what the pita chips are served with. The nutritional information is an estimate only.
Nutrition Estimate:
Nutritional Disclaimer:
The nutritional information is an estimate only, and is derived from online calculators. For accurate results, we recommend calculating the nutritional information based on the ingredients and brands you use.
Patricia
I can’t believe how easy it was to make this! I’m going to make more this afternoon to go with your grilled zucchini hummus recipe! I’m so glad I found a use for old pita bread!
Alexandra
Patricia, I am so pleased to hear that you discovered a way to use leftover pita bread – it really does gain a new lease on life! 🙂
Amy Roskelley
YUM!! These are perfect to dip into hummus and guac!
Alexandra
Hi Amy, I am so pleased that you enjoyed this simple recipe. There are so many ways to enjoy the Pita Chips. 🙂
Dennis
These Homemade Pita Chips are really delicious! Everyone should try.
Alexandra
Thank you so much!
Courtney
We love making these! There’s nothing like fresh chips! So easy to make, and we love seasoning them in different ways to change up the flavor.
Alexandra
That is great to hear, Courtney – thank you for sharing!