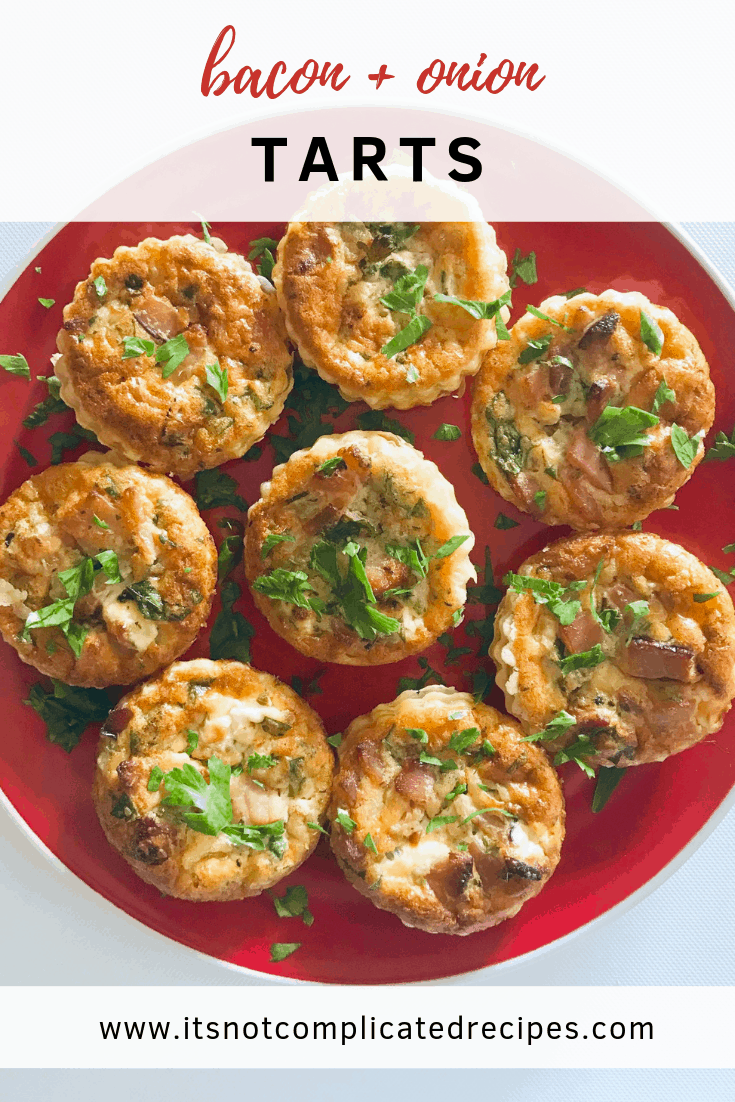
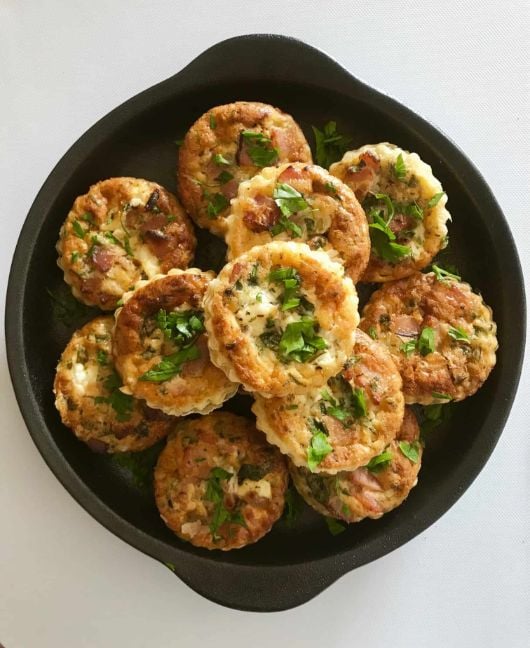
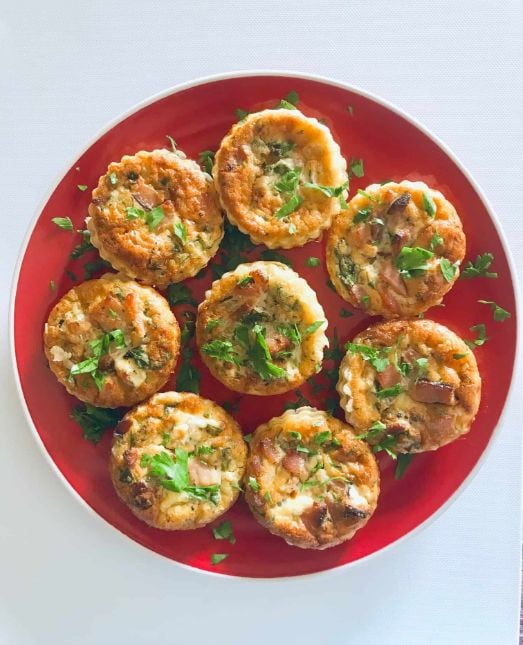
These Bacon and Onion Tarts are not dissimilar to a mini quiche. They’re simple to make, and utterly delicious. Best of all, you can cook them prior to your guests’ arrival and reheat just before serving. I do love something you can prepare in advance!
I serve these tarts frequently at my dinner parties – they’re the perfect pre-dinner nibble, and always a hit. Only a handful of ingredients are required.
To prepare the tarts, fry your onions and bacon until they’re nicely caramelised. Allow this mixture to cool slightly. Combine your remaining ingredients in a bowl, and add your delicious onion and bacon mixture. This deliciously creamy Bacon and Onion mixture can then stand whilst you prepare your pastry cases.
I use a 6cm cookie cutter to cut my pastry into circles. I then place the circles of pastry in a patty pan tin, which I grease with a spray of olive oil. You then add the filling to your pastry cases and bake.
If you prepare your pastry cases before your filling, be sure to place the pastry-lined tins in the fridge or freezer to keep the pastry cold – this is of huge importance. You must work with cold pastry to capture the perfect, flaky pastry. If the pastry gets too warm, the butter component starts to melt, which will make your pastry harder to work with. Further, it will hinder the flakiness – which is one of the best parts!
So, you can see – these Bacon and Onion Tarts really are so simple to prepare. I look forward to sharing more ingredient combinations for these fabulous tarts with you in the future. Be sure to also check out my recipe for Blue Cheese Puff Pastry Tarts.
Do enjoy, and be sure to let me know in the comments below when you try these delicious Bacon and Onion Tarts!
Alex xx
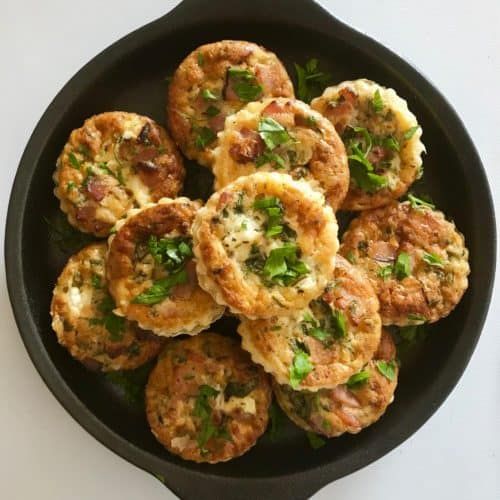
Bacon and Onion Tarts
Recipe Measurements:
For accuracy, when weights are provided, we recommend weighing your ingredients. This will produce the best results.
Ingredients
- 2 sheets butter puff pastry I used Pampas
- 1 teaspoon olive oil
- 1 medium brown onion
- 6 shortcut bacon rashers
- ½ cup pouring cream thickened cream
- 2 eggs
- 100 g feta or soft goat cheese
- 1 teaspoon dried oregano
- ¼ cup fresh parsley finely chopped
- salt and pepper to taste
- olive oil spray to grease the tins
Instructions
- Finely dice the onion, and chop the bacon into small pieces.
- Heat up a frying pan, and add the teaspoon of oil to the pan. Once heated, add the chopped bacon and onion.
- Fry until golden brown – this usually takes about 10-15 minutes. Stir regularly to ensure the mixture doesn’t stick.Set mixture aside to cool down.
- Preheat oven to 200 Degrees C (390 F). If the pastry is frozen, remove it from the freezer shortly before preparing the filling. (Don’t remove it too early or it will be difficult to cut neatly. The pastry will have a better texture if it is still chilled when placed in the oven.)
- Add eggs and cream to a bowl. Whisk until combined.
- Add the cooled bacon and onion mixture, fresh and dried herbs and cheese and season well. Mix well, and set aside.
- Lightly grease a tin with 6cm diameter holes (2.5 inches).
- When the pastry has just defrosted, using a 6 cm cookie cutter, cut rounds of pastry and put into prepared tin/patty pans, gently pushing the pastry down into place.
- Evenly distribute the mixture between the tarts, ensuring a good balance between bacon/onion/cheese and liquid. Place in pre-heated oven for 15-20 minutes. Rotate the tray halfway through to ensure even cooking.
- Once removed from the oven, allow the tarts to sit for 2 minutes in the tin, and then remove.Don’t let them cool completely, or this will make them difficult to get out of the tin.
- Allow the tarts to cool completely on a baking rack if you are not serving straight away.
- Serve the tarts hot or cold – they’re delicious either way!An optional sprinkling of parsley is always a nice touch to finish.
Notes
Nutrition Estimate:
Nutritional Disclaimer:
The nutritional information is an estimate only, and is derived from online calculators. For accurate results, we recommend calculating the nutritional information based on the ingredients and brands you use.


Leave a Comment